How to Draw a Rocket Ship: Easy 10-Step Guide for Kids
Blast off into creativity with this simple rocket ship drawing tutorial, perfect for young artists ages 5 and up. All you need is a pencil, an eraser, and a piece of paper to get started. By following these steps, you will build confidence in basic shape construction while creating your very own space-faring vessel.
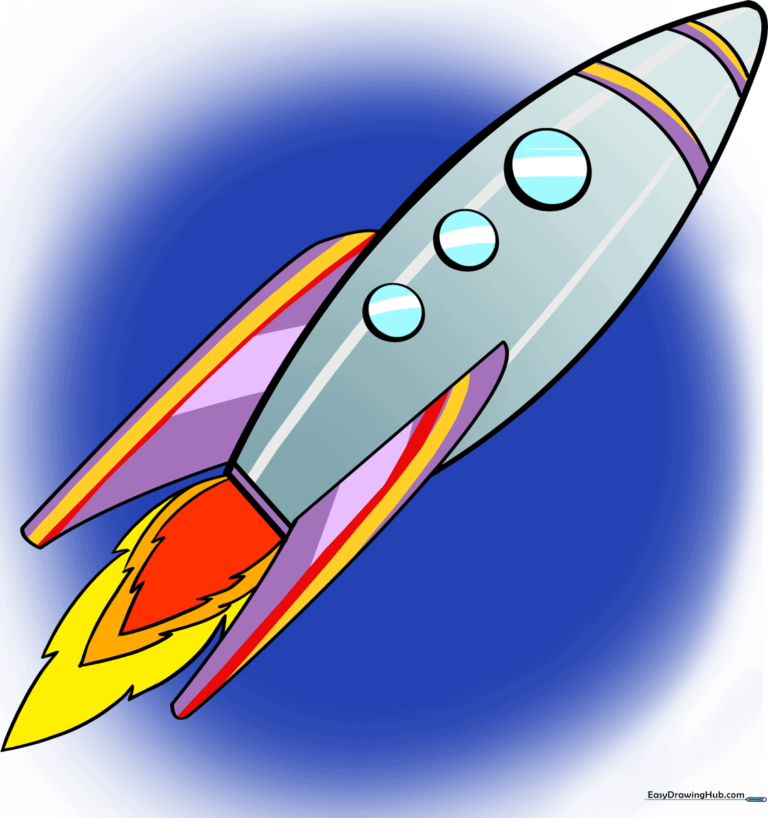
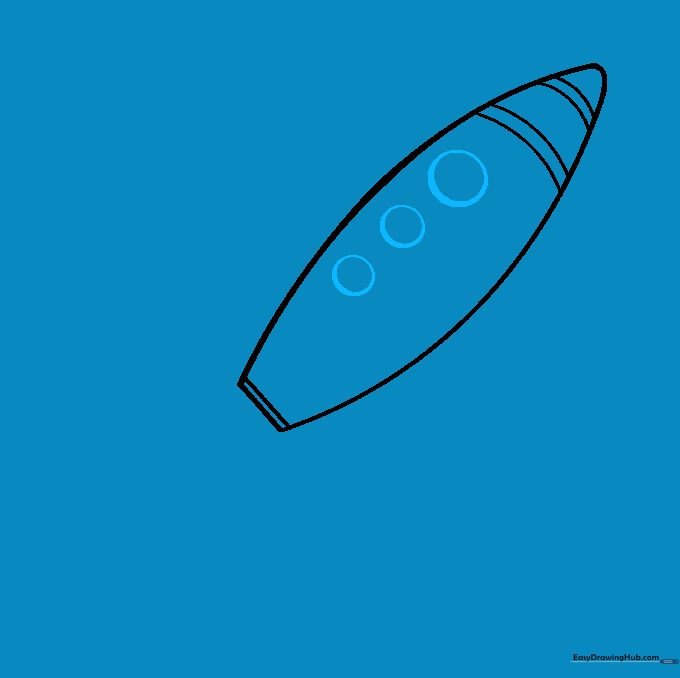
🎯 Final Result
Step-by-Step Instructions
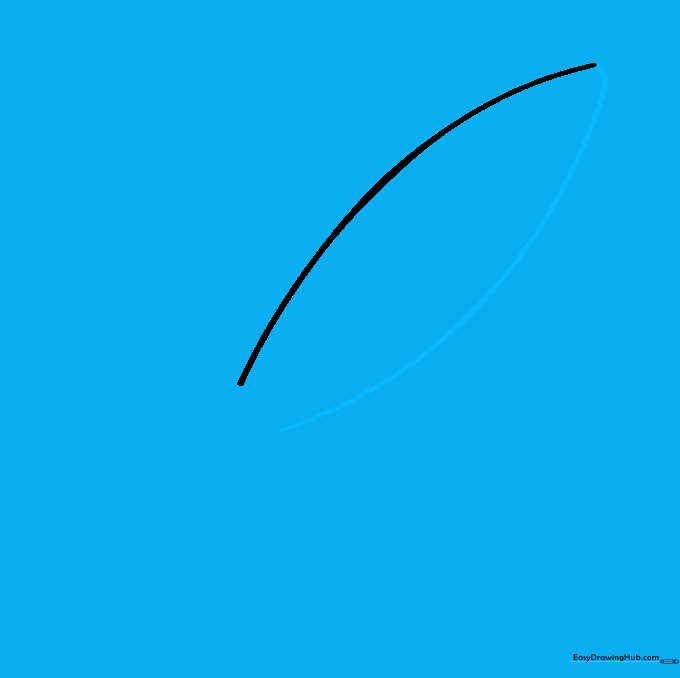
Step 1: Sketching the Nose Cone

Draw a gentle, tall curved line to start the side of your rocket. Teacher's Tip: Keep your hand loose and use your whole arm to make the curve smooth rather than shaky.
Step 2: Completing the Fuselage
Mirror the first line on the opposite side to create the rocket's body. Leave the bottom open for the engine. Tip: Try to keep the width consistent so your rocket looks symmetrical.
Step 3: Closing the Base
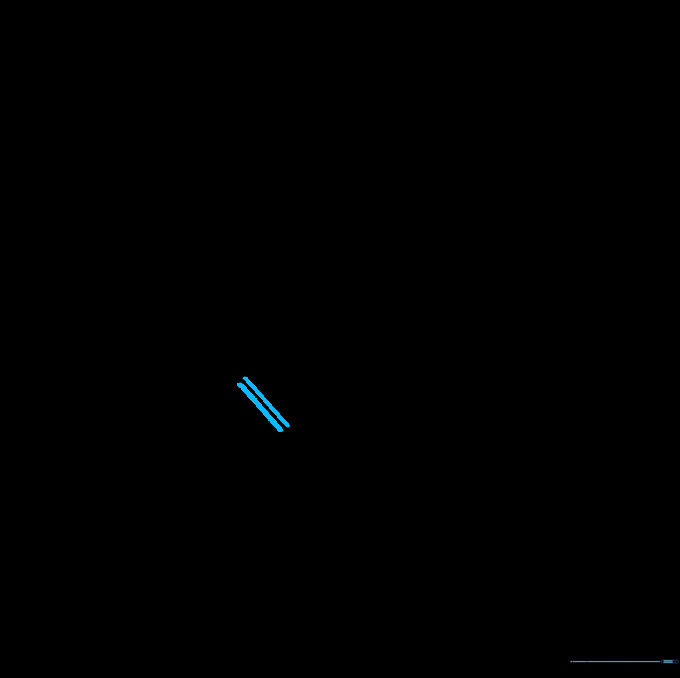
Draw a straight horizontal line to connect the bottom of your rocket body. This creates a solid base for your ship. Tip: Use a ruler if you want perfectly straight lines, or practice freehand for a more organic look.
Step 4: Adding Nose Cone Detail
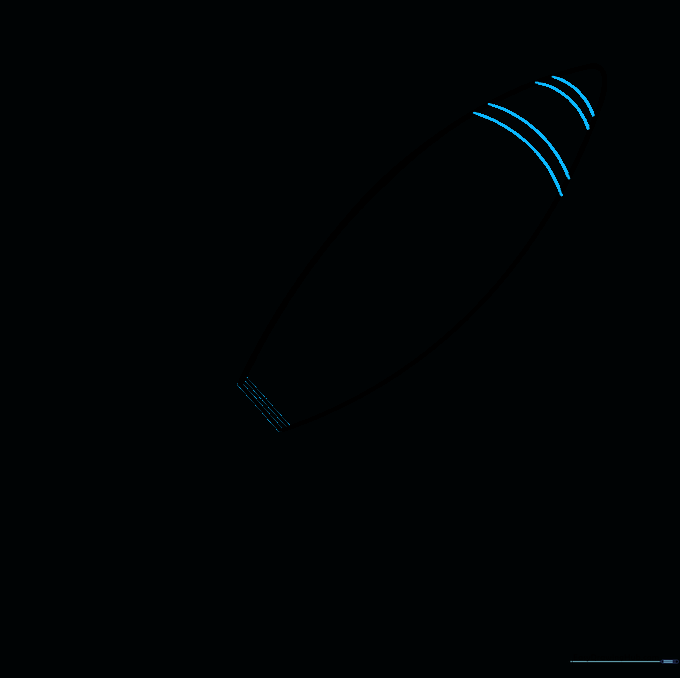
Add two pairs of parallel curved lines near the top to create the nose cone section. Tip: These lines act like 'bands' on the rocket, giving it a professional, technical look.
Step 5: Drawing Portholes
Draw circles of varying sizes along the body to represent windows. Tip: If you struggle to draw perfect circles, trace a small coin or a bottle cap!
Step 6: Attaching the First Fin
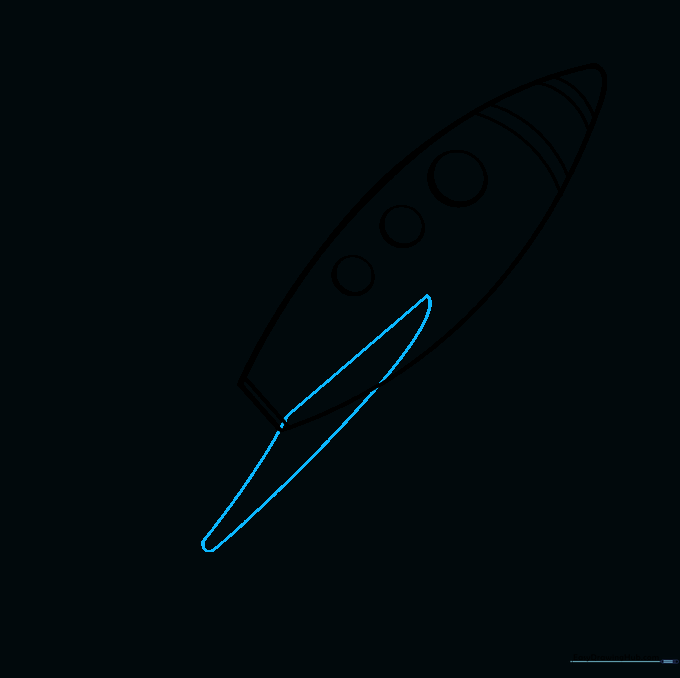
Draw a straight line from the tail, then add curved lines that meet at a sharp point to create a fin. Tip: Think of this like a shark's fin attached to the side of your ship.
Step 7: Refining the Fin

Gently erase any overlapping guide lines inside the fin so it looks like it is attached to the rocket. Tip: Use a soft eraser to avoid tearing the paper.
Step 8: Adding the Second Fin

Repeat the process on the other side to add a second fin. Tip: Try to make it match the size and angle of the first fin for a balanced look.
Step 9: Drawing Exhaust Flames

Draw jagged, rounded triangular shapes at the bottom to represent fire. Layer them to show motion. Tip: Use long, sweeping strokes to make the flames look like they are really pushing the rocket upward.
Step 10: Adding Color

Bring your rocket to life with color! Use silver for a classic metallic look, or bright reds and blues for a retro 1960s style. Tip: Use lighter colors in the center of the flames and darker colors on the edges to create a glowing effect.
More Tutorials


