How to Draw a Robot: Easy 10-Step Guide for Kids
Bring a mechanical friend to life with this step-by-step drawing tutorial, perfect for young artists ages 5 and up. All you need is a pencil, an eraser, and a piece of paper to get started. By breaking down complex shapes into simple geometry, you'll build confidence and improve your hand-eye coordination while creating a unique character.
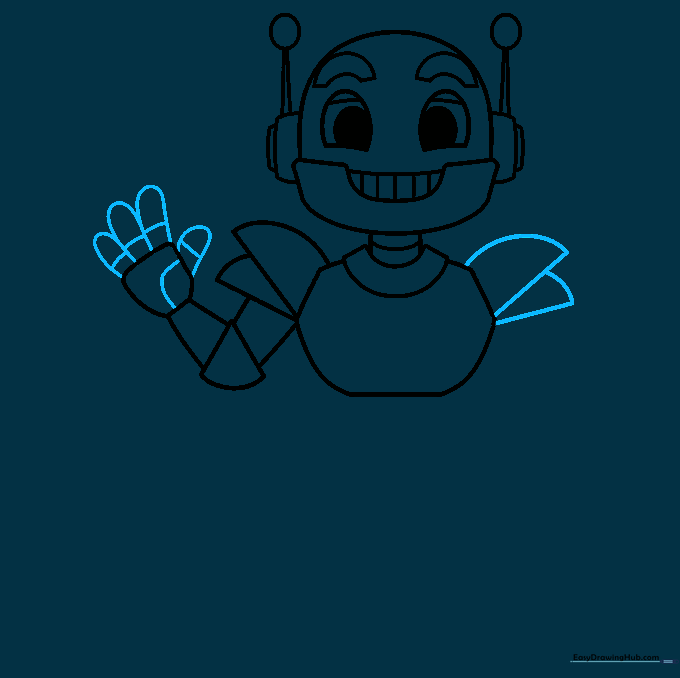
🎯 Final Result

Step-by-Step Instructions
Step 1: Sketching the Face

Start by drawing two ovals for the eyes. Add a curved line at the top of each for eyelids and shade in a small pupil. Draw a wide 'U' shape for the mouth. Teacher's Tip: Keep your pencil pressure light here so you can easily adjust the expression if you want your robot to look surprised or happy!
Step 2: Defining the Head

Enclose the head with a rounded shape connecting the mouth corners. Add inverted 'U' shapes above the eyes for eyebrows and draw rounded rectangles on the sides for ears. Tip: Adding eyebrows is the best way to give your robot personality—try angling them to make your robot look curious!
Step 3: Antennae and Torso

Draw two lines up from each ear, meeting at a point with a circle on top for antennae. Then, draw two lines down for the neck and a wide 'U' shape for the start of the torso. Tip: Make sure your neck lines are parallel to keep the robot looking balanced.
Step 4: The First Arm

Draw two overlapping semicircles for the shoulder, a triangle for the elbow, and a rounded pentagon for the hand. Connect these with straight lines. Tip: Think of these as joints—just like your own arm, the robot needs these shapes to bend!
Step 5: Detailing the Hand
Add 'U' shaped lines for fingers and a thumb. Draw a line across the palm to show the robot's grip. Tip: If the fingers are tricky, try drawing them as small sausages first, then refining the edges.
Step 6: The Second Arm
Repeat the process from Step 4 to draw the second arm. Add a small finger visible behind the hand for depth. Tip: Drawing the second arm helps you practice symmetry—try to make the arms match in length!
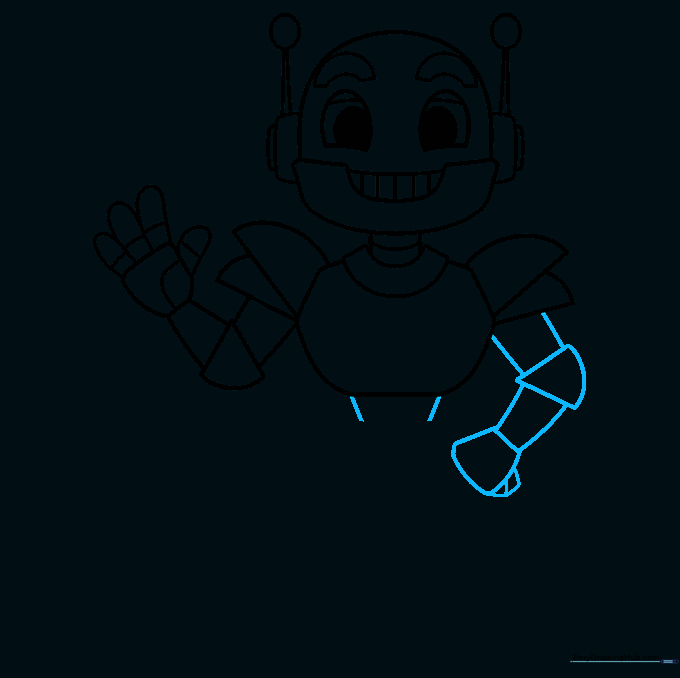
Step 7: Drawing the Legs
Draw a rounded shape for the hip, a small circle for the knee, and connect them with curved lines to form the leg. Tip: Use long, smooth strokes for the legs to give your robot a sleek, modern look.
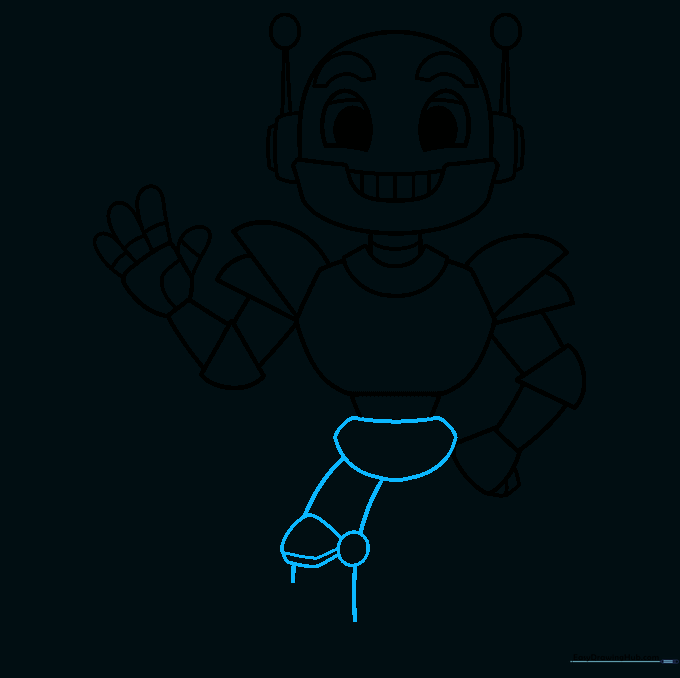
Step 8: Adding Feet
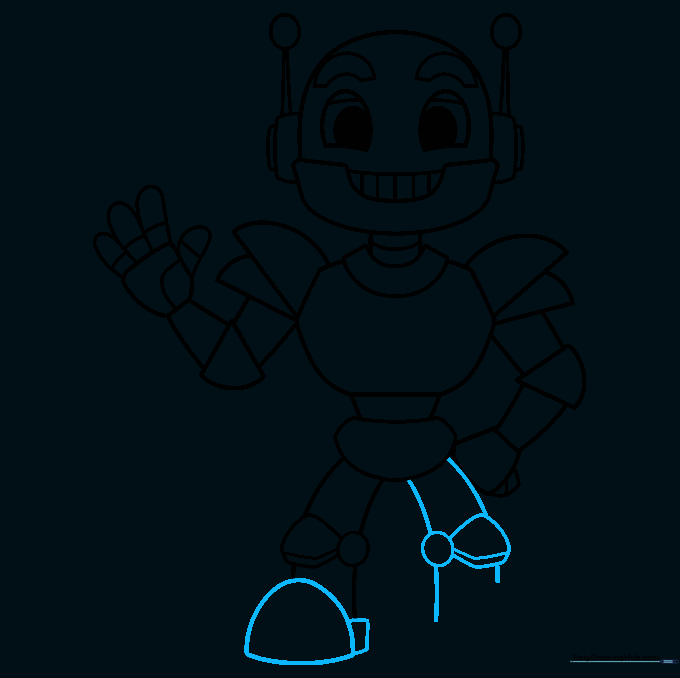
Draw a half-circle for the foot and a rectangular base. Repeat for the other leg. Tip: Make the feet wide so your robot looks like it can stand up on its own!
Step 9: Final Details

Add buttons, dials, and a zigzag line to the torso to make it look like a control panel. Tip: This is where you can get creative! Add as many buttons as you like—maybe one is a 'super-speed' button.
Step 10: Bring Your Robot to Life

Time to color! Use metallic grays and silvers for a classic look, or go wild with neon colors to make your robot look futuristic. Tip: Use a darker shade for the edges to give your robot a 3D, metallic shine.
More Tutorials


