How to Draw a Roblox Zombie: Easy 10-Step Guide
Bring your favorite game character to life! This tutorial is perfect for young Roblox fans ages 6 and up. You will need a pencil, an eraser, and a piece of paper to master this blocky, undead design.
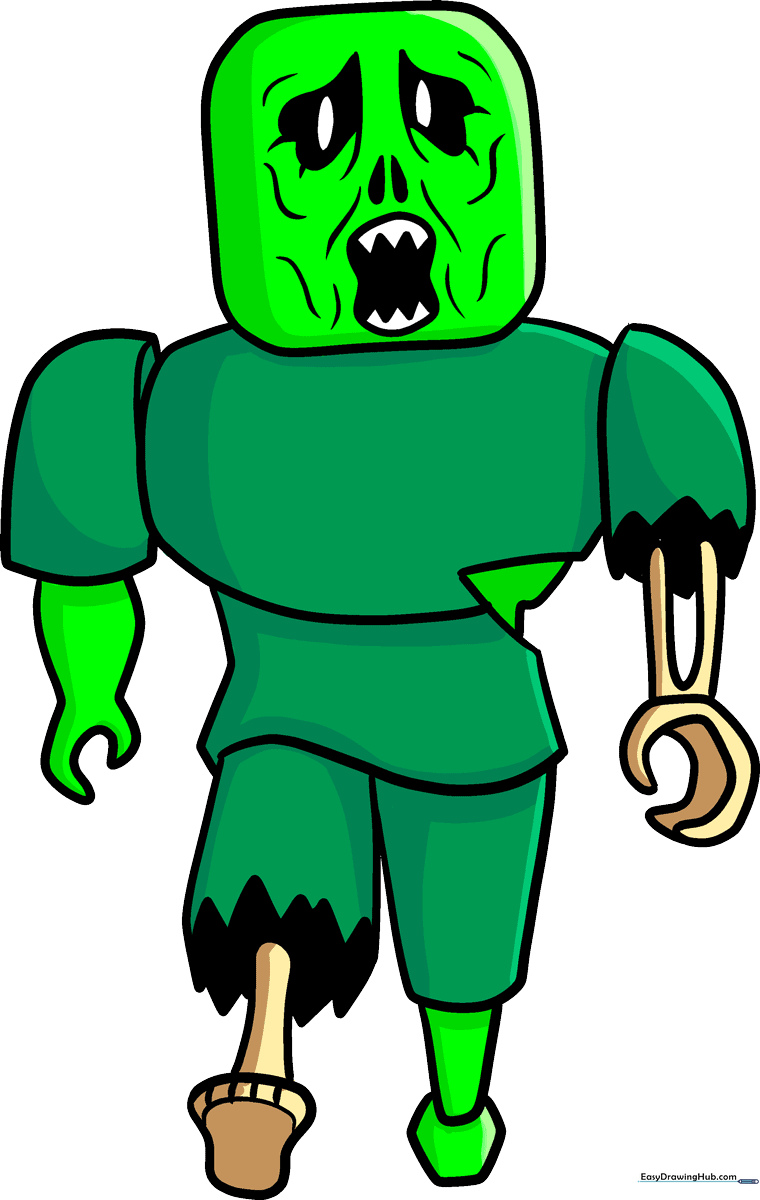
🎯 Final Result
Step-by-Step Instructions
Step 1: Sketching the Head

Draw a square with slightly rounded corners for the head. Near the top, sketch two stretched-out heart shapes for the eyes. Tip: Keep your pencil lines light so you can easily erase any mistakes later.
Step 2: Adding Facial Features
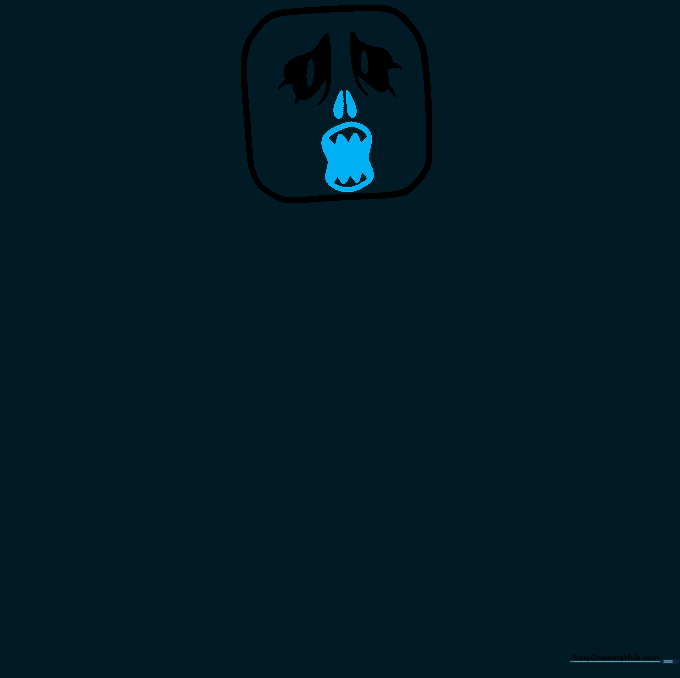
Draw two teardrop shapes for the nose and a curvy hourglass shape for the mouth. Add small points at the top and bottom of the mouth to represent jagged teeth. Tip: Focus on the symmetry of the eyes and nose to keep the 'blocky' Roblox aesthetic.
Step 3: Creating Texture
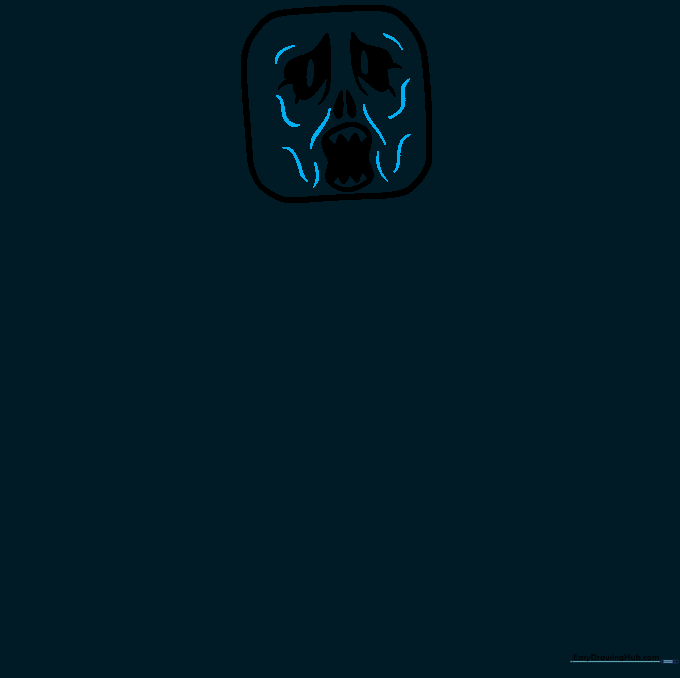
Use short, wavy lines around the eyes and mouth to create a sunken, weathered look. Tip: Don't worry about making these lines perfect; the more irregular they are, the more 'zombie-like' the character will look!
Step 4: Sketching the Torso
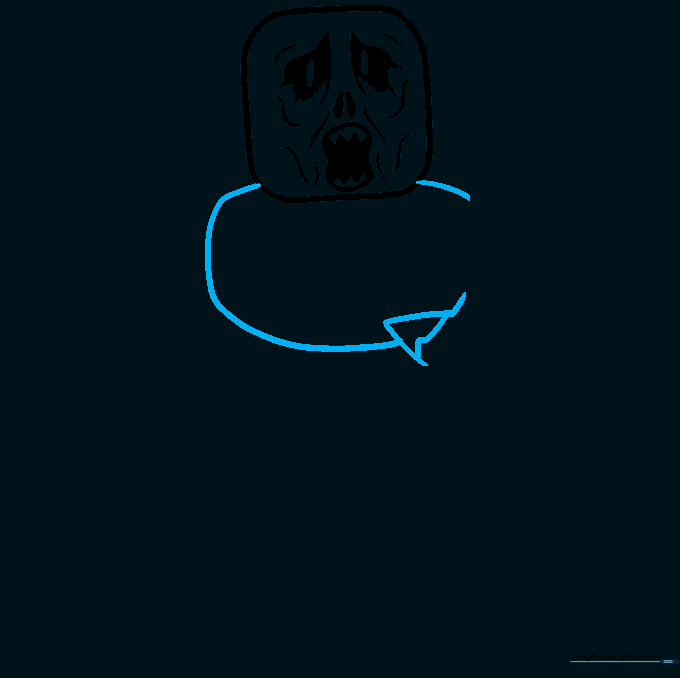
Draw a curved line under the head and a large, square-like oval for the body. Add a triangle on the side to start the arm structure. Tip: Keep the body shapes boxy to match the iconic Roblox style.
Step 5: Drawing the Right Arm
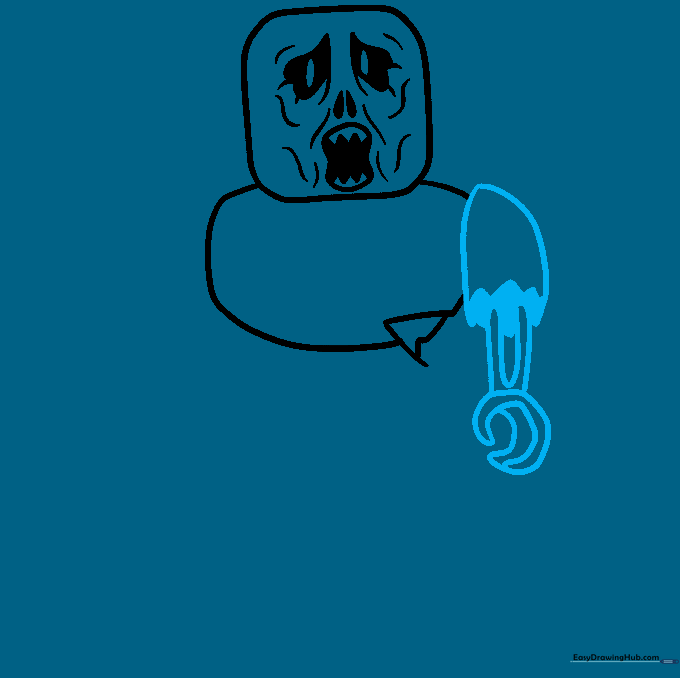
Form the shoulder with a jagged line and draw a loop for the arm. Add a backwards 'C' shape for the hand. Tip: Use shading in the sleeve area to give the drawing a 3D effect.
Step 6: Drawing the Left Arm
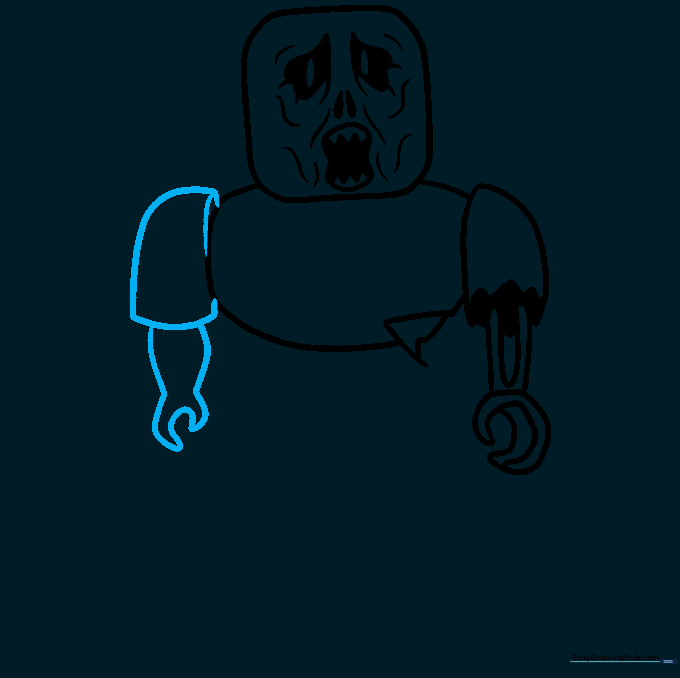
Extend a curved line from the body to create the left arm, finishing with a simple claw shape. Tip: Use parenthesis-like curves to make the arm look rounded and connected to the shoulder.
Step 7: Defining the Midsection
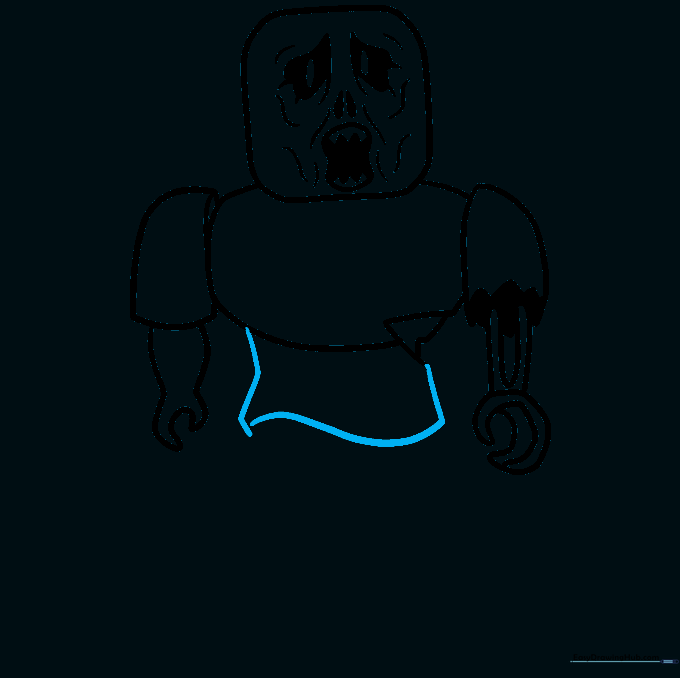
Draw three straight lines under the chest to define the waist area. Connect them with a curved line to create the base for the legs. Tip: Ensure these lines are straight to maintain the character's blocky proportions.
Step 8: Drawing the First Leg
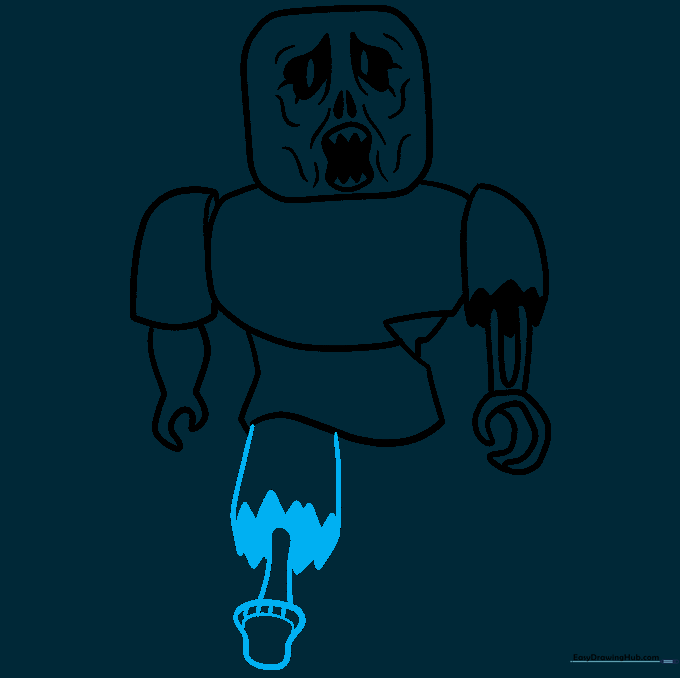
Draw two straight lines for the leg, connecting them with a jagged line to show torn fabric. Add a mushroom shape at the bottom for the foot. Tip: Use short, quick strokes for the toes to make them look rough.
Step 9: Completing the Second Leg
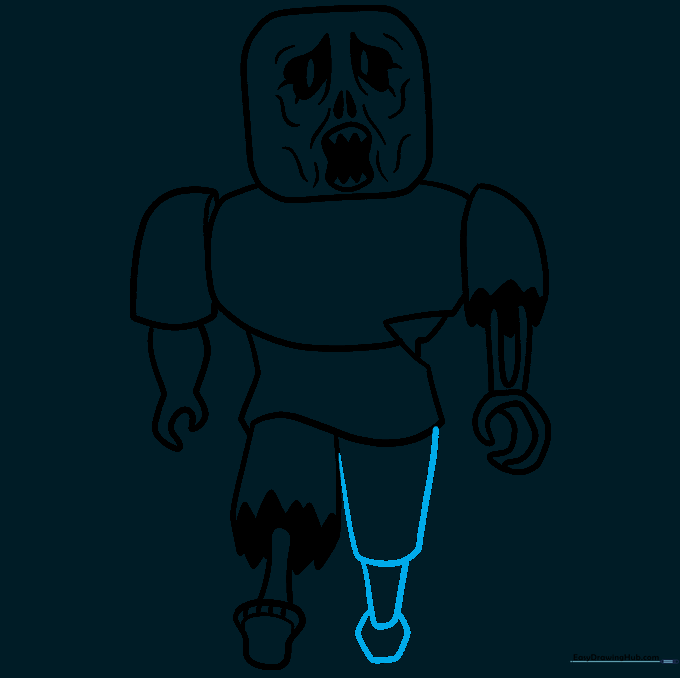
Draw the second leg using parallel lines and connect them with a curved line. Add a small hexagon at the base to finish the foot. Tip: Check that both legs are roughly the same length to keep the character balanced.
Step 10: Adding Color
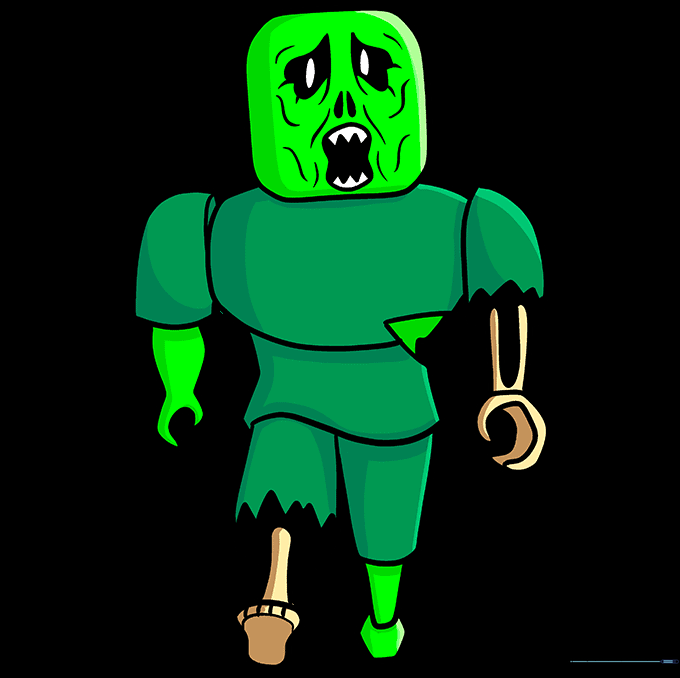
Time to bring your zombie to life! Use shades of green for the skin and tan or pale yellow for the exposed bones. Tip: Use a dark marker to outline your final drawing for a clean, professional look.
More Tutorials


