How to Draw a Road: Easy Landscape Tutorial for Kids
This landscape drawing tutorial is perfect for young artists ages 5 and up looking to build their confidence with perspective. All you need is a pencil, an eraser, and a piece of paper to bring this winding path to life. By the end, you will have mastered the art of creating depth in a scene using simple curved lines.
🎯 Final Result

Step-by-Step Instructions
Step 1: Sketching the First Hill

Start by drawing a long, gentle curved line to form the first hill. Teacher's Tip: Keep your wrist loose and make the curve look like a soft wave—this creates a natural feel for the ground.
Step 2: Adding the Second Hill

Draw another long curved line to create the second hill. Make sure the bottom of this hill meets the top of the first one. Tip: Think of this as creating a rolling terrain; the lines should flow into each other smoothly.
Step 3: Completing the Horizon

Add a third curved line to form the distant hill. This helps establish the background of your drawing. Tip: Keep this line slightly higher on the page to show it is further away.
Step 4: Drawing the Foreground Road
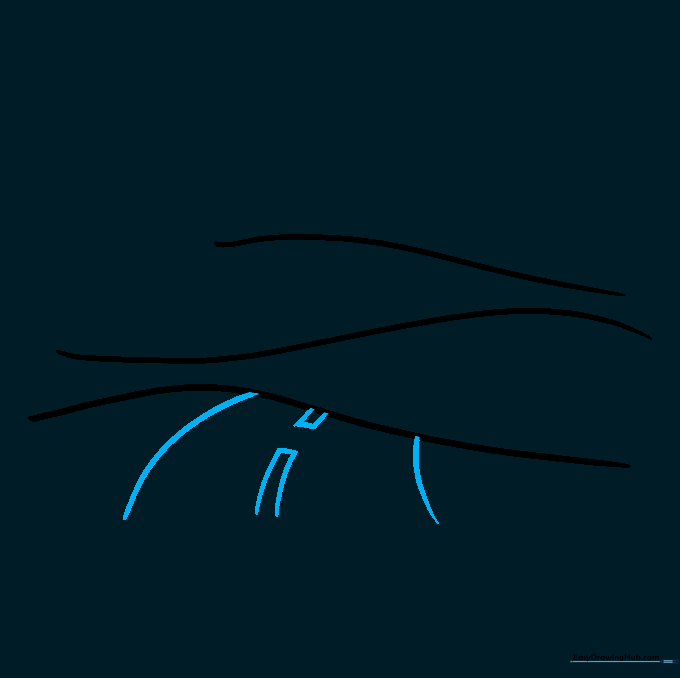
Draw two parallel curved lines that widen as they reach the bottom of the page. Add small rectangles in the center for the lane markers. Tip: The road should look wider at the bottom to create the illusion of it being closer to the viewer.
Step 5: Extending the Road
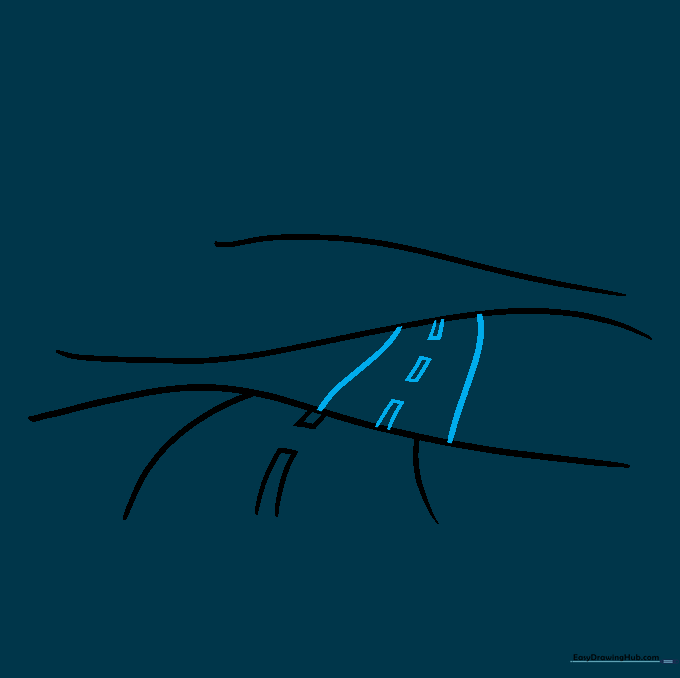
Continue the road over the second hill using the same parallel line technique. Add more rectangles for the lane markers. Tip: Ensure the road lines align with the curves of the hills you drew earlier.
Step 6: The Distant Road
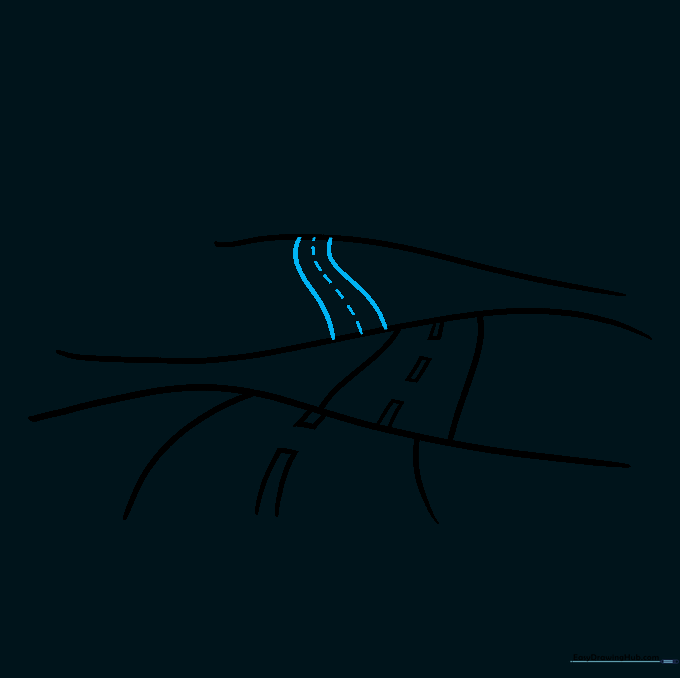
Draw the final section of the road on the third hill. Since it is far away, use short, simple lines for the center markings instead of rectangles. Tip: Smaller details in the distance help create a sense of scale.
Step 7: Sketching a Tree
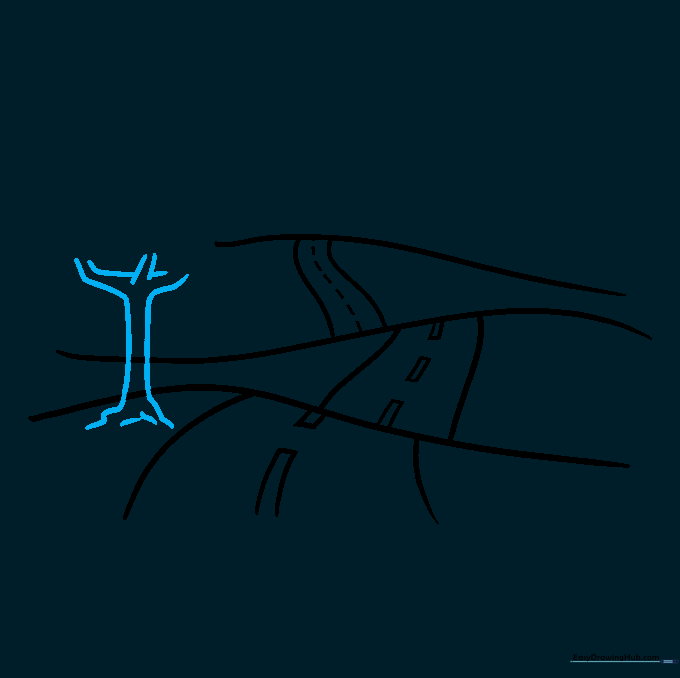
Draw a tree next to the road using pairs of curved lines for the trunk and branches. Tip: Don't worry about making the trunk perfectly straight; trees in nature are often slightly crooked!
Step 8: Adding Foliage
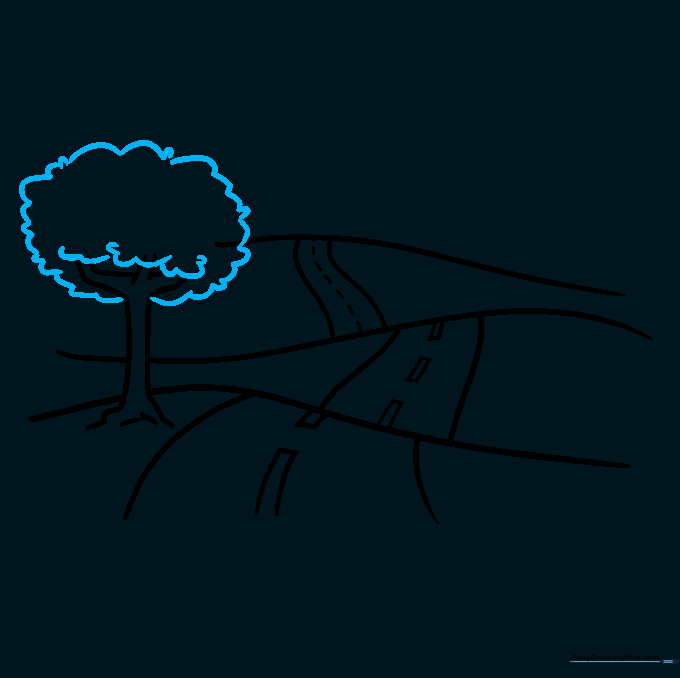
Use short, cloud-like curved lines to draw the leaves at the top of your tree. Tip: Overlap your lines slightly to make the tree look full and fluffy.
Step 9: Final Landscape Details
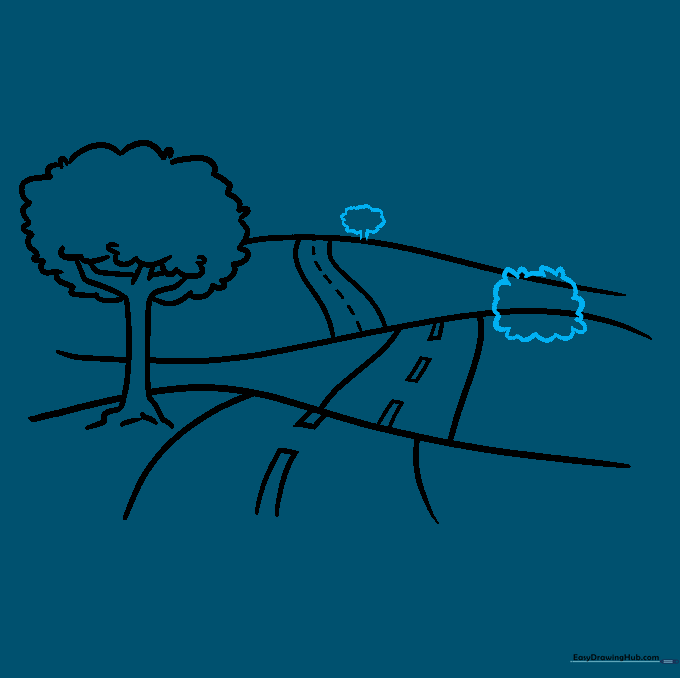
Add more trees or shrubs on the other hills to fill out your scene. Tip: Vary the sizes of the trees to make the landscape look more realistic.
Step 10: Bringing It to Life with Color
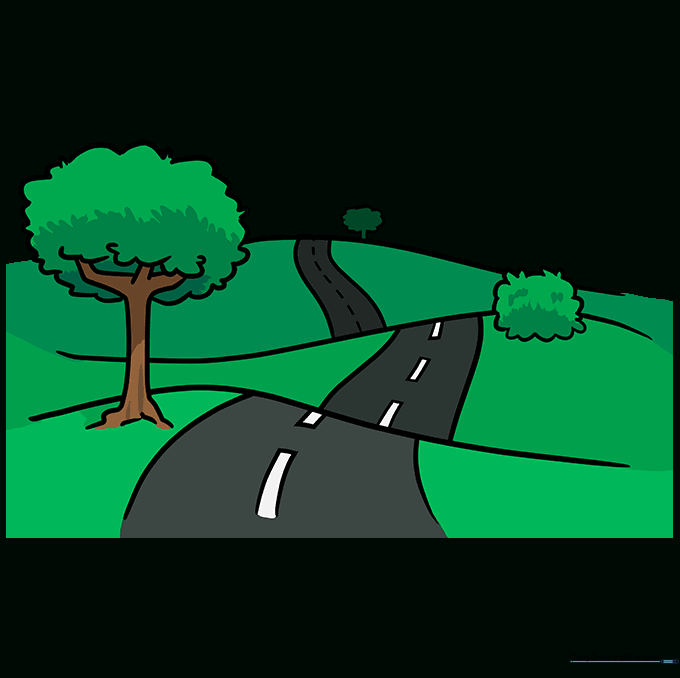
Now it's time to color! Use greens for the hills, browns for the tree trunks, and grays for the road. Tip: Try adding a blue sky or a yellow sun to complete your masterpiece.
More Tutorials


