How to Draw a Realistic Sea Turtle: Easy 9-Step Guide
Ready to bring the ocean to your sketchbook? This tutorial is perfect for young artists ages 8+ looking to master realistic animal anatomy. You'll only need a pencil, an eraser, and a piece of paper to capture the graceful movement of a sea turtle.
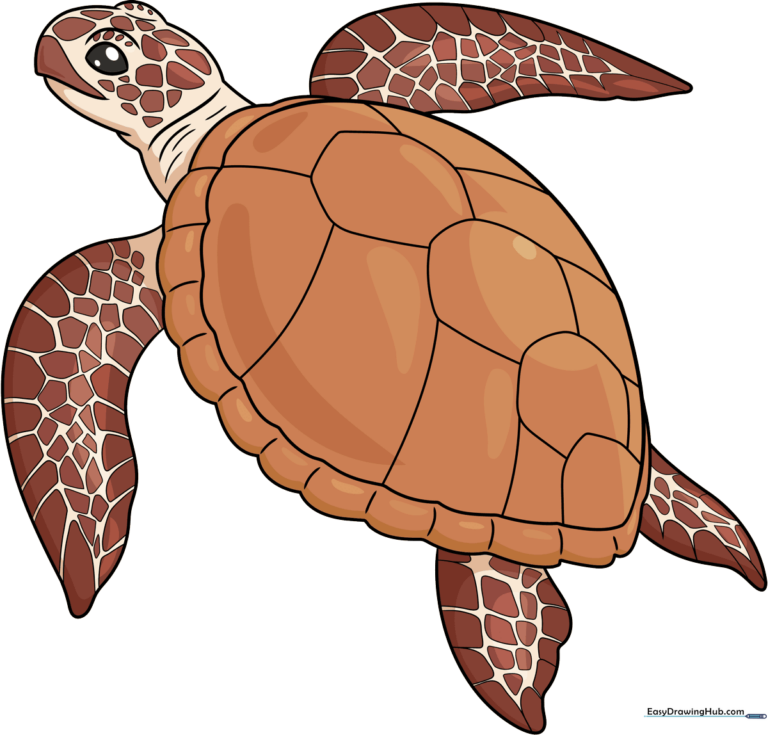
🎯 Final Result
Step-by-Step Instructions
Step 1: Sketching the Head and Beak
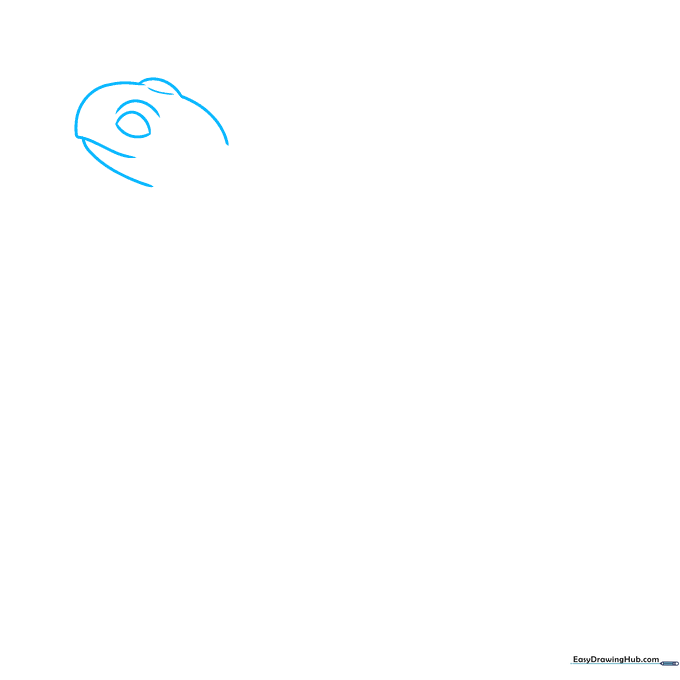
Start by drawing the head using soft, overlapping curved lines. Focus on the pointed tip of the beak. Tip: Keep your pencil pressure light here so you can easily adjust the shape of the eye ridge later.
Step 2: Defining the Neck and Shell
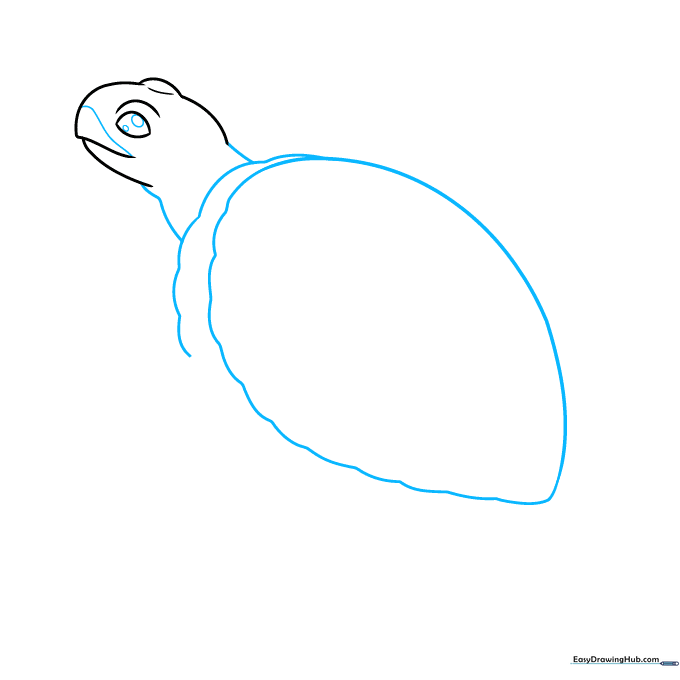
Draw the neck using two gentle curves, then outline the shell with a long, sweeping line. Use a scalloped pattern for the bottom edge to give it a natural, organic look. Tip: Imagine the shell as a large, rounded shield protecting the turtle.
Step 3: Adding Front Flippers
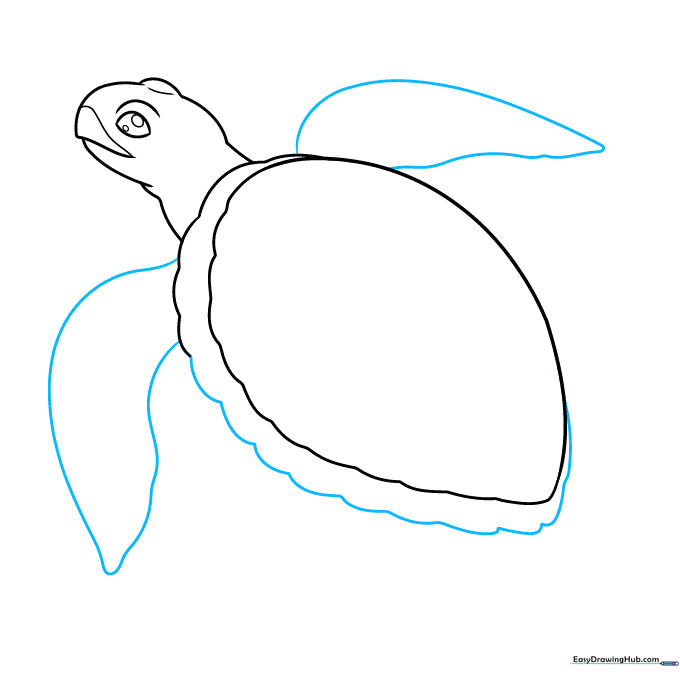
Extend two long, curved lines from the shell to create the front flippers. Double them back to create a paddle shape. Tip: Think of these as wings that help the turtle 'fly' through the water.
Step 4: Rear Flippers and Shell Contours
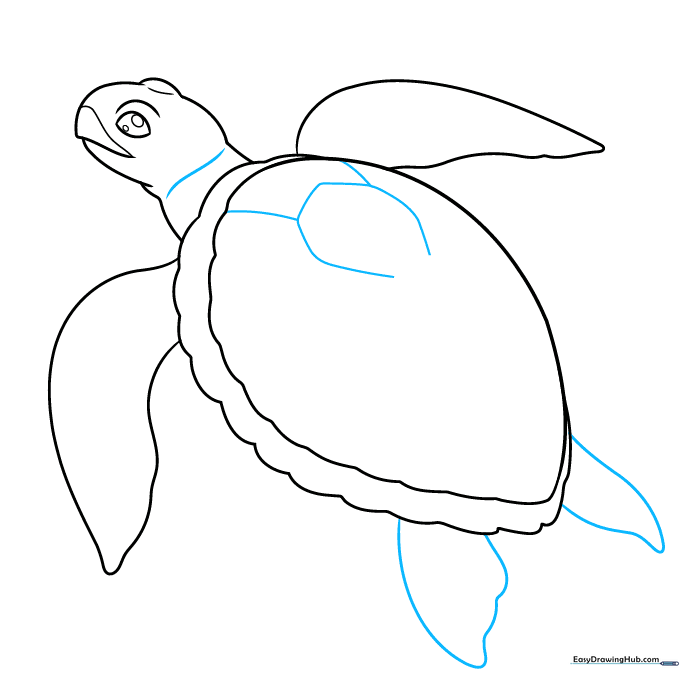
Add the smaller rear flippers near the bottom of the shell. Start sketching the shell's internal pattern by drawing a partial octagon. Tip: Keep your lines fluid to mimic the natural curves of the turtle's body.
Step 5: Detailing the Shell
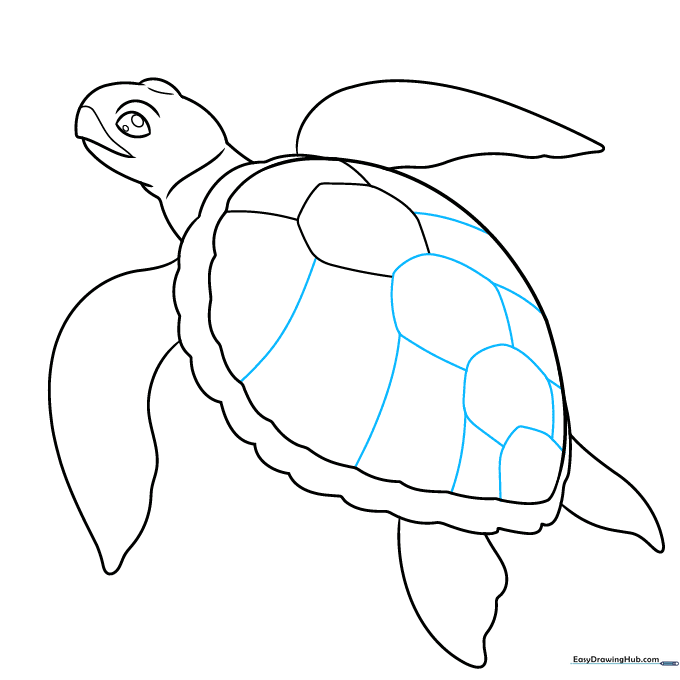
Fill the back of the shell with a series of overlapping partial octagons. These will become the scutes (the plates on the shell). Tip: Vary the size of these shapes slightly to make the drawing look more realistic.
Step 6: Adding Texture
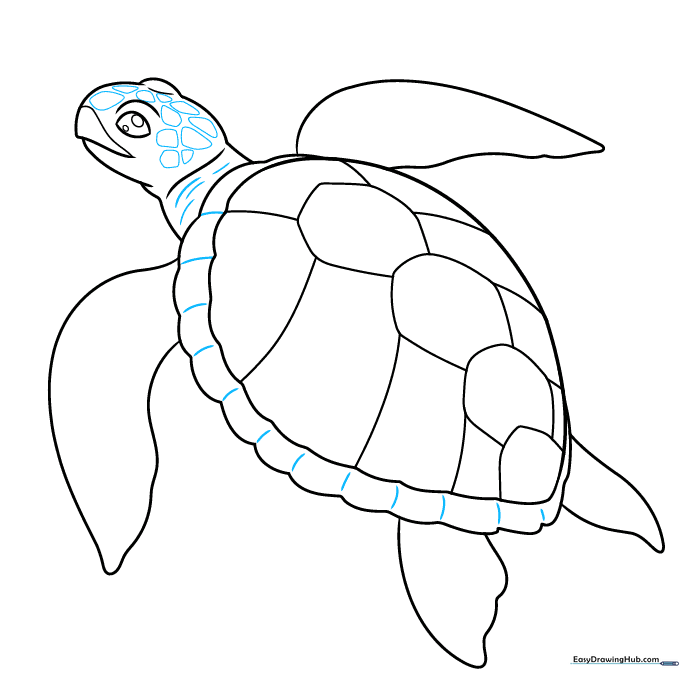
Add curved lines along the shell's edge and sketch irregular, rounded splotches on the head and neck. This texture is what makes the turtle look 'real.' Tip: Don't make the splotches too uniform; nature is messy!
Step 7: Flipper Details
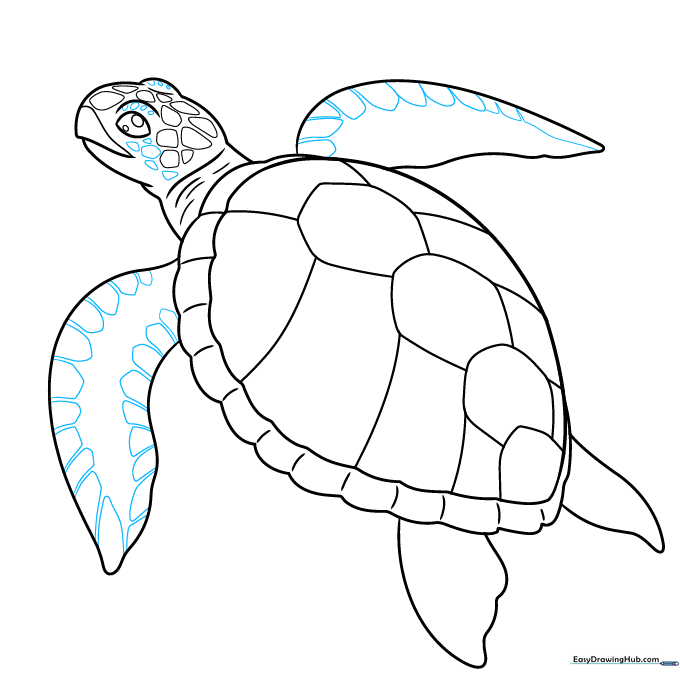
Draw rounded pentagon shapes along the edges of the front flippers. These represent the scales on the turtle's skin. Tip: Focus on the rhythm of the shapes—try to keep them flowing in the same direction as the flipper.
Step 8: Refining the Flippers
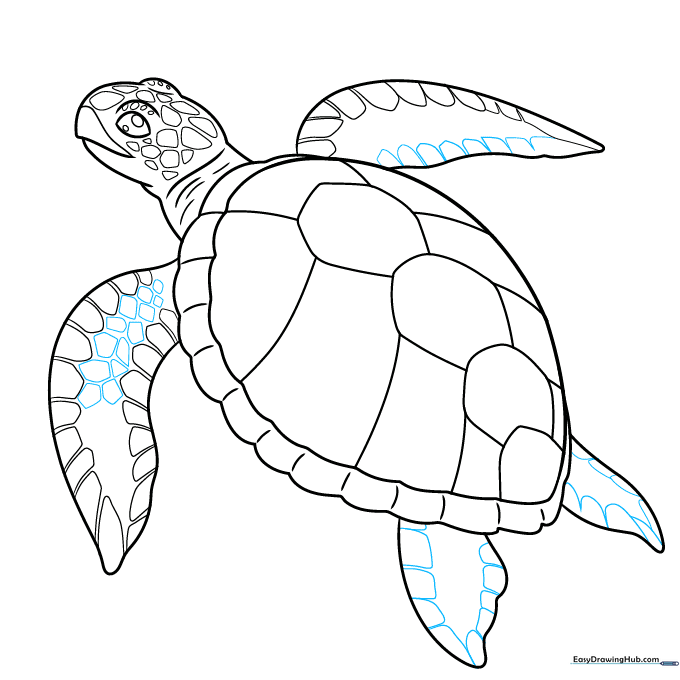
Continue adding rounded shapes to the rear flippers, transitioning to rounded rectangles. This adds variety to the skin texture. Tip: Take your time; this is where the drawing starts to look professional.
Step 9: Final Touches
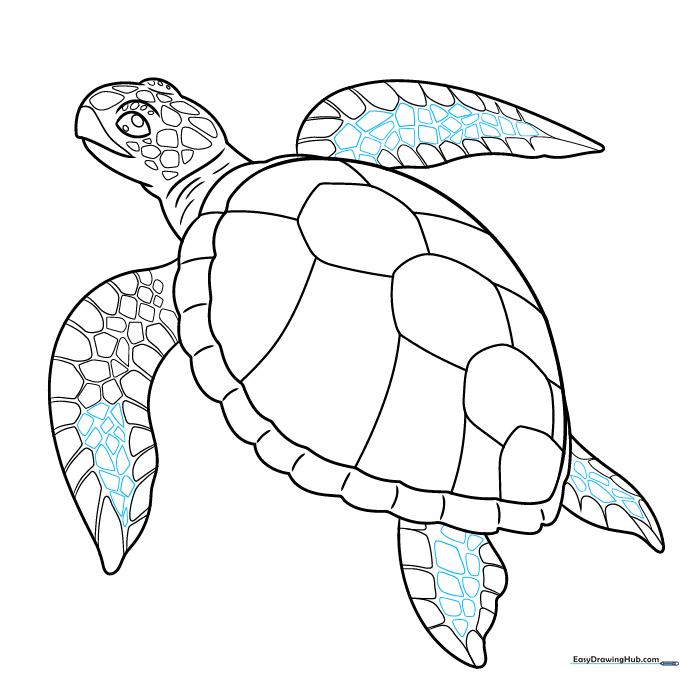
Fill in any remaining empty spaces on the flippers with smaller polygons. Ensure all your lines are clean and dark before you prepare to color. Tip: Check your work against a reference photo of a real sea turtle to see if you missed any spots!
Step 10: Bring Your Turtle to Life with Color
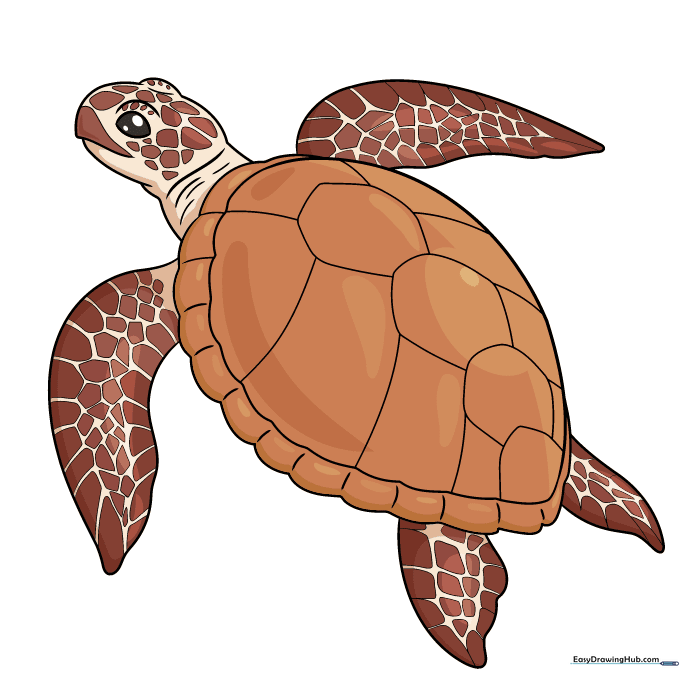
Now for the fun part! Use shades of olive green, brown, and tan. Tip: Use lighter colors for the belly and darker, earthy tones for the shell to create a sense of depth and realism.
More Tutorials


