How to Draw a Realistic Face: Simple 10-Step Guide
Ready to capture a likeness on paper? This guide is designed for young artists and beginners to learn the fundamentals of facial structure. You will need a pencil, an eraser, and a sheet of paper to build your portrait from the ground up.
🎯 Final Result
Step-by-Step Instructions
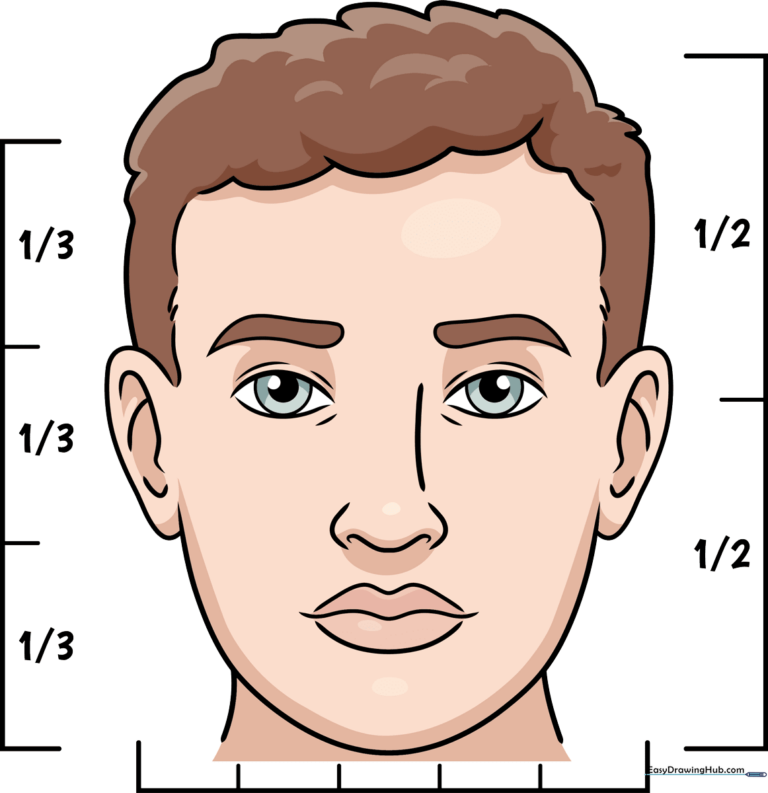
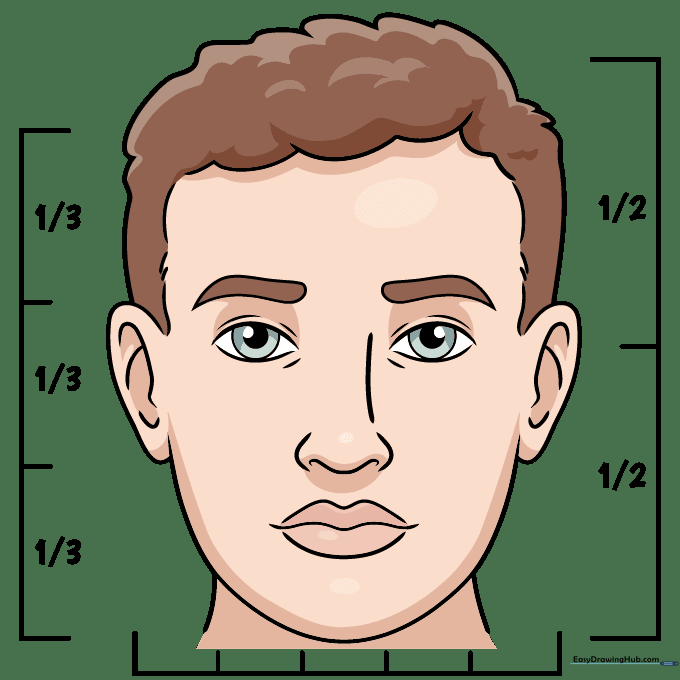
Step 1: Establishing Proportions

Lightly sketch a circle for the cranium and a loop underneath for the jawline. Teacher's Tip: Keep your pencil strokes very faint so you can easily erase these guidelines later once the features are in place.
Step 2: Placing the Eyes
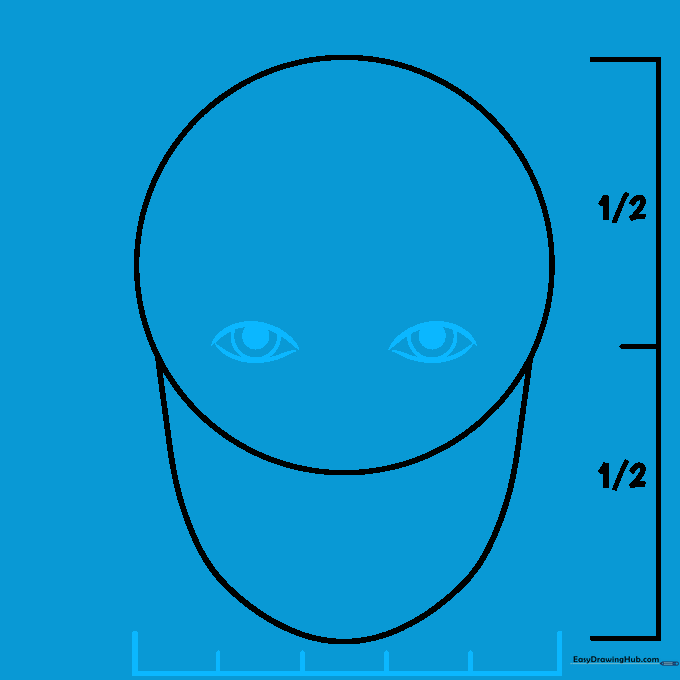
Draw two almond-shaped outlines at the horizontal center of the head. Add circles inside for the irises and fill in the pupils. Teacher's Tip: Remember that eyes are usually one eye-width apart!
Step 3: Defining Eye Details
Add curved lines above and below the eyes to suggest eyelids and lashes. Teacher's Tip: Use short, quick strokes to make the lashes look natural rather than stiff.
Step 4: Sketching the Hairline
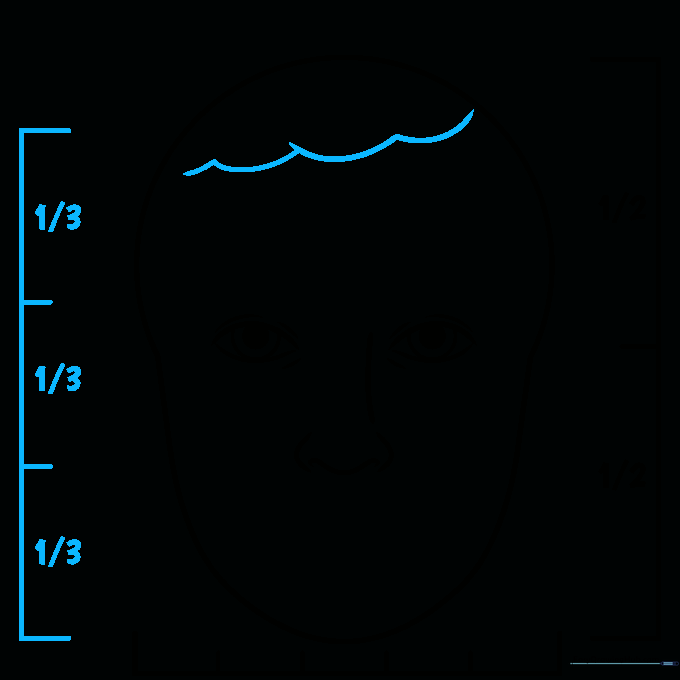
Draw soft, wavy lines across the top of the head to represent the hair. Teacher's Tip: Think of hair as a shape or a 'cap' rather than drawing every single strand.
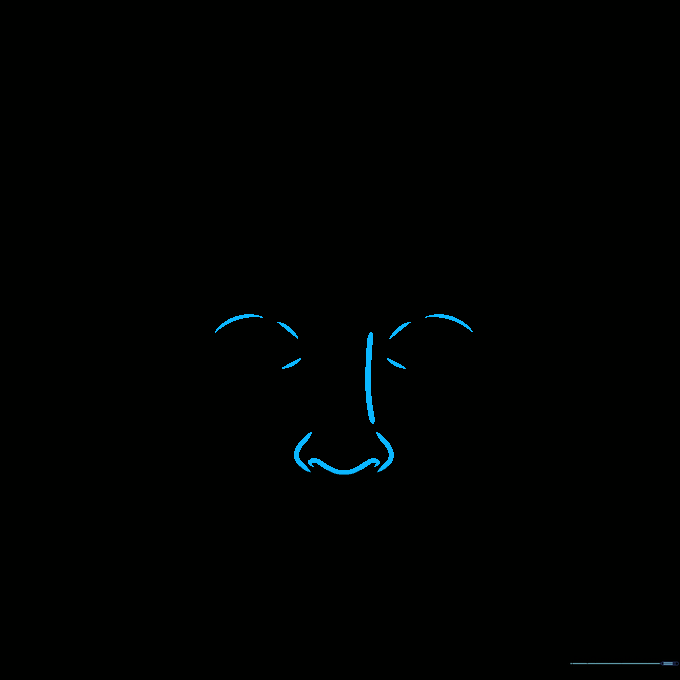
Step 5: Nose and Brows
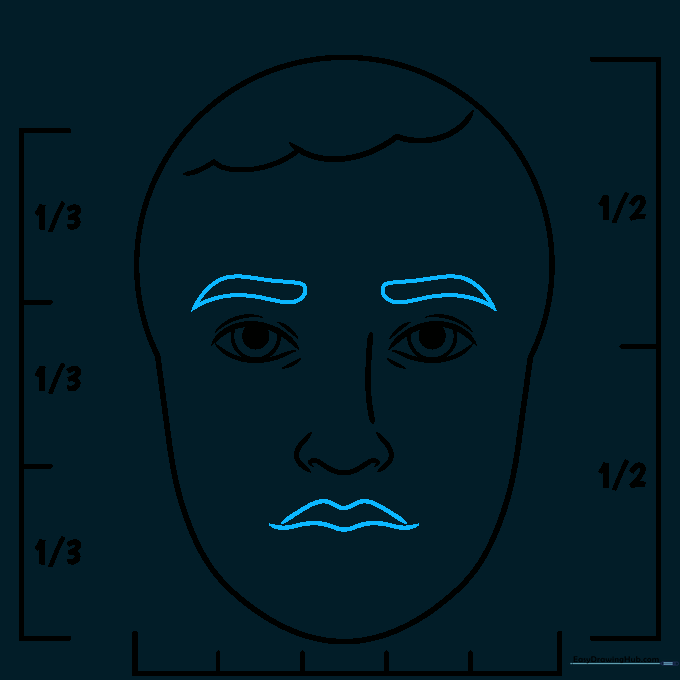
Sketch a small 'M' shape for the nose and add narrow, curved cylinders above the eyes for eyebrows. Teacher's Tip: Keep the nose subtle; a few simple curves are often more realistic than a full outline.
Step 6: Ears and Mouth

Add two loops on the sides of the head for ears and a gentle curve for the mouth. Teacher's Tip: The top of the ears should align with the eyebrows, and the bottom with the nose.
Step 7: Adding Ear Detail
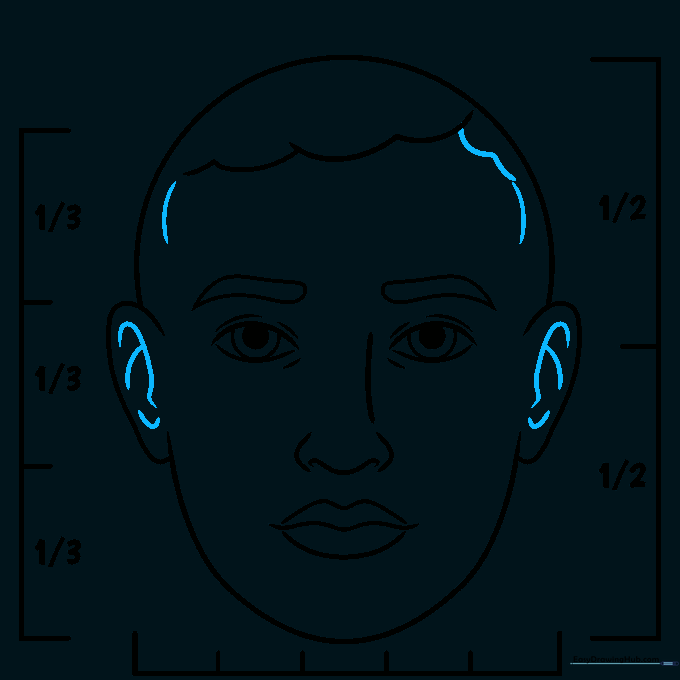
Add small hook shapes inside the ears to create depth. Continue refining the hairline with wavy, overlapping lines. Teacher's Tip: Don't worry about perfection; ears are naturally complex, so simple shapes work best.
Step 8: Hair Texture
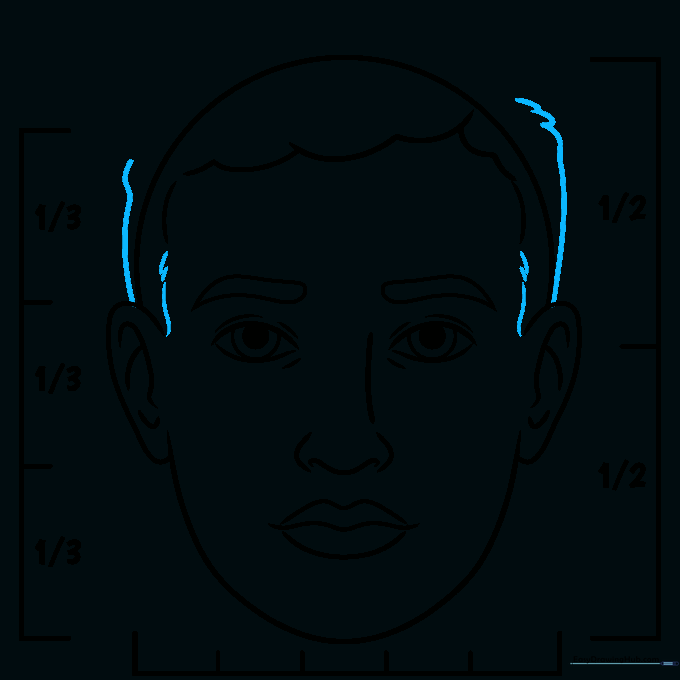
Add more curved, flowing lines to the hair area to give it volume. Teacher's Tip: Vary the length of your lines to make the hair look more natural and less like a solid block.
Step 9: Neck and Final Touches
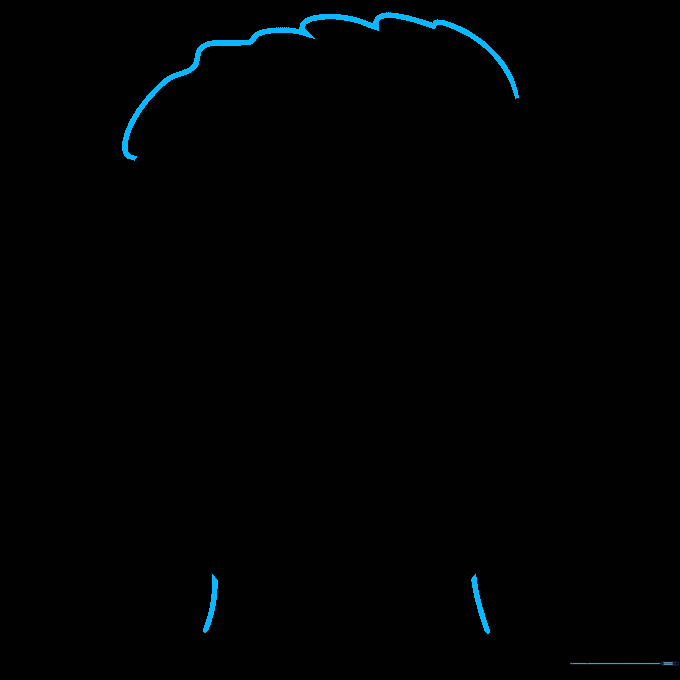
Draw two lines down from the jaw to form the neck. Connect the hair to the face with loose, flowing lines. Teacher's Tip: Keep the neck lines relatively straight to support the head structure.
Step 10: Final Outline and Color
Go over your final lines with a darker pencil or pen. Erase your initial construction circles and guidelines, then add color to bring your portrait to life! Teacher's Tip: Use light pressure for skin tones and build up color gradually.
More Tutorials


