How to Draw a Realistic Dog: Easy 10-Step Guide
Ready to bring a furry friend to life on paper? This tutorial is designed for young artists ages 8+ to practice observation and texture techniques. Grab your favorite graphite pencil and an eraser, and follow along to build a realistic dog from the nose to the tail.
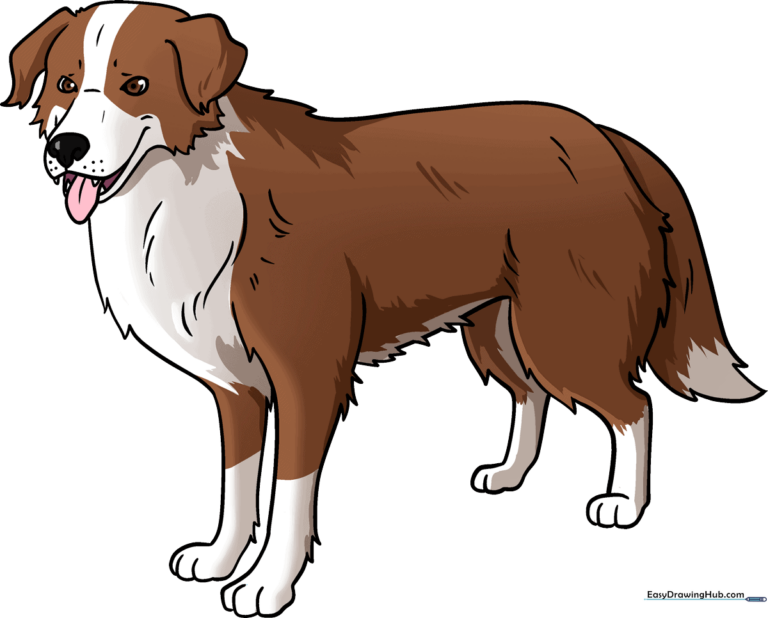
🎯 Final Result
Step-by-Step Instructions
Step 1: Sketching the Muzzle and Eyes
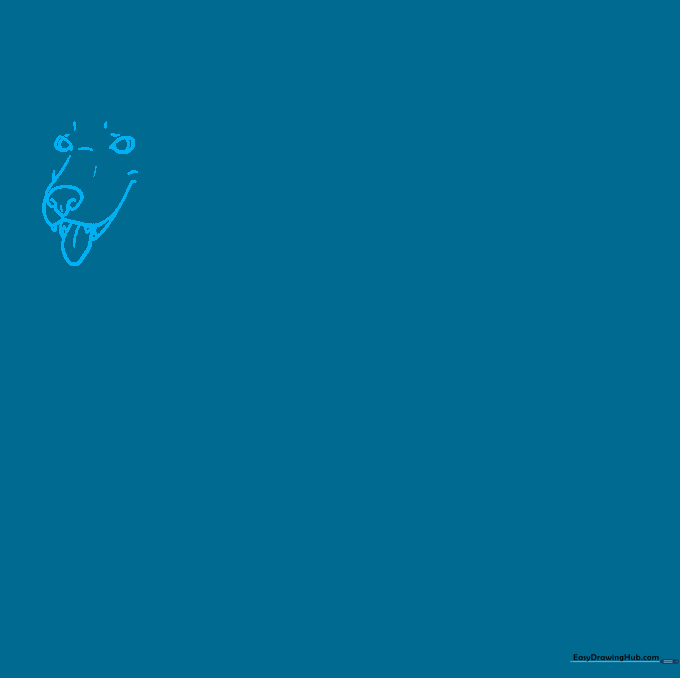
Start by drawing the nose pad with overlapping curved lines. Add the snout and tongue, then place two almond-shaped eyes with circular pupils inside. Teacher's Tip: Keep your pencil pressure light here so you can easily refine the shapes later.
Step 2: Defining the Shaggy Head
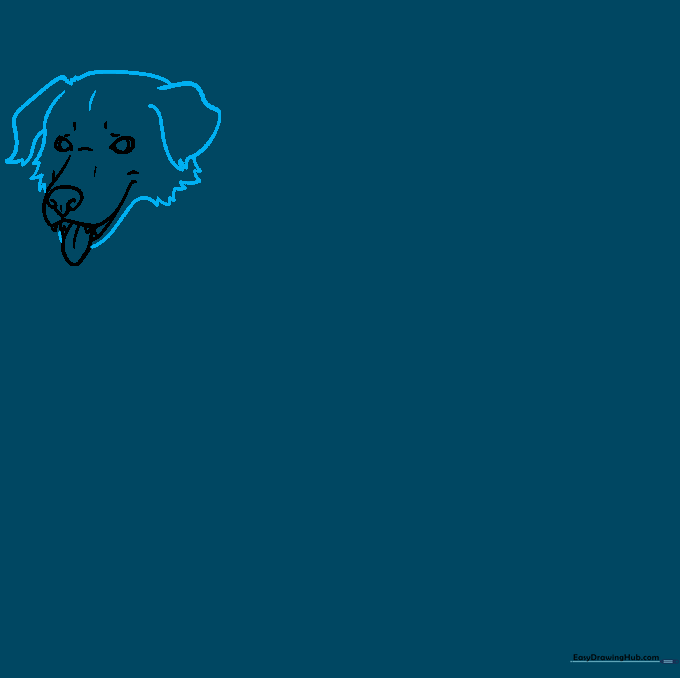
Outline the head using short, jagged strokes. Instead of a smooth circle, use varying line lengths to mimic the look of fur. Teacher's Tip: Think of these as 'hair clumps' rather than a solid outline.
Step 3: Sketching the Chest and Front Leg
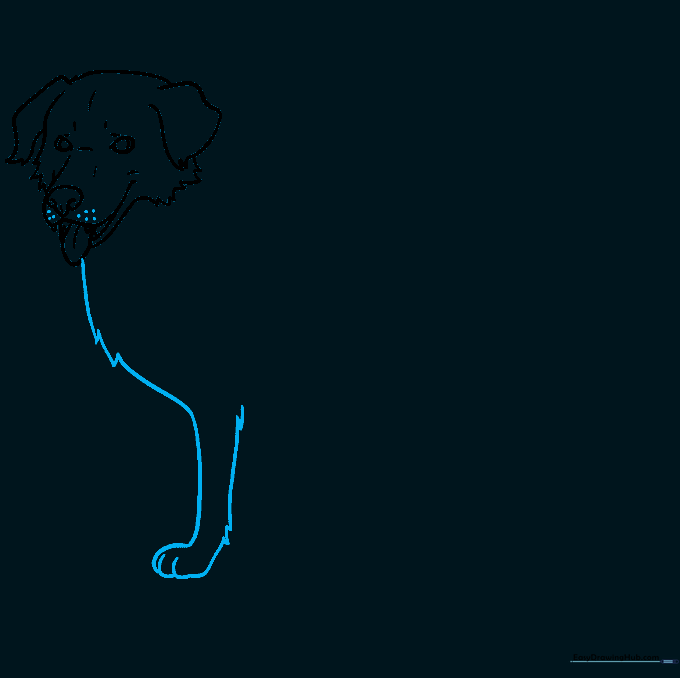
Extend your fur-textured lines down to form the chest and the first front leg. Ensure the paw is rounded. Teacher's Tip: Use longer, more confident strokes for the leg to show the dog's structure beneath the fur.
Step 4: Adding the Second Foreleg
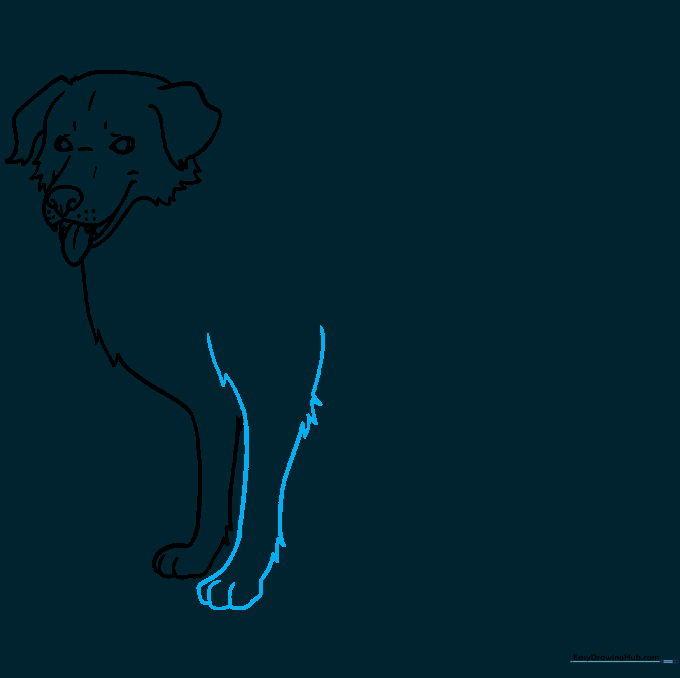
Draw the second foreleg slightly behind the first to create depth. Focus on how the toes overlap. Teacher's Tip: Overlapping lines are the secret to making your drawing look 3D instead of flat.
Step 5: Forming the Back
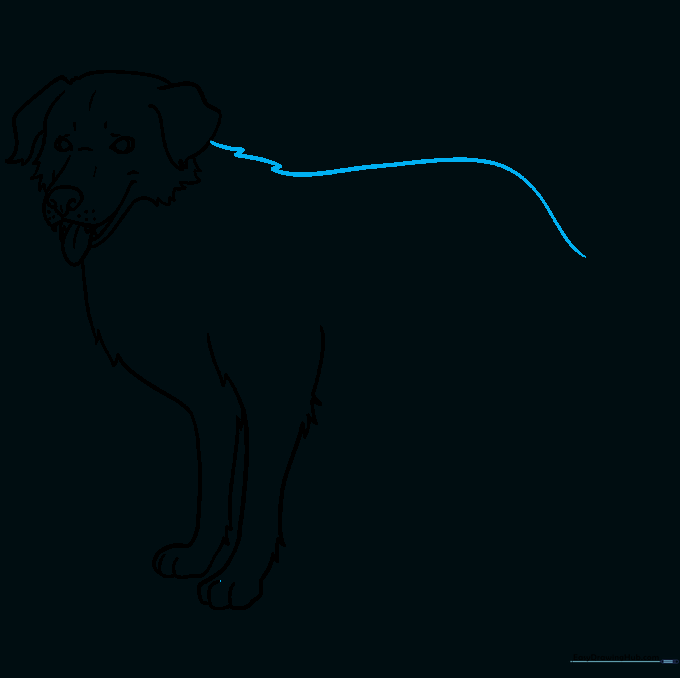
Continue the jagged fur lines from the head along the dog's back. Teacher's Tip: Keep the line slightly curved to suggest the dog is standing naturally, not like a stiff board.
Step 6: The Belly and Rear Leg
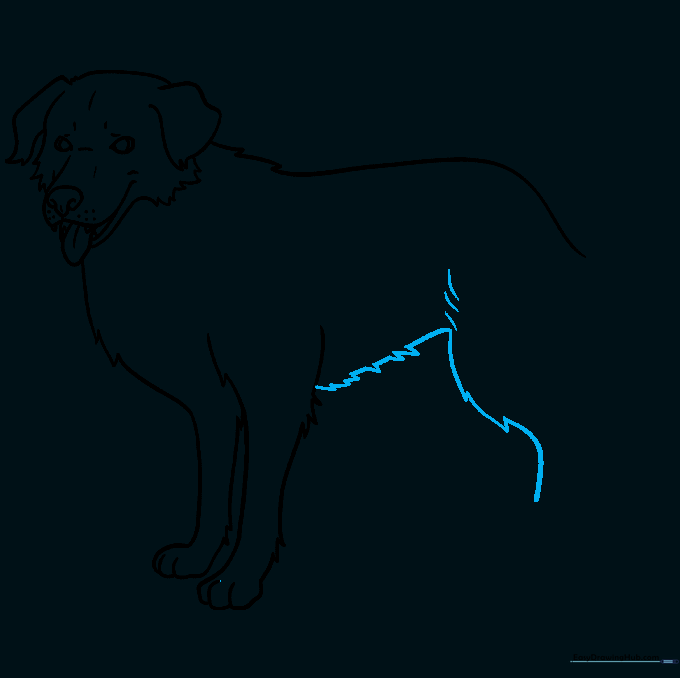
Sketch the belly line and the beginning of the rear leg. Maintain the jagged fur pattern throughout. Teacher's Tip: Imagine the belly is tucked up slightly to give the dog a graceful silhouette.
Step 7: Defining the Rear Leg
Complete the back of the rear leg, focusing on the curve of the hock. Teacher's Tip: Notice how the leg bends; use your own leg as a reference to see where the joints are!
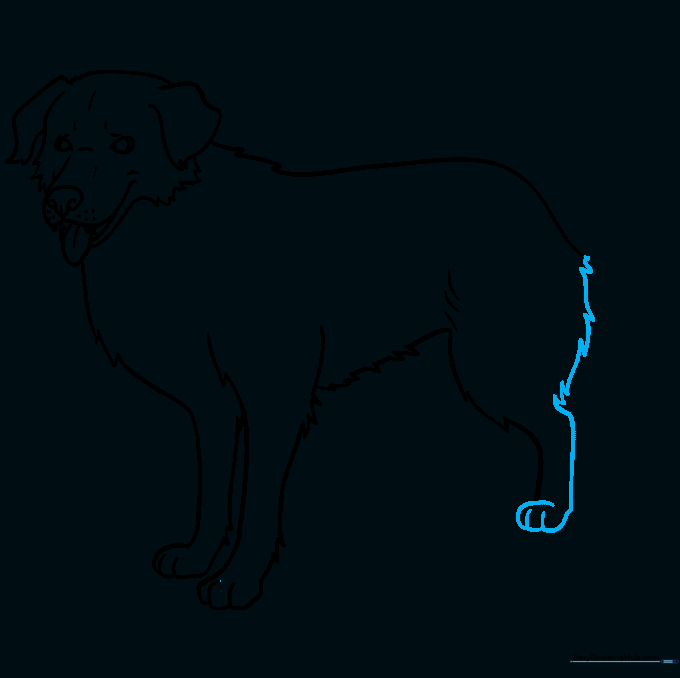
Step 8: Final Legs and Tail
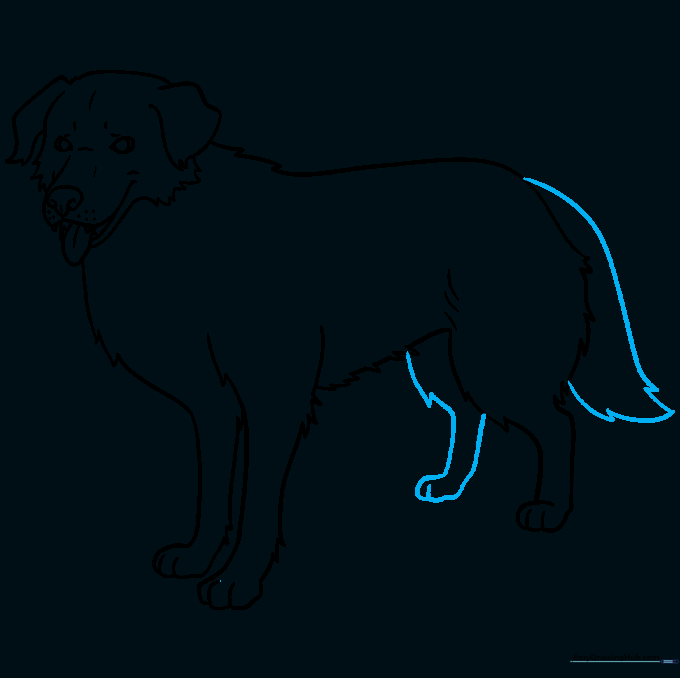
Add the final rear leg and a bushy, expressive tail. Use overlapping curved lines for the tail to make it look soft and fluffy. Teacher's Tip: A wagging tail adds personality to your drawing!
Step 9: Refining the Fur Texture
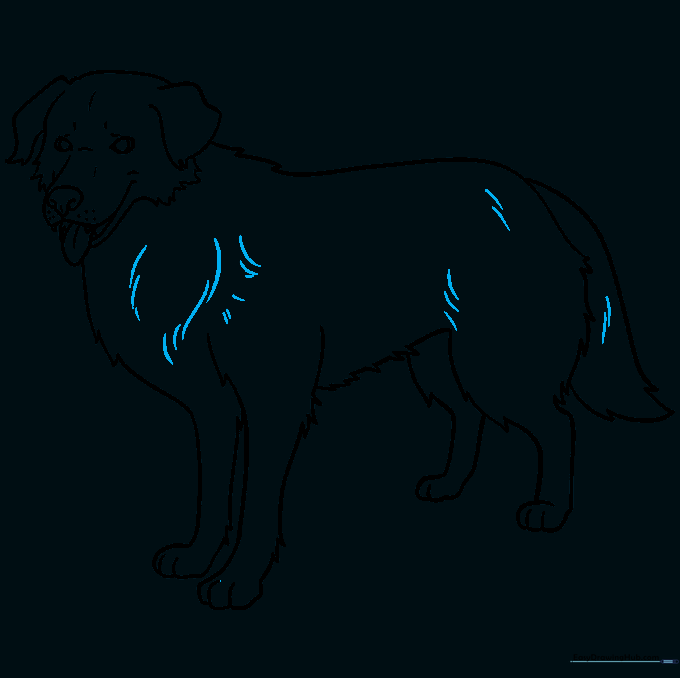
Go over your outline and add extra curved lines within the body to suggest fur direction. Teacher's Tip: Don't overdo it; just a few well-placed lines can make the fur look much more realistic.
Step 10: Adding Color
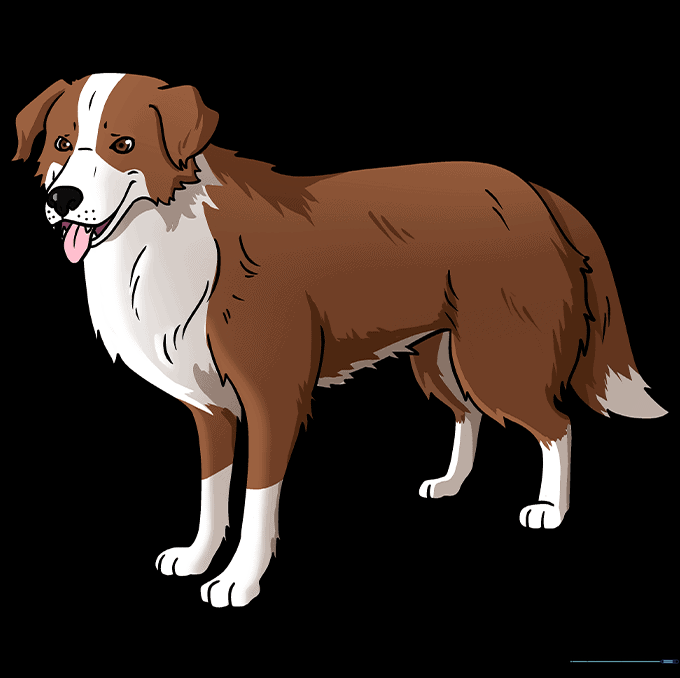
Bring your dog to life with color! Use light strokes to build up the coat color. Teacher's Tip: Try using two shades of the same color to create shadows, which will make your dog look even more realistic.
More Tutorials


