How to Draw a Realistic Cat: Simple 10-Step Guide
Ready to bring a feline friend to life on paper? This tutorial is perfect for young artists ages 7+ looking to move beyond cartoons and capture realistic fur textures. Grab a pencil, an eraser, and a piece of paper to start building your cat's anatomy from the eyes down.
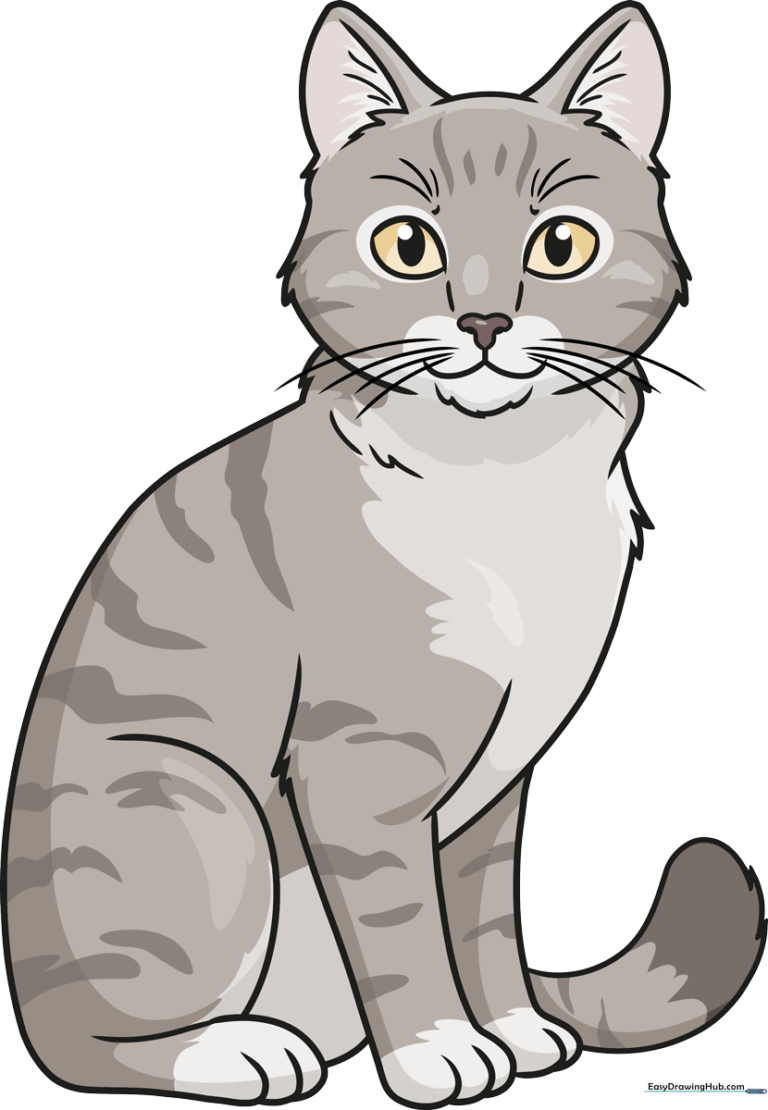
🎯 Final Result
Step-by-Step Instructions
Step 1: Sketching the Expressive Eyes

Draw two lemon-shaped outlines for the eyes. Add small ovals inside for pupils and fill them in, then add a few light, sketchy lines above to suggest eyelids. Teacher's Tip: Keep your pencil pressure light here so you can easily adjust the shape if they look uneven.
Step 2: Defining the Nose and Mouth

Draw two curves between the eyes that resemble a stretched-out 'M'. Add a small loop on either side, then connect them with a downward-pointing curve. Use two short vertical lines to define the nose bridge. Teacher's Tip: Think of the nose as a small triangle—keep it centered to ensure the face looks symmetrical.
Step 3: Adding Ears and Whiskers
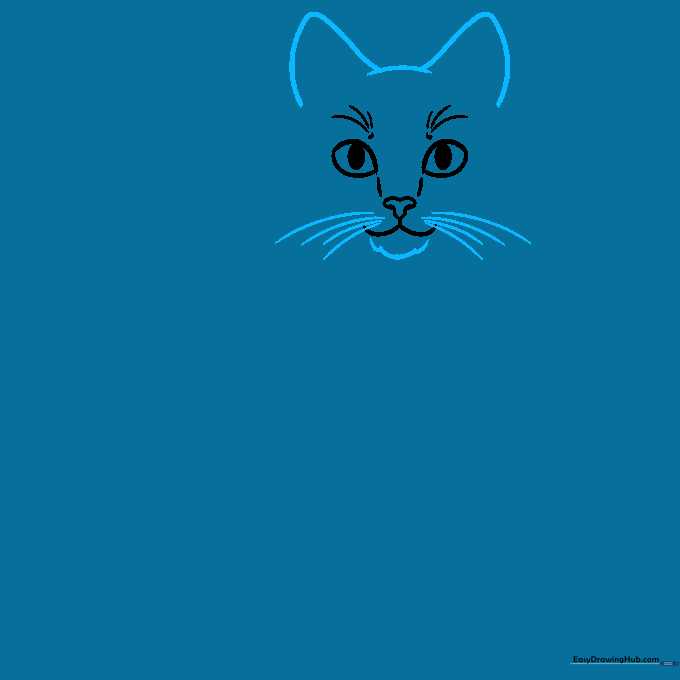
Sketch two curved triangles for the ears and connect them with a soft arch. Add a jagged, furry chin line under the mouth and use long, confident strokes for the whiskers. Teacher's Tip: Whiskers aren't perfectly straight; give them a slight, natural curve to make your cat look alive.
Step 4: Shaping the Furry Face
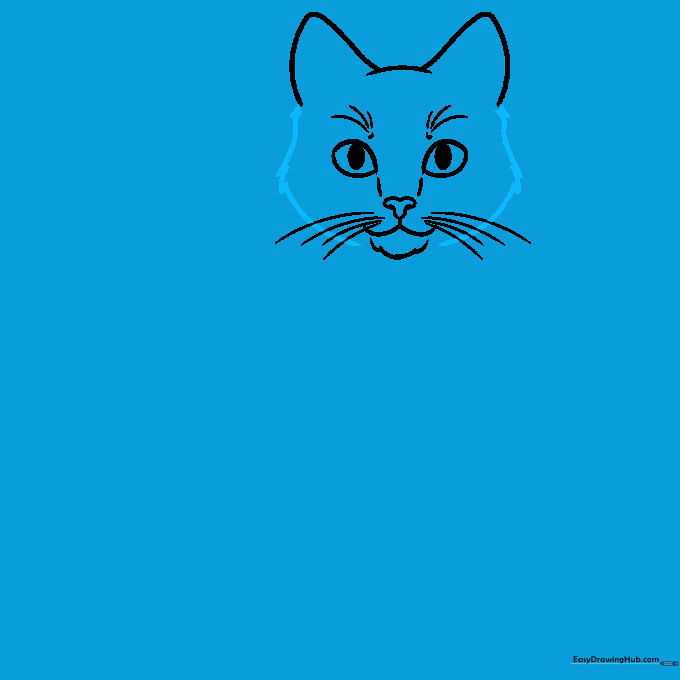
Sketch curved lines on the lower half of the face to define the cheeks. Connect these to the ears using uneven, 'grass-like' strokes to mimic the texture of fur. Teacher's Tip: Vary the length of your strokes to avoid a uniform, robotic look; real fur is messy!
Step 5: Detailing the Inner Ears
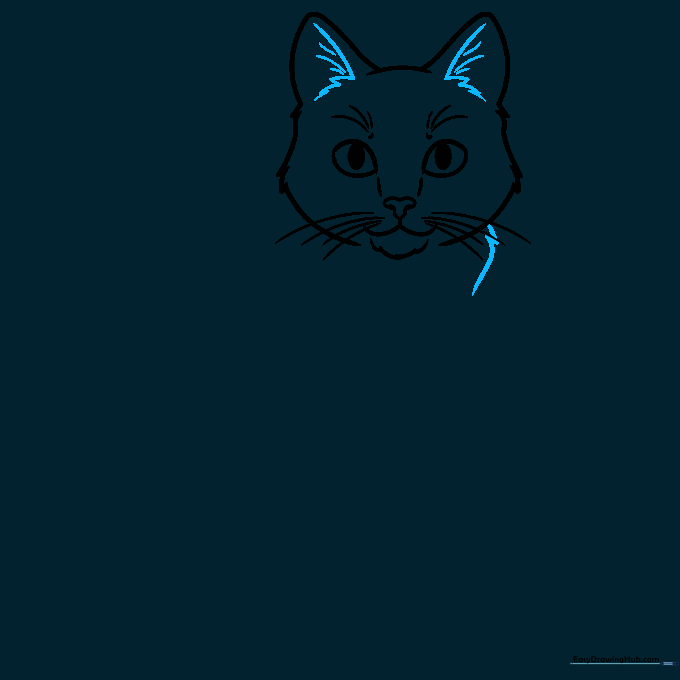
Draw a vertical line inside each ear. Add small, perpendicular jagged lines to represent the tufts of fur inside. Finish by drawing a loose curve under the right side of the head to start the neck. Teacher's Tip: Keep the inner ear lines soft; they are delicate parts of the cat's anatomy.
Step 6: Drawing the Body and Tail
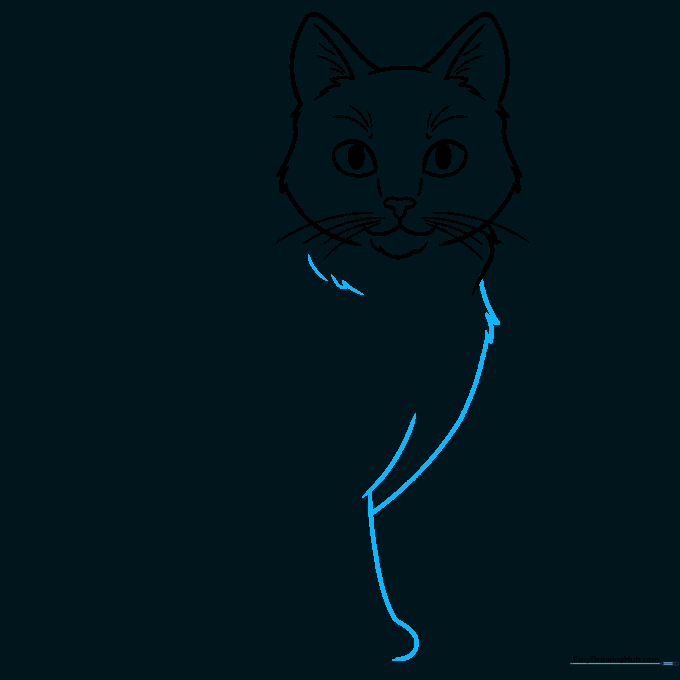
Add tufts of fur on the right side, trailing the line downward. Sketch a parallel curve for the back, ending with a hook for the tail. Add a few sketchy lines on the left to suggest the shoulder. Teacher's Tip: Use long, sweeping motions for the back to show the cat's posture.
Step 7: Sketching the Front Leg
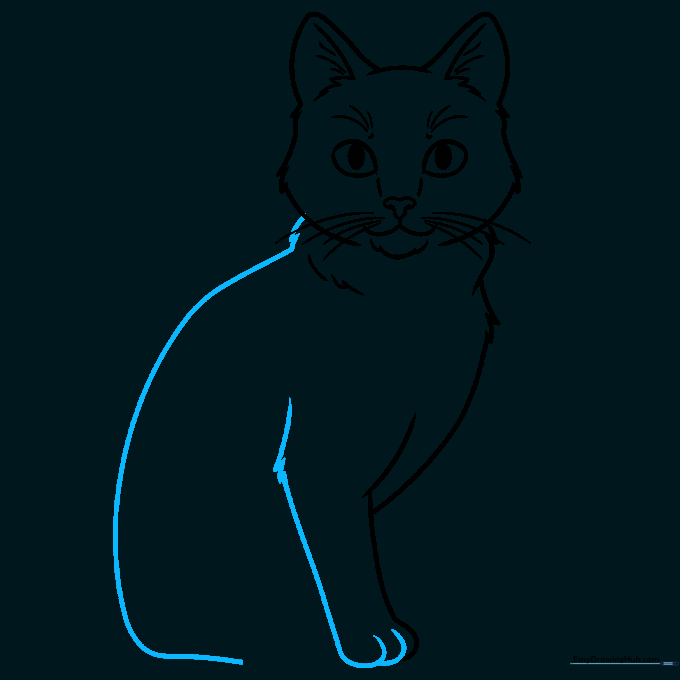
Start with a tuft of fur on the left, bringing an uneven curve downward for the leg. Add a horizontal line for the base and overlapping loops for the toes. Teacher's Tip: Overlapping your lines for the toes creates a sense of depth, making the paw look 3D.
Step 8: Adding the Second Leg

Draw a curve for the right leg, ensuring it aligns with the first. Use a wavy line for the foot and sketch more overlapping loops for the toes. Teacher's Tip: If the legs look too stiff, add a slight bend at the 'elbow' to give the cat a relaxed stance.
Step 9: Finalizing the Outline
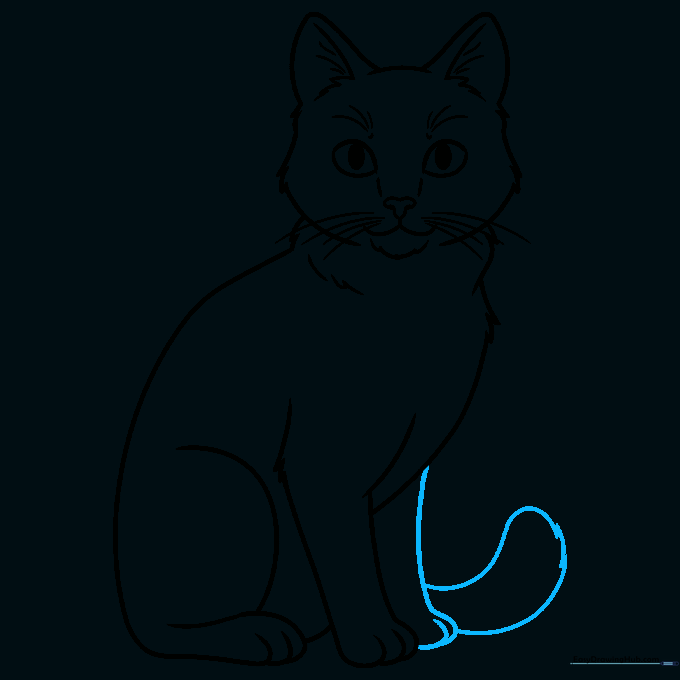
Complete the second foot with a vertical line and loops. Finish the tail with a long, flowing loop, adding a few tufts of fur at the tip. Teacher's Tip: Use your eraser to clean up any overlapping construction lines inside the body to make the final outline pop.
Step 10: Adding Color and Depth
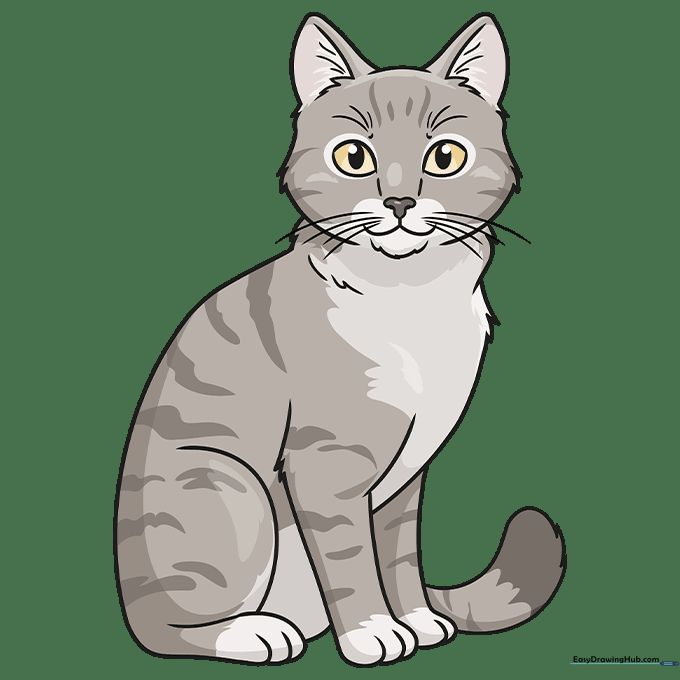
Outline your cat with a black pen, then erase your pencil marks. Use shades of gray for the fur, keeping the ears, chest, and paws lighter. Add darker stripes and gold for the eyes. Teacher's Tip: Use short, flicking motions with your colored pencils to mimic the texture of real fur.
More Tutorials


