How to Draw a Raven: Easy 20-Step Guide for Beginners
Ready to capture the mysterious beauty of a raven? This tutorial is designed for young artists and beginners looking to practice bird anatomy. You will need a pencil, eraser, and paper to follow along as we build this majestic bird from simple shapes to detailed feathers.
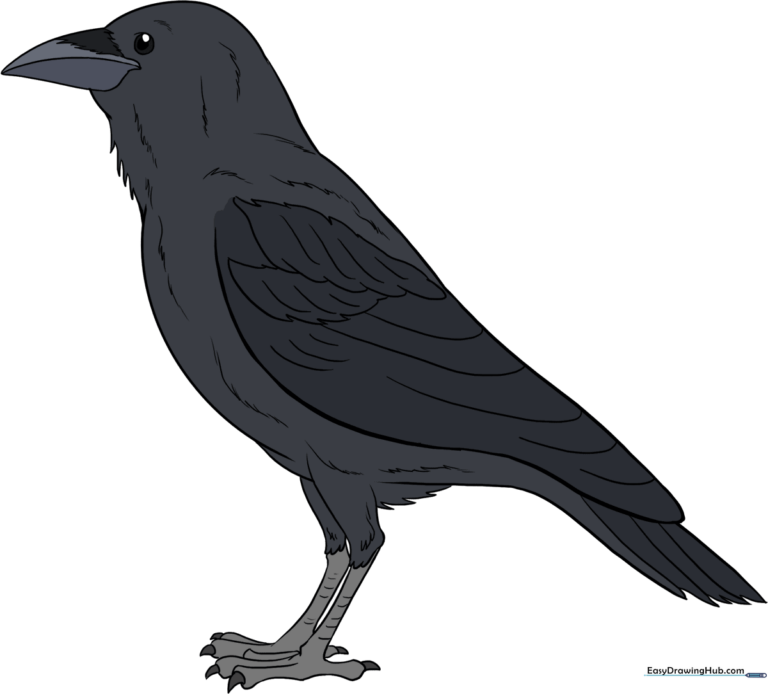
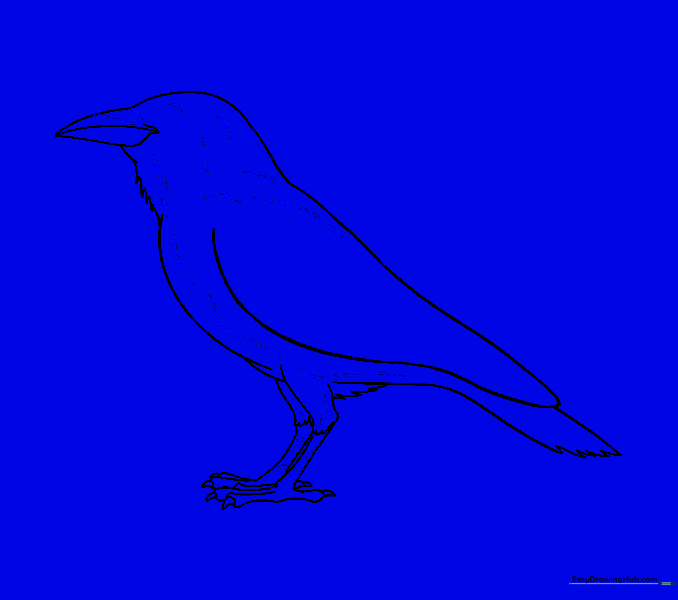
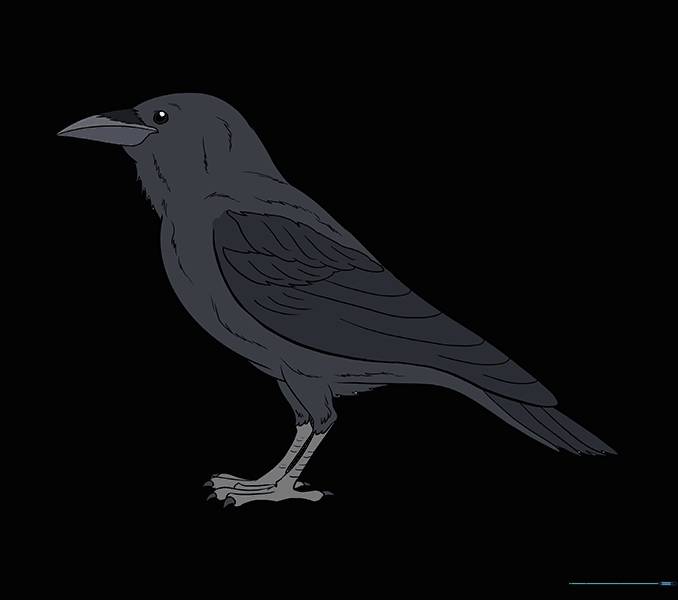
🎯 Final Result
Step-by-Step Instructions
Step 1: Sketching the Head
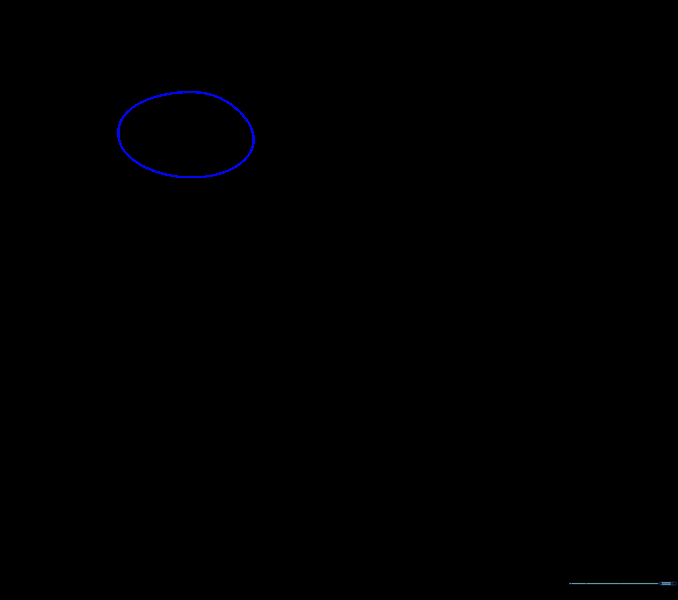
Draw a medium-sized oval in the top left corner of your paper. Teacher's Tip: Keep this shape light and loose—it's just a guide for the raven's head.
Step 2: Defining the Body

Draw a larger, slanted oval below the head for the body. Tip: Angle it toward the bottom right to give your raven a natural, perched posture.
Step 3: Connecting the Neck
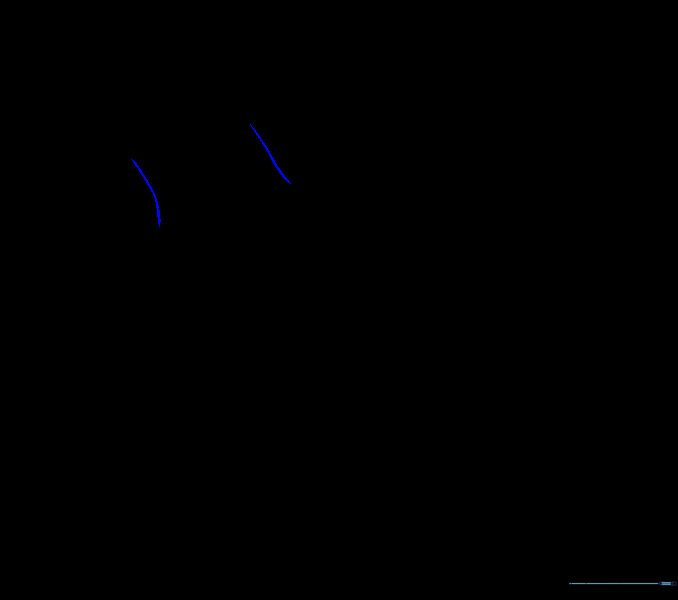
Connect the head and body with two slightly curved lines. Tip: Keep the neck narrow to maintain the bird's sleek silhouette.
Step 4: Outlining the Tail
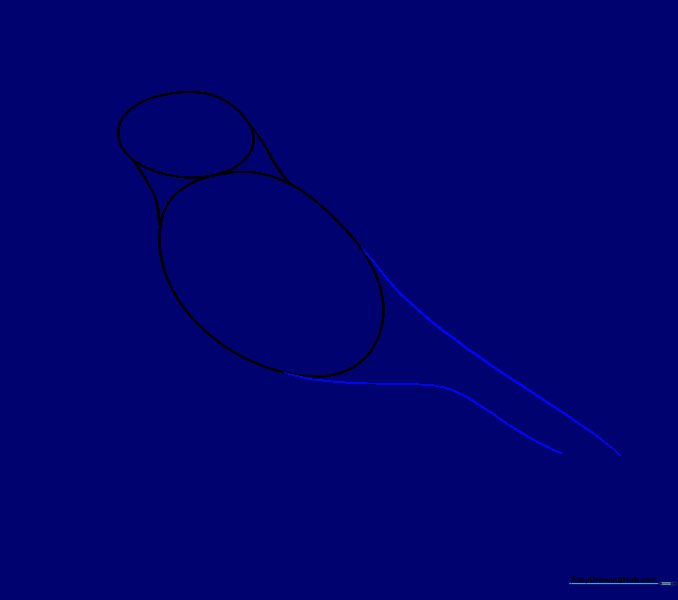
Draw two long, parallel lines extending from the body to create the tail. Tip: Make the lines curve slightly to follow the bird's natural shape.
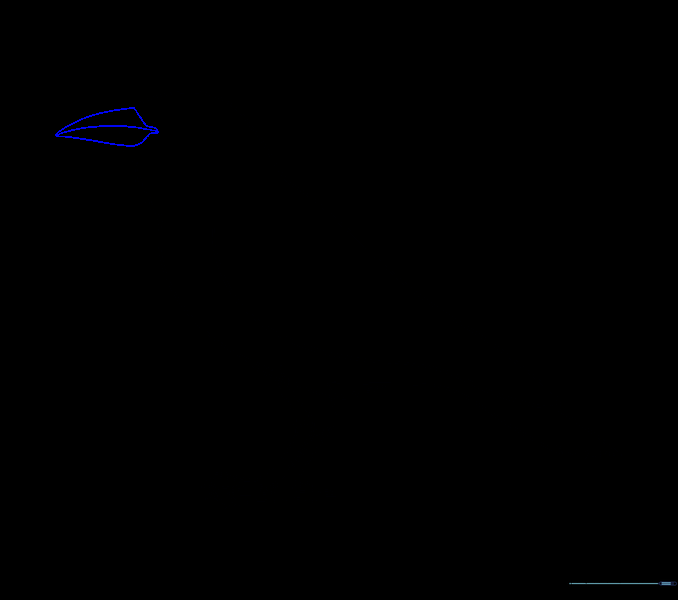
Step 5: Sketching the Wing
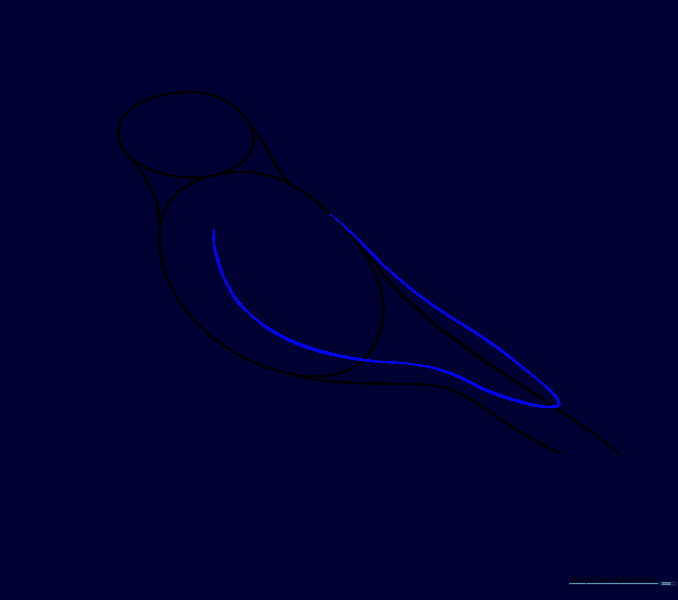
Add a large, curved shape on the side of the body for the wing. Tip: Imagine the wing is folded against the body, keeping the lines smooth for now.
Step 6: Adding Feather Texture
Use jagged, zigzag lines along the neck, belly, and tail. Tip: Don't make them too uniform—nature is messy and irregular!
Step 7: Cleaning Up

Carefully erase the overlapping guide lines inside the neck and wing. Tip: Use a kneaded eraser if you have one to lift the graphite gently.
Step 8: Drawing the Legs
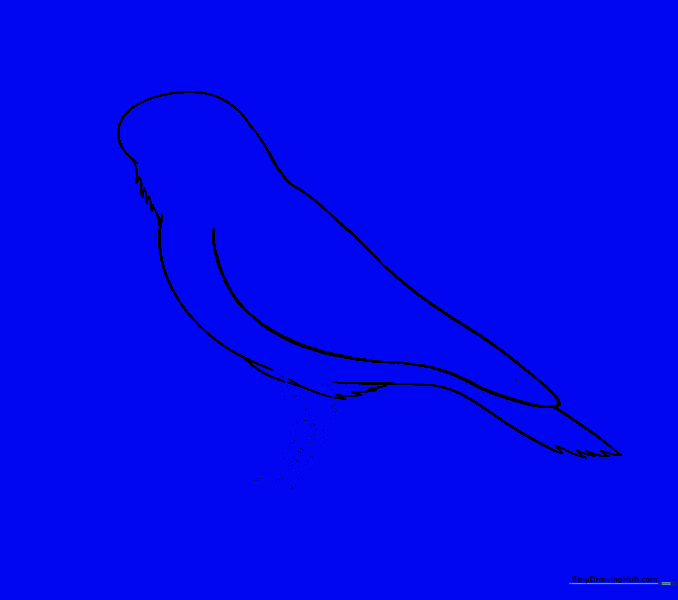
Sketch two sets of curved lines for the legs. Tip: Add a little 'fluff' at the top of the legs using short, quick strokes.
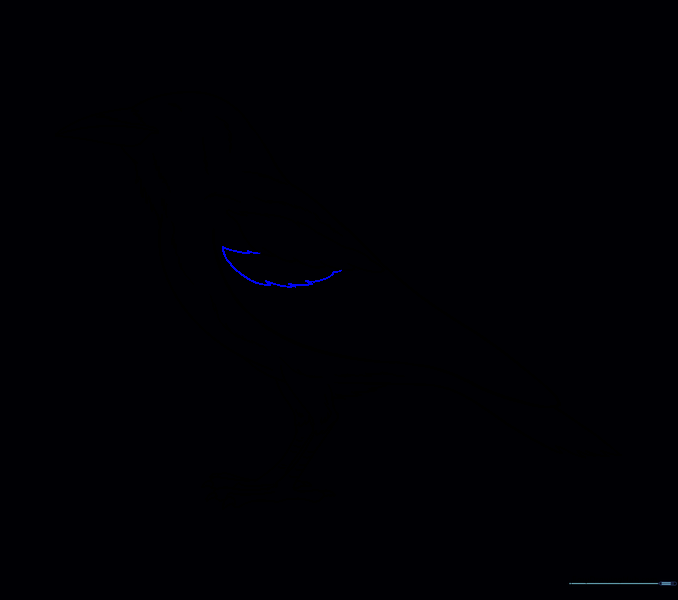
Step 9: Detailing the Feet
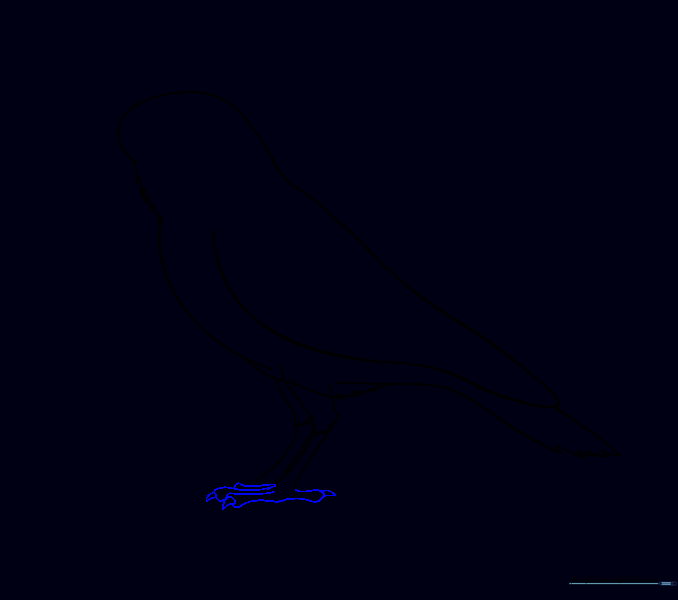
Draw the toes and talons using small, sharp triangles. Tip: Ravens have strong feet, so make the talons look curved and pointed.
Step 10: Completing the Feet
Finish the back toes and add any missing details to the feet. Tip: Ensure the feet look like they are gripping a surface.
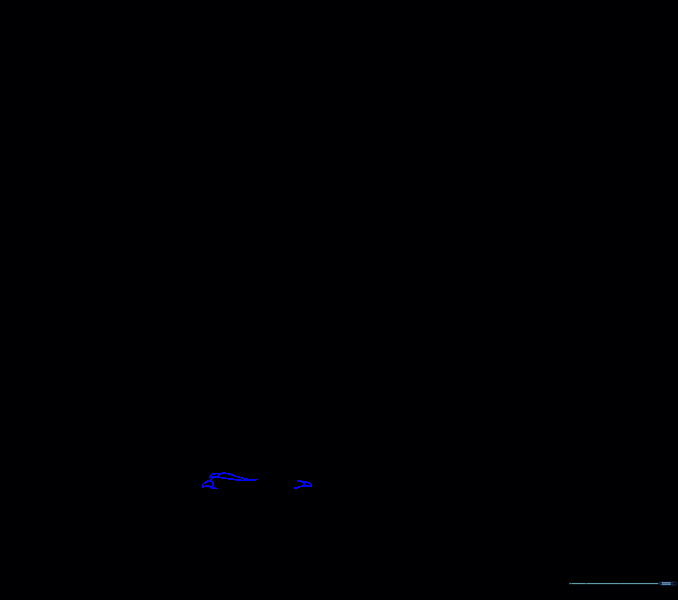
Step 11: Drawing the Beak
Draw a strong, pointed beak extending from the head. Tip: Ravens have thick, sturdy beaks; don't make it too thin like a songbird's.
Step 12: Final Cleanup

Erase any remaining guide lines on the beak and legs to clarify the outline.
Step 13: Adding Feather Detail
Add small, jagged lines across the body to represent individual feathers. Tip: Focus on the neck and shoulder areas for the most texture.
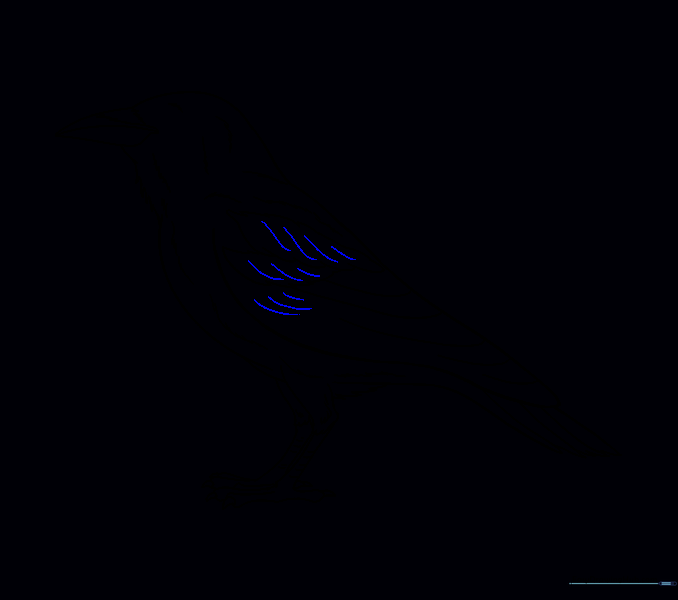
Step 14: Wing Texture

Use swooping, curved lines on the wing to show the shape of the flight feathers.
Step 15: Refining Feathers
Continue adding layers of curved lines to the wing for a realistic, dense look.
Step 16: Flight Feathers
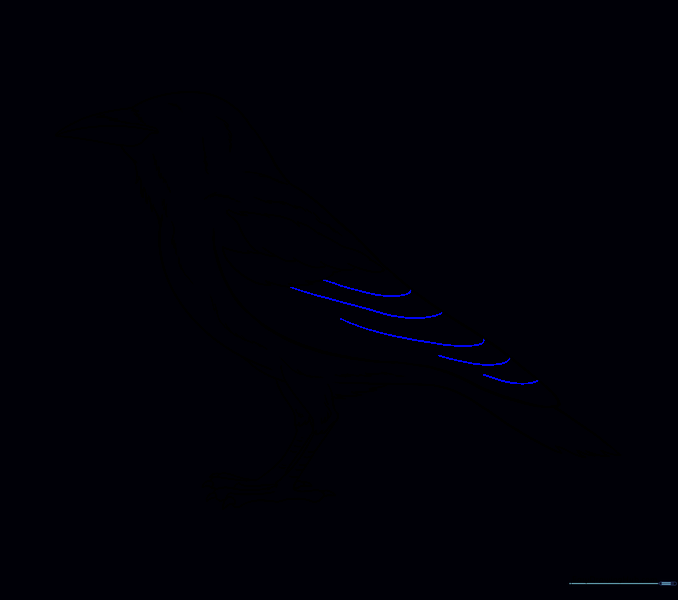
Draw five long, curved lines extending from the wing to represent the primary flight feathers.
Step 17: Tail Details

Add three diagonal, parallel lines to the tail to give it depth.
Step 18: Wing Texture
Add more sets of curved lines to the upper wing to complete the feather pattern.
Step 19: Drawing the Eye

Draw a small circle for the eye with a dark pupil inside. Tip: Leave a tiny white dot in the pupil to make the eye look 'alive' and shiny.
Step 20: Coloring Your Raven
Fill in your raven with shades of black and charcoal gray. Tip: Use a light touch with your pencil to create gradients, leaving some areas lighter to show the sheen of the feathers.
More Tutorials


