How to Draw a Rat: Easy 10-Step Guide for Kids
Ready to bring a friendly little rodent to life? This tutorial is perfect for young artists ages 5 and up. All you need is a pencil, an eraser, and a piece of paper to start building your character drawing skills today.
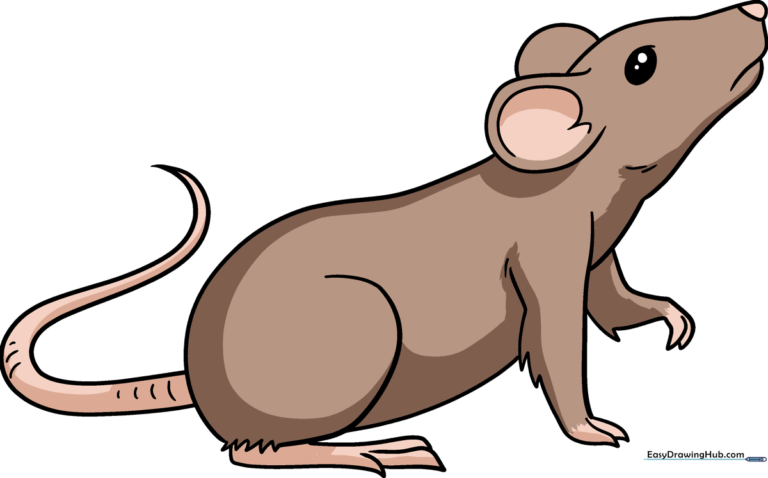
🎯 Final Result
Step-by-Step Instructions
Step 1: Sketching the Face and Eye
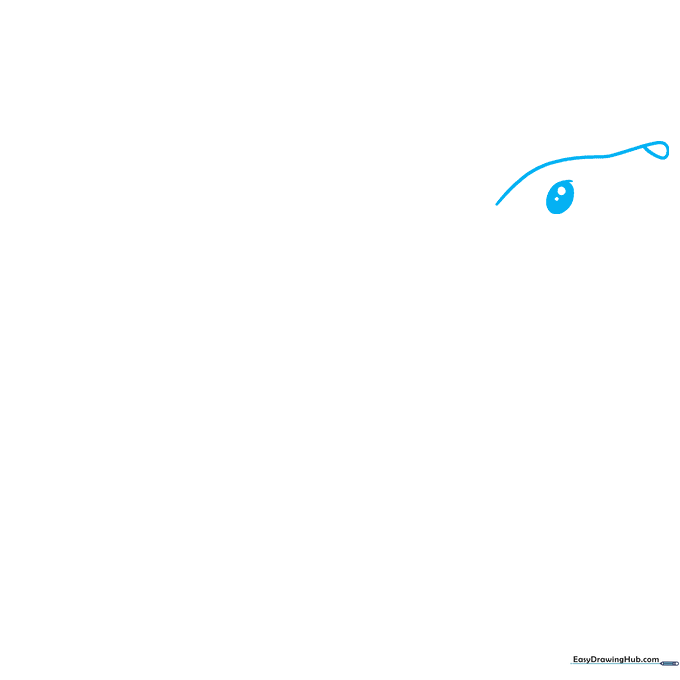
Draw a smooth, curved line for the front of the face, looping it back to form a teardrop-shaped nose. Below this, draw a small oval with two tiny circles inside for the eye. Teacher's Tip: Keep the eye circles small to give your rat a friendly, curious expression.
Step 2: Defining the Mouth and Jaw
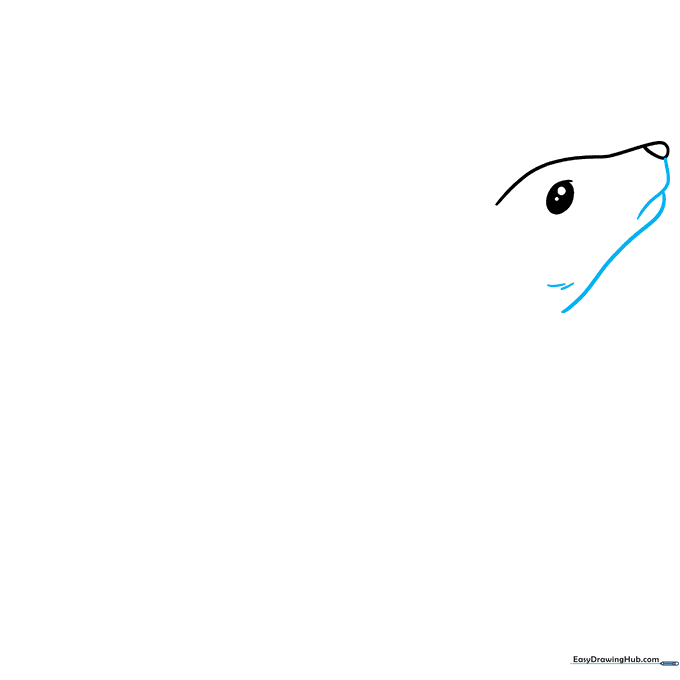
Add a curved line under the nose for the mouth, overlapping it slightly to create the jawline. Use short, soft strokes to define the chin. Teacher's Tip: Use a light touch here—the mouth should look gentle, not sharp.
Step 3: Adding the Ears
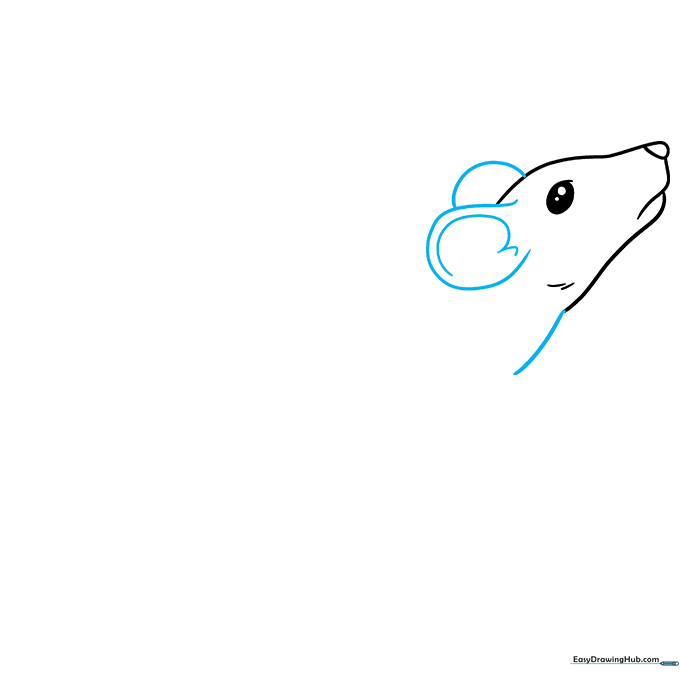
Draw two large, overlapping curved lines at the top of the head for the ears. Add a smaller inner curve to give them depth. Teacher's Tip: Make the ears nice and big—it makes the rat look much cuter!
Step 4: Drawing the Front Leg
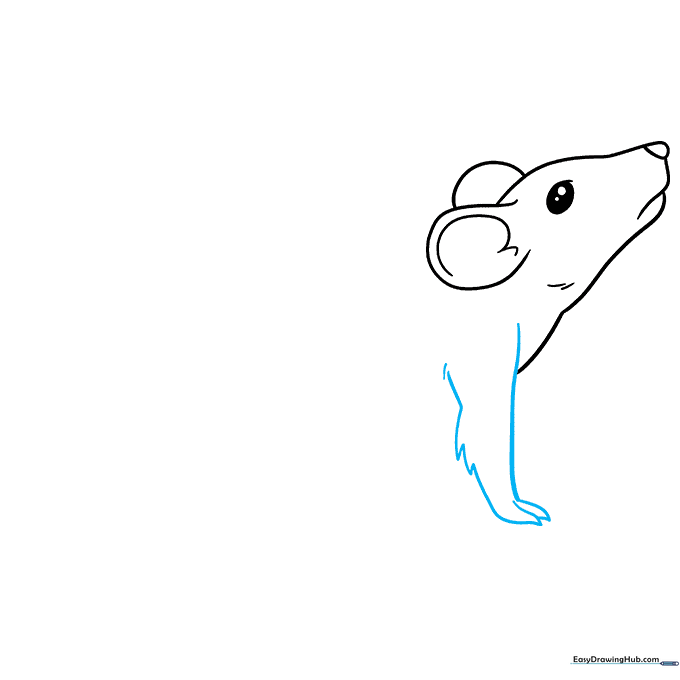
Sketch the front leg using curved lines that meet at jagged points to suggest fur. Add small, pointed shapes at the end for the claws. Teacher's Tip: Don't worry about perfect lines; the jagged edges help the rat look furry.
Step 5: Completing the Belly
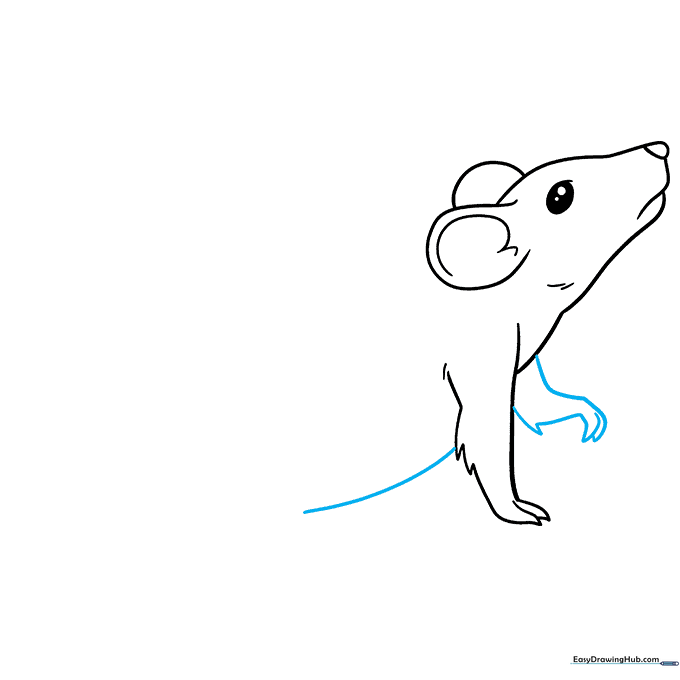
Draw the second front leg behind the first, then extend a long, smooth curved line to form the belly. Teacher's Tip: Keep this line fluid to show the rat's rounded, friendly shape.
Step 6: Shaping the Back
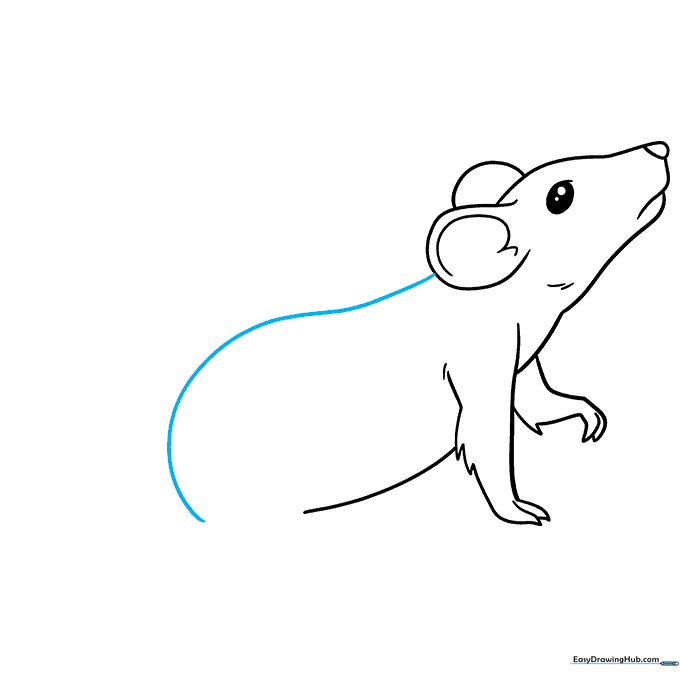
Connect the ear to the lower body with a long, sweeping curved line to create the rat's back and rump. Teacher's Tip: This line defines the posture, so make it a nice, smooth arc.
Step 7: Adding the Rear Hip
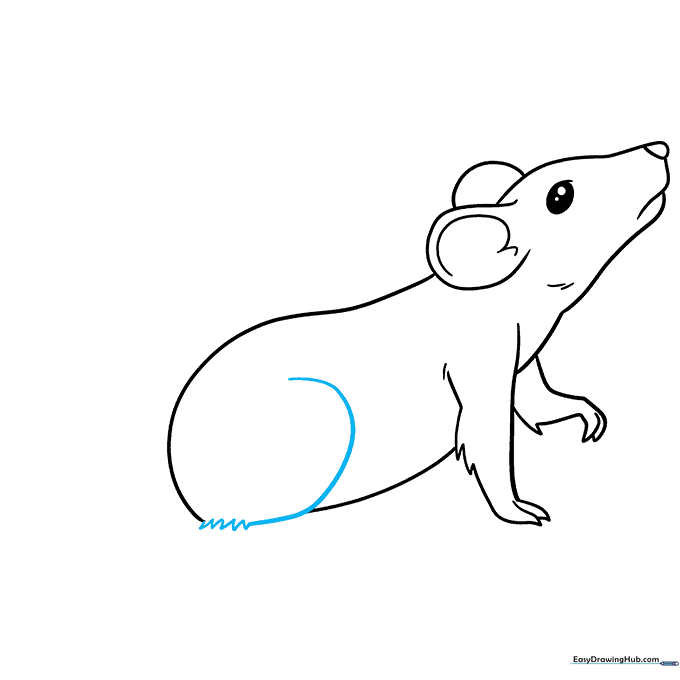
Draw a 'C' shaped curve to form the hip of the back leg, adding small jagged lines at the bottom for fur texture. Teacher's Tip: The 'C' shape helps show the rat is sitting down.
Step 8: Drawing the Back Foot
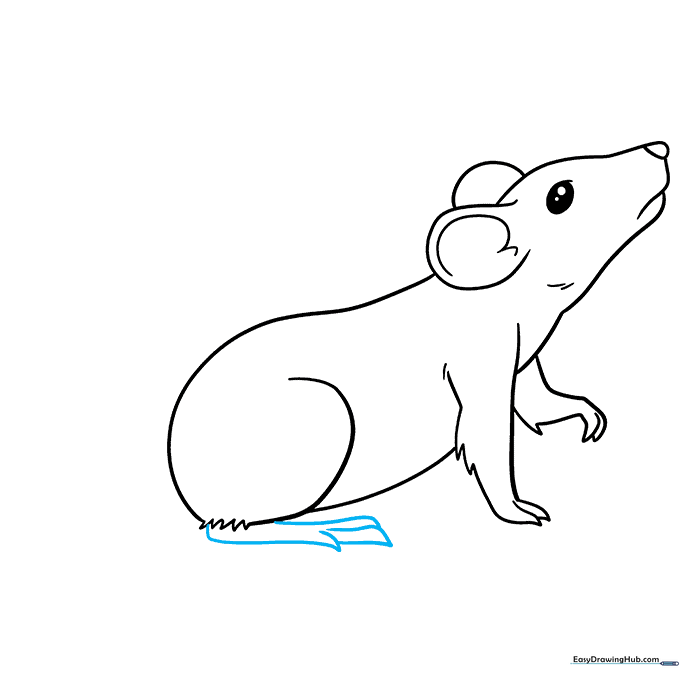
Use overlapping curved lines to draw the rear foot and toes. Ensure the toes look slightly pointed to represent claws. Teacher's Tip: Overlapping lines create the illusion of toes tucked together.
Step 9: Adding the Tail
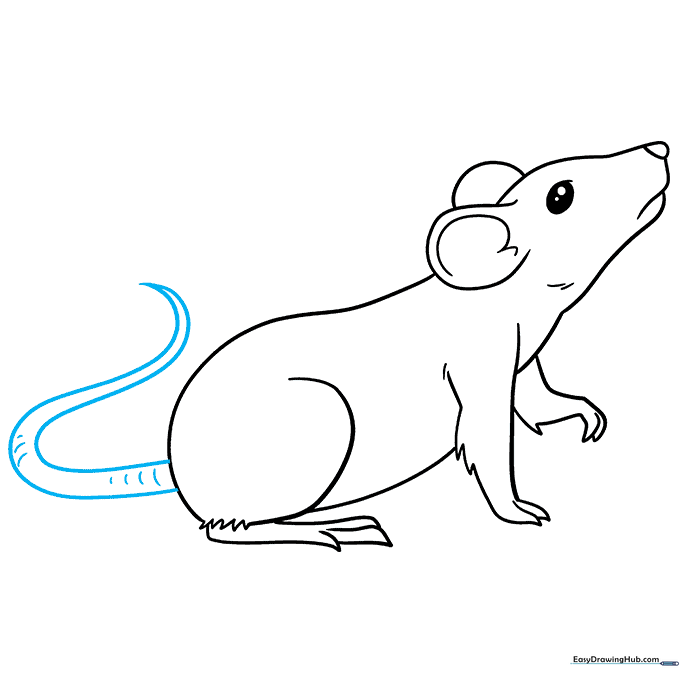
Extend two long, parallel curved lines from the rump to form the tail, meeting at a sharp point. Add tiny, short lines for texture. Teacher's Tip: A long, slightly wiggly tail adds character to your drawing!
Step 10: Final Coloring
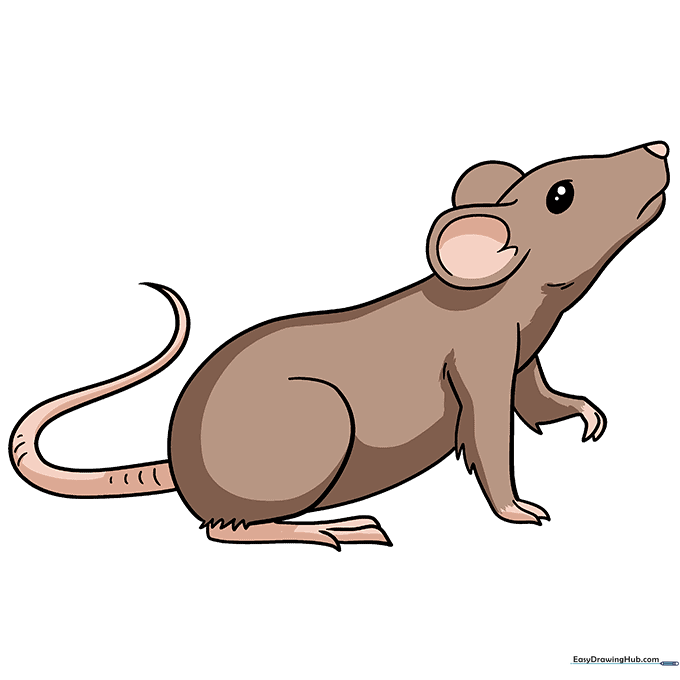
Your outline is complete! Now, bring your rat to life with color. Try shades of gray, brown, or white for the fur, and use a soft pink or peach for the ears, paws, and tail. Teacher's Tip: Use light pressure with your colored pencils to create a soft, furry look.
More Tutorials


