How to Draw a Rainy Day: Easy 10-Step Guide for Kids
Capture the cozy charm of a rainy afternoon with this fun, character-based drawing lesson. Designed for ages 5 and up, this activity requires only a pencil, eraser, and paper to bring a rainy scene to life. Follow along to practice character proportions and weather-themed details.
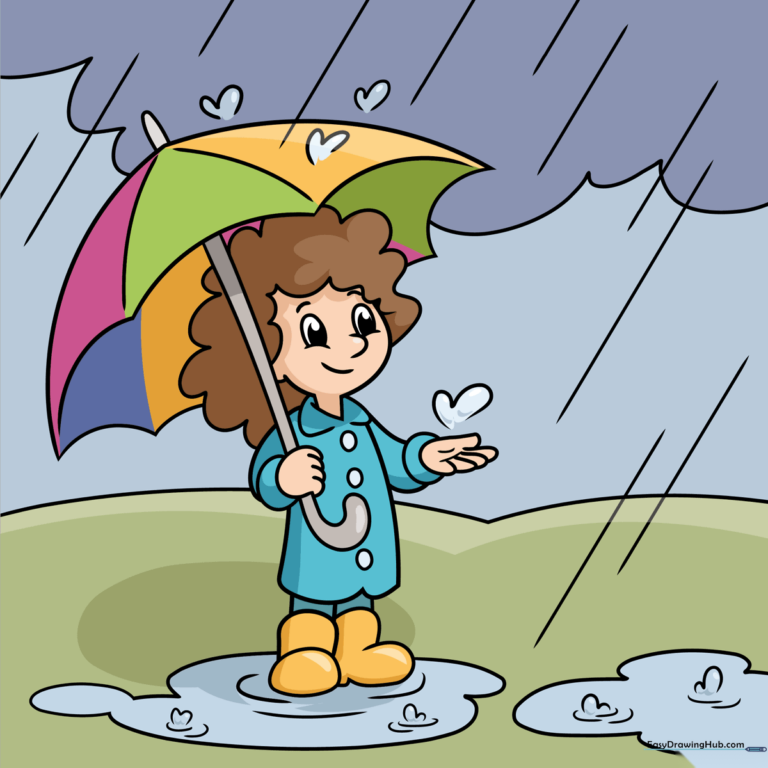
🎯 Final Result
Step-by-Step Instructions
Step 1: Sketching the Face

Start by drawing the character's face. Use soft, curved lines for the chin, nose, and cheeks. For the eyes, draw two ovals with smaller shaded ovals inside. Teacher's Tip: Keep the eyes centered to give your character a friendly, approachable look.
Step 2: Adding Hair and Collar
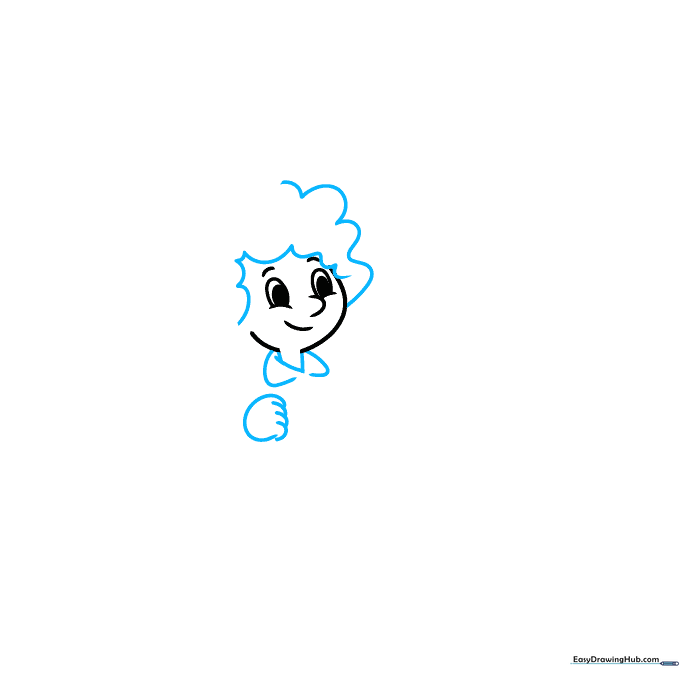
Add the hair using smooth, sweeping curved lines, then draw the rounded triangles for the jacket collar. Tip: Make sure the collar lines overlap slightly to show depth where the jacket meets the neck.
Step 3: Sketching the Umbrella
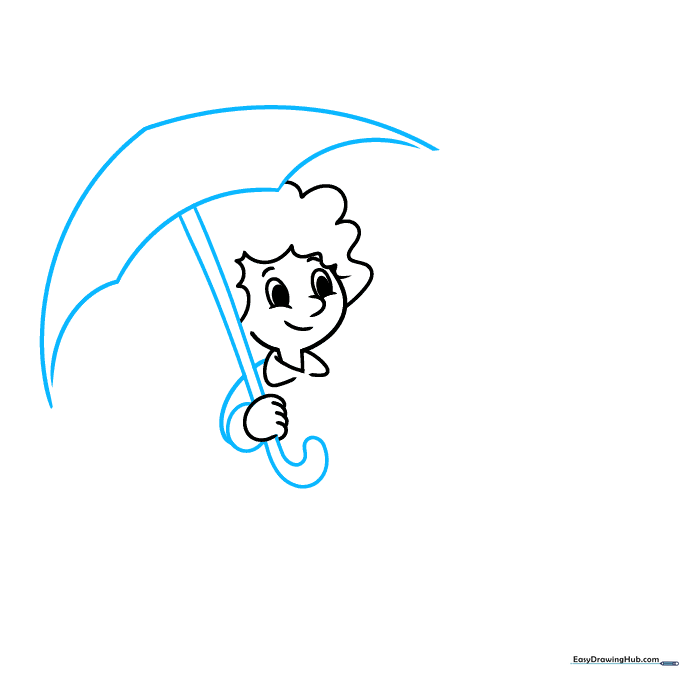
Extend a vertical line from the hand to create the umbrella shaft. Use curved lines that meet at sharp points to form the canopy. Tip: Draw the 'U' shaped handle firmly to ensure it looks like it's being gripped securely.
Step 4: Detailing the Umbrella and Coat
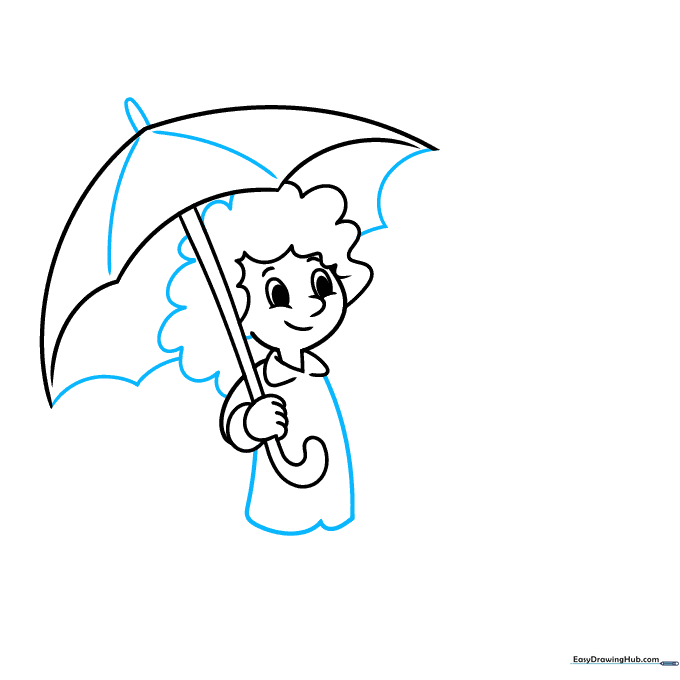
Draw the underside of the umbrella and add a small 'U' tip at the top. Use curved lines to define the panels of the umbrella and the torso of the raincoat. Tip: Keep your panel lines symmetrical for a balanced look.
Step 5: Drawing the Arm

Sketch the outstretched arm using two parallel lines, finishing with a 'C' shaped cuff. Use overlapping lines to suggest the fingers. Tip: If the fingers look too long, erase and shorten them slightly to keep the cartoon proportions cute.
Step 6: Adding Buttons and Boots
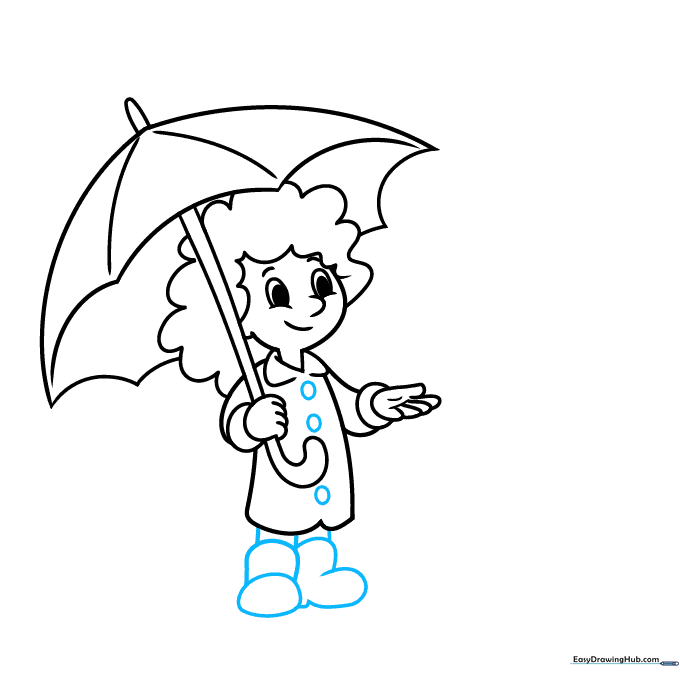
Add round buttons down the coat. Draw the legs extending downward and finish with the rounded shapes of rainboots. Tip: Make the boots slightly wider than the legs to show they are sturdy rubber gear.
Step 7: Creating the Atmosphere
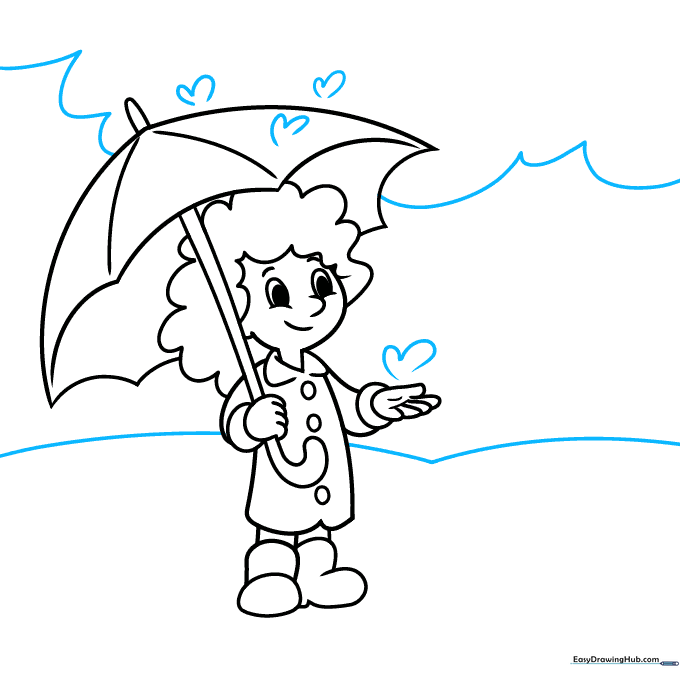
Draw a horizon line and fluffy clouds using connected curves. Add small, incomplete heart shapes near the umbrella and hand to represent splashing raindrops. Tip: Vary the size of the raindrops to create a sense of movement.
Step 8: Drawing Puddles
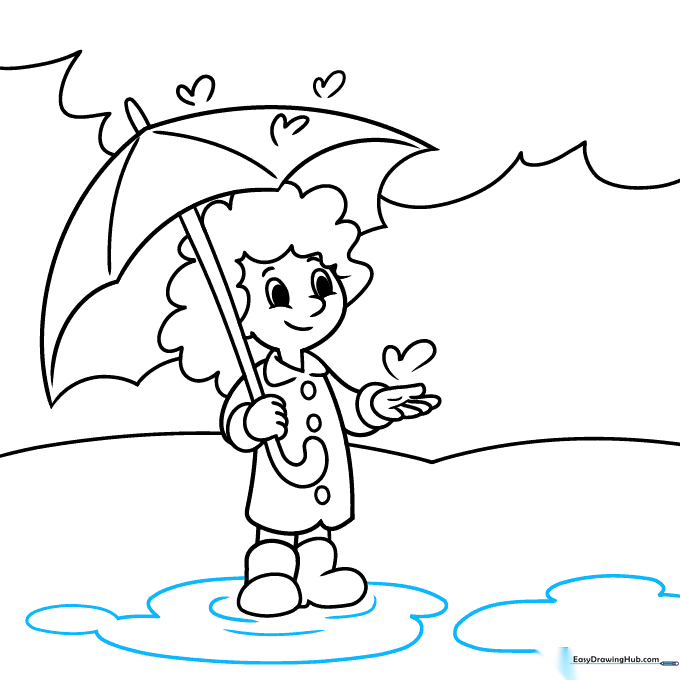
Sketch puddles beneath the boots using irregular curved lines. Add small ripples around the soles of the boots. Tip: Use light, wavy lines for the ripples to make the water look like it's reacting to the character's footsteps.
Step 9: Adding Rain Streaks
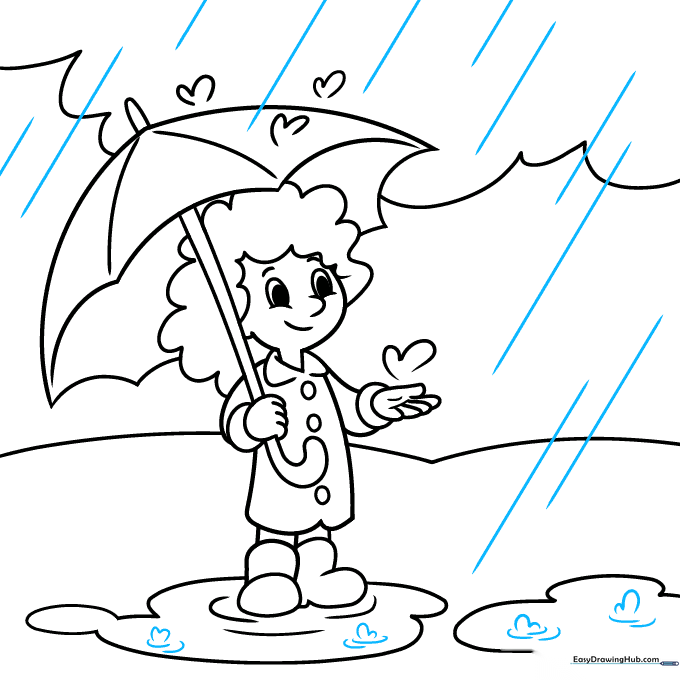
Draw diagonal lines across the background to represent falling rain. Add more splashing heart shapes in the puddles with short ripple lines. Tip: Keep your diagonal lines parallel to ensure the rain looks consistent.
Step 10: Adding Color
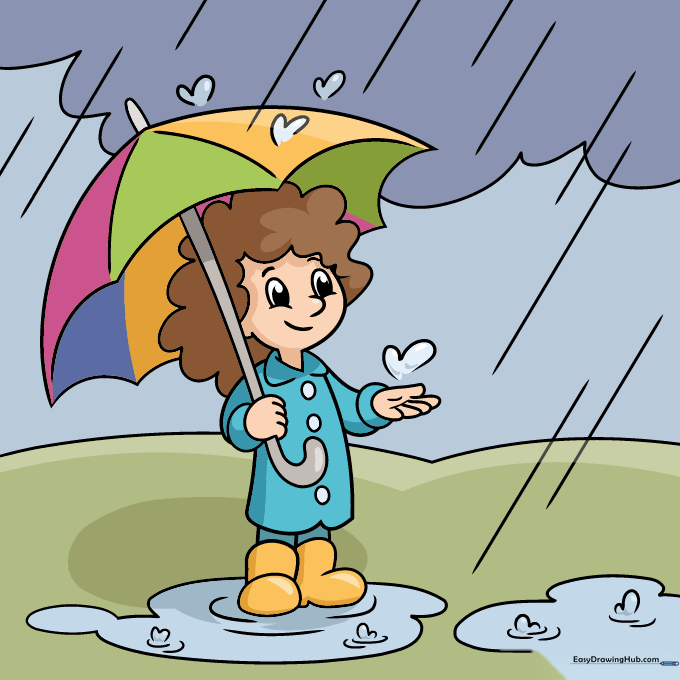
Time to bring your drawing to life! Use dark grays for the stormy clouds and vibrant colors for the raincoat and umbrella to create a beautiful contrast. Tip: Use a light blue for the raindrops to make them stand out against the paper.
More Tutorials


