How to Draw a Rainbow Trout: Easy 10-Step Guide
Bring the beauty of the river to your sketchbook with this beginner-friendly rainbow trout tutorial. Designed for ages 6 and up, this activity requires only a pencil, eraser, and paper to practice essential shape-building skills. Follow along to master the iconic silhouette and unique markings of this vibrant fish.
🎯 Final Result

Step-by-Step Instructions
Step 1: Sketching the Head and Eye

Start by drawing a blunt 'V' shape for the snout, then add a 'J' curve for the mouth. For the eye, draw a rounded triangle and place a small oval inside for the pupil. Teacher's Tip: Keep your pencil lines light and feathery so you can easily erase any overlapping marks later.
Step 2: Defining the Jaw and Gills

Use a rounded 'V' line to form the lower jaw. Add curved lines behind the eye to suggest the gill cover. Teacher's Tip: Think of the gill as a small door on the side of the head; keep the curve smooth to give the fish a natural, streamlined look.
Step 3: Outlining the Back and Front Fin
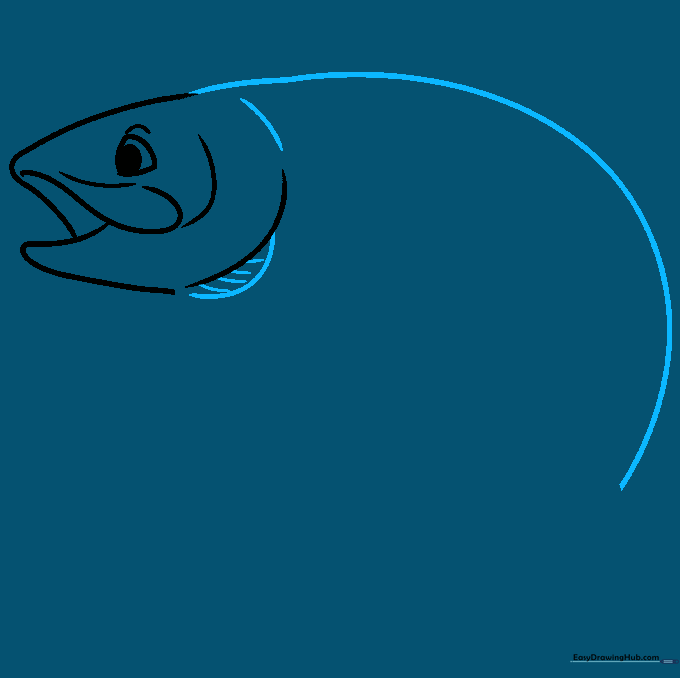
Draw a long, sweeping curve for the fish's back. Add a smaller curved line under the head to enclose the pectoral fin, adding tiny lines for texture. Teacher's Tip: Use short, quick strokes for the fin to make it look like delicate, fan-like rays.
Step 4: Shaping the Belly and Dorsal Fin
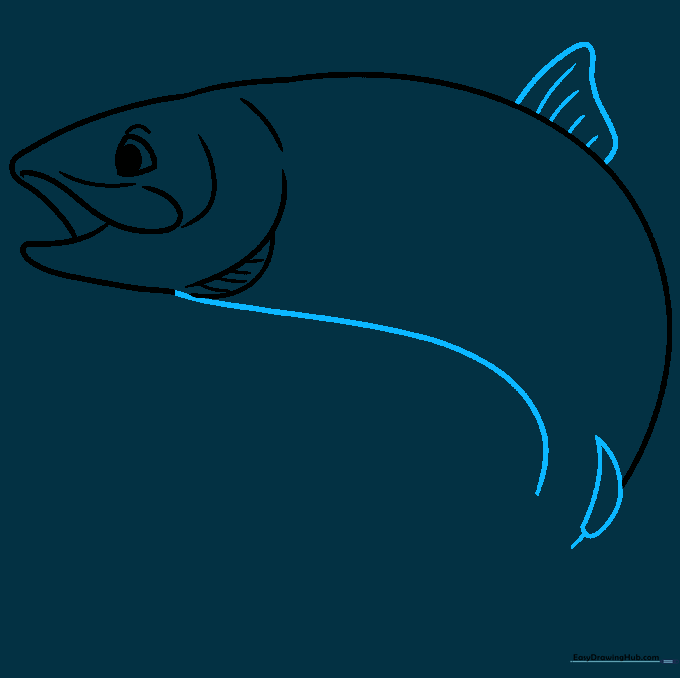
Extend a long curve to create the belly. Add a fin on the back and another near the tail base. Teacher's Tip: Ensure the dorsal fin on the back has a slight point to mimic the real anatomy of a trout.
Step 5: Adding the Pectoral Fin
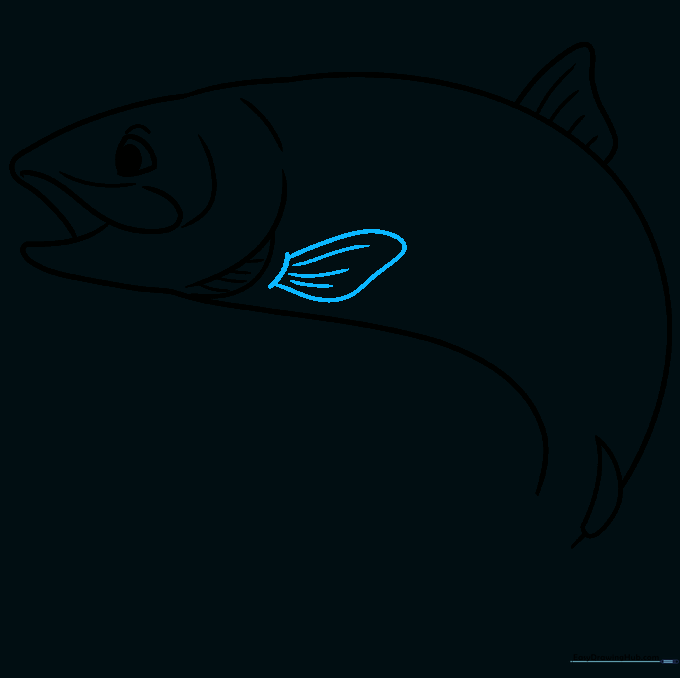
Draw a long curved line near the neck and double it back to form the pectoral fin. Add small lines inside for detail. Teacher's Tip: This fin helps the fish steer, so make sure it looks like it's attached firmly to the body.
Step 6: Drawing the Tail
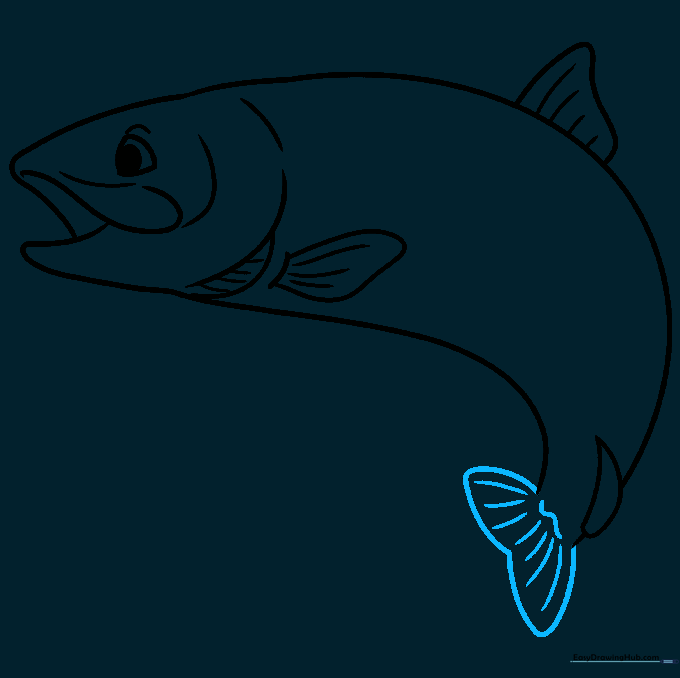
Create a heart-shaped tail using curved lines. Add a wavy line at the base to connect it to the body. Teacher's Tip: A trout's tail is powerful; make the curves bold to show strength.
Step 7: Adding Lower Fins
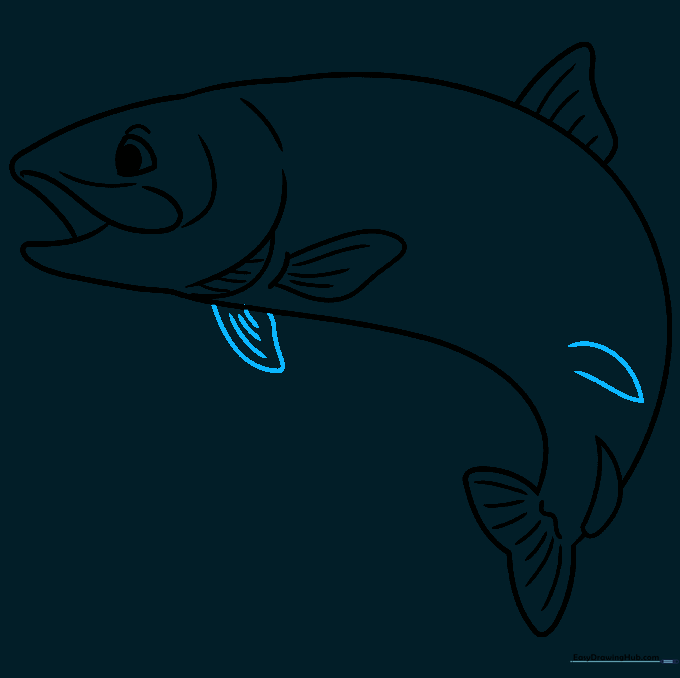
Add a second pectoral fin and an anal fin near the tail. Use the same 'doubled back' technique as before. Teacher's Tip: Keep these fins smaller than the top ones to maintain the fish's balance.
Step 8: Adding Body Stripes

Draw another anal fin on the opposite side and add long, curved stripes along the body. Teacher's Tip: These stripes are the 'rainbow' part of the trout—keep them flowing with the curve of the fish's back.
Step 9: Adding Spots
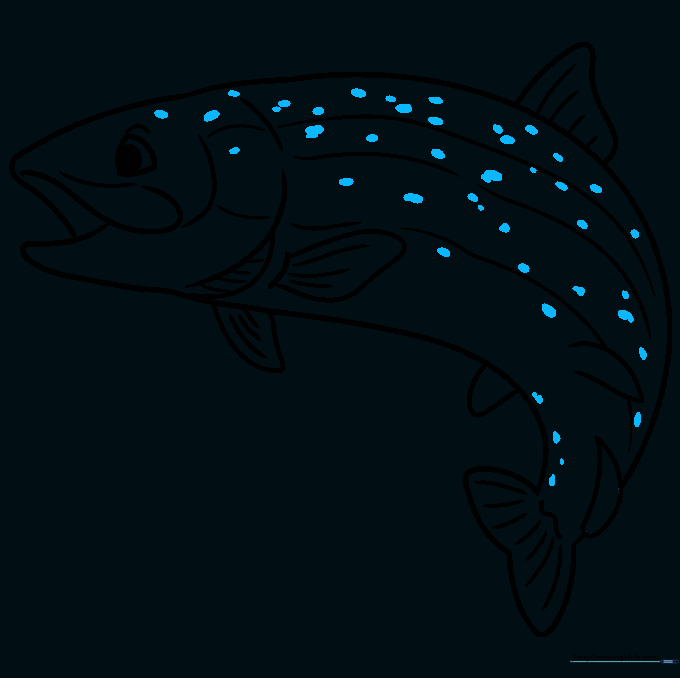
Complete the outline by adding small circles and ovals across the head, body, and tail. Teacher's Tip: Don't make them too uniform! Trout spots are naturally scattered, so vary the sizes and spacing for a realistic look.
Step 10: Coloring Your Masterpiece

Bring your trout to life with color! Use greens, browns, and blues for the top, and a soft cream for the belly. Add a reddish-pink stripe down the side. Teacher's Tip: Use light pressure with your colored pencils to blend the colors where they meet for a smooth, natural transition.
More Tutorials


