How to Draw a Rain Coat: Easy 10-Step Guide for Kids
Ready to gear up for a rainy day? This tutorial is perfect for young artists ages 5+ looking to practice drawing clothing. All you need is a pencil, an eraser, and your favorite markers or crayons to bring this cozy rain slicker to life.
🎯 Final Result

Step-by-Step Instructions
Step 1: Sketching the Hood Opening

Start by drawing an irregular curved shape that is pointed at the top and bottom. This creates the opening of the hood. Teacher's Tip: Keep your pencil lines light so you can easily adjust the shape if it looks a bit lopsided.
Step 2: Defining the Hood

Draw a curved line around your initial shape to outline the top of the hood. Add a small curved line inside to show the texture of the fabric. Tip: Think of this like drawing a soft, rounded triangle.
Step 3: Shoulders and Drawstrings

Extend curved lines outward from the base of the hood to form the shoulders. Add two parallel lines hanging down from the hood and connect them to create the drawstrings. Tip: Make the drawstrings look like two small, thin rectangles.
Step 4: Drawing the First Sleeve
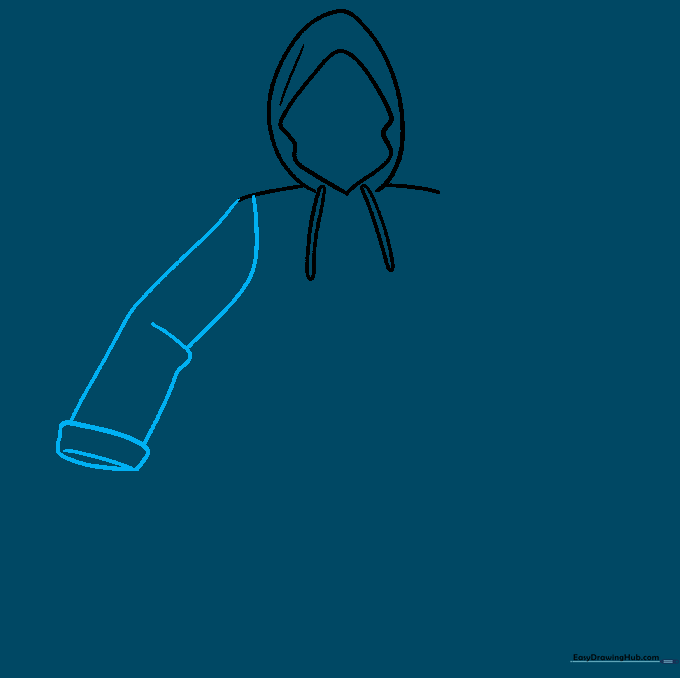
Use overlapping curved lines to outline the arm, adding a slight bend at the elbow. Enclose a rounded rectangle at the end for the cuff. Tip: Adding that small curve across the cuff makes it look like a real sleeve opening.
Step 5: Adding the Second Sleeve
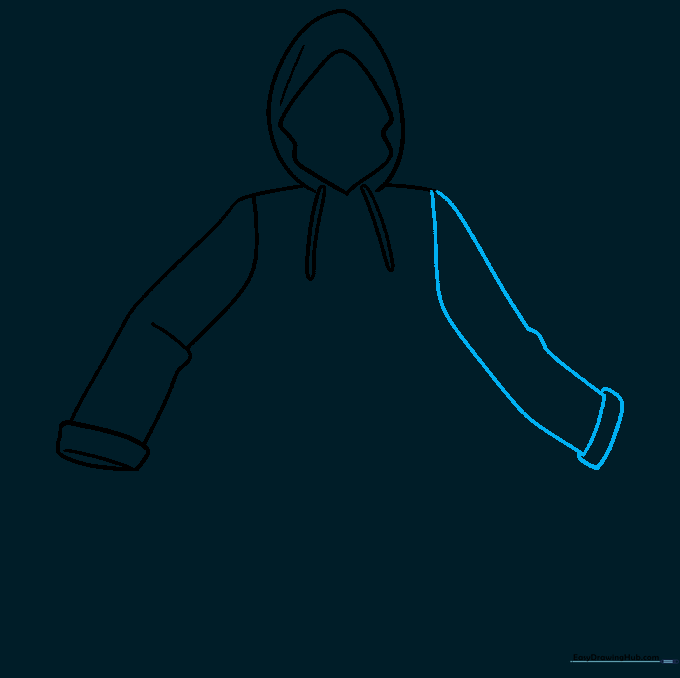
Repeat the process from Step 4 to draw the second sleeve. Try to match the angle of the first arm so the coat looks balanced. Tip: If you want your character to look like they are waving, angle this arm upward!
Step 6: Shaping the Torso
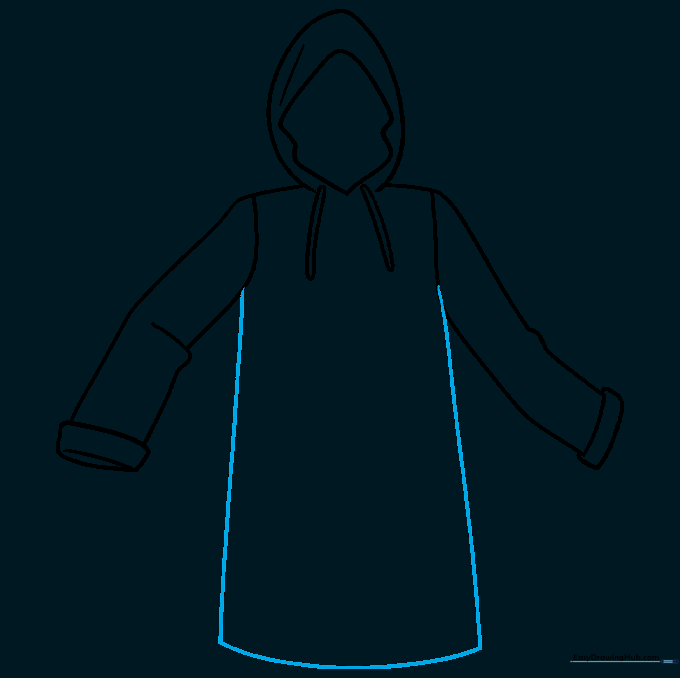
Connect the sleeves by drawing the torso of the coat using three smooth, curved lines. This creates the main body of the jacket. Tip: Keep the lines slightly rounded to give the coat a natural, comfortable fit.
Step 7: Adding the Zipper Flap
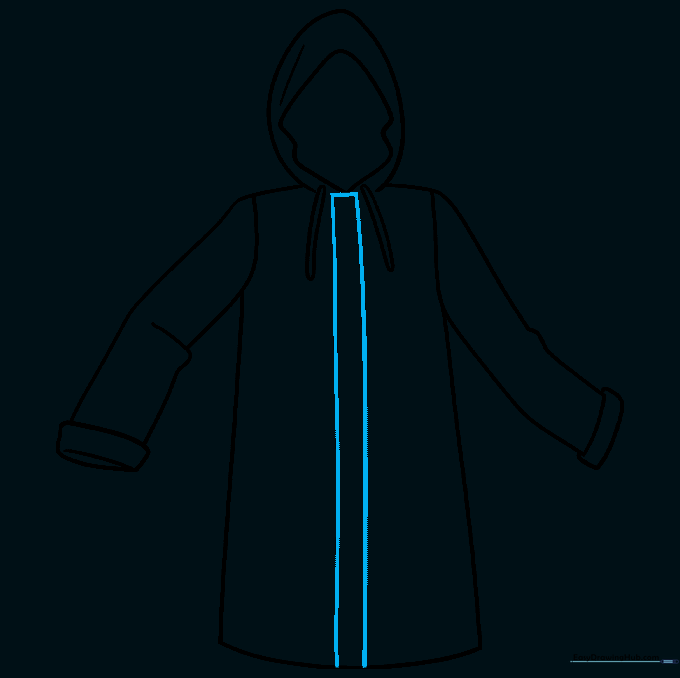
Draw a narrow vertical rectangle running from the hood down to the bottom hem. This represents the protective flap over the zipper. Tip: Use a ruler if you want the lines perfectly straight, or freehand it for a more organic look.
Step 8: Adding Pockets
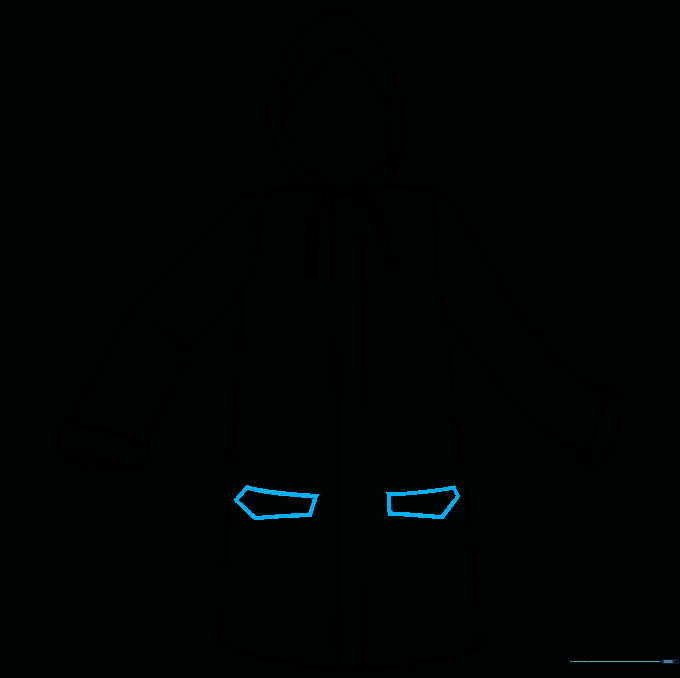
Draw two irregular pentagon shapes on the front of the coat for pockets. Tip: Make sure they are placed at the same height so the coat looks symmetrical.
Step 9: Adding Texture and Folds
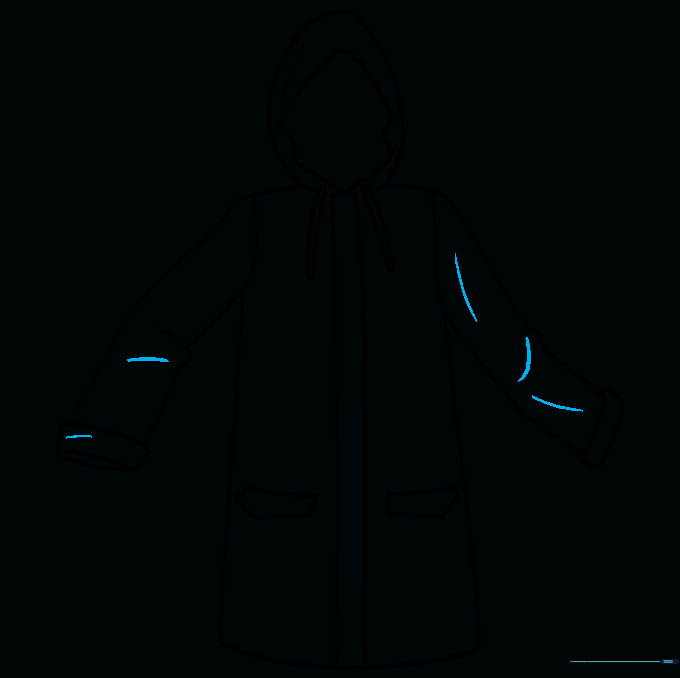
Add a few curved lines along the sleeves and body to suggest fabric folds. This makes the coat look like it's made of real, flexible material. Tip: Less is more! A few simple lines go a long way in adding realism.
Step 10: Bring It to Life with Color
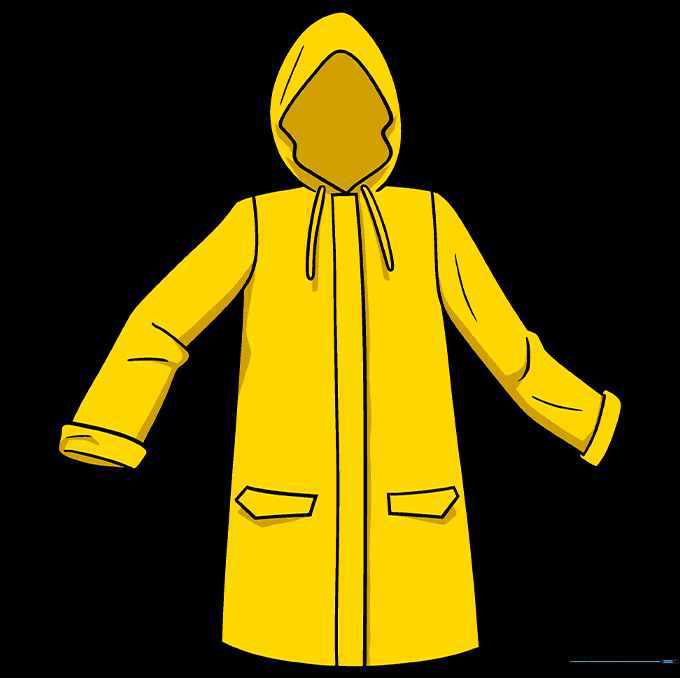
Time to color! We chose a bright, classic yellow for our rain coat. Don't be afraid to experiment with bold reds or deep blues. Tip: Use a slightly darker shade of your main color near the folds to create a simple shadow effect.
More Tutorials


