How to Draw a Radio: Easy 10-Step Guide for Kids
Ready to design your own vintage-style radio? This project is perfect for artists ages 5 and up, requiring only a pencil, eraser, and paper. By following these steps, you will practice drawing 3D shapes and symmetrical details while creating a fun, retro-inspired piece of art.
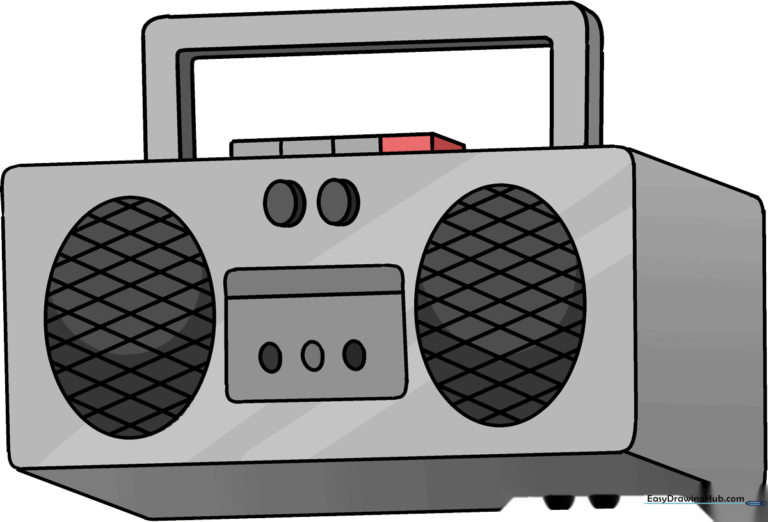
🎯 Final Result
Step-by-Step Instructions
Step 1: Sketching the Main Body
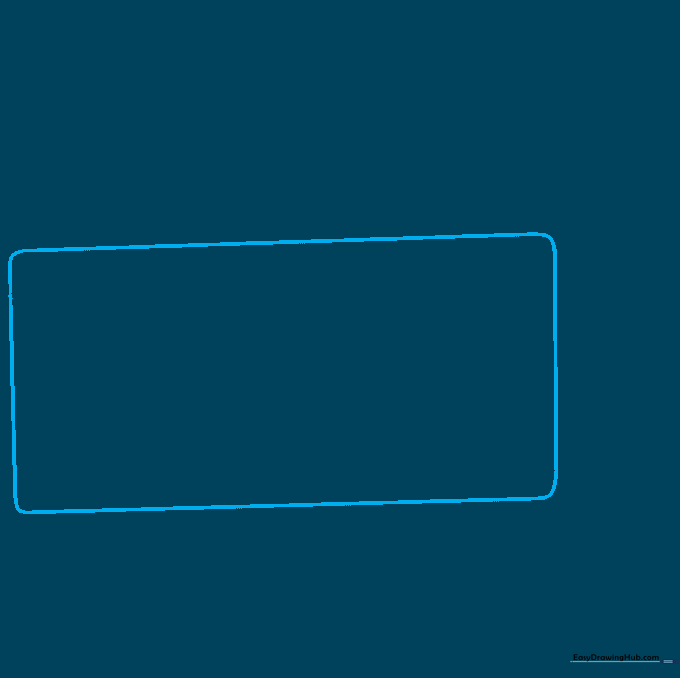
Draw a rectangle with soft, rounded corners to create the face of the radio. Teacher's Tip: Keep your pencil pressure light so you can easily adjust the shape if it looks a bit lopsided.
Step 2: Adding Depth
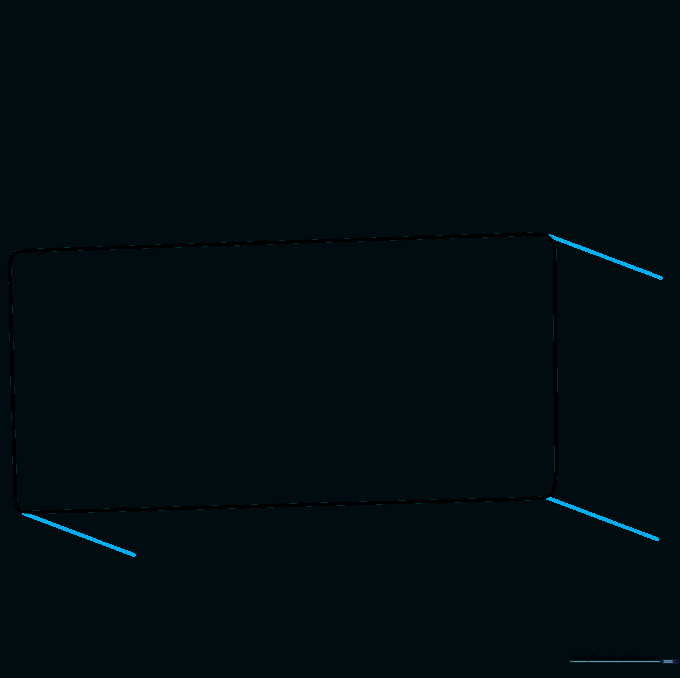
Draw short, diagonal lines extending from the bottom and side corners. This creates the illusion of a 3D box. Tip: Make sure your diagonal lines are all the same length to keep the radio looking balanced.
Step 3: Closing the Sides
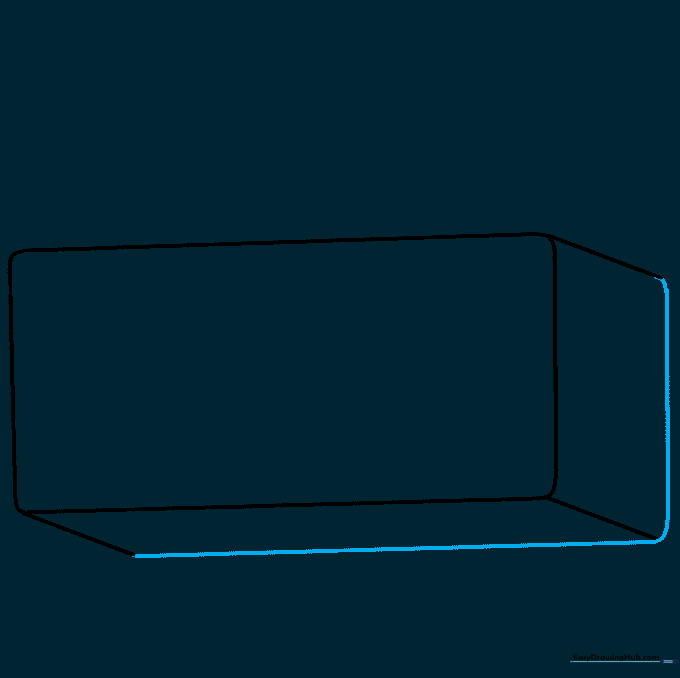
Connect the ends of your diagonal lines with straight lines to finish the side and bottom panels. Remember to keep those corners rounded for a smooth, cartoonish look.
Step 4: Drawing the Speakers
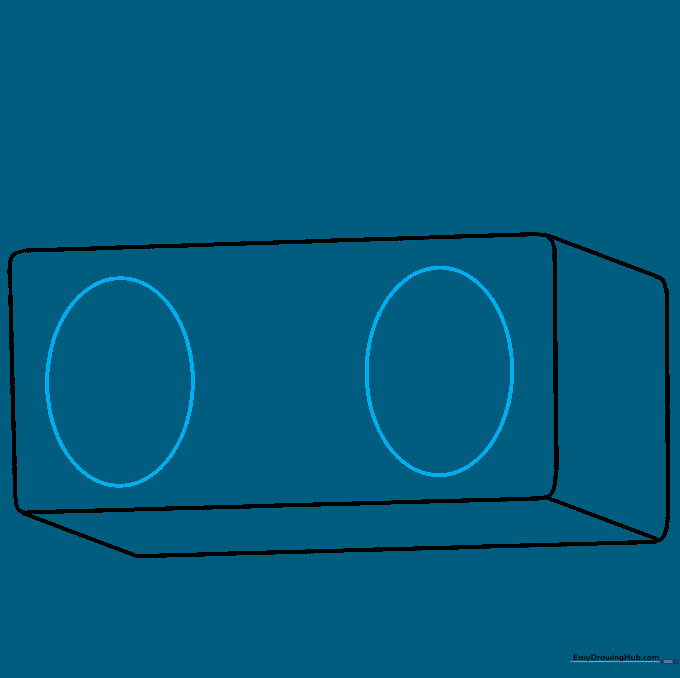
Sketch two large ovals side-by-side on the front panel. Tip: Use your fingers to measure the distance from the edges to ensure the speakers are centered.
Step 5: Adding Controls
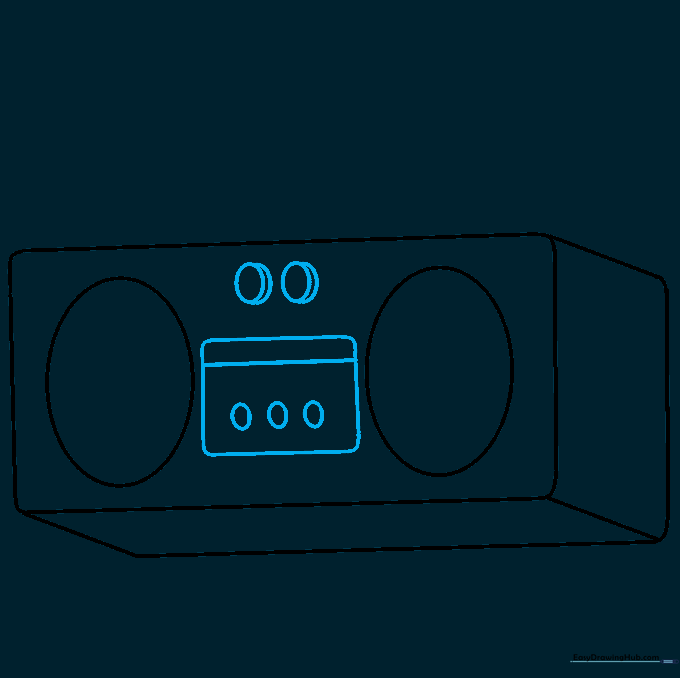
Draw a small rectangle between the speakers for the control panel, then add three tiny ovals below it. Add two larger ovals above for dials, using a curved line on the side of each to make them look like knobs.
Step 6: Creating the Handle
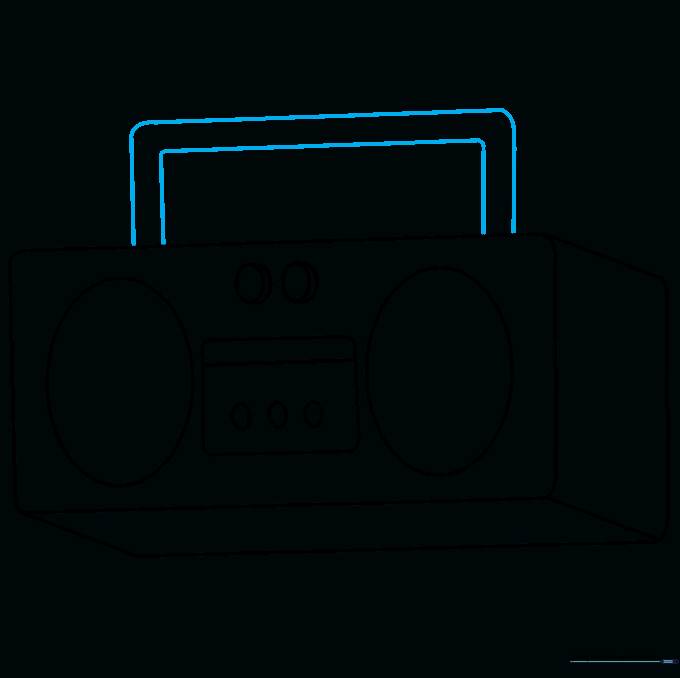
Draw a rectangle on top of the radio with rounded corners. This is your handle. Tip: Make sure the handle is wide enough to look like it could actually be held!
Step 7: Adding Handle Detail
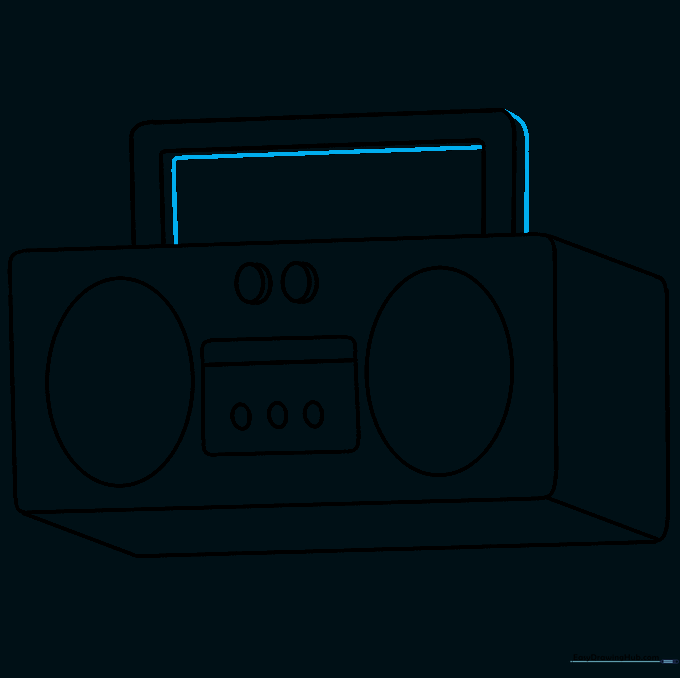
Add parallel lines to the underside and side of the handle to give it thickness. This makes the radio look sturdy and realistic.
Step 8: Adding Playback Buttons
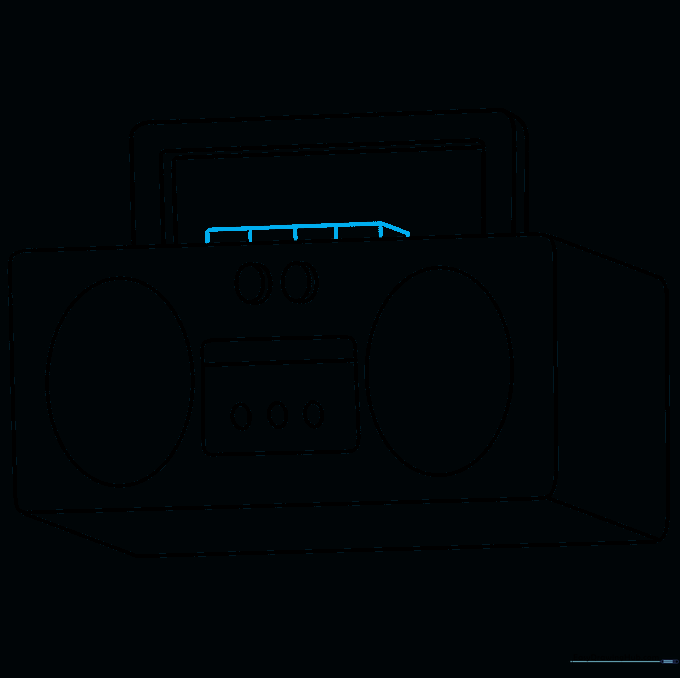
Draw a narrow rectangle on top with small vertical lines inside. These represent the buttons for play, pause, and rewind. Tip: Keep the spacing between lines even for a professional look.
Step 9: Speaker Grille Detail
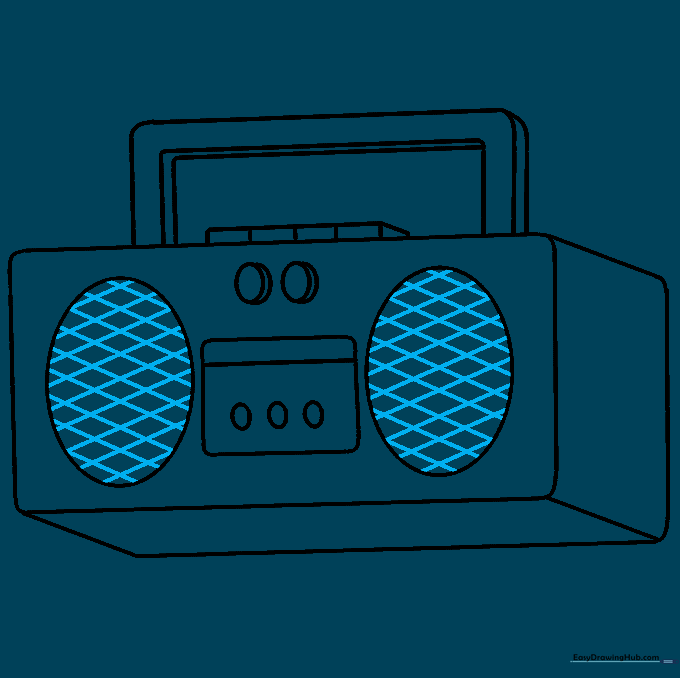
Draw diagonal lines across each speaker, then cross them with lines going the opposite way to create a mesh pattern. Tip: Use a ruler if you want the lines to be perfectly straight, or go freehand for a more relaxed style.
Step 10: Final Coloring
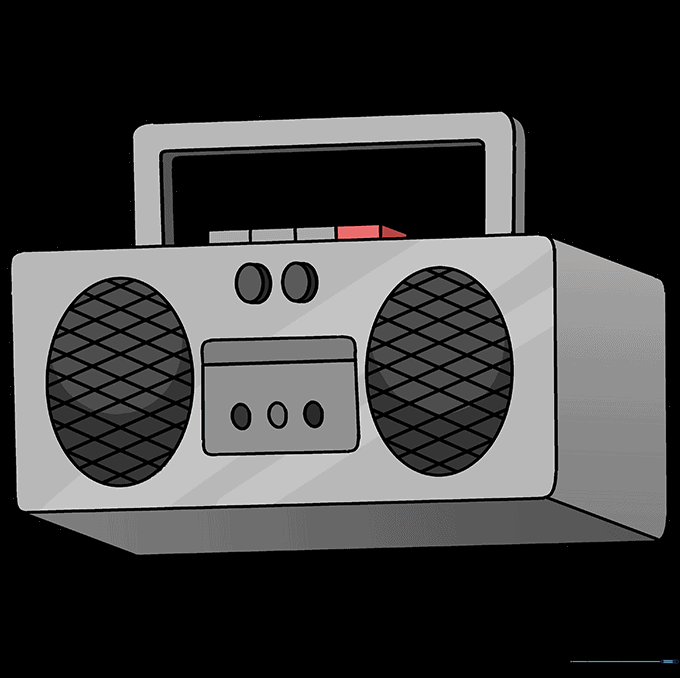
Time to color! Use bold colors for the body and metallic silver or grey for the speakers and knobs to make them pop.
More Tutorials


