How to Draw a Radar Antenna: Easy 9-Step Guide
Ready to explore technology through art? This tutorial is perfect for young engineers and artists ages 6+ looking to draw a realistic radar antenna. You only need a pencil, eraser, and paper to get started. Follow these steps to master geometric shapes and build your confidence in technical drawing.
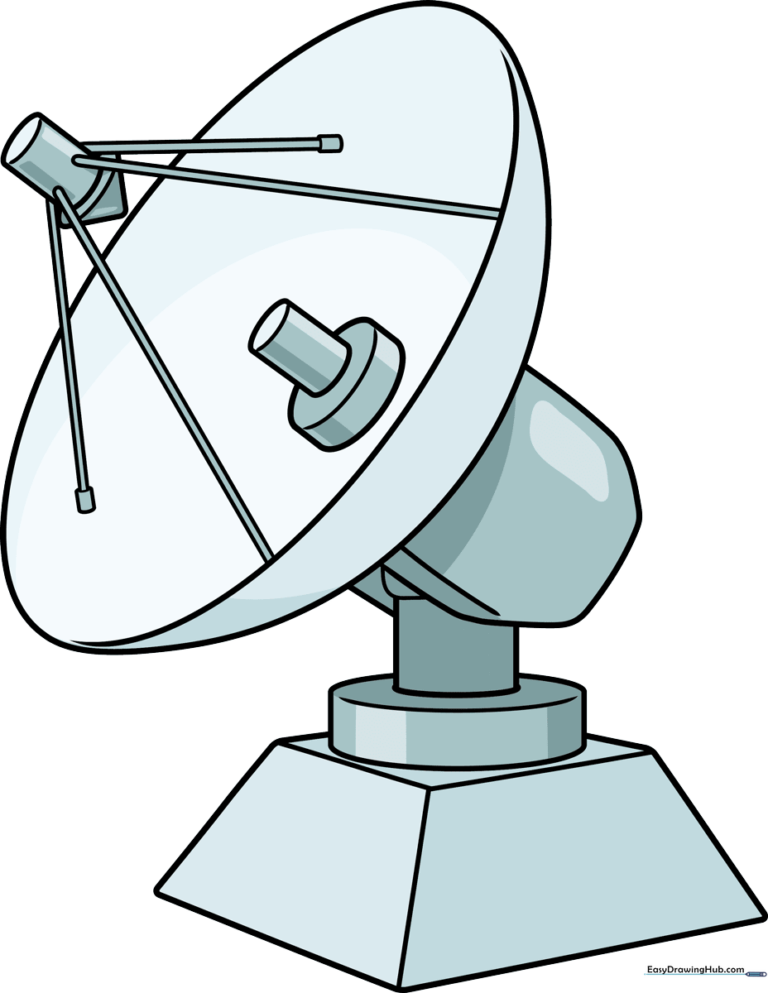
🎯 Final Result
Step-by-Step Instructions
Step 1: Sketching the Parabolic Dish
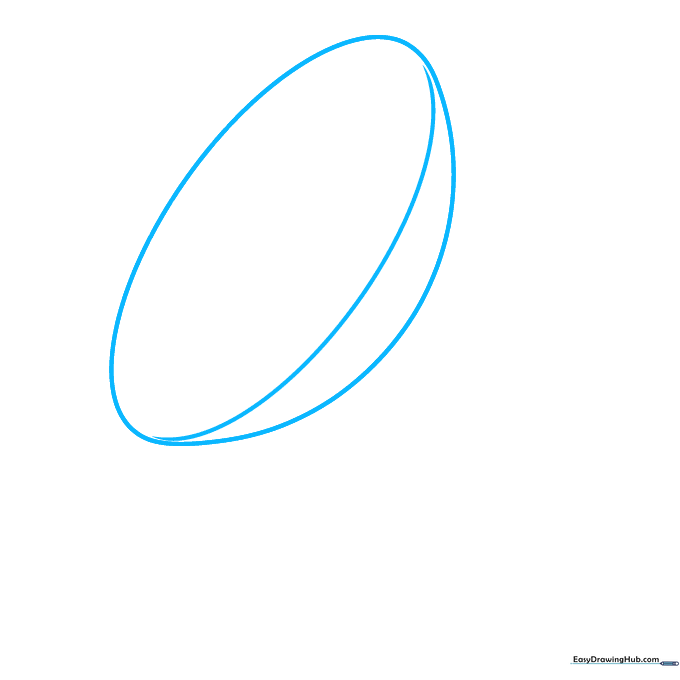
Draw a large oval, then add a curved line across it to create a crescent shape. This forms the main dish. Tip: Keep your hand loose—don't press too hard, as you'll want to refine this shape later.
Step 2: Adding the Feed Horn
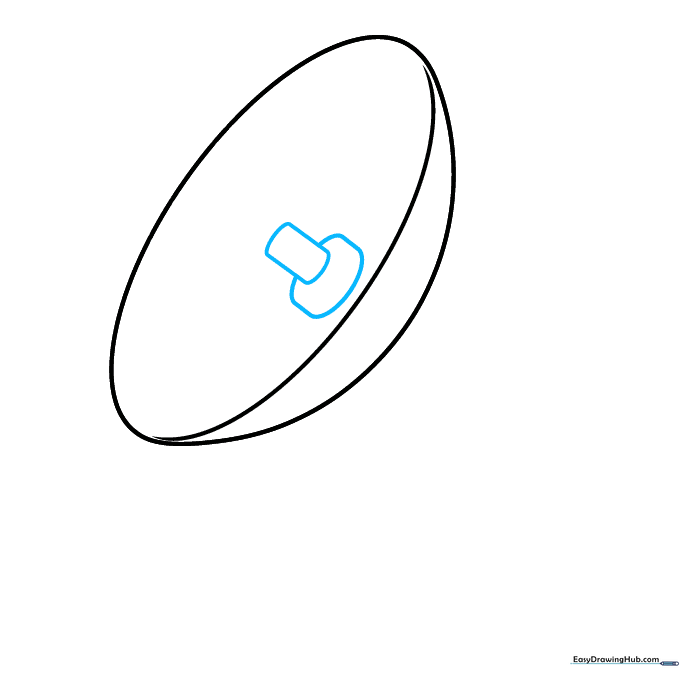
Draw a flattened oval and a small rounded rectangle in the center of your dish. This is the feed horn, the part that catches the signals. Tip: Center this carefully to keep your drawing balanced.
Step 3: Creating Depth and Support
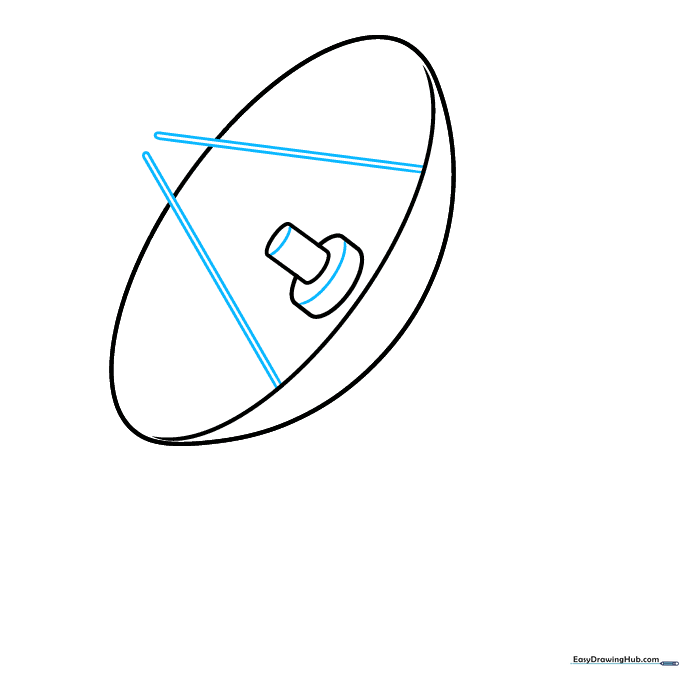
Add curved lines across the feed horn to make it look 3D. Then, draw two parallel lines extending from the sides of the dish. Tip: Use a ruler if you struggle to keep your lines perfectly parallel.
Step 4: Drawing the Secondary Reflector
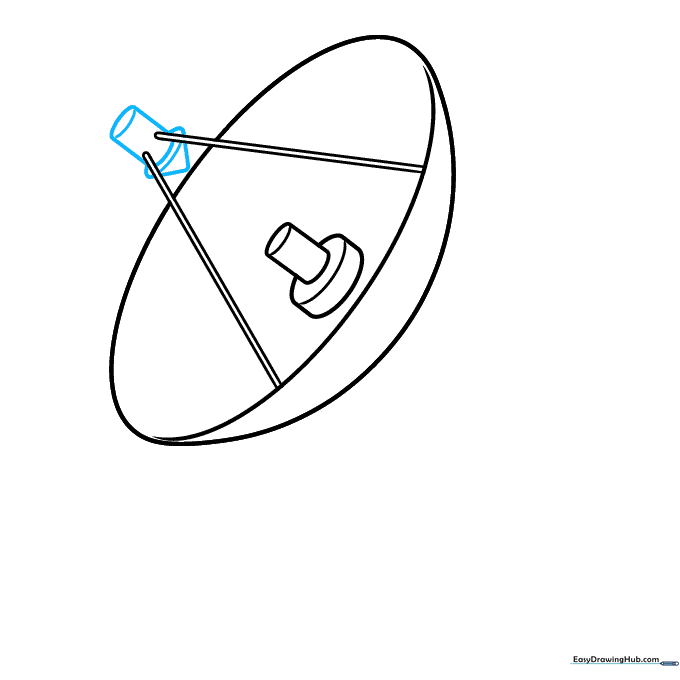
Connect your parallel lines with a cylinder and a cone to form an arrow shape. This is the secondary reflector. Tip: Think of this as an arrow pointing directly into the heart of the dish.
Step 5: Adding Structural Braces

Extend two more pairs of lines from the reflector to the sides of the dish, adding small rectangles at the ends. Tip: These represent the metal struts that hold the equipment in place.
Step 6: Detailing the Back of the Dish
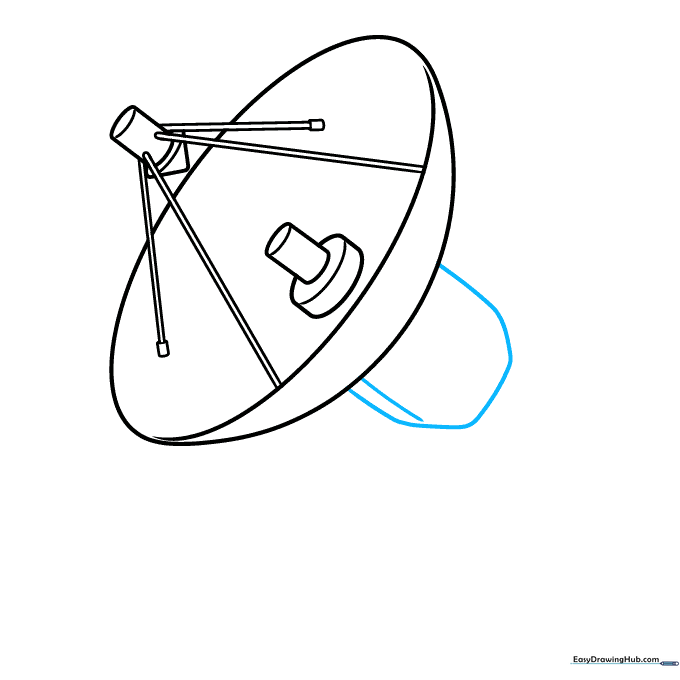
Draw an irregular rounded hexagon behind the dish. Add a line across it to show volume. Tip: This creates the 'casing' that protects the internal electronics.
Step 7: Refining the Mount
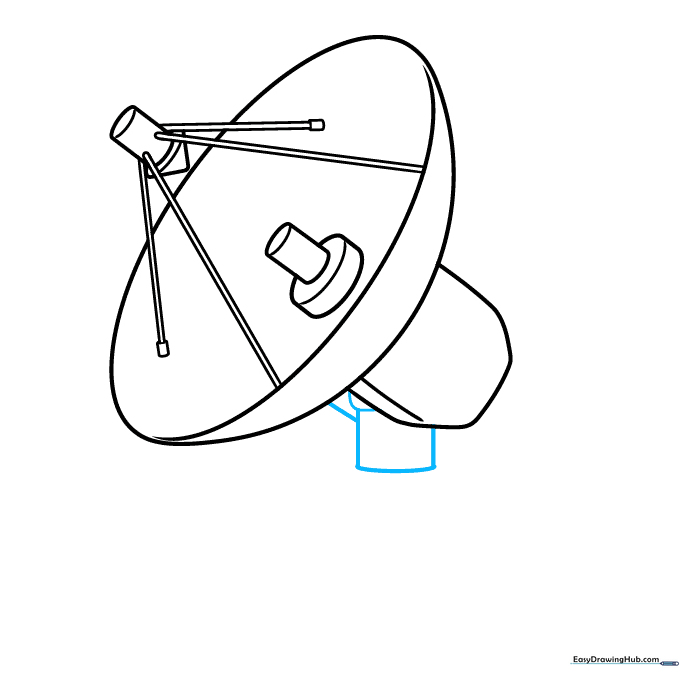
Draw a rectangle under the hexagon, then add a small rounded shape and a partial triangle. Tip: These are the mechanical joints that allow the antenna to rotate.
Step 8: Constructing the Base
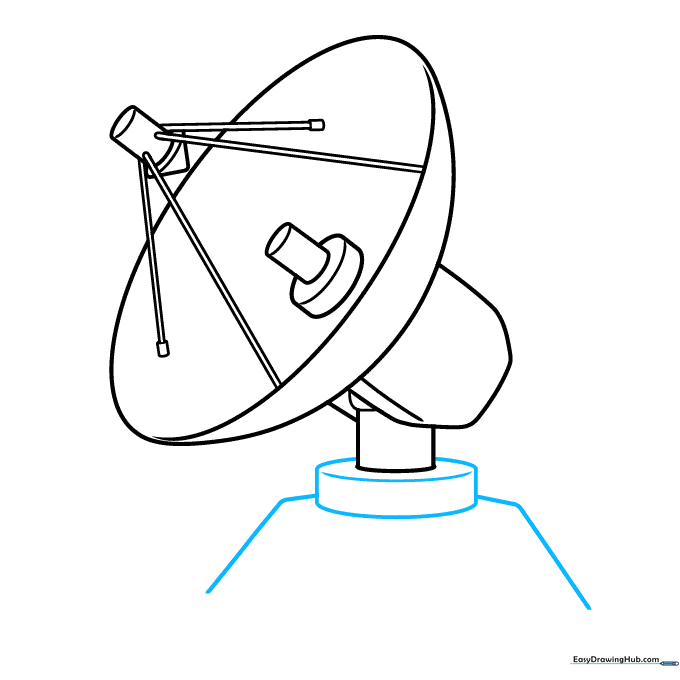
Draw a wide, flat cylinder beneath the antenna. Extend straight lines from the sides to start a large trapezoid. Tip: Make sure your base looks sturdy enough to hold the dish!
Step 9: Finalizing the Structure
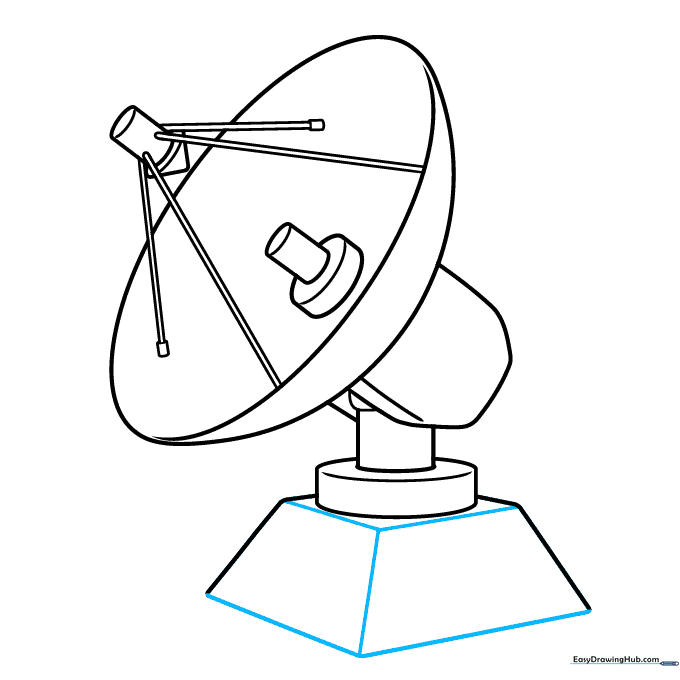
Use straight lines to enclose two more trapezoids, creating a solid base. Tip: Once you're happy with the lines, go over them with a darker pencil or pen to finish your outline.
Step 10: Adding Color
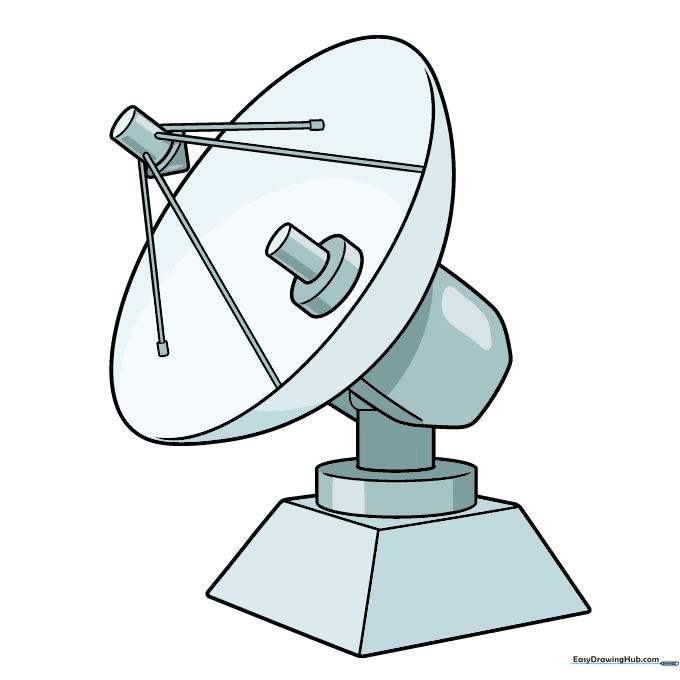
Time to bring your drawing to life! Use shades of grey and silver to give it a realistic metallic look. Tip: Use a light grey for the dish and a darker grey for the shadows to create depth.
More Tutorials


