How to Draw a Raccoon: Easy 10-Step Guide for Kids
Ready to bring a forest friend to life? This tutorial is designed for young artists ages 5 and up. Grab your pencil, eraser, and paper, and follow these simple steps to master drawing a raccoon’s iconic mask and fluffy tail.
🎯 Final Result

Step-by-Step Instructions
Step 1: Sketching the Head Base
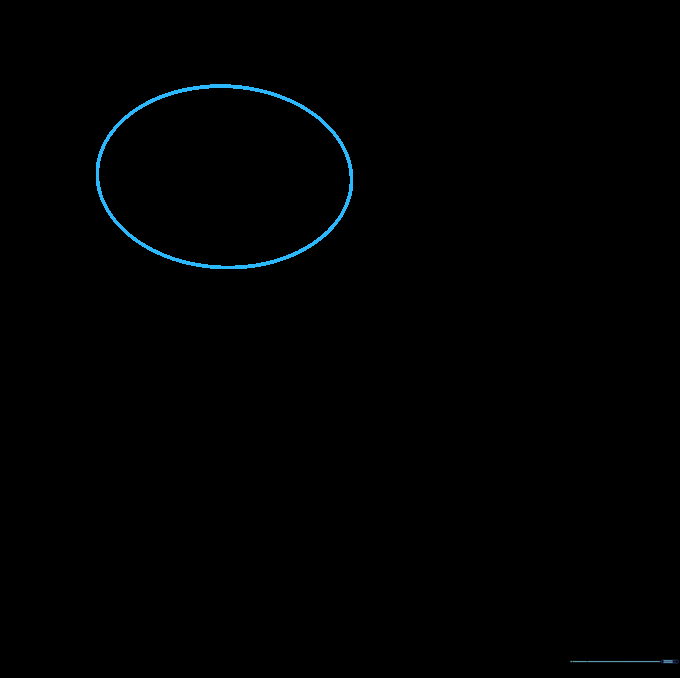
Draw a light oval to serve as the raccoon’s head. Teacher's Tip: Keep your pencil strokes very light so you can easily erase these guidelines later!
Step 2: Defining the First Cheek
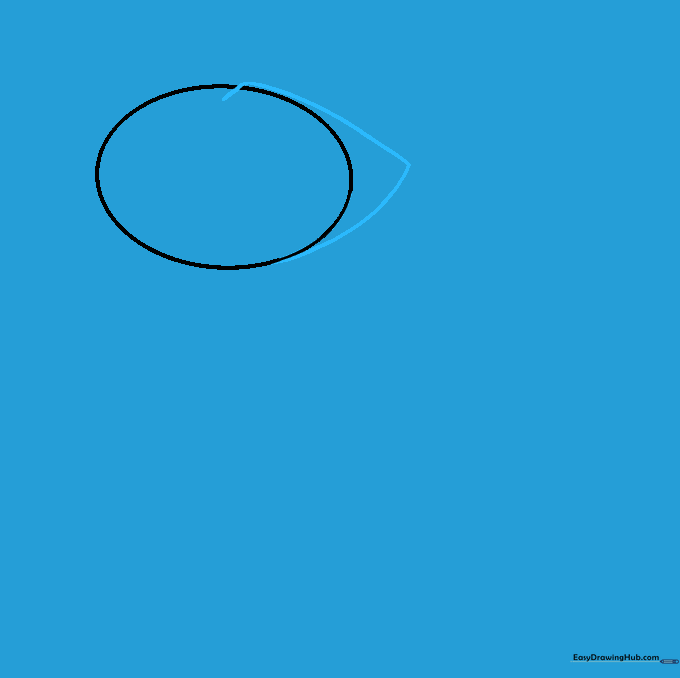
Draw a curved line starting inside the top of the oval, extending outward, and looping back to the bottom. This creates the raccoon’s signature fluffy cheek.
Step 3: Adding the Second Cheek
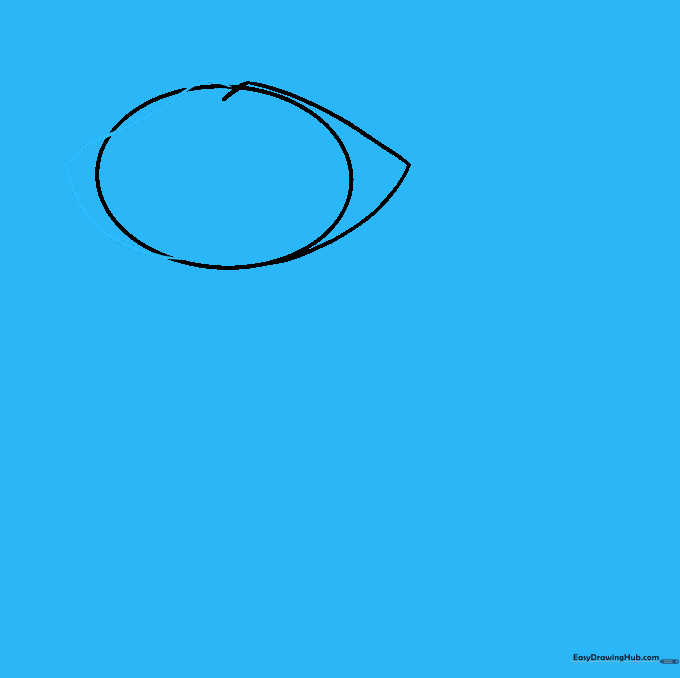
Repeat the process on the other side to create the second cheek. Tip: Try to make both sides symmetrical to give your raccoon a balanced, friendly look.
Step 4: Cleaning Up the Face

Carefully erase the original oval guidelines inside the cheeks. Now you have a clean, solid outline of your raccoon's face.
Step 5: Drawing the Snout
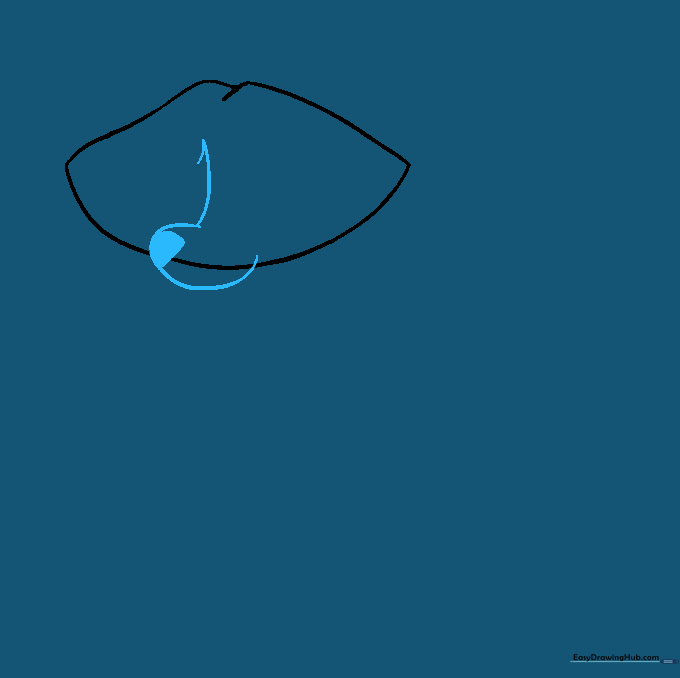
Sketch a small triangle at the bottom of the face for the nose and shade it in. Add a curved line above it to define the snout area.
Step 6: Refining the Snout

Erase any overlapping guide lines around the snout to make it look like it belongs to the face. A clean drawing makes coloring much easier later!
Step 7: Sketching the Body

Draw two long, curved lines downward from the head to form the body. Add small, irregular shapes at the bottom for the feet.
Step 8: Adding Arms and Tail

Draw the arms with small 'U' shapes for fingers. Add a large, fluffy tail with parallel curved lines—this is where the raccoon's stripes will go!
Step 9: Final Facial Details

Draw the ears, the iconic bandit mask around the eyes, and a happy smile. Tip: Use small circles for the eyes to give your raccoon a cute, curious expression.
Step 10: Bring Your Raccoon to Life

Time to color! Use grey for the body, black for the mask and tail stripes, and a light pink or peach for the nose. Great job!
More Tutorials


