How to Draw a Quokka: Easy 10-Step Guide for Kids
Bring the world's happiest animal to life with this beginner-friendly drawing tutorial, perfect for artists ages 5 and up. All you need is a pencil, an eraser, and a piece of paper to get started. Follow these simple steps to master basic shapes and create your own adorable, smiling quokka character.
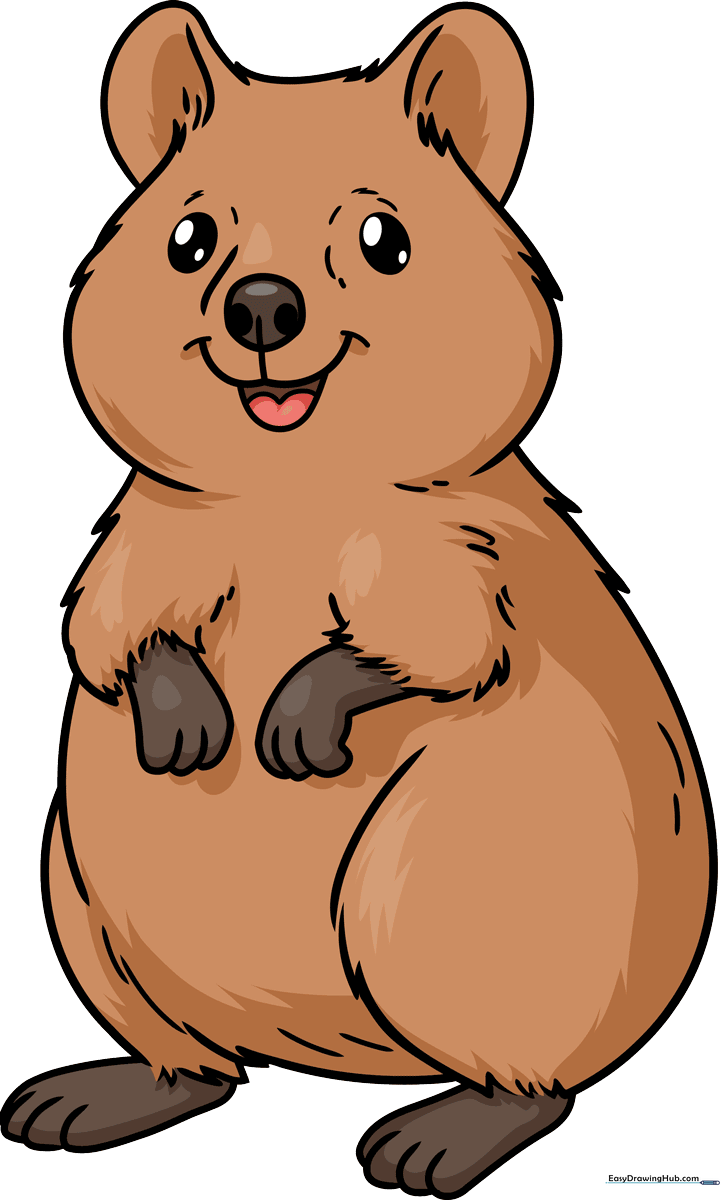
🎯 Final Result
Step-by-Step Instructions
Step 1: Sketching the Face and Eyes
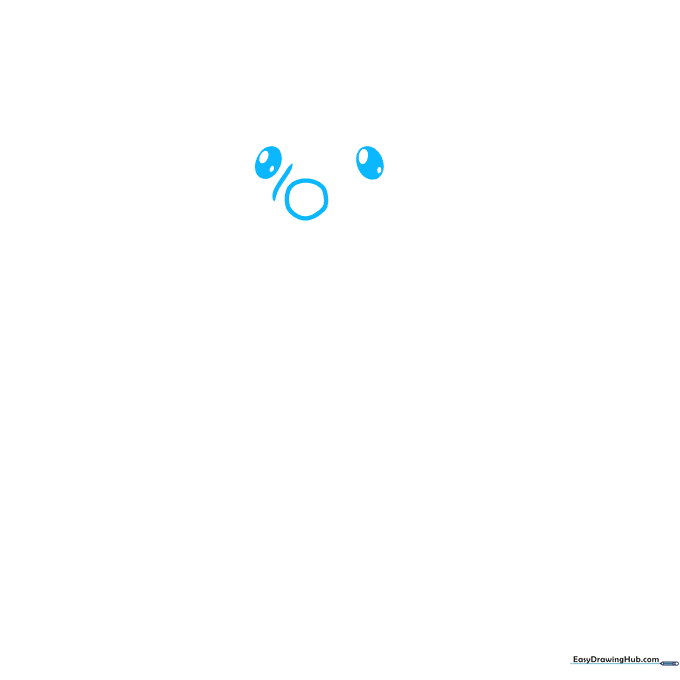
Start by drawing a soft circle for the head and a small oval to the side for the nose. For the eyes, draw two ovals with smaller circles inside, shading the centers to give your quokka a bright, alert expression. Teacher's Tip: Keep your pencil lines very light so you can easily erase any overlapping marks later.
Step 2: Defining the Nose and Smile
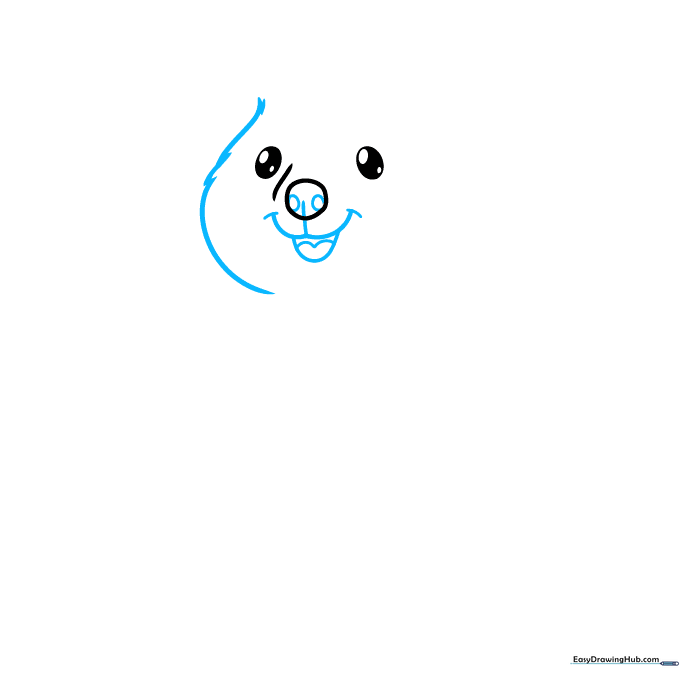
Add two small curves inside the nose for nostrils, then draw a line extending downward to create the mouth. Add a curved line for the tongue and use short, jagged strokes to outline the fuzzy cheeks. Teacher's Tip: Use a 'zigzag' motion with your pencil to mimic the texture of soft fur.
Step 3: Adding the Ears
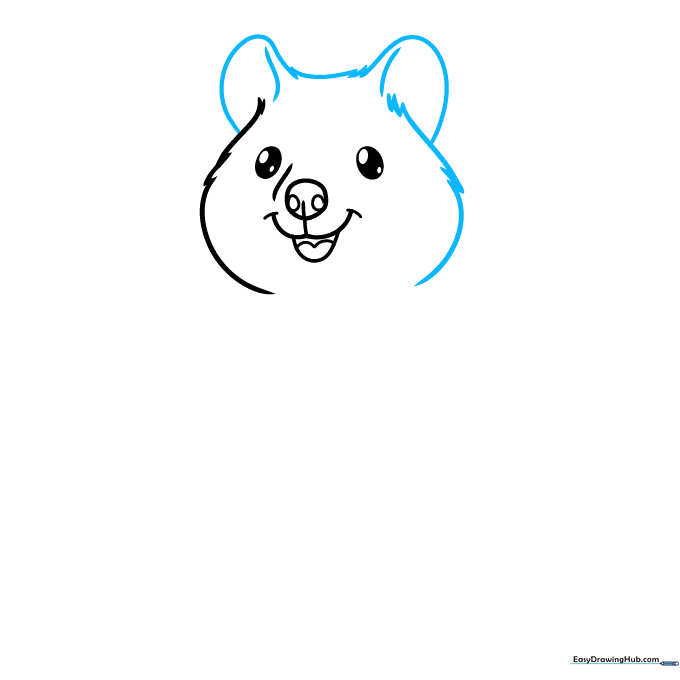
Draw two large, rounded ears on top of the head using long, curved lines. Connect them with more jagged fur lines to complete the top of the head. Teacher's Tip: Add a smaller curved line inside each ear to give them depth and a realistic shape.
Step 4: Sketching the Body and Arms
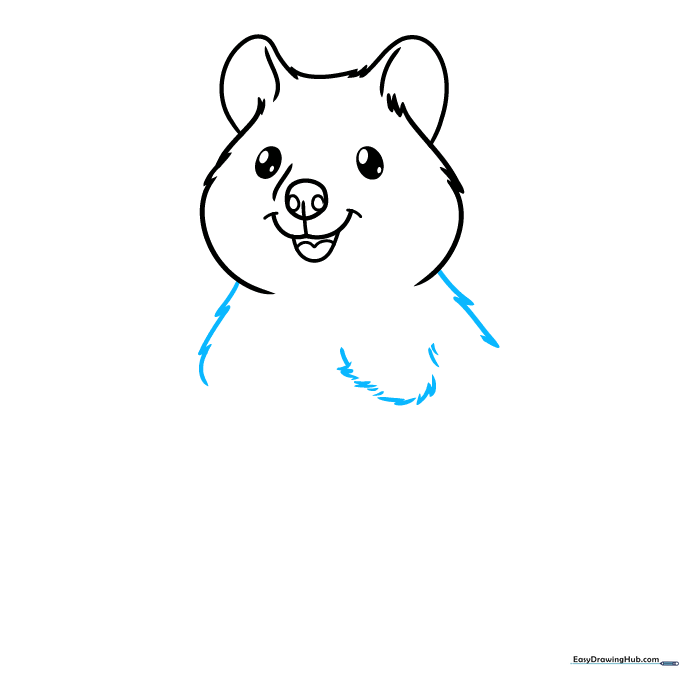
Use jagged, rhythmic lines to draw the sides of the body, moving downward from the head. Sketch the upper arms using short, curved lines. Teacher's Tip: Don't worry about making the fur lines perfect; the 'messier' they look, the more natural the fur will appear.
Step 5: Drawing the Front Paws
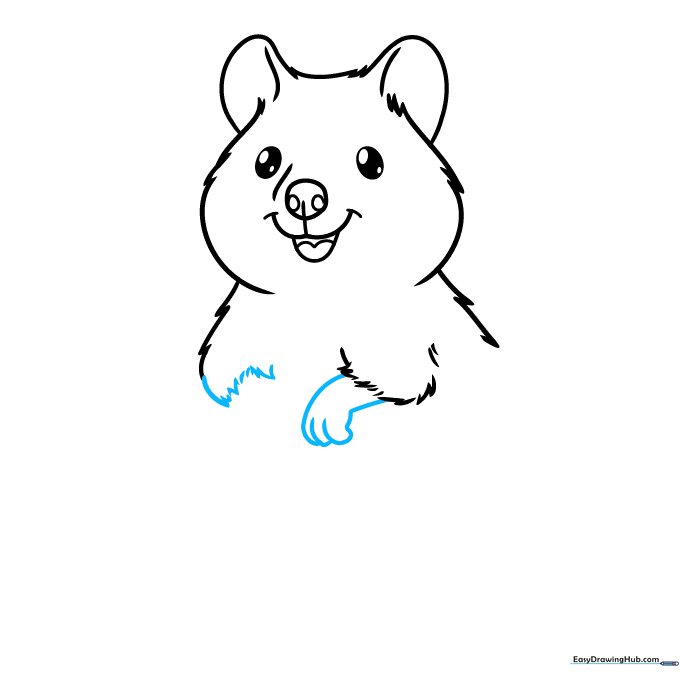
Add the lower arms and paws using overlapping curved lines to show the quokka holding its position. Teacher's Tip: Imagine the quokka is reaching for a snack to help you visualize the curve of the arms.
Step 6: Shaping the Back and Haunches
Continue the back line with a long, smooth curve that flows into the haunches. This creates the rounded, sturdy shape of the quokka's lower body. Teacher's Tip: Use a continuous, fluid motion for the back to keep the line looking smooth.
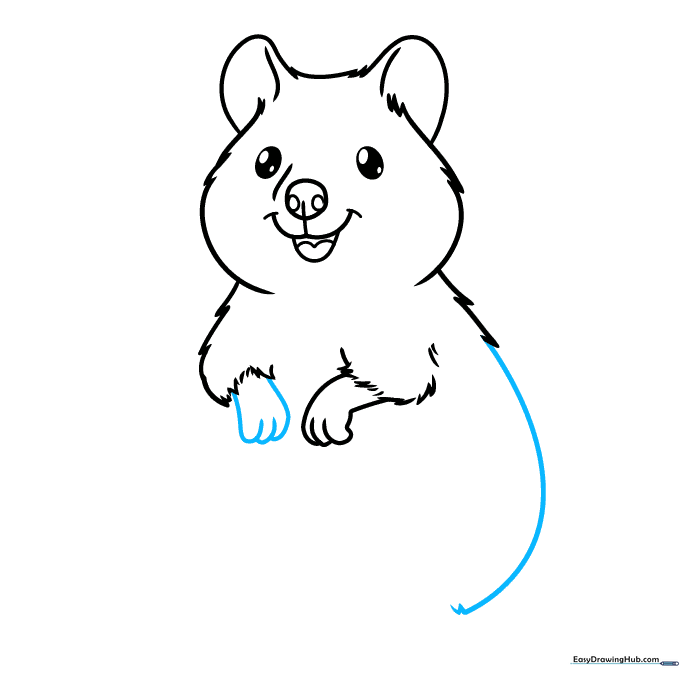
Step 7: Defining the Belly and Legs
Draw the rear leg and belly area using a mix of long and short curved lines. This closes the body shape. Teacher's Tip: Keep the belly line slightly rounded to give your quokka a cute, plump appearance.
Step 8: Adding the Rear Feet
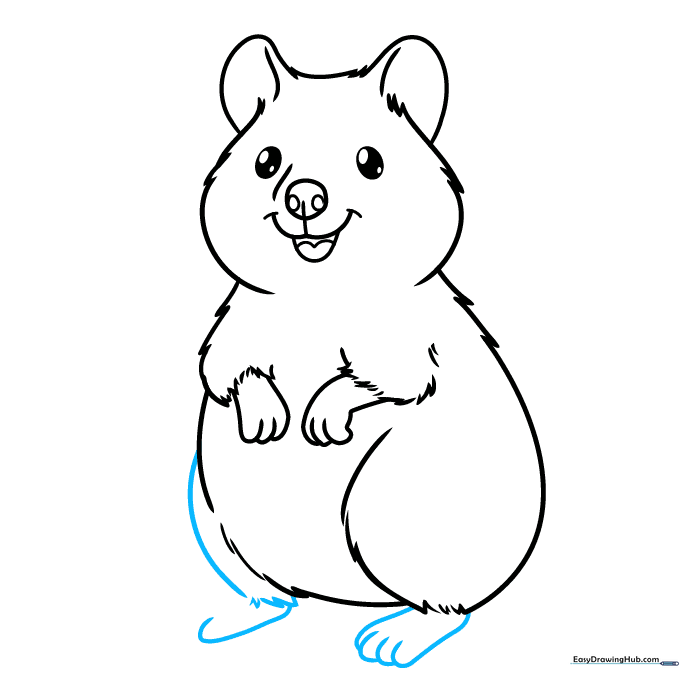
Sketch the rear legs and feet using overlapping curved lines. Add a few jagged marks at the bottom to suggest fur. Teacher's Tip: Make the feet slightly larger than the front paws to keep the proportions balanced.
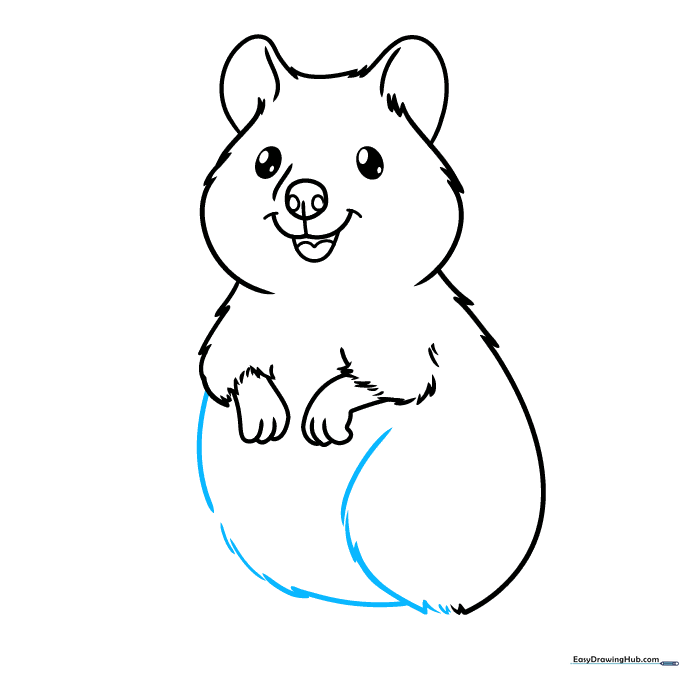
Step 9: Final Details and Texture
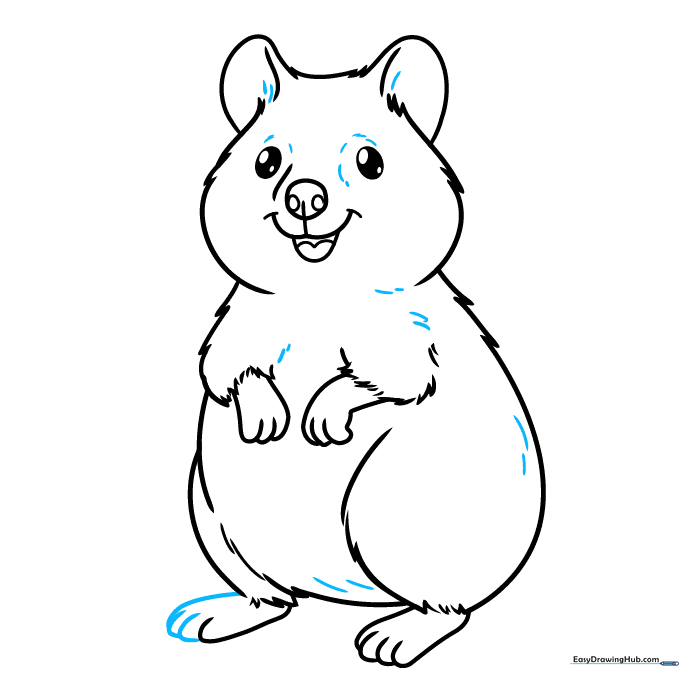
Complete the toes with small curves and add light, short lines around the ears, eyes, and body to create a soft, furry texture. Teacher's Tip: Less is more! A few well-placed lines are better than covering the whole drawing in marks.
Step 10: Bring Your Quokka to Life with Color
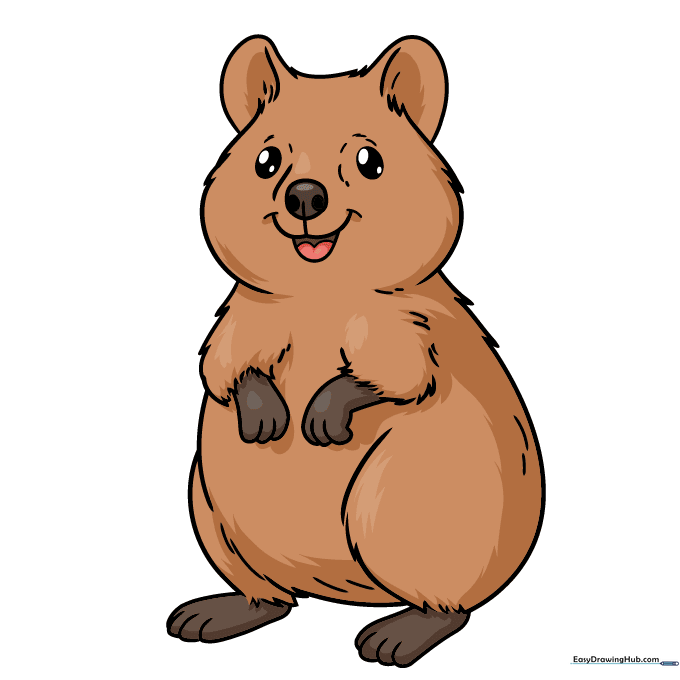
Your outline is ready! Use shades of brown or gray for the fur and a soft pink for the inside of the ears. Teacher's Tip: Try using light brown for the main body and a darker brown for the shadows to make your quokka look 3D.
More Tutorials


