How to Draw a Queen: Easy 10-Step Guide for Kids
Ready to bring royalty to life on paper? This guide is perfect for young artists ages 5 and up who want to practice character design. All you need is a pencil, an eraser, and a piece of paper to master this regal figure.
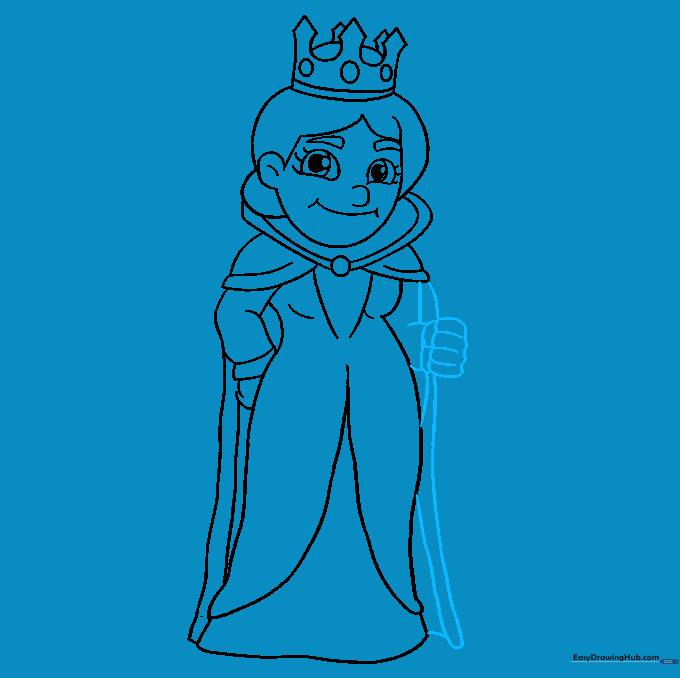
🎯 Final Result

Step-by-Step Instructions
Step 1: Sketching the Head

Start by drawing a light oval to form the queen's head. Teacher's Tip: Keep this shape centered on your paper to leave plenty of room for her crown and gown later.
Step 2: Adding Hair and Ears

Erase the top of your oval and replace it with soft, curved lines for the hair. Add a small 'C' shape for the ear. Teacher's Tip: That little 'V' shape in the center of the hairline creates a natural-looking part.
Step 3: Designing the Crown

Sketch the crown using curved lines for the base and points for the top. Add small circles at the base to represent jewels. Teacher's Tip: Make the crown points symmetrical to give it a balanced, regal look.
Step 4: Drawing the Face

Draw a gentle smile, a small nose, and expressive eyes with pupils. Add curved lines for eyelashes and brows. Teacher's Tip: Keep the eyes simple—two circles inside each other—to maintain that classic cartoon style.
Step 5: The Royal Cape

Draw a small circle under the chin and connect it to the head to start the cape. Use overlapping curved lines to create the fabric folds. Teacher's Tip: Think of these as soft, rounded triangles to make the cape look like it's draping over her shoulders.
Step 6: The Gown
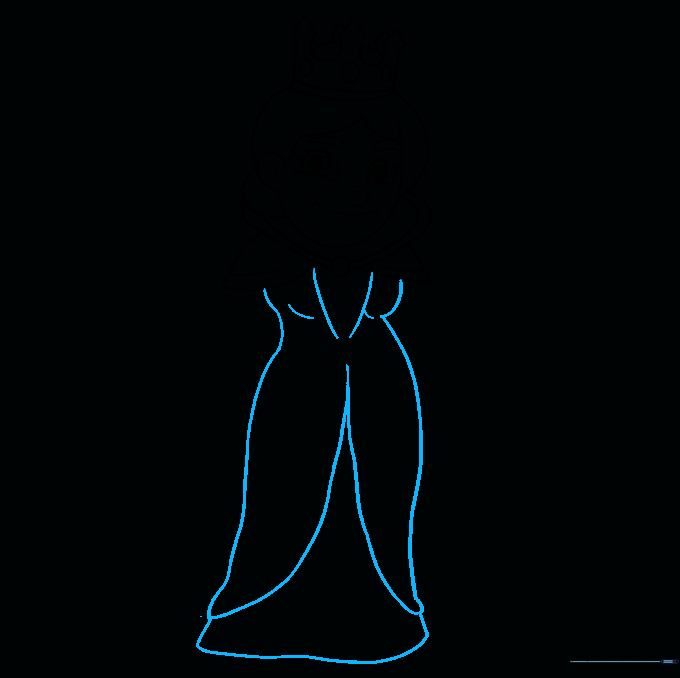
Outline the dress using long, flowing curved lines that meet at the bottom. Add a 'V' shape at the neckline. Teacher's Tip: Keep your pencil strokes smooth and continuous to make the dress look elegant.
Step 7: Adding the First Arm
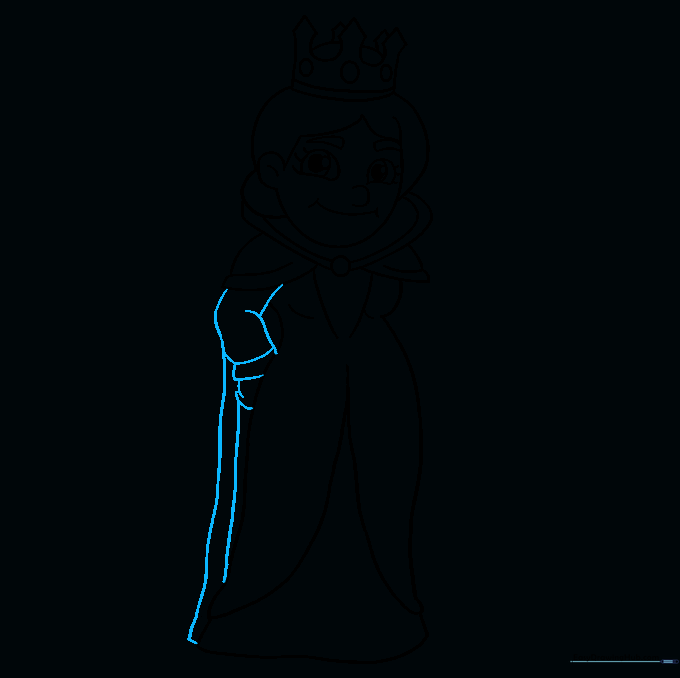
Sketch the arm bent at the elbow, adding a cuff and hand. Draw the edge of the cape flowing down. Teacher's Tip: Use overlapping lines to show where the sleeve meets the hand.
Step 8: Adding the Second Arm
Repeat the process for the opposite arm. Connect the cape edge to the bottom of the dress. Teacher's Tip: Try to match the angle of the first arm to keep your character looking natural.
Step 9: The Royal Scepter
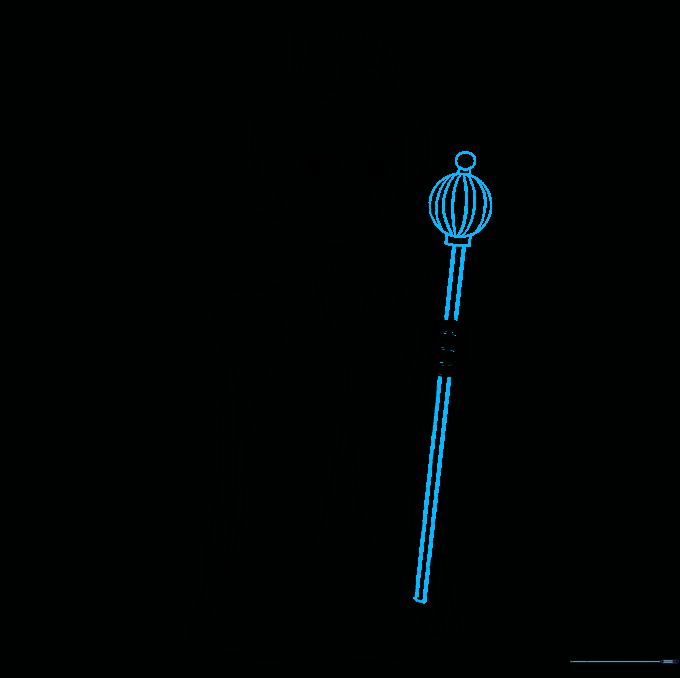
Draw a scepter extending from her hand, topped with a circle and rectangle. Teacher's Tip: Use a ruler if you find it hard to draw straight lines for the scepter handle!
Step 10: Bringing Her to Life with Color

Color your queen! Use royal shades like purple, deep red, and gold. Teacher's Tip: Try using light pressure with your colored pencils to create smooth gradients on her gown.
More Tutorials


