How to Draw a Puzzle: Easy 10-Step Guide for Kids
Looking for a fun way to practice geometric shapes? This puzzle drawing tutorial is perfect for ages 5 and up. All you need is a pencil, an eraser, and some paper to create your own interlocking masterpiece.
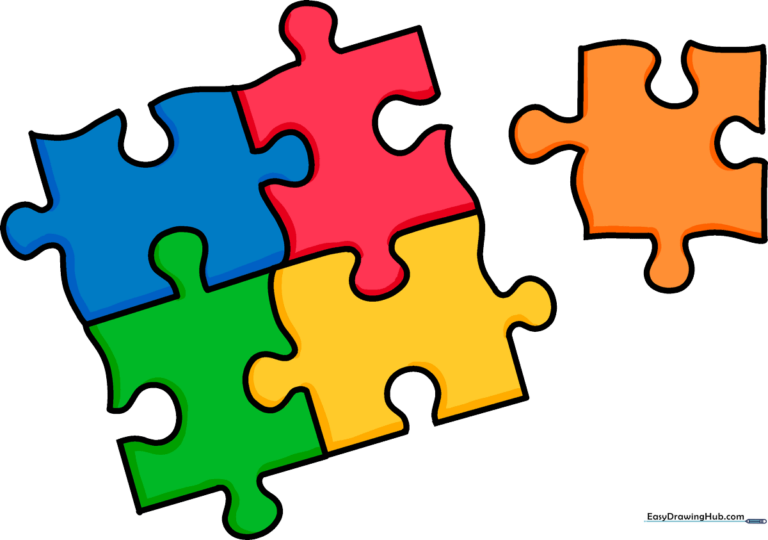
🎯 Final Result
Step-by-Step Instructions
Step 1: Sketching the First Edge

Start by drawing a long, slightly curved line. Add a 'C' shaped indentation on one side and a 'C' shaped protrusion on the other. Tip: Think of these as the 'lock and key' parts of the puzzle.
Step 2: Closing the First Piece

Connect your lines to form a rough square shape. Ensure the indentation and protrusion align naturally. Tip: Don't worry about perfect straight lines; puzzle pieces are often slightly organic in shape.
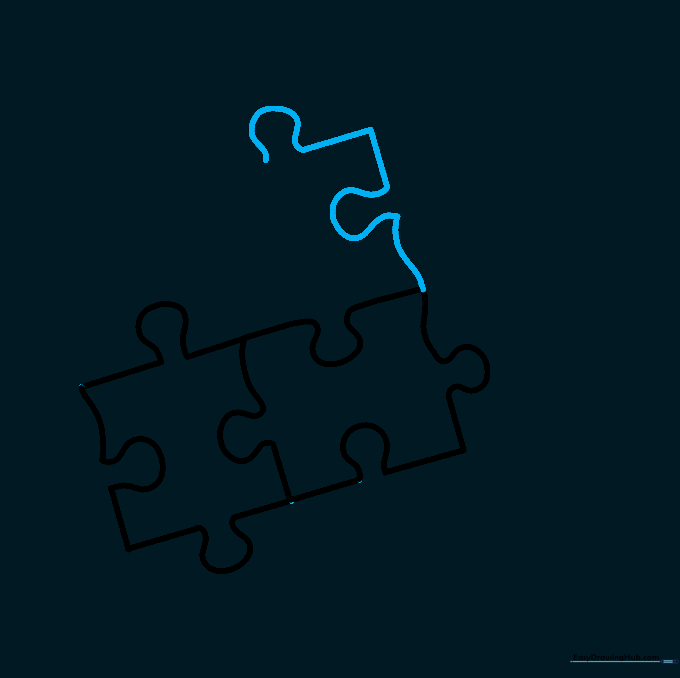
Step 3: Adding the Second Piece
Begin the second piece by drawing a straight line off the corner of the first. Use an 'L' shape to create the connection point. Tip: Keep the pieces touching so they look like they are actually locked together.
Step 4: Defining the Second Piece
Use curved lines to finish the outer edges of the second piece. Make sure to include one 'C' shaped indentation. Tip: Vary the size of your curves to make the puzzle look more realistic.
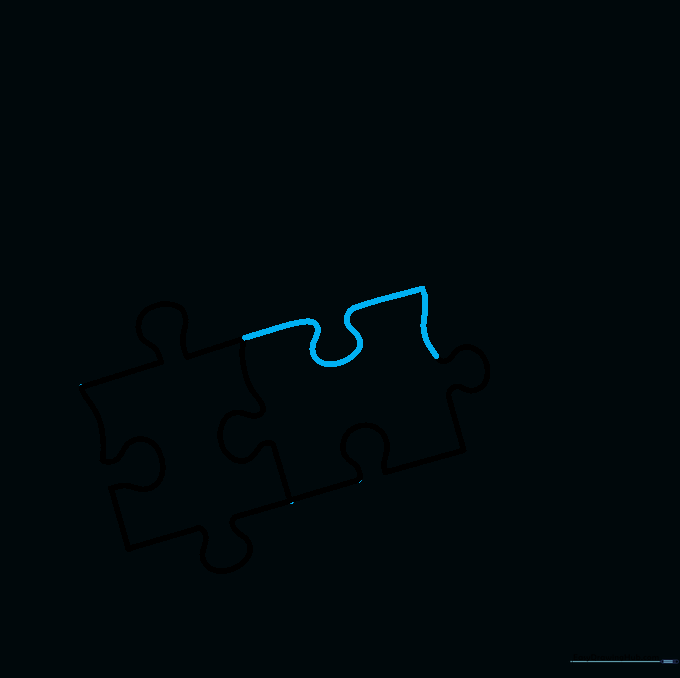
Step 5: Drawing the Third Piece
Start the third piece from the corner of the first. Draw two sides, ensuring one has a protrusion that fits into the existing piece. Tip: This is where the 'interlocking' effect really starts to show.
Step 6: Completing the Third Piece
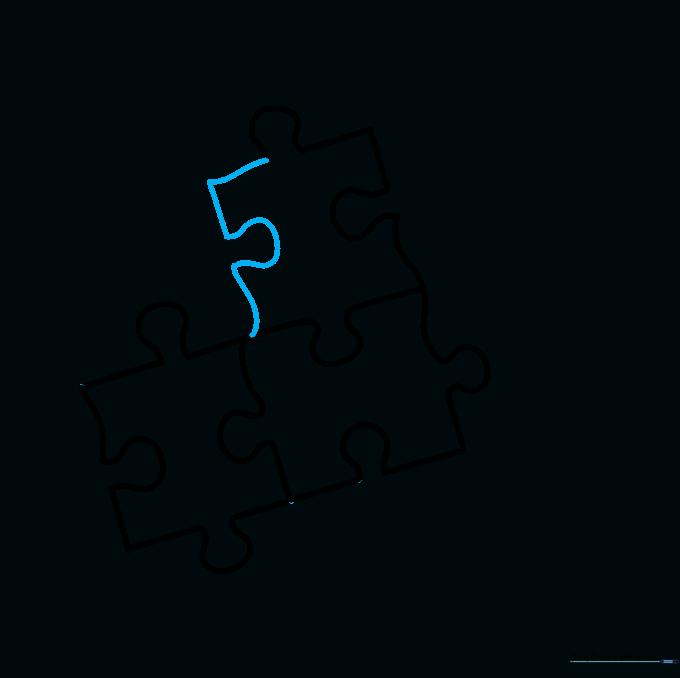
Close the shape of the third piece with smooth, curved lines. Tip: If your lines look a bit wobbly, use your eraser to gently round them out.
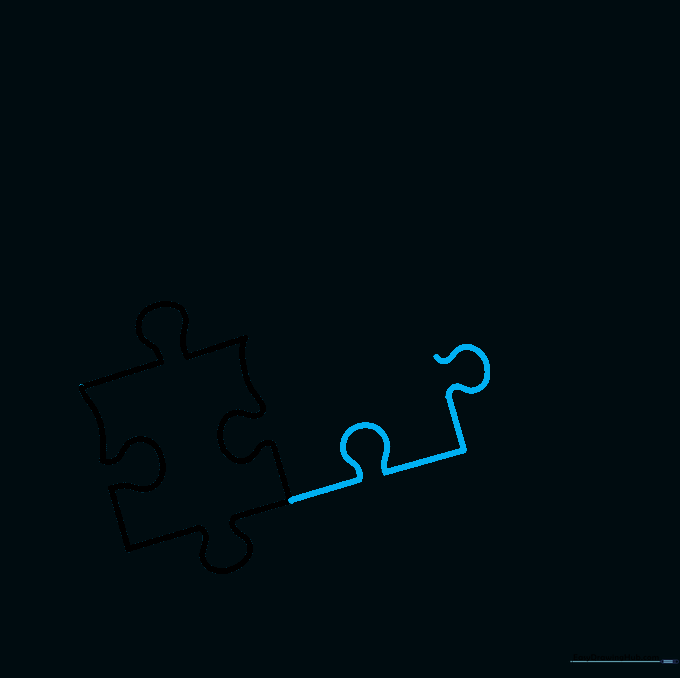
Step 7: Adding the Fourth Piece
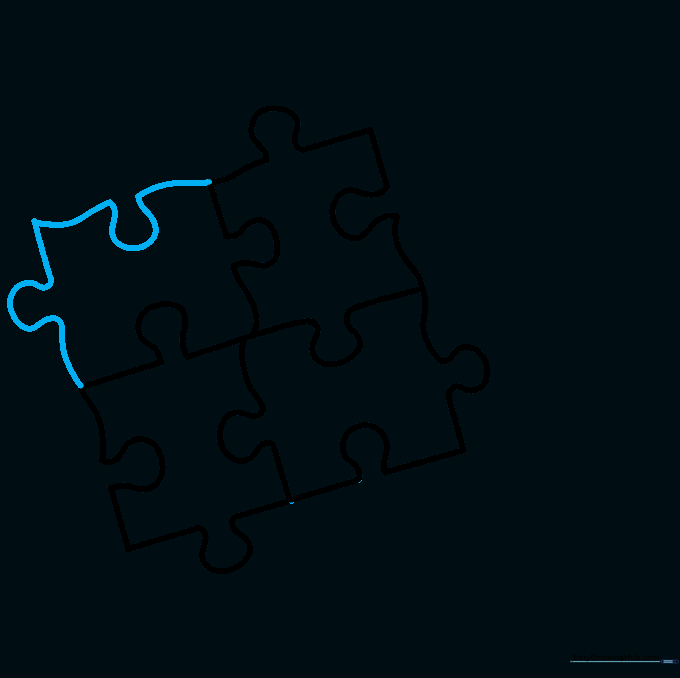
Draw the fourth piece by connecting the corners of the first and third pieces. Use curved lines to bridge the gap. Tip: Imagine you are filling in a gap in a real jigsaw puzzle.
Step 8: Starting the Fifth Piece
Outline the first two sides of the fifth piece. Ensure it has a clear protrusion and indentation. Tip: Keep your pencil pressure light so you can easily fix any overlapping lines.
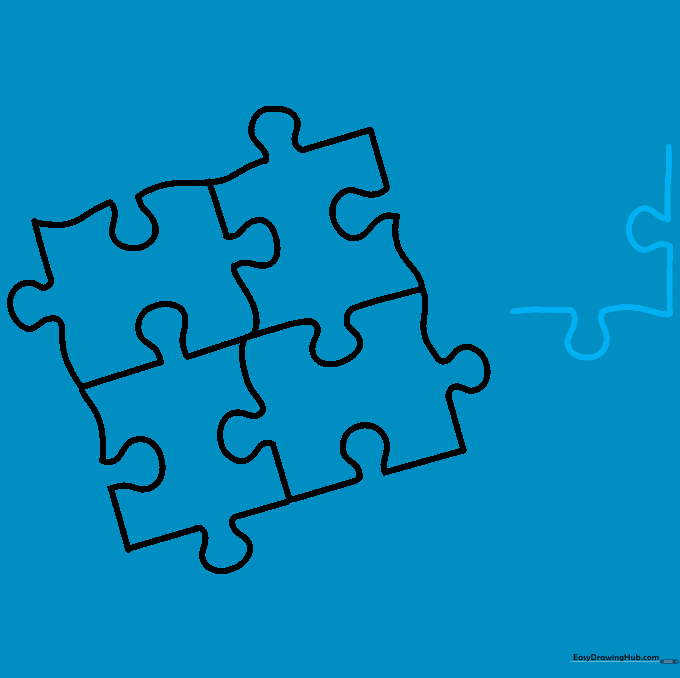
Step 9: Finalizing the Outline

Complete the final piece by connecting the remaining edges. Your puzzle should now look like a cohesive group of pieces. Tip: Check that all pieces look like they could physically fit together.
Step 10: Adding Color
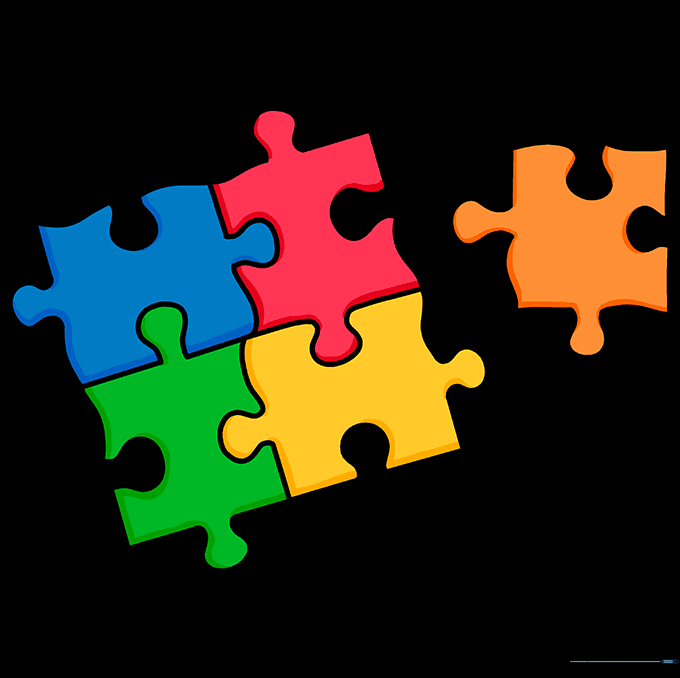
Bring your puzzle to life with color! You can use different colors for each piece or draw a single image across all of them. Tip: Use a dark marker to outline the edges after coloring to make the pieces pop.
More Tutorials


