How to Draw a Pumpkin Patch: Easy Step-by-Step Guide
Bring the harvest season to life with this charming pumpkin patch drawing. Designed for young artists and beginners, this project uses simple shapes to build a complete landscape scene. Grab your favorite pencils and paper to start creating your own autumn masterpiece today.
🎯 Final Result
Step-by-Step Instructions
Step 1: Sketching the First Pumpkin

Start with your primary pumpkin. Use two curved lines to create a rounded, vertical shape, then add smaller curved segments on the sides to give it that classic ribbed look. Top it off with a small rectangle for the stem. Tip: Keep your pencil lines light so you can easily erase any overlapping lines later.
Step 2: Adding More Pumpkins

Add variety to your patch by drawing pumpkins of different sizes nearby. Repeat the process of using elongated, rounded shapes and adding short, jagged lines at the base to represent grassy ground. Tip: Varying the heights of your pumpkins makes the patch look more natural and less like a perfect row.
Step 3: Creating Overlapping Pumpkins
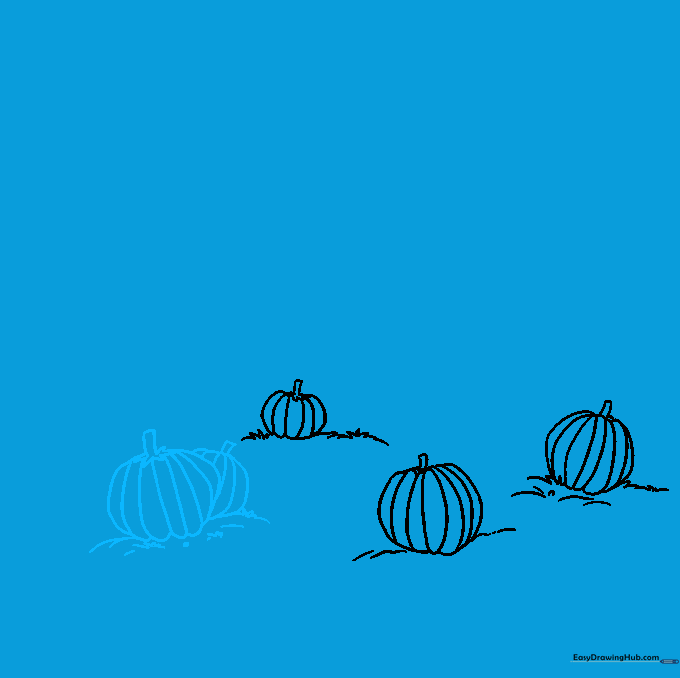
To create depth, draw two pumpkins that overlap. Sketch the first one, then draw the second at a slight angle so it appears to be tucked behind the first. Tip: Don't worry if the lines cross; just erase the hidden lines inside the front pumpkin to make it look solid.
Step 4: Adding Distant Pumpkins
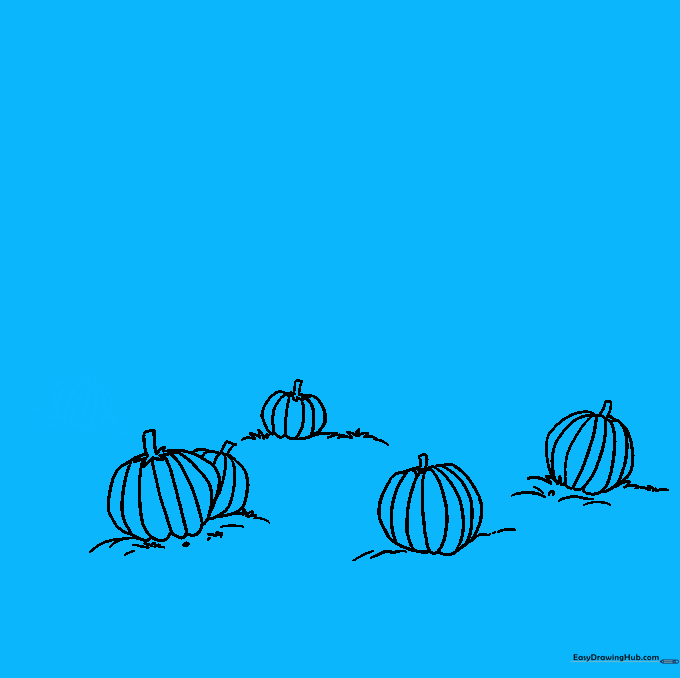
Draw a smaller pumpkin in the background to show distance. Because it is further away, it should be drawn smaller and placed higher up on your page. Tip: Use less detail on distant objects to help the foreground pumpkins stand out.
Step 5: Sketching the Fence
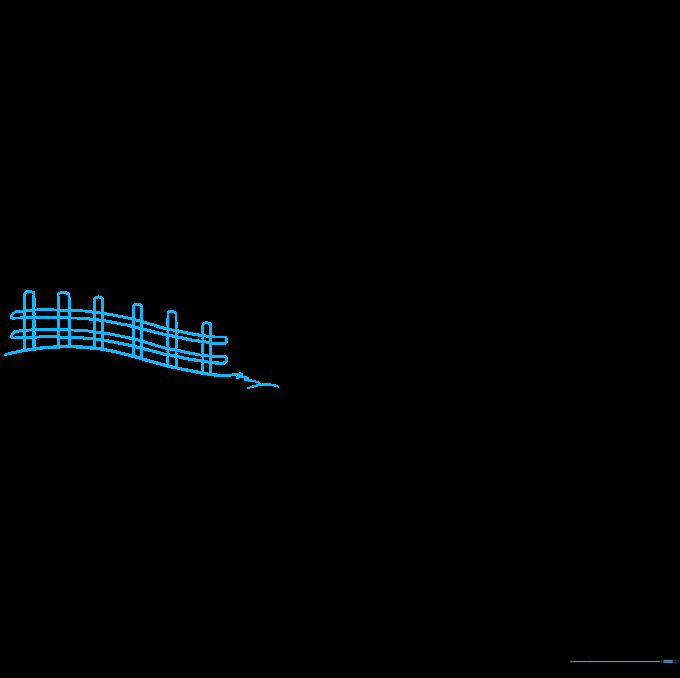
Give your patch a rustic feel by adding a fence. Draw a curved horizon line, then add vertical posts connected by horizontal rails. Tip: Keep your fence posts straight by using a ruler if you find freehand lines too tricky.
Step 6: Drawing the Wheelbarrow
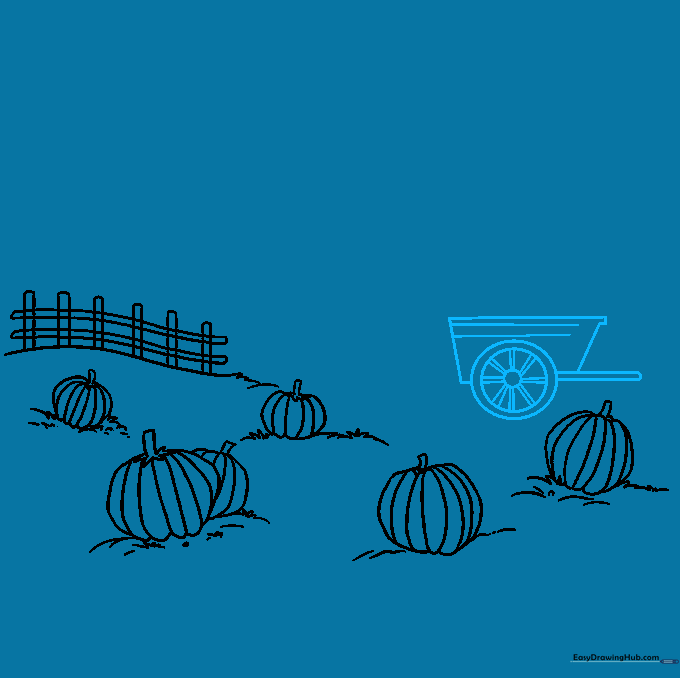
Add a wheelbarrow to help harvest your pumpkins. Start with a circle for the wheel, then draw the frame extending out from it. Tip: Use simple geometric shapes like trapezoids to build the body of the wheelbarrow before adding the details.
Step 7: Filling the Wheelbarrow

Draw a few pumpkins inside the wheelbarrow. Add some jagged grass around the base of the wheelbarrow to ground it in the scene. Tip: Draw the pumpkins inside the wheelbarrow slightly smaller to show they are sitting inside the container.
Step 8: Adding a Sign
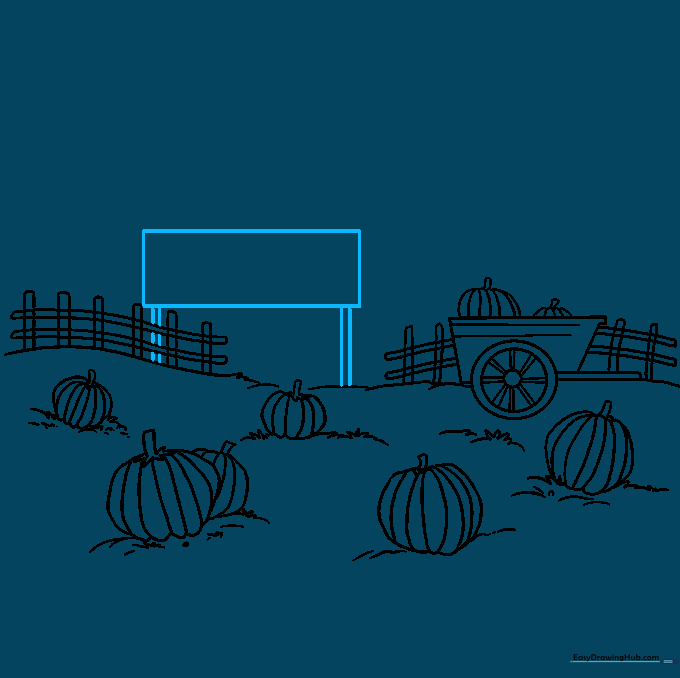
Every great patch needs a sign! Draw two vertical posts and a rectangle on top to create a wooden signpost. Tip: Make the sign look weathered by adding a few light, wavy lines to the wood texture.
Step 9: Final Touches

Write your sign's message, such as 'WELCOME TO THE PUMPKIN PATCH,' in clear, bold letters. Review your drawing and darken your final outlines. Tip: Use a fine-liner pen to go over your pencil lines for a professional, clean look.
Step 10: Bringing it to Life with Color
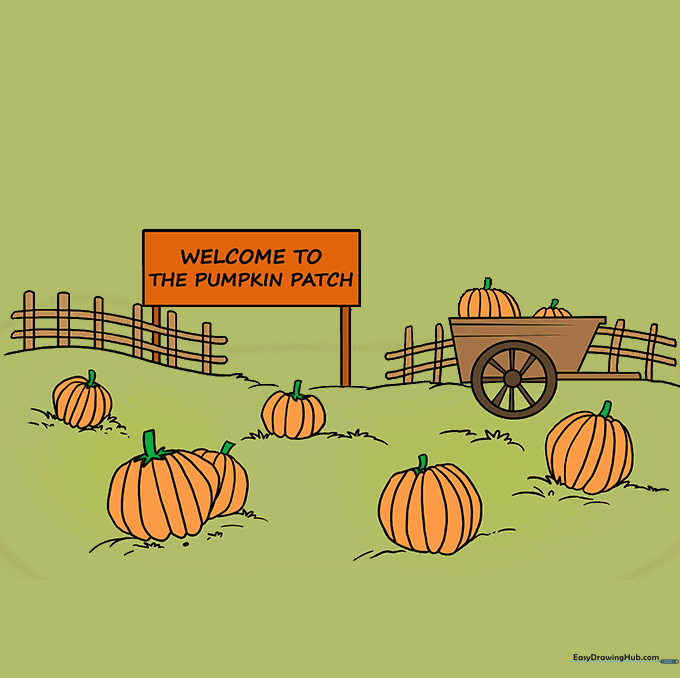
Time to color! Use bright oranges for the pumpkins, earthy browns for the stems and fence, and vibrant greens for the grass. Tip: Try using two different shades of orange—a lighter one for the highlights and a darker one for the shadows—to give your pumpkins a 3D effect.
More Tutorials