How to Draw a Pug Face: Easy 10-Step Guide for Kids
Capture the charm of a squishy-faced pug with this fun, guided drawing lesson! Designed for ages 5 and up, this activity requires only a pencil, eraser, and paper to build confidence and fine motor skills. Follow along to create your own adorable cartoon pug portrait.
🎯 Final Result

Step-by-Step Instructions
Step 1: Sketching the First Eye

Draw an uneven egg shape for the left eye area. Add a circle inside for the pupil, then a smaller circle for the highlight. Teacher's Tip: Keep the highlight white to make the eyes look bright and expressive!
Step 2: Adding the Second Eye
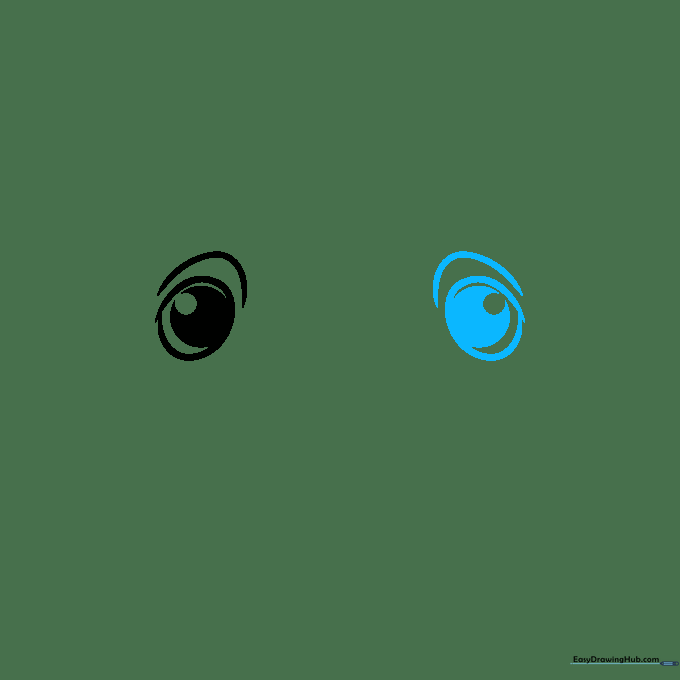
Repeat the previous step on the right side to create a mirror image. Teacher's Tip: Use a light pencil to mark the center of your page first so you can space the eyes evenly.
Step 3: Drawing the Pug Nose

Draw a wide, gentle hill between the eyes. For the nose, create a curve with two right angles that end in small swirls. Teacher's Tip: Pugs have very flat noses, so keep your curves low and wide.
Step 4: Creating the Mouth and Wrinkles
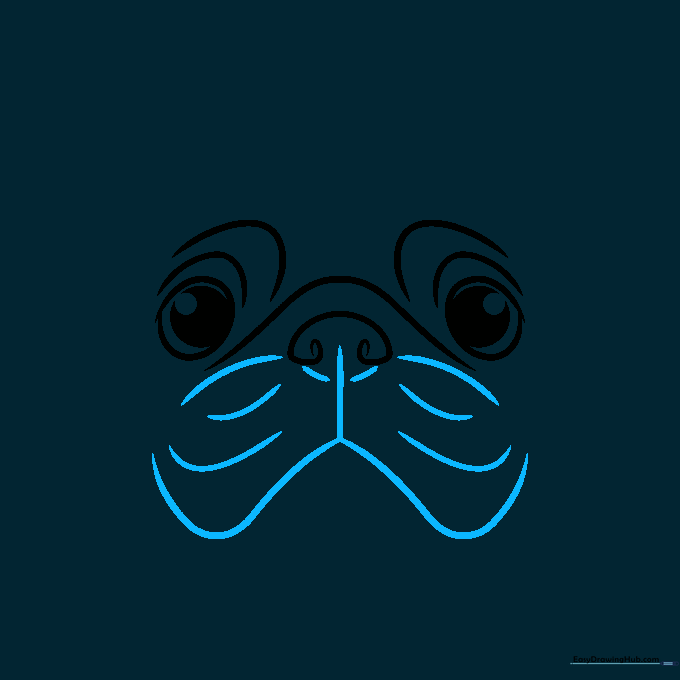
Sketch a vertical line under the nose, then a wide 'W' shape for the mouth. Add soft curves around the snout to show skin folds. Teacher's Tip: Don't worry about perfect symmetry; pugs are naturally wrinkly!
Step 5: Shaping the Head
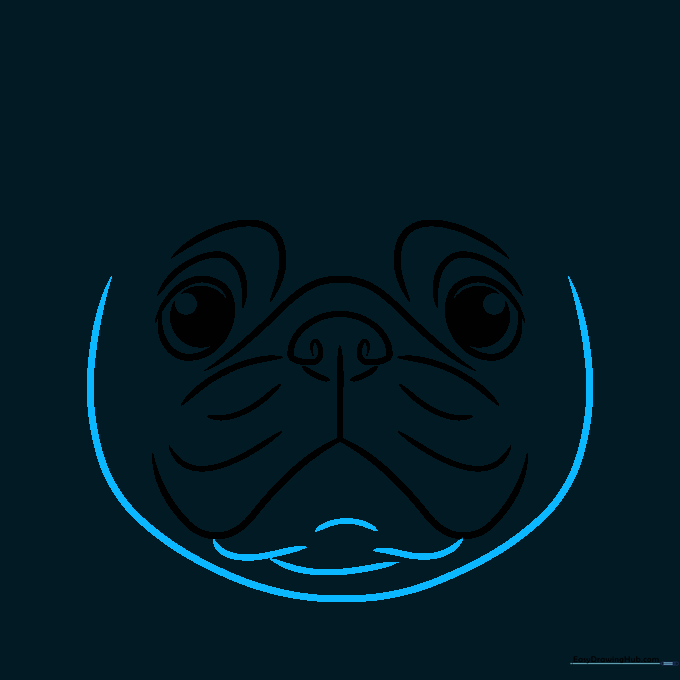
Draw a large oval around your facial features to form the head. Use curvy lines for the chin. Teacher's Tip: Keep the oval slightly squashed at the top to match the pug's head shape.
Step 6: Adding Fur Texture

Use short, sketchy lines along the top of the head to suggest soft fur. Teacher's Tip: Use quick, flicking motions with your pencil to make the fur look natural and fluffy.
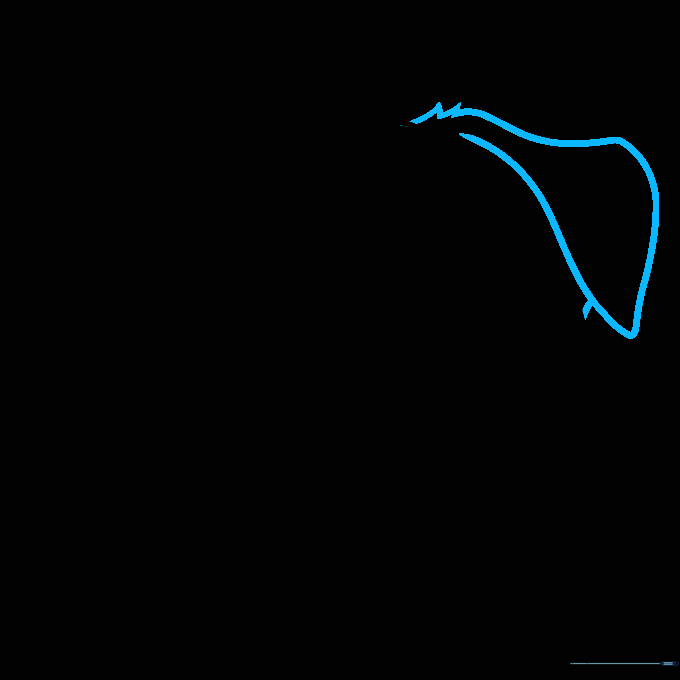
Step 7: Drawing the Left Ear
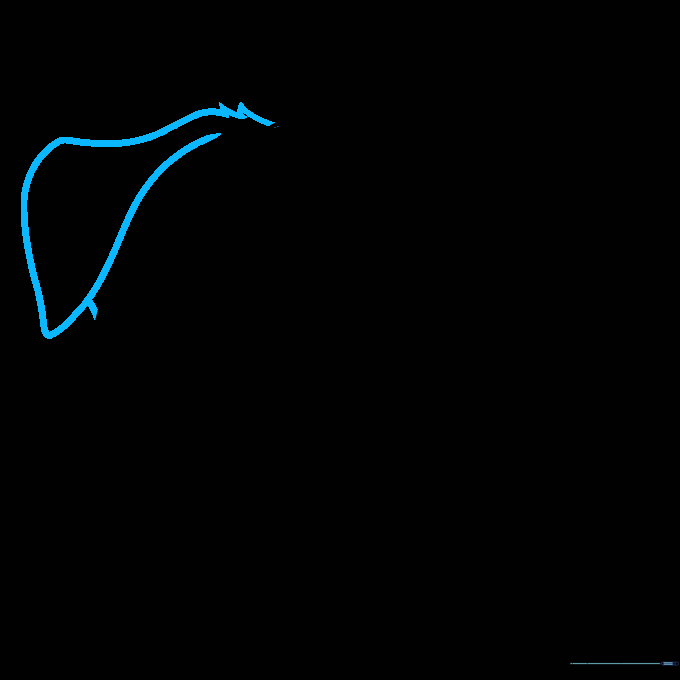
Draw a floppy, triangular ear on the left side using jagged lines for texture. Connect it to the head with a short line. Teacher's Tip: Pugs have 'rose' ears, so keep them folded and soft.
Step 8: Drawing the Right Ear
Repeat the process to draw the right ear, mirroring the left. Teacher's Tip: Check that both ears are at the same height on the head to keep your pug looking balanced.
Step 9: Final Details

Add extra sketchy lines inside the face for character. You can even draw a small dog bone or biscuit nearby! Teacher's Tip: Adding a prop like a bone gives your drawing a fun story.
Step 10: Coloring Your Pug
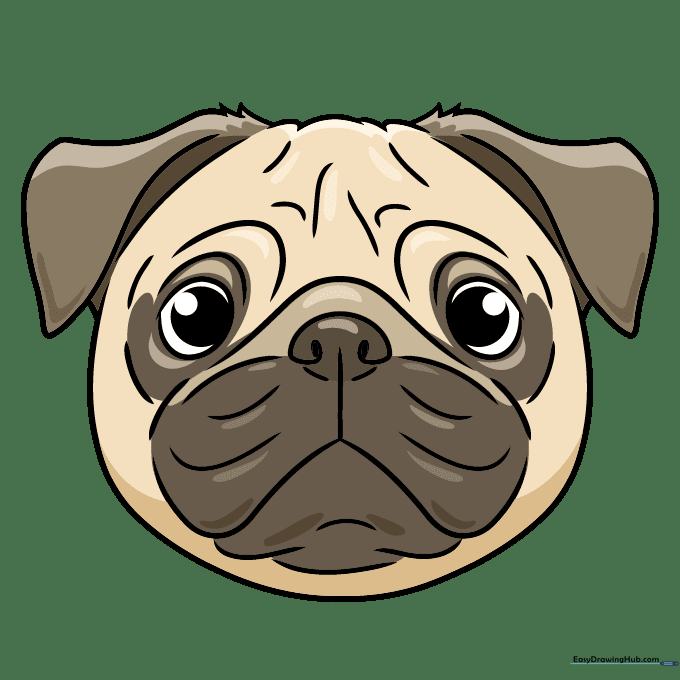
Outline your drawing in black. Use tan for the face and brown for the nose, ears, and wrinkles. Teacher's Tip: Use a darker brown for the shadows under the ears to give your drawing depth.
More Tutorials


