How to Draw a Pug: Easy 10-Step Guide for Beginners
Ready to bring a playful pug to life? This tutorial is perfect for young artists ages 5 and up. All you need is a pencil, an eraser, and a piece of paper to practice these simple shapes and build your confidence as an illustrator.
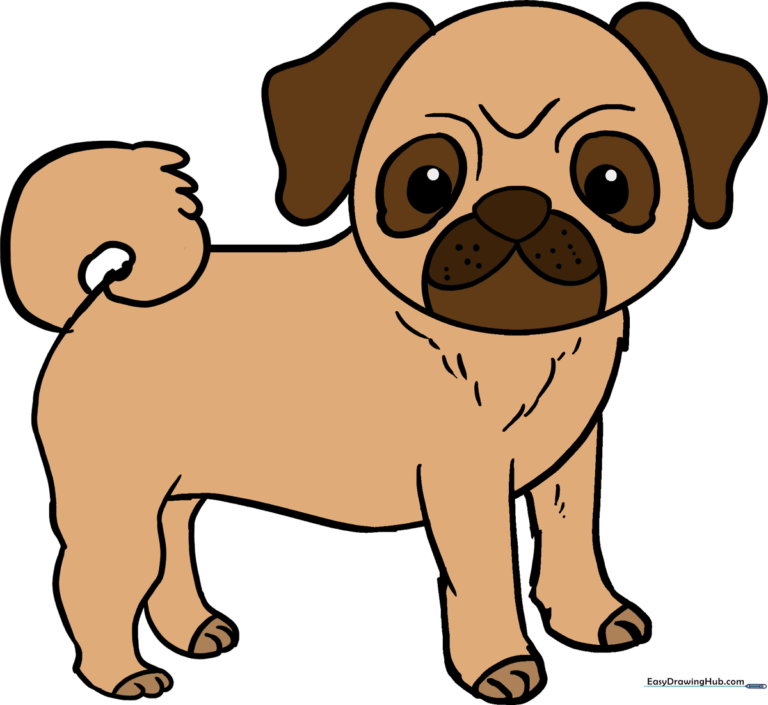
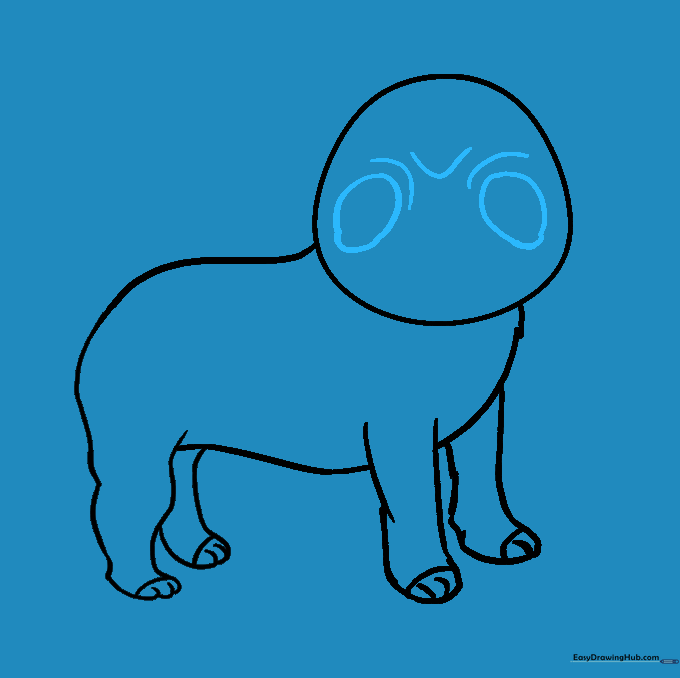
🎯 Final Result
Step-by-Step Instructions
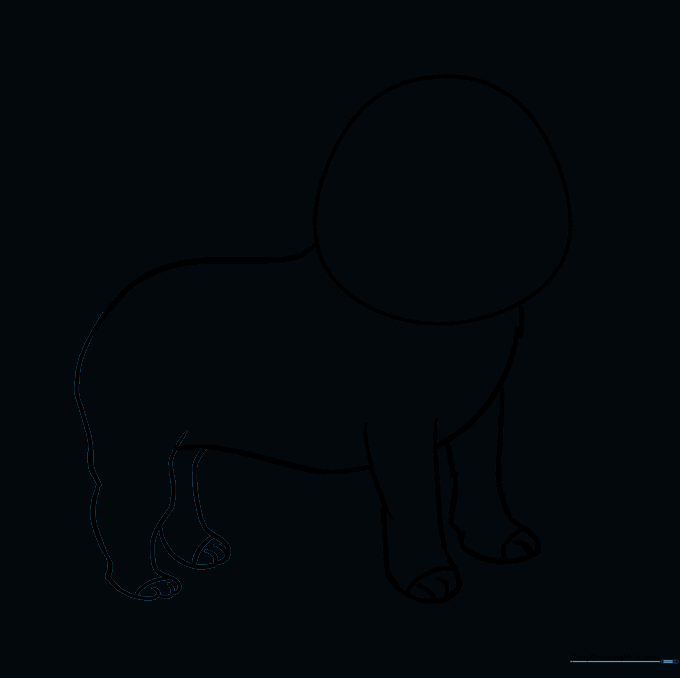
Step 1: Sketching the Head

Draw a rounded shape that is slightly wider at the bottom than the top. Teacher's Tip: Keep your pencil strokes light and airy so you can easily erase any mistakes later!
Step 2: Forming the Body
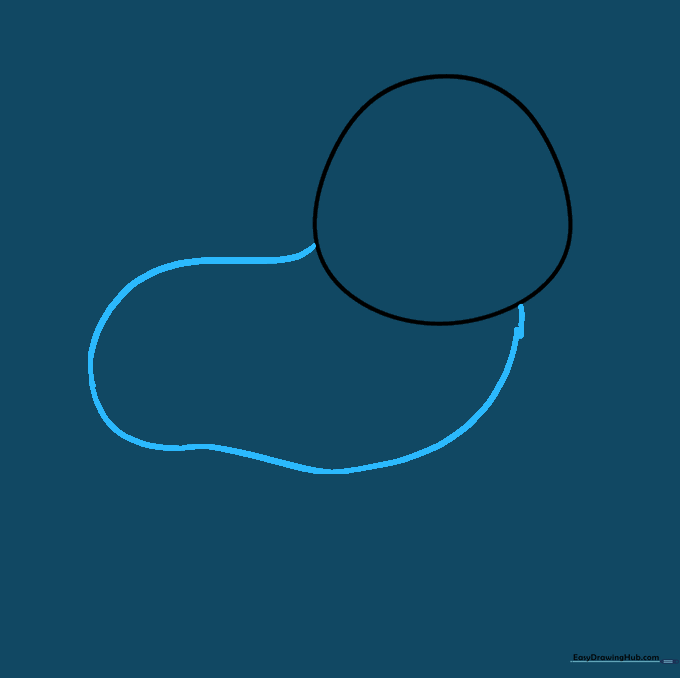
Extend a curved line from the head to create a peanut-like shape for the body. Teacher's Tip: Add a little 'bump' or overlap near the chest to make the pug look fluffy and soft.
Step 3: Drawing the Front Legs
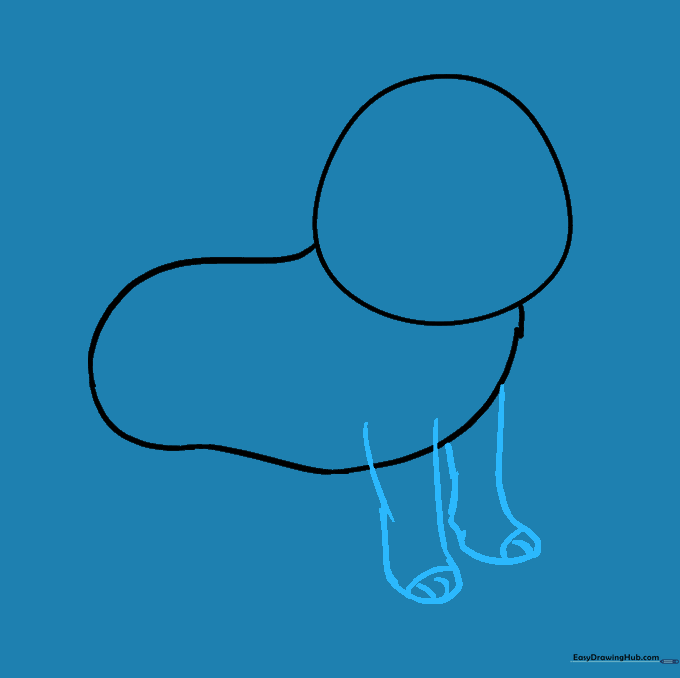
Draw two sets of curved lines downward from the chest to form the front legs. Teacher's Tip: Use small, quick strokes at the bottom to suggest little toes, giving your pug a realistic stance.
Step 4: Adding the Rear Legs
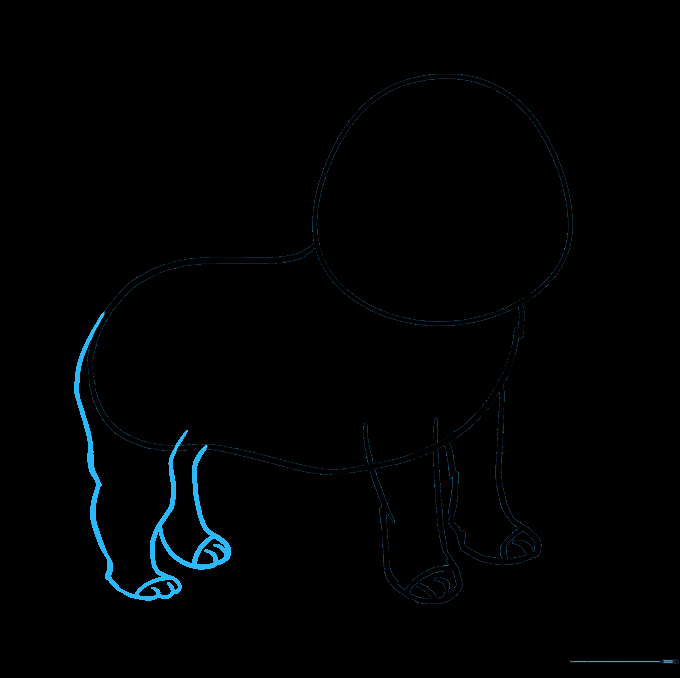
Add two pairs of curved lines at the back of the body for the rear legs. Teacher's Tip: Keep these legs slightly shorter than the front ones to match the pug's sturdy, compact build.
Step 5: Cleaning the Lines
Carefully erase any overlapping guide lines inside the legs and body. Teacher's Tip: Use a clean eraser and gentle pressure so you don't smudge your work.
Step 6: Expressive Eyes
Draw two large ovals for the eyes and a 'V' shape between them for the brow. Teacher's Tip: Pugs have very expressive, soulful eyes—don't be afraid to make them nice and big!
Step 7: The Pug Nose
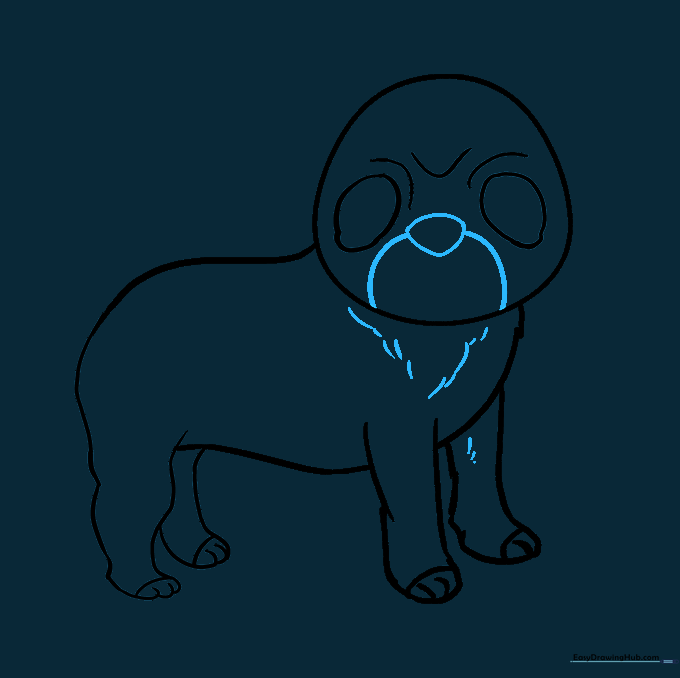
Add a rounded triangle for the nose and connect it to the face with soft curves. Teacher's Tip: Pugs have flat faces, so keep your lines close together to capture that classic look.
Step 8: Floppy Ears
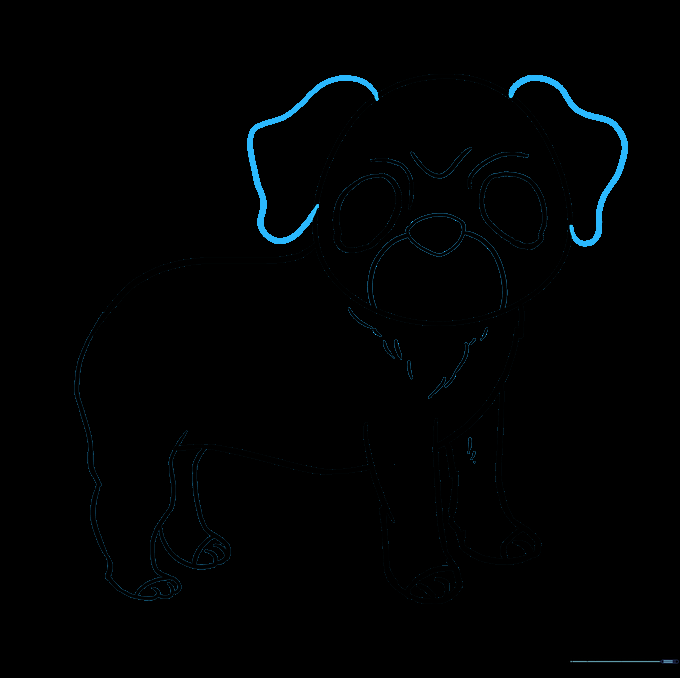
Extend curved lines from the sides of the head to create the ears. Teacher's Tip: Pugs have soft, folded ears, so make your lines slightly irregular rather than perfectly straight.
Step 9: The Curly Tail
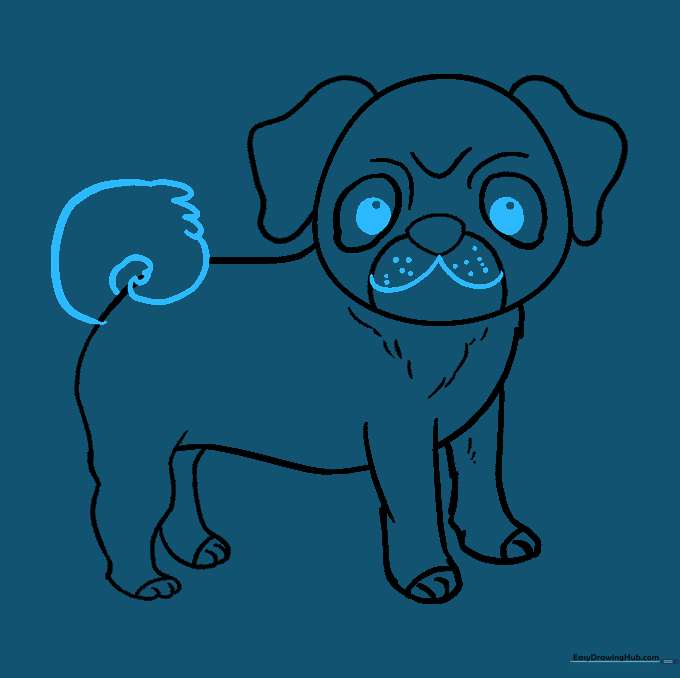
Draw a curled line for the tail and add final details like the mouth and pupils. Teacher's Tip: A pug's tail is its signature! Make sure it curls tightly against the body.
Step 10: Bring Your Pug to Life
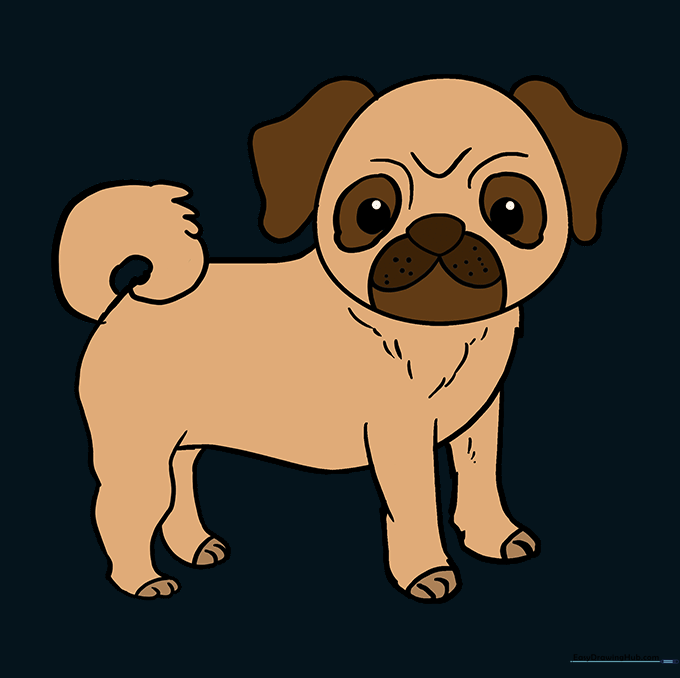
Color your pug using shades of tan, brown, or black. Teacher's Tip: Use a darker shade around the eyes and nose to give your pug that adorable, classic 'mask' look.
More Tutorials


