How to Draw a Pretzel: Easy 10-Step Guide for Kids
Ready to draw a tasty treat? This tutorial is perfect for artists ages 5 and up, requiring only a pencil, eraser, and paper. Follow along to master the iconic twisted shape of a pretzel while practicing your curved line control.
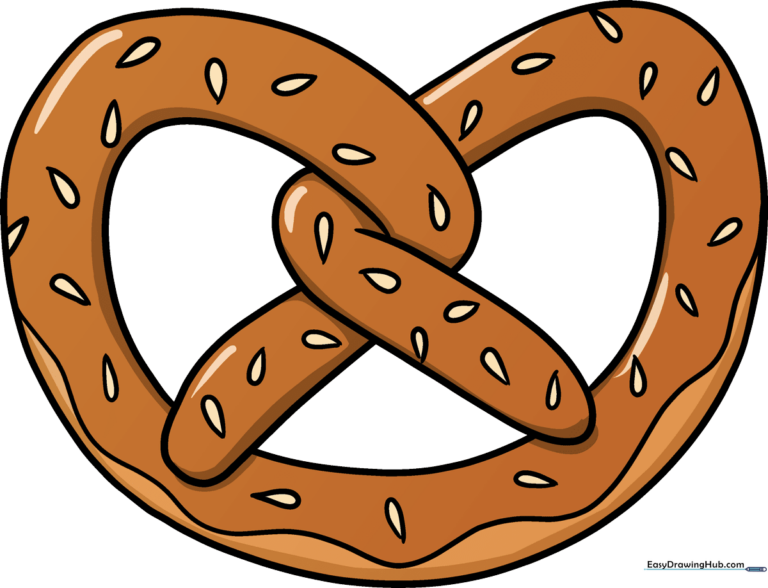
🎯 Final Result
Step-by-Step Instructions
Step 1: Sketching the First Curve

Draw a narrow, U-shaped line to start the first end of the dough. Teacher's Tip: Keep your pencil grip loose to make this curve smooth and rounded.
Step 2: Creating the Second Twist

Draw a long curved line that doubles back on itself to form the second end of the dough. Tip: Ensure the lines are parallel to keep the dough looking thick and consistent.
Step 3: Connecting the Shoulders

Draw a wide U-shape connecting the two ends. This creates the 'shoulder' of the pretzel. Tip: Imagine you are drawing a soft rope that is bending into shape.
Step 4: Defining the Bottom Curve

Add a curved line between the bottom ends to define the base. Tip: Keep this line symmetrical to the top to ensure your pretzel looks balanced.
Step 5: Completing the Shoulder

Draw a large U-shaped line to finish the remaining shoulder. Tip: Check that the thickness of the dough looks even throughout the drawing.
Step 6: Outlining the Outer Edge

Draw a long, continuous curved line wrapping around the entire shape. Tip: Use a single, fluid motion to keep the outer edge looking smooth.
Step 7: Closing the Outline

Connect the line back to the top of the pastry to seal the outline. Tip: If your lines are too dark, use your eraser to lighten them before moving to details.
Step 8: Adding Texture

Add a wavy line along the bottom and small teardrop shapes for salt. Tip: Vary the size of the teardrops to make the salt look natural.
Step 9: Finalizing Details
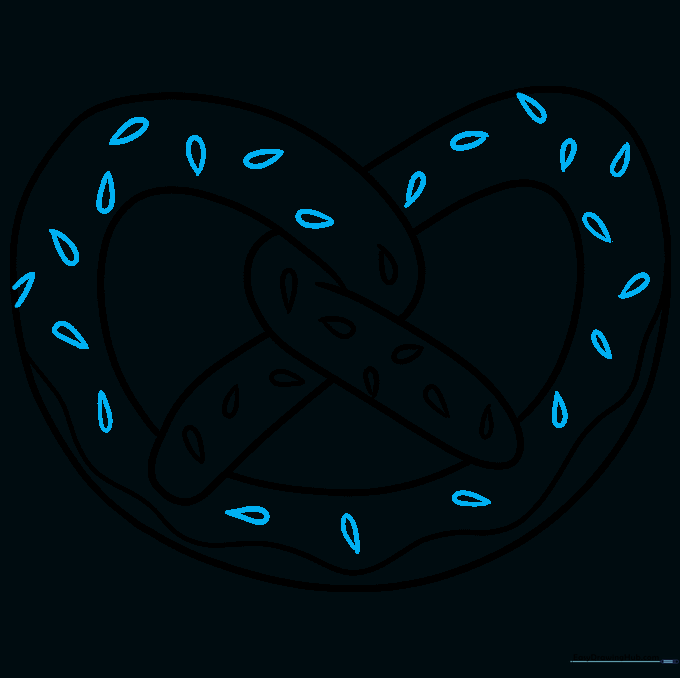
Add more salt crystals across the top surface. Tip: Don't overfill the space; leave some room for the 'baked' color to show through.
Step 10: Adding Color
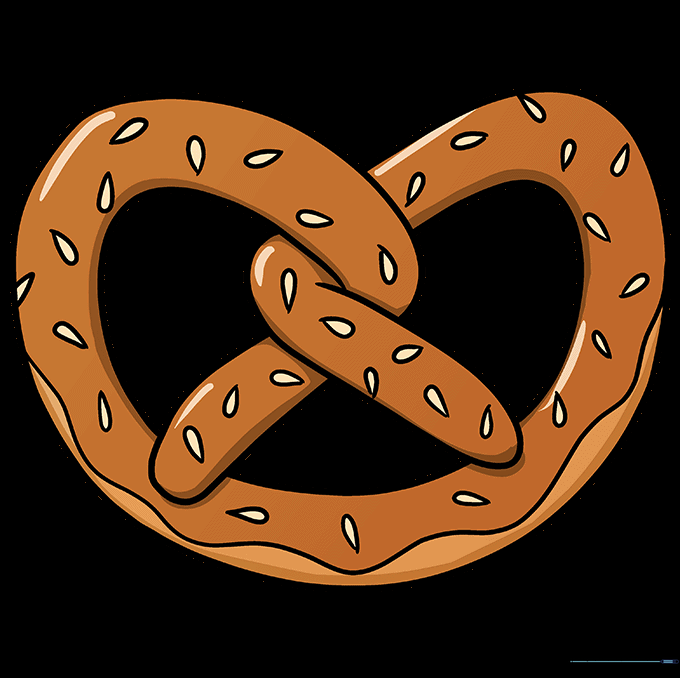
Color your pretzel with warm browns. Tip: Use a darker brown for the crevices and a lighter, golden brown for the top to create a realistic baked effect.
More Tutorials


