How to Draw a Praying Mantis: Easy 10-Step Guide
Ready to bring a fascinating insect to life? This guide is perfect for young artists ages 6+ who want to master insect anatomy. You'll only need a pencil, an eraser, and some paper to get started on this fun, screen-free creative project.
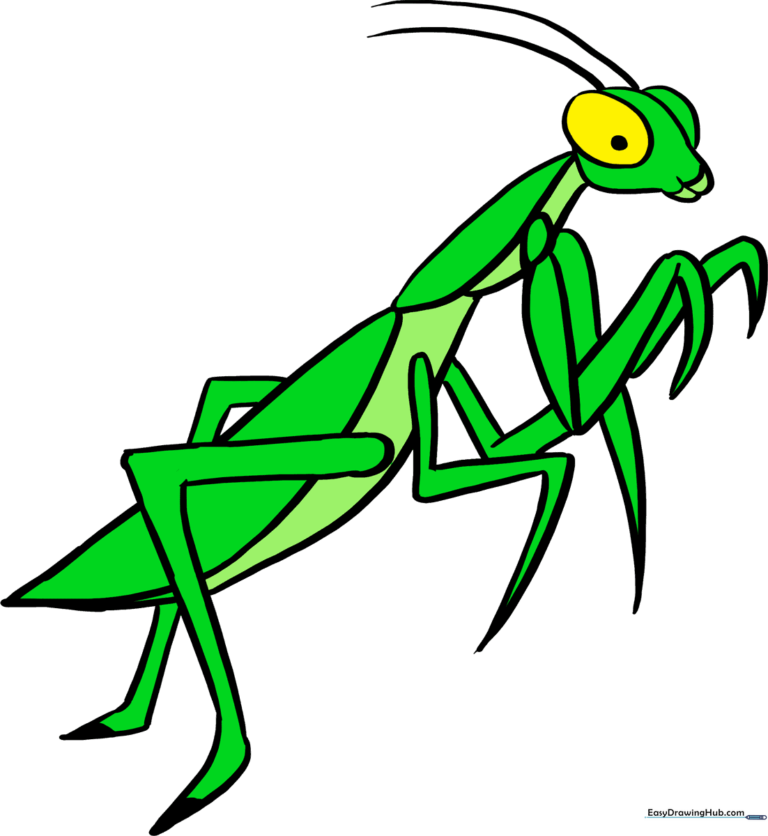
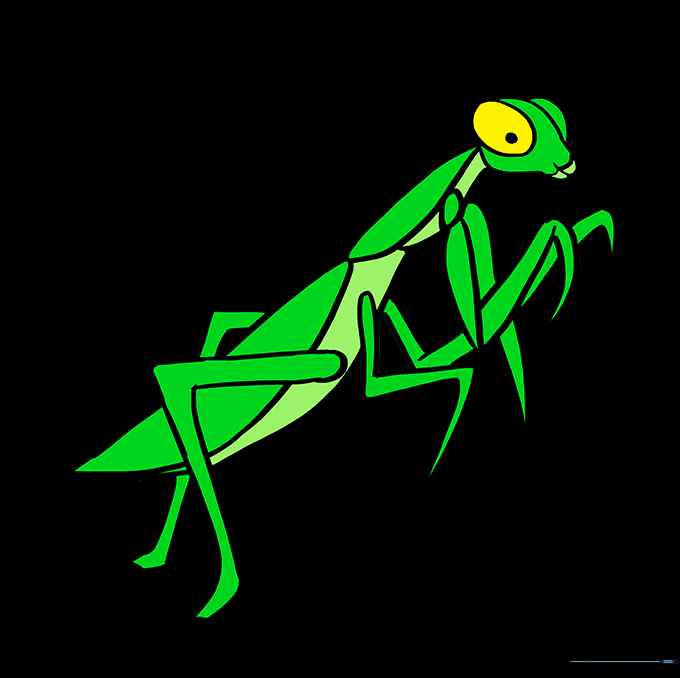
🎯 Final Result
Step-by-Step Instructions
Step 1: Sketching the Head and Eye
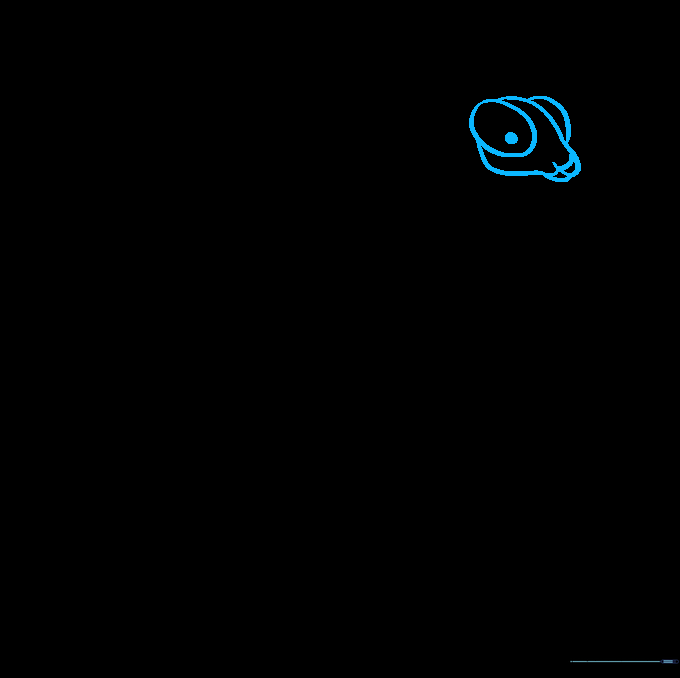
Draw a large oval for the head and a smaller one inside for the eye. Add a tiny circle for the pupil. Teacher's Tip: Keep your pencil lines very light here so you can easily erase the overlapping lines around the mouth later.
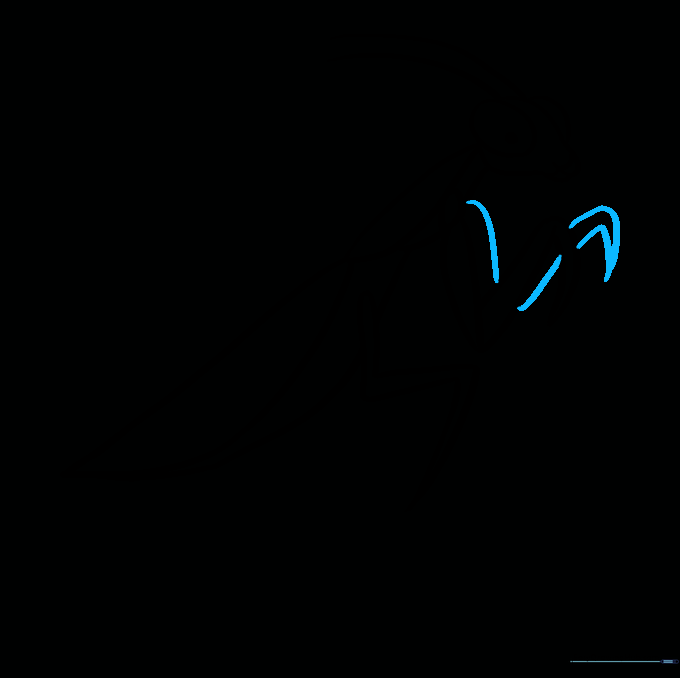
Step 2: Adding the Antennae

Extend two long, graceful curved lines from the top of the head. Teacher's Tip: Think of these like two thin, swaying blades of grass; don't worry if they aren't perfectly symmetrical!
Step 3: Forming the Thorax

Draw a long, curved line from the back of the head and loop it back to create the thorax. Teacher's Tip: This is the 'chest' of the insect. Make sure it looks sturdy and slightly elongated.
Step 4: Defining Wings and Abdomen
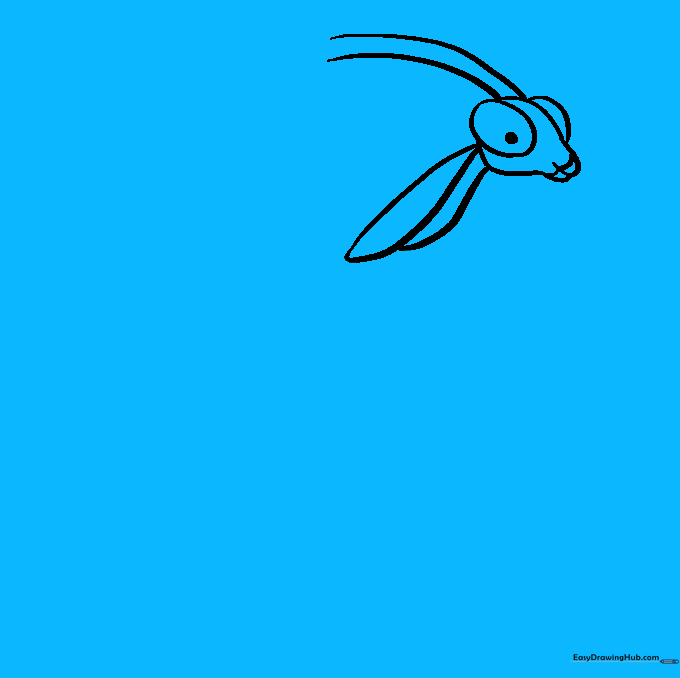
Draw the folded wings using two lines that meet at a point, then add the abdomen below. Teacher's Tip: The abdomen should look like a long, tapered tail. Keep your lines smooth to show the insect's sleek body.
Step 5: Sketching the Front and Middle Legs
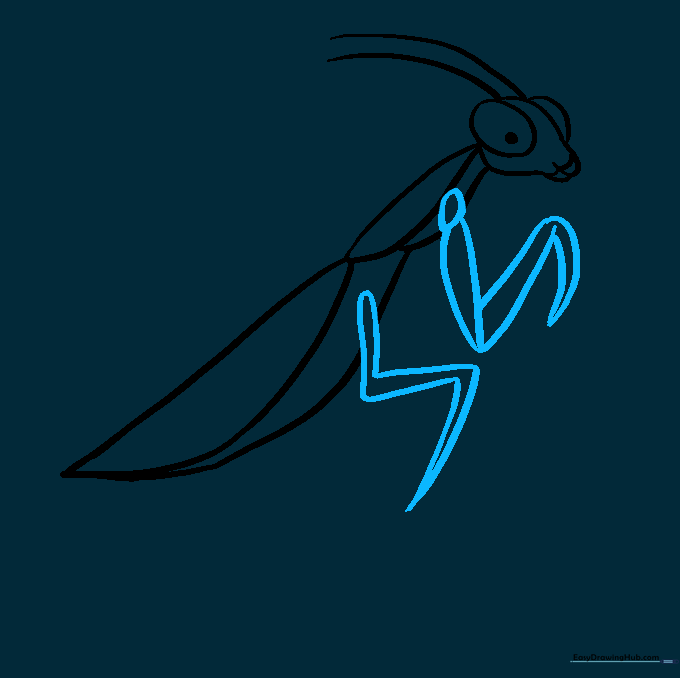
Use teardrop shapes to build the forelegs and a zigzag line for the middle leg. Teacher's Tip: Mantis legs are very bendy! Use your eraser to clean up any lines where the legs overlap the body.
Step 6: Adding the Second Foreleg
Sketch the second foreleg peeking out from behind the first one. Teacher's Tip: Adding this 'hidden' leg creates depth, making your drawing look much more realistic and 3D.
Step 7: Drawing the Second Middle Leg
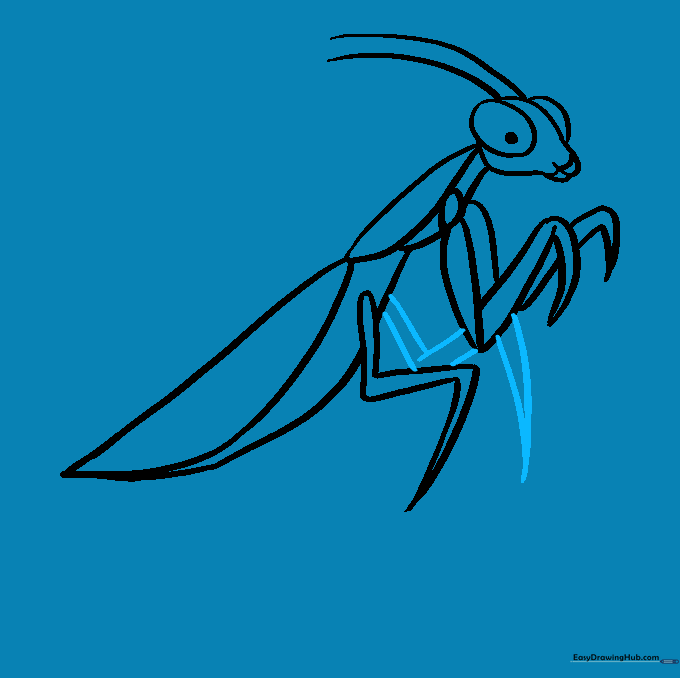
Use zigzag lines to draw the second middle leg. Teacher's Tip: Keep the lines light until you are happy with the angle, then press down firmly to finalize the shape.
Step 8: Adding the Rear Leg
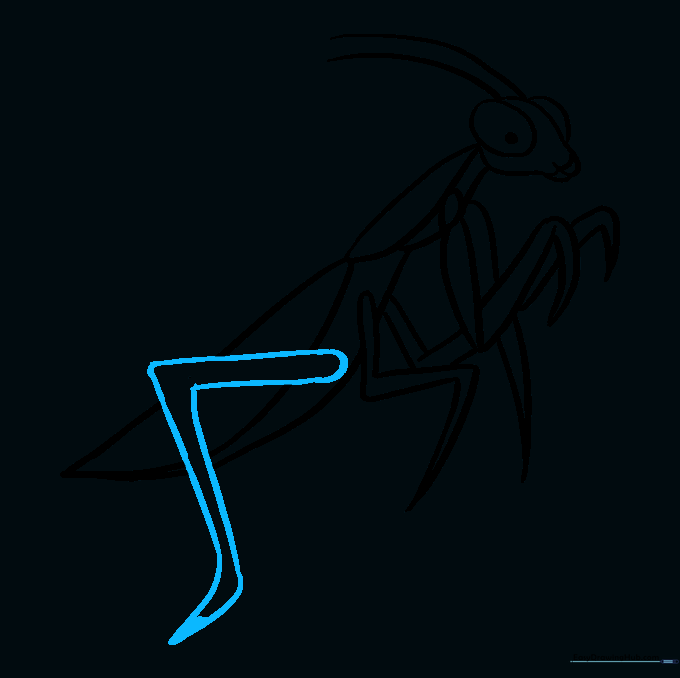
Draw the long rear walking leg. Shade the tip of the foot to show where it touches the ground. Teacher's Tip: The 'knee' should point upward to give the mantis that classic, alert posture.
Step 9: Finalizing the Hindleg
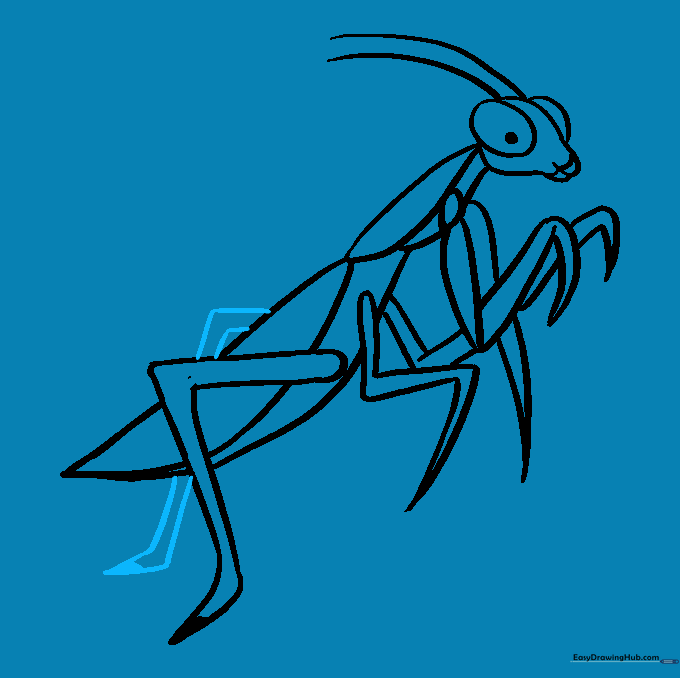
Draw the final hindleg tucked behind the abdomen. Teacher's Tip: Don't forget to shade the tip of the foot just like you did in the previous step for consistency.
Step 10: Coloring Your Creation
Time to bring your mantis to life! Use bright greens for a classic look, or try pinks and browns to mimic exotic species. Teacher's Tip: Use light pressure with your colored pencils to blend colors for a more natural, textured look.
More Tutorials


