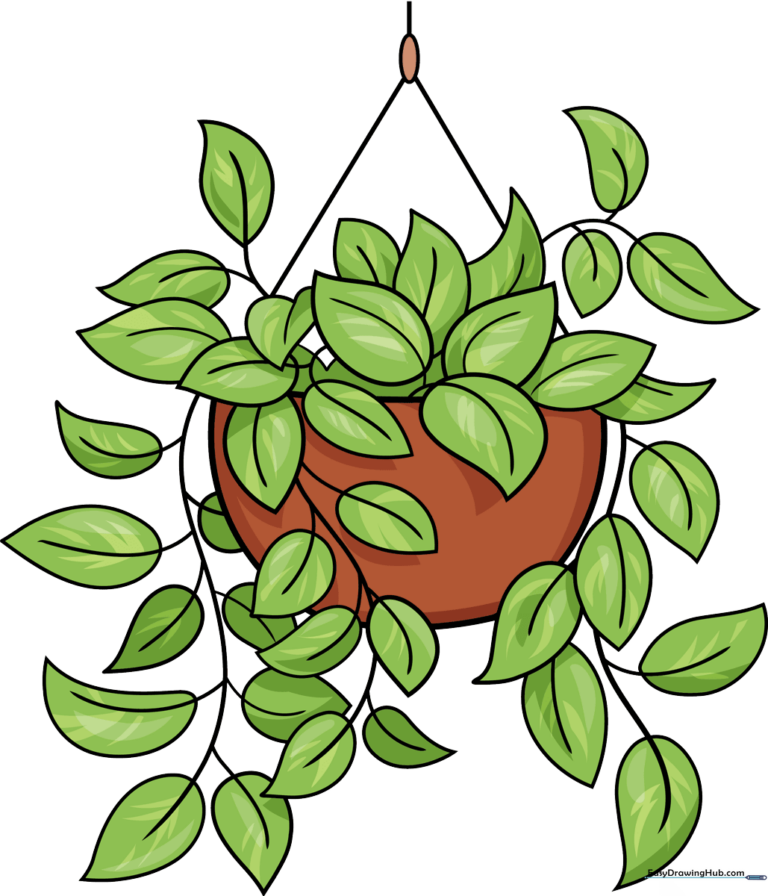
How to Draw a Pothos Plant: Easy 10-Step Guide
Bring a touch of nature to your sketchbook with this charming Pothos plant tutorial. Designed for artists ages 6 and up, this project uses simple shapes to create a lush, trailing houseplant. All you need is a pencil, an eraser, and a piece of paper to get started.
🎯 Final Result
Step-by-Step Instructions
Sketching the Base Leaves and Pot
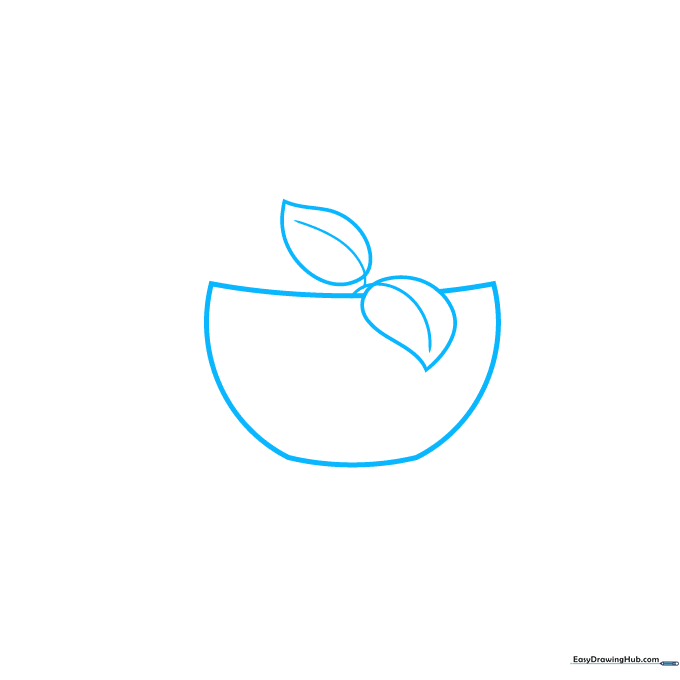
Start by drawing two curved lines that meet like a 'Y' to form the first leaf, then wrap a teardrop shape around them. Next, draw a horizontal curved line behind the leaf for the pot rim, and a larger curve below for the base. Teacher's Tip: Keep your pencil pressure light so you can easily erase the pot lines that overlap with the leaves later.
Adding More Foliage
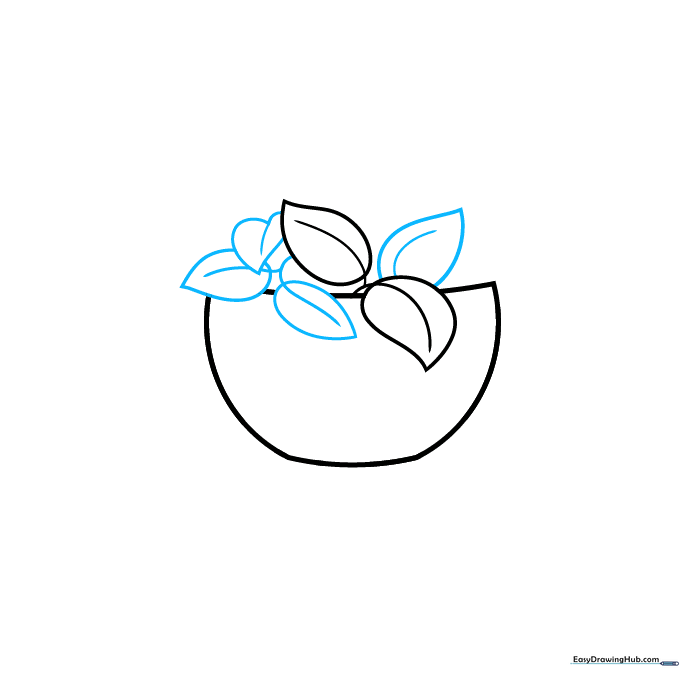
Add more leaves by repeating the 'Y' stem and teardrop method. Teacher's Tip: Vary the size of your leaves to make the plant look more natural and less like a pattern.
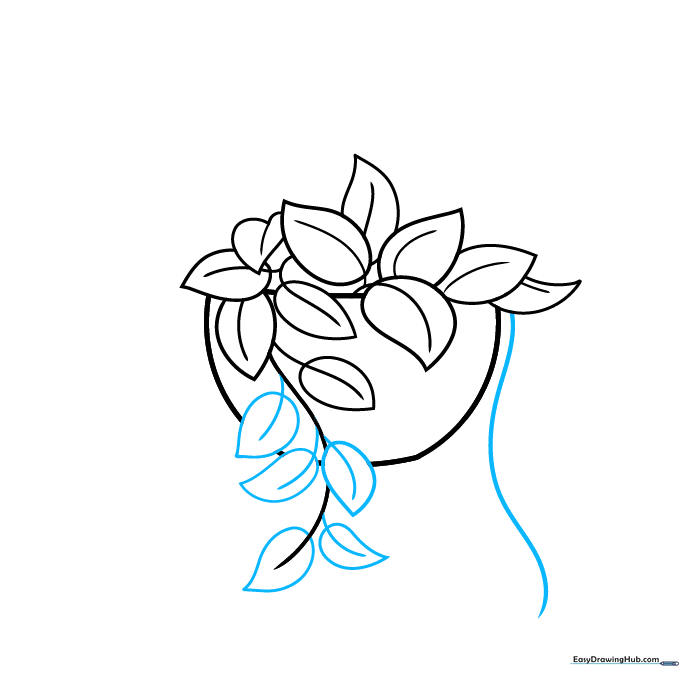
Creating the First Vine
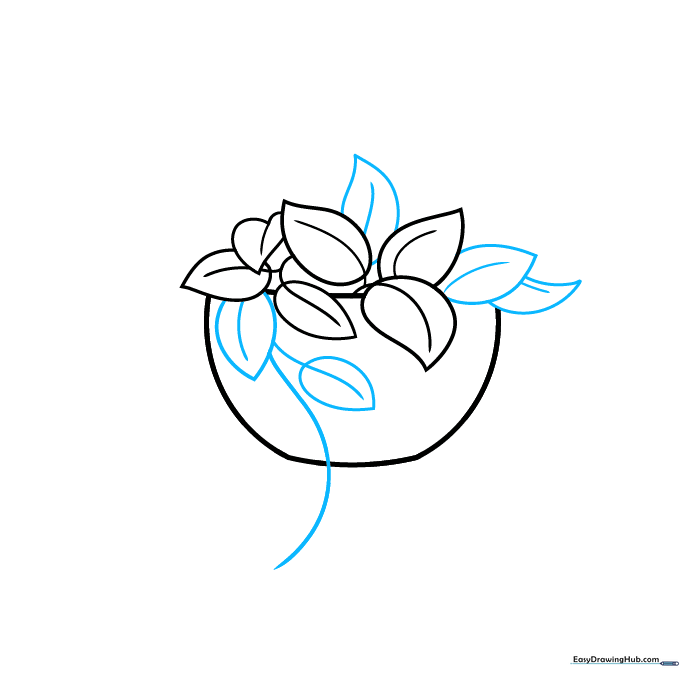
Continue adding leaves and extend a long, sweeping curved line to represent the first vining tendril. Erase any lines from the pot that are now 'behind' the leaves. Teacher's Tip: A long, flowing vine adds movement to your drawing.
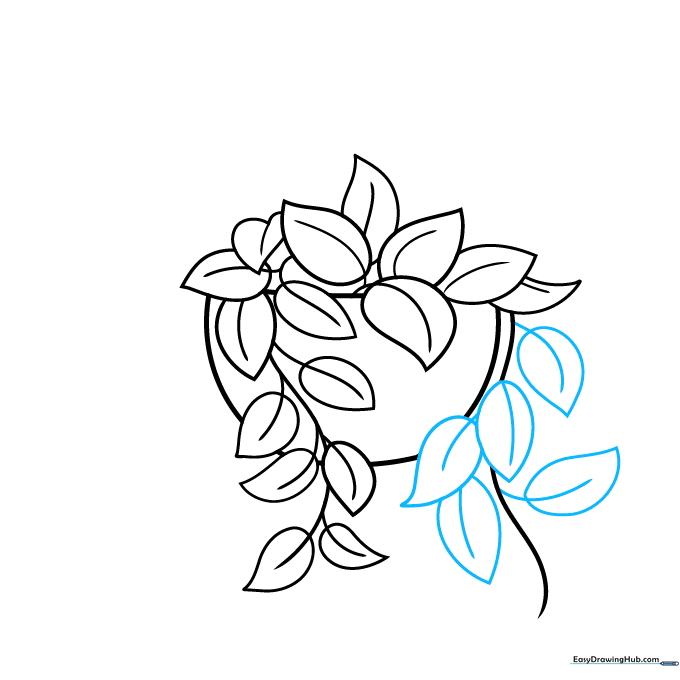
Developing the Vine
Draw several leaves along the vine you just created. Extend a second long curved line to start a new vine. Teacher's Tip: Don't worry if the leaves overlap; overlapping creates depth in your drawing.
Fleshing Out the Leaves
Continue adding leaves along the vines, ensuring each has a central vein. Teacher's Tip: If a leaf looks too stiff, curve the edges slightly more to give it a soft, organic feel.
Adding Hidden Leaves
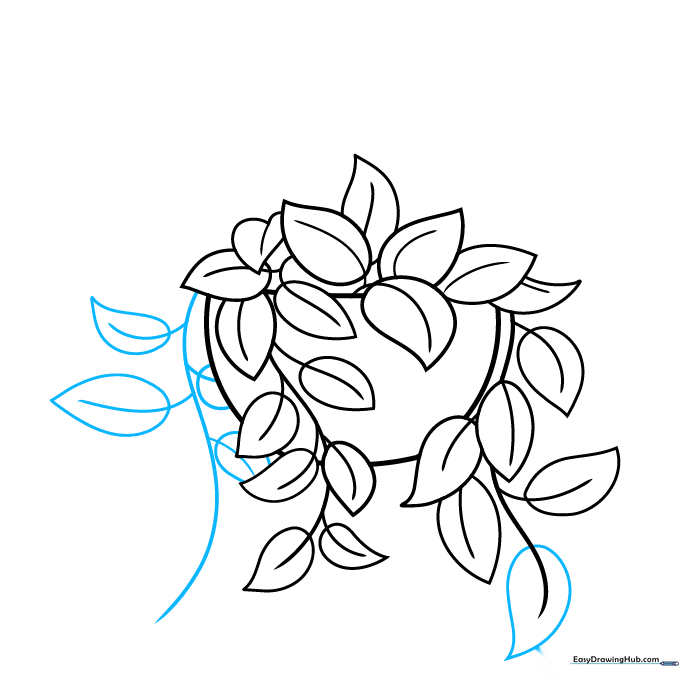
Draw a long curved line on the opposite side and add leaves that appear to be tucked behind the pot. Teacher's Tip: Drawing leaves behind the pot creates a 3D effect, making your plant look like it's really sitting in the container.
Filling the Vines
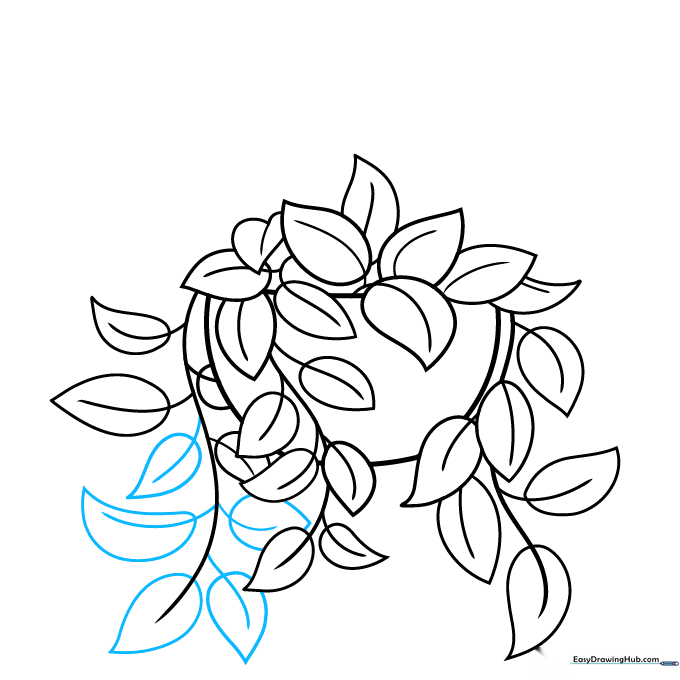
Add more leaves to the new vine. Keep the central veins consistent. Teacher's Tip: Focus on the rhythm of your lines—curved, smooth, and relaxed.
Adding Final Foliage Details
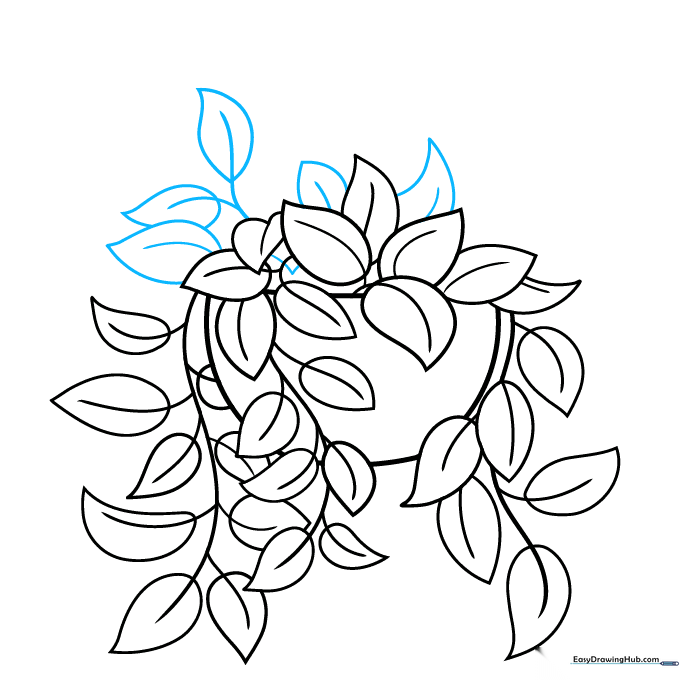
Use curved lines to add a few more stems and leaves to fill in any empty gaps. Teacher's Tip: A full plant looks healthier, so don't be afraid to add a few extra leaves!
Drawing the Hanging Mechanism

Draw a small oval above the plant and connect it to the pot with straight lines. Add a short line above the oval for the hook. Teacher's Tip: Use a ruler if you want your hanger lines to look perfectly straight.
Coloring Your Pothos
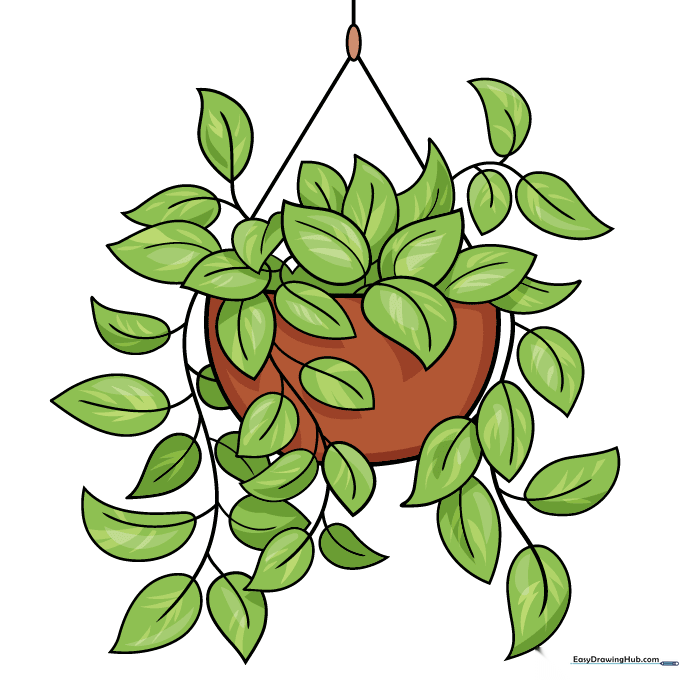
Your outline is complete! Color your plant using various shades of green. Pothos plants often have variegated leaves, so try adding small splashes of yellow, white, or silver to make it look realistic.
More Tutorials


