How to Draw a Potato: Easy 10-Step Cartoon Guide
Bring a silly, smiling potato to life with this beginner-friendly drawing tutorial. Designed for ages 5 and up, this activity requires only a pencil, paper, and an eraser. Follow these steps to practice basic shape construction and character design while creating a fun piece of food art.
🎯 Final Result

Step-by-Step Instructions
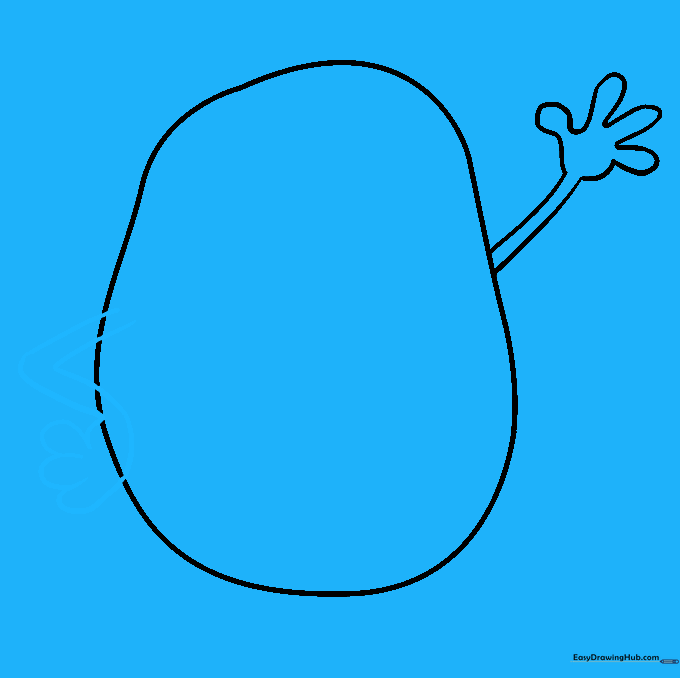
Step 1: Sketching the Base Shape

Draw a large, irregular oval to serve as the potato's body. Teacher's Tip: Avoid making it a perfect circle; potatoes are naturally bumpy, so let your hand wobble a little to give it character.
Step 2: Adding the Waving Arm
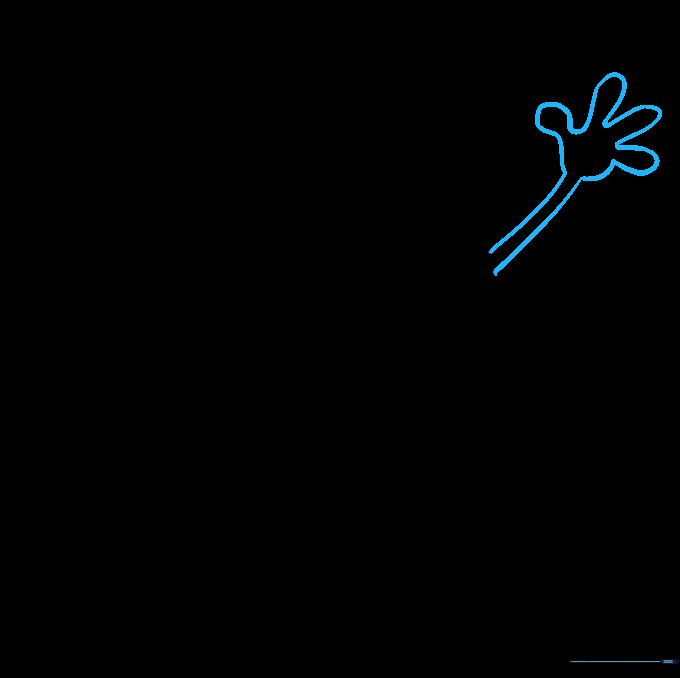
Draw two parallel curved lines extending from the side, ending in a small hand. Use 'U' shapes for the fingers. Teacher's Tip: Keep the arm lines soft and rounded to make the potato look friendly and approachable.
Step 3: Drawing the Arm on the Hip
Create a bent arm by drawing two 'V' shaped lines that overlap the body. Add a hand resting on the side. Teacher's Tip: Imagine the potato is standing with a confident pose to give your drawing personality.
Step 4: Cleaning the Outline

Carefully erase the lines where the arms overlap the body. Teacher's Tip: Use a clean eraser and gentle pressure so you don't smudge your work or tear the paper.
Step 5: Placing the First Eye
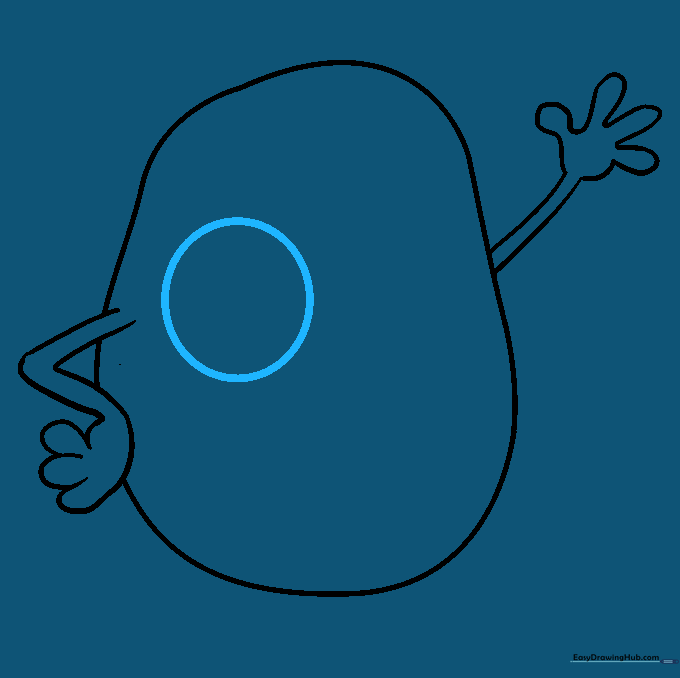
Draw a large circle in the upper center of the potato. Teacher's Tip: Leave enough space above the eye for the eyebrow, and below for the mouth.
Step 6: Adding the Second Eye
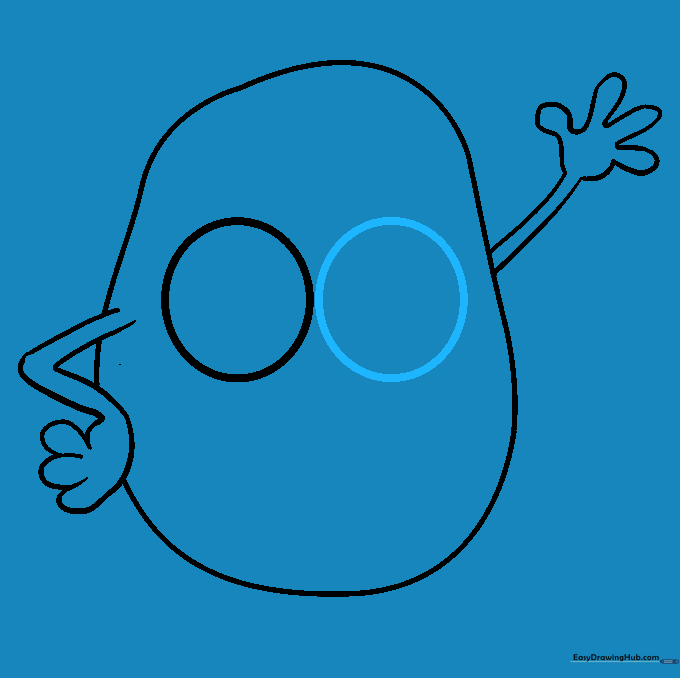
Draw a matching circle next to the first one. Teacher's Tip: Try to keep them the same size, but don't worry if they are slightly different—it makes your potato look more expressive!
Step 7: Drawing the Eyebrows
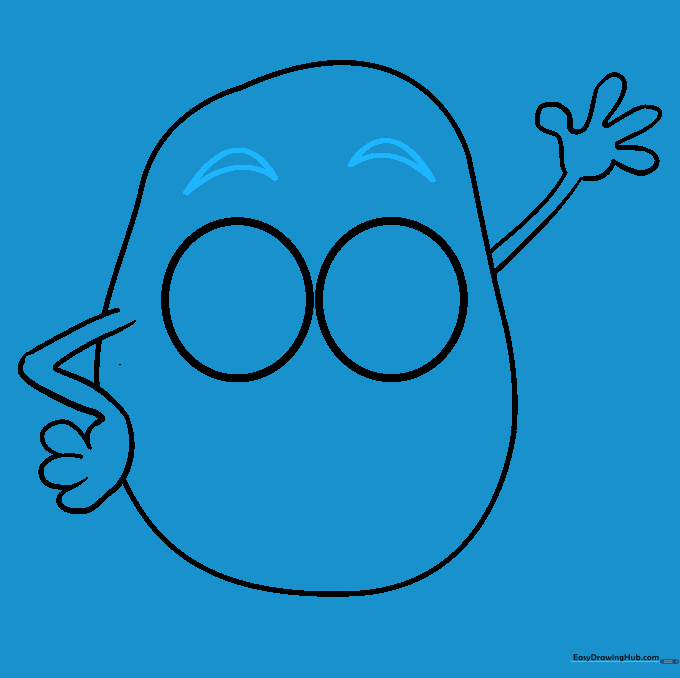
Add two short, curved lines above each eye that meet at a point. Teacher's Tip: Angling the eyebrows slightly toward the center can make your potato look happy or surprised.
Step 8: Detailing the Pupils

Draw a smaller circle inside each eye, then add a tiny dot and shade it for the pupil. Teacher's Tip: Leaving a small white 'highlight' in the pupil makes the eyes look bright and alive.
Step 9: Mouth and Texture
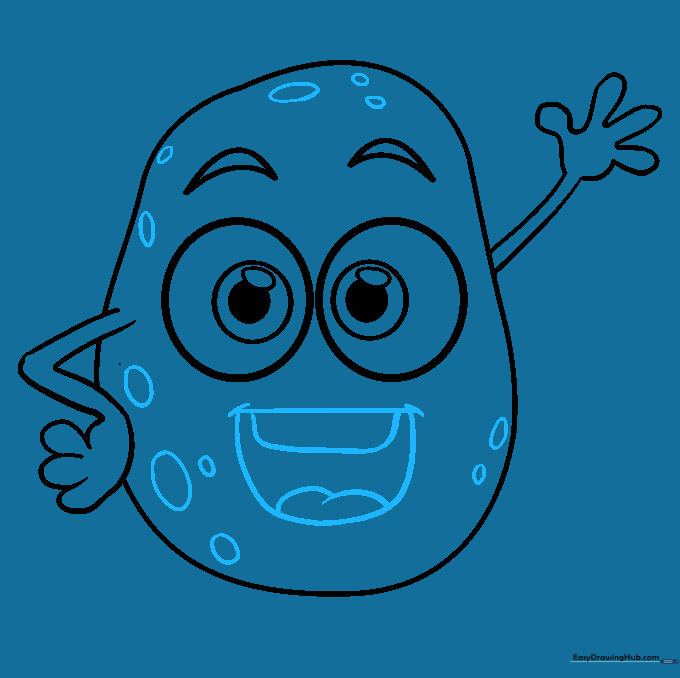
Draw a wide, open mouth with teeth and a tongue. Add small circles and ovals across the body for texture. Teacher's Tip: These little marks represent the 'eyes' or spots on a real potato skin.
Step 10: Adding Color
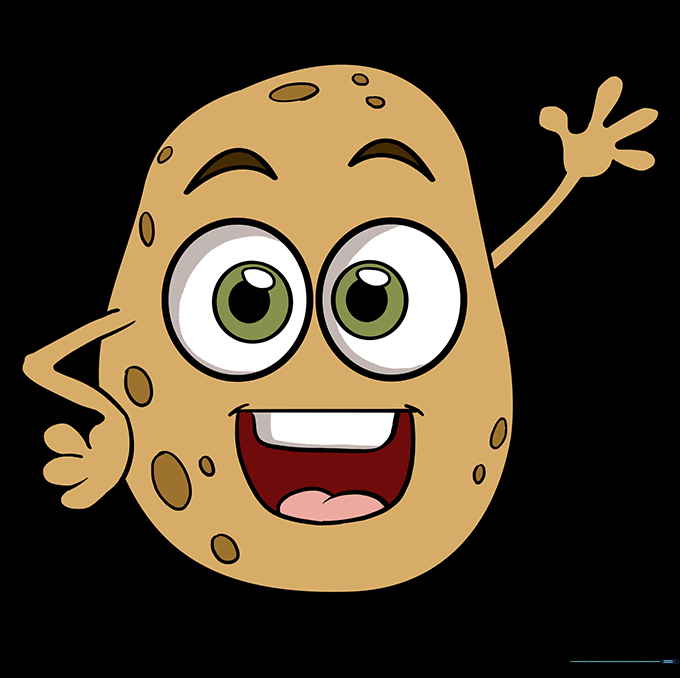
Color your potato! Use shades of brown, yellow, or even light green. Teacher's Tip: Use a darker brown pencil to lightly shade the edges of the potato to give it a 3D, rounded look.
More Tutorials


