How to Draw a Pot of Gold: Easy 10-Step Guide
Bring a little magic to your sketchbook with this fun, screen-free activity perfect for ages 5 and up. You will only need a pencil, an eraser, and some colorful markers or crayons to complete this festive scene. Follow along to build confidence in your shapes while creating a legendary St. Patrick's Day treasure.
🎯 Final Result

Step-by-Step Instructions
Step 1: Sketching the Opening

Draw a flat, horizontal oval at the top of your page. Teacher's Tip: Keep this shape wide and thin; it acts as the 'mouth' of your pot, so make sure it's symmetrical.
Step 2: Defining the Brim

Draw a curved line connecting the two sides of your oval to create the pot's rim. Teacher's Tip: Imagine you are drawing a smile that connects the two ends of the oval.
Step 3: Creating the Base

Draw a large circle beneath the rim, letting the top overlap slightly. Teacher's Tip: Don't worry about making a perfect circle; a slightly wobbly line gives the pot a handmade, rustic look.
Step 4: Connecting the Sides

Draw curved lines on each side to connect the circle to the rim. Teacher's Tip: Use smooth, sweeping motions to make the transition look seamless.
Step 5: Cleaning Up

Carefully erase the overlapping guide lines inside the pot. Teacher's Tip: Use a clean eraser and gentle pressure to avoid smudging your drawing.
Step 6: Adding the Gold

Draw a wavy line across the top, then add small half-circles to represent coins. Teacher's Tip: Vary the sizes of the half-circles to make the pile look natural and overflowing.
Step 7: Filling the Pot

Erase any extra lines and add more coin details. Teacher's Tip: Add a few small dots or dashes on the coins to give them a metallic texture.
Step 8: Drawing the Handle

Draw two parallel 'U' shaped lines on the side for the handle. Teacher's Tip: Keep the lines close together so the handle looks sturdy and realistic.
Step 9: Adding the Rainbow

Draw a horizon line behind the pot and add curved lines for the rainbow. Teacher's Tip: Use a light touch for the rainbow lines so you can easily color between them later.
Step 10: Adding Color
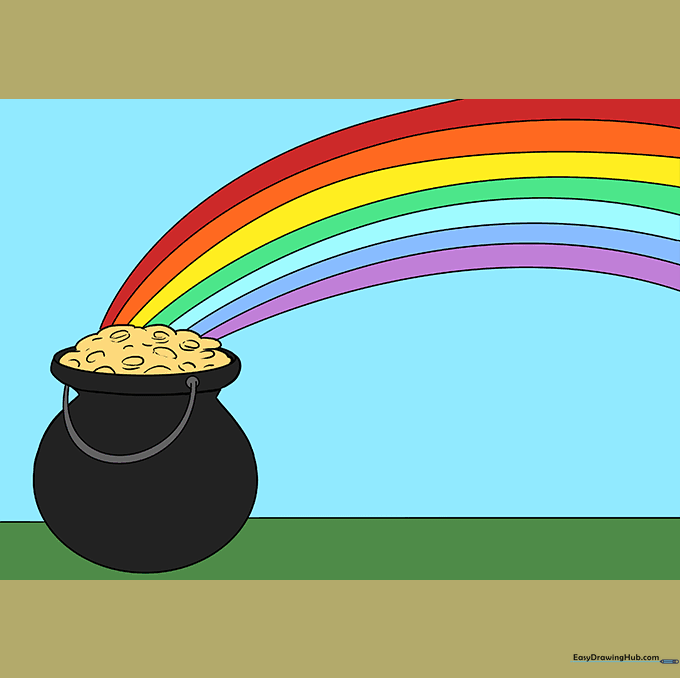
Color your rainbow using the classic order: red, orange, yellow, green, blue, indigo, and violet. Teacher's Tip: Use a bright yellow for the coins to make them pop against the dark pot!
More Tutorials


