How to Draw a Postman: Easy 10-Step Guide for Kids
Bring a friendly neighborhood helper to life with this step-by-step drawing guide. Designed for young artists and beginners, this project requires only a pencil, paper, and an eraser to practice basic shapes and character proportions. Follow along to build your confidence and create a charming cartoon mail carrier.
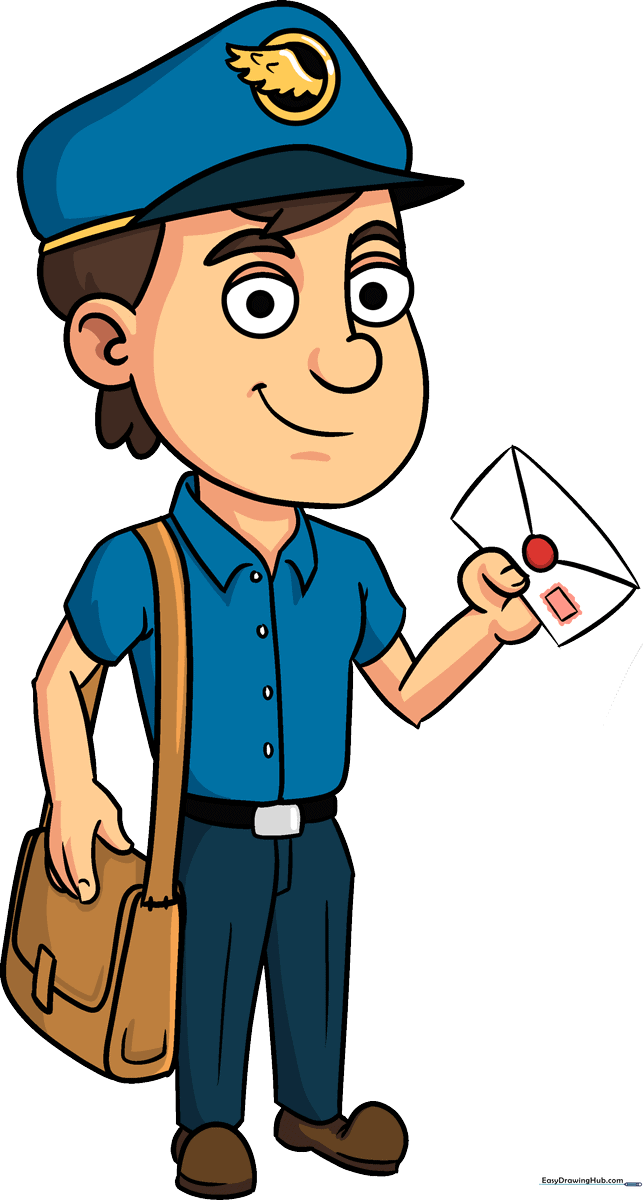
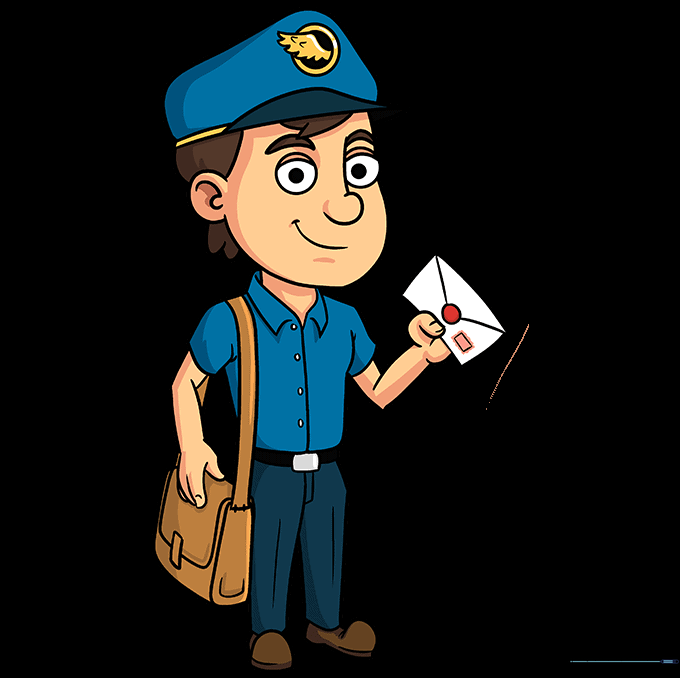
🎯 Final Result
Step-by-Step Instructions
Step 1: Sketching the Hat

Start by drawing the postman's hat. Use a series of gentle curved lines to sketch the bill, the crown, and the rim. Teacher's Tip: Keep the hat shape slightly rounded to make it look like a real cap resting on his head.
Step 2: Defining the Face
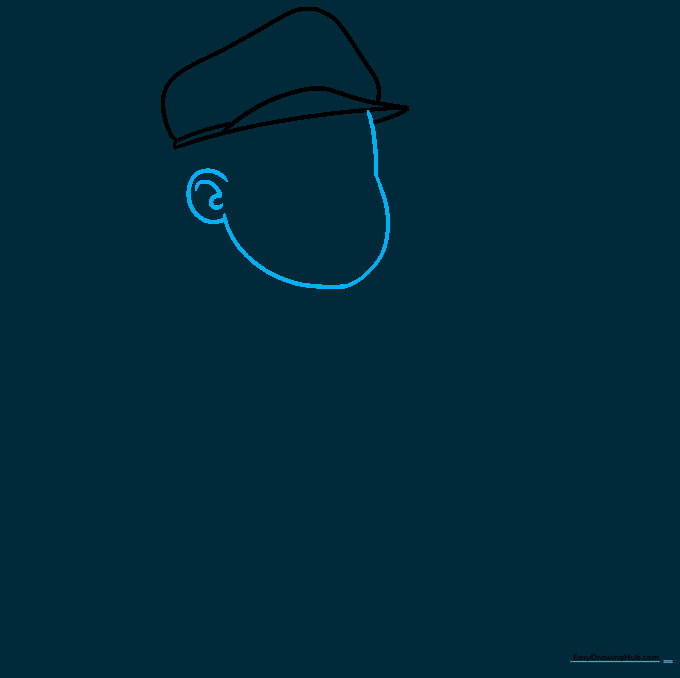
Draw the face using soft, curved lines. Add a 'C' shaped line on the side for the ear, adding a small inner curve for detail. Teacher's Tip: Use a light touch here; the ear should align roughly with where the middle of the eye will be.
Step 3: Adding the Hair
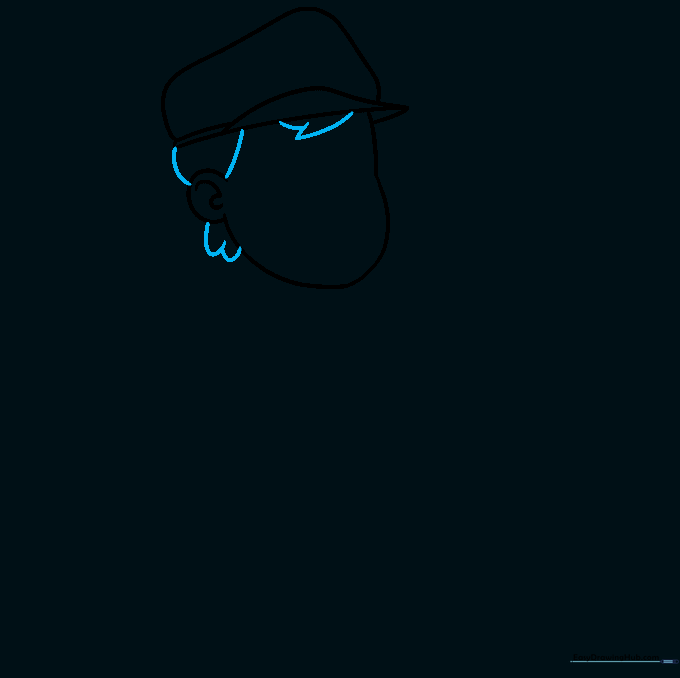
Complete the outline of the face by adding the hair. Use overlapping curved lines to create a natural-looking hairline. Teacher's Tip: Don't worry about making every hair perfect; a few loose, overlapping lines look more realistic.
Step 4: Facial Features
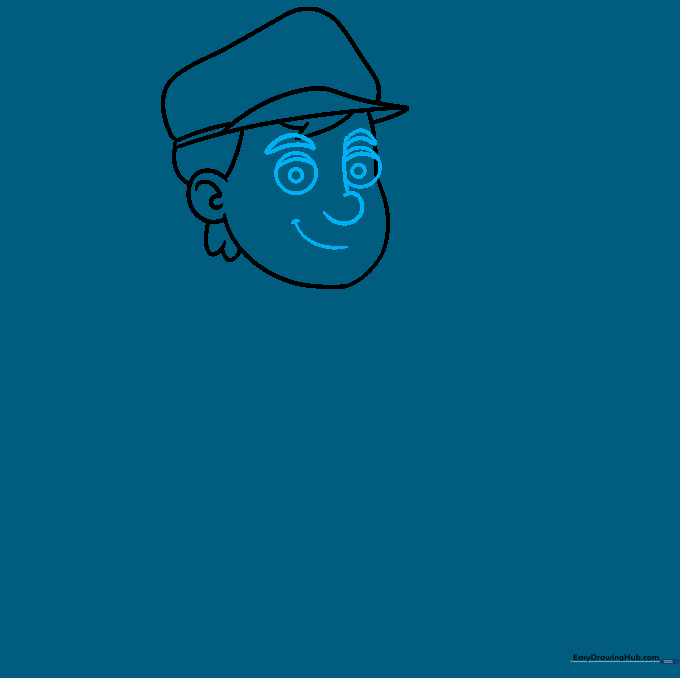
Detail the face with large circles for eyes, adding curved eyelids and small pupils. Draw pointed eyebrows, a simple nose, and a wide, happy smile. Teacher's Tip: Drawing the eyes at the same height helps the character look balanced and friendly.
Step 5: Designing the Hat Logo
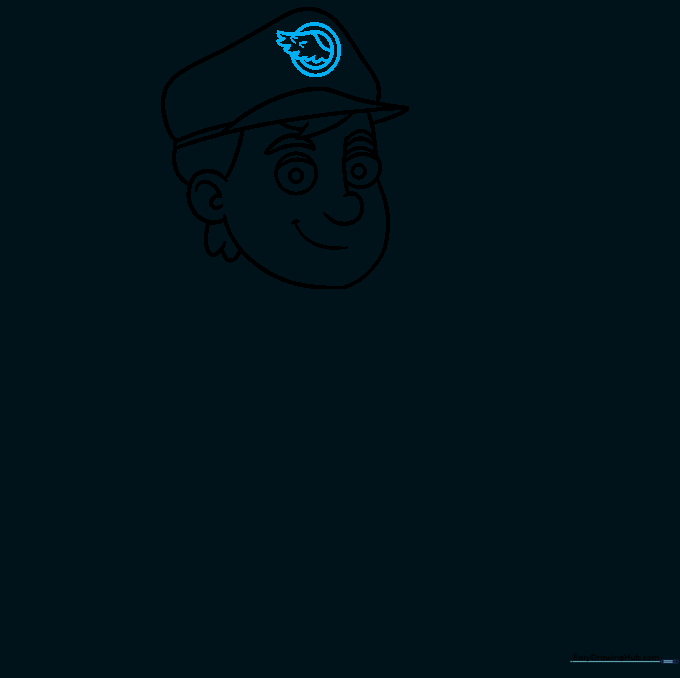
Draw a logo on the hat by sketching a small, winged shape inside two circles. Teacher's Tip: Keep the wings symmetrical to make the logo look professional.
Step 6: Drawing the Uniform
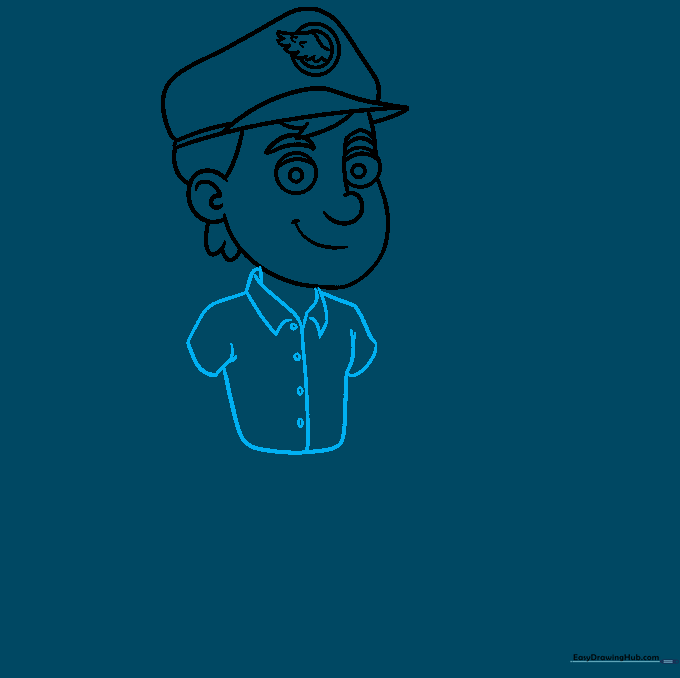
Outline the shirt using curved lines for the collar, shoulders, and torso. Add a center line and small circles for buttons. Teacher's Tip: Space the buttons evenly to make the uniform look neat and tidy.
Step 7: Arms and the Letter
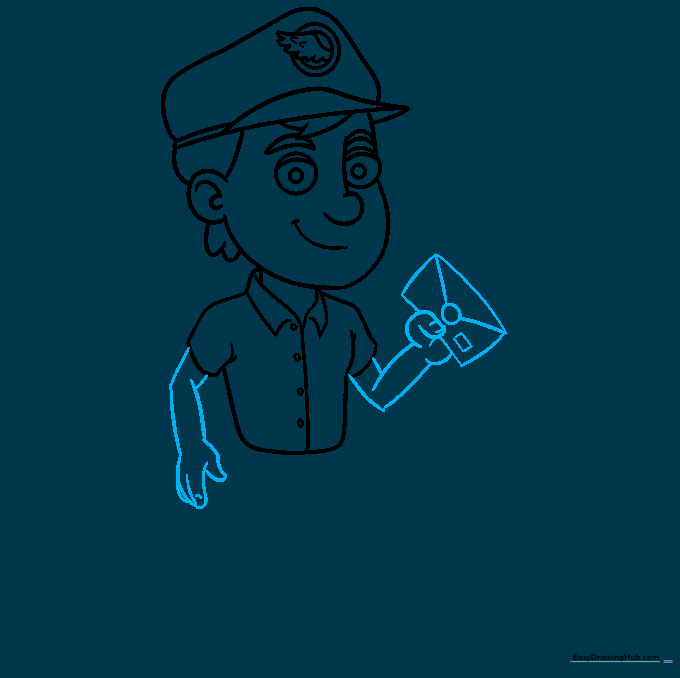
Draw the arms and hands. In one hand, sketch a rectangular envelope with a small triangular flap and a seal. Teacher's Tip: Use simple shapes for the fingers—don't worry about too much detail at this stage.
Step 8: Adding the Mail Bag
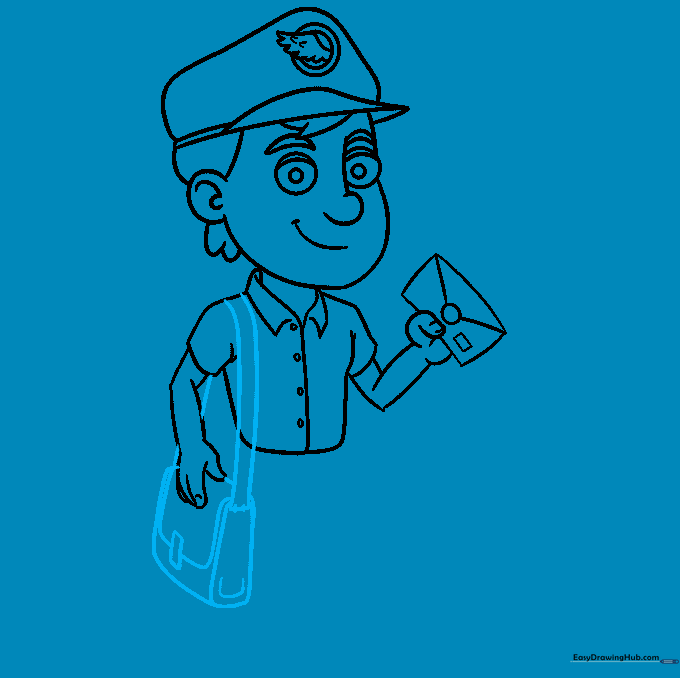
Sketch the mail bag with a shoulder strap and a rounded rectangular flap. Teacher's Tip: Make sure the strap looks like it's resting over the shoulder by curving the line slightly.
Step 9: Pants and Shoes

Draw the belt, pants, and shoes to finish the body. Use long, parallel lines for the legs. Teacher's Tip: Keep the shoe shapes simple and rounded to match the cartoon style of the character.
Step 10: Final Coloring
Bring your postman to life with color! Use traditional blues or browns for the uniform. Teacher's Tip: Use a darker shade of your main color to add shadows under the hat and bag for a 3D effect.
More Tutorials


