How to Draw a Porcupine: Easy 10-Step Guide for Kids
Ready to draw a prickly friend? This tutorial is perfect for young artists ages 5 and up. All you need is a pencil, an eraser, and some paper to bring this forest dweller to life while practicing your line control and shape-building skills.
🎯 Final Result

Step-by-Step Instructions
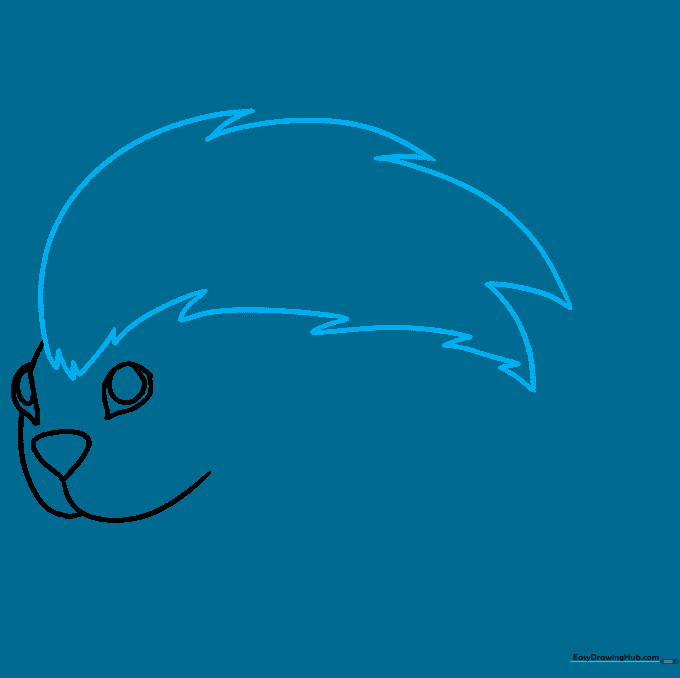
Sketching the Face Shape

Begin by drawing two overlapping curved lines to form the porcupine’s snout and forehead. Teacher's Tip: Keep your pencil pressure light here so you can easily adjust the shape if it looks a bit lopsided.
Adding the Nose

Draw an inverted triangle with soft, rounded corners at the tip of the snout. Teacher's Tip: A rounded nose makes your character look much friendlier than a sharp, pointy one!
Drawing the Expressive Eyes

Outline the eyes using two curved lines to create a double-pointed shape, then add a circle inside for the pupil. Teacher's Tip: Leave a tiny white dot inside the pupil to make the eyes look like they are sparkling.
Creating the Iconic Quills
Draw a series of long and short curved lines meeting at sharp points along the back. Teacher's Tip: Varying the length of the lines creates a more natural, fluffy look for the quills.
Adding the Ears
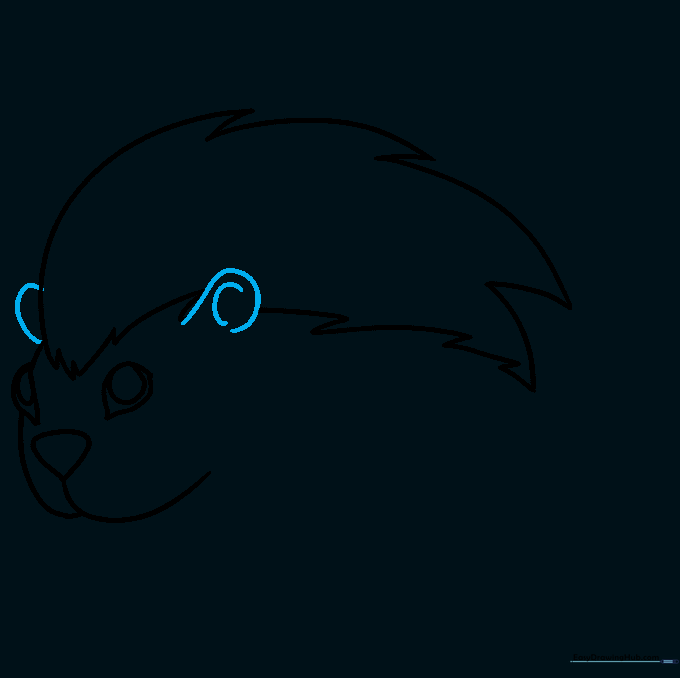
Sketch the ears using simple curved lines, adding a 'C' shape inside the near ear for depth. Teacher's Tip: Keep the ears small so they don't distract from the spiky quills.
Drawing the First Paw
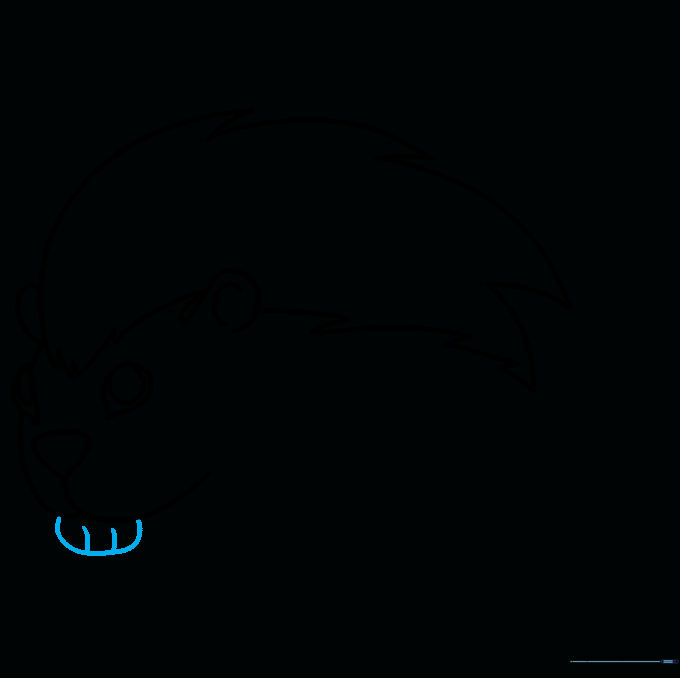
Outline the front paw with a curved line and add small, short lines to indicate the toes. Teacher's Tip: Think of the paw as a soft, rounded mitten shape.
Adding the Second Foreleg
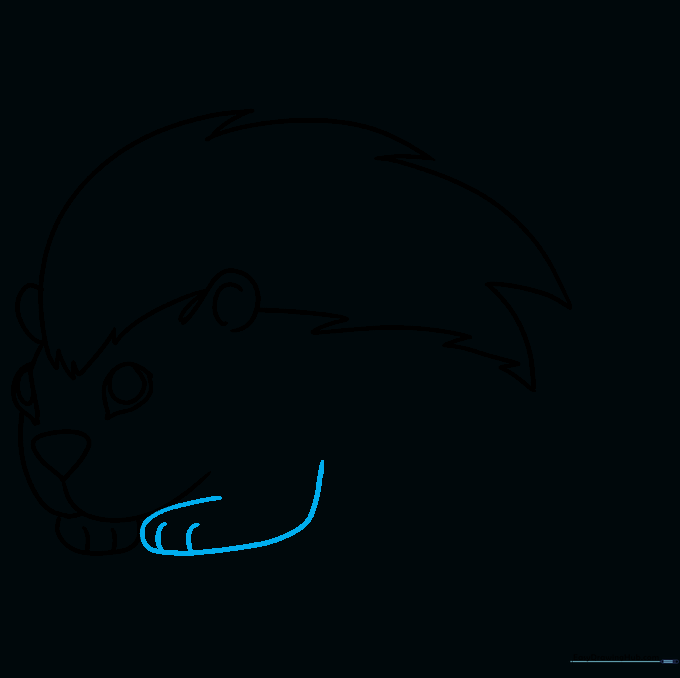
Draw the second foreleg using a long, smooth curved line to show the body's posture. Teacher's Tip: Make sure the leg connects naturally to the chest area.
Sketching the Rear Leg
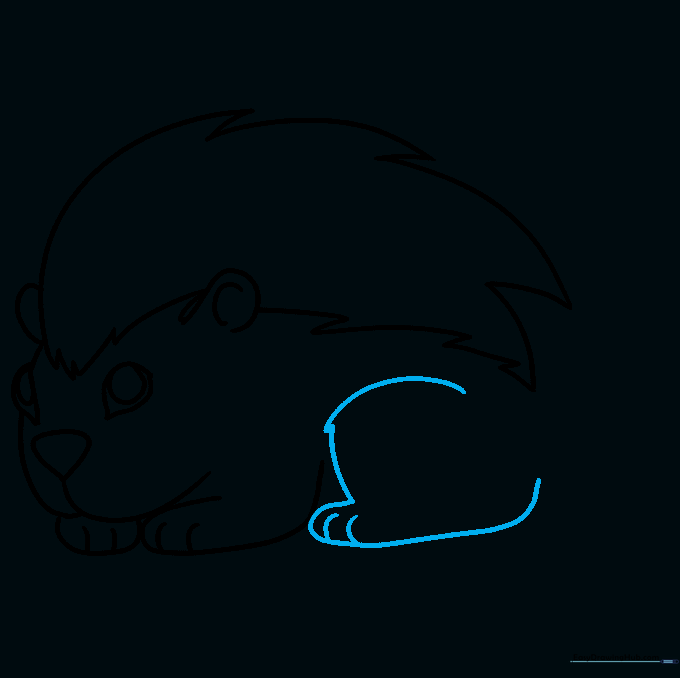
Draw the rear leg with a jagged tuft of fur at the knee to add texture. Teacher's Tip: Use a slightly thicker line for the leg to help it stand out from the body.
Completing the Tail
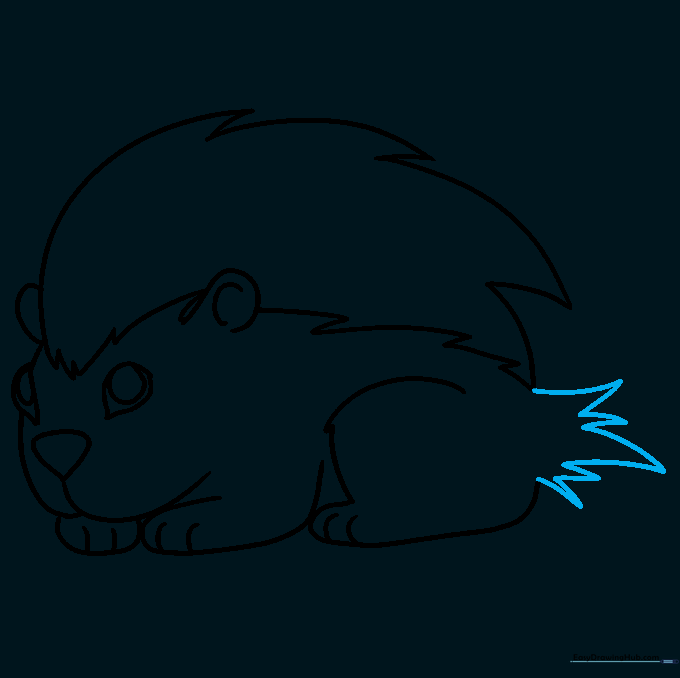
Finish the outline by adding a tuft of quills around the tail area using various curved lines. Teacher's Tip: Don't worry about making the lines perfect; nature is rarely perfectly symmetrical!
Coloring Your Porcupine

Bring your drawing to life with color! Use earthy browns or blacks, and try adding white or yellow stripes to the quills for a realistic touch. Teacher's Tip: Use light pressure with your colored pencils to create soft shading.
More Tutorials


