How to Draw a Poodle: Easy 10-Step Guide for Kids
Ready to bring a fancy poodle to life? This tutorial is perfect for young artists ages 5 and up. Grab your pencil, eraser, and paper, and follow along as we break down those signature fluffy curls into simple, manageable shapes.
🎯 Final Result

Step-by-Step Instructions
Step 1: Sketching the Fluffy Torso

Start by drawing a series of soft, rounded, cloud-like lines to create an oval shape for the body. Teacher's Tip: Keep your pencil pressure light here; these are just guidelines for the poodle's iconic curly coat!
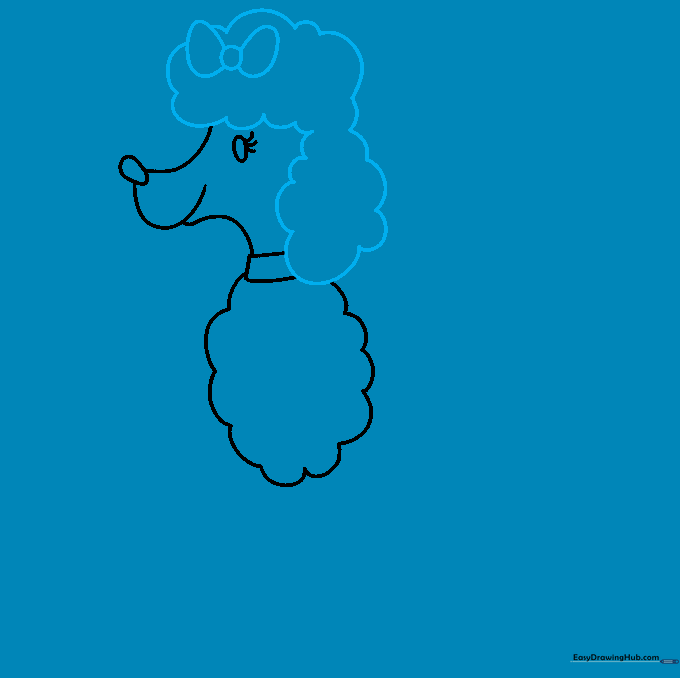
Step 2: Defining the Face and Snout

Draw a small rectangle at the top for the collar, then add the snout and jaw using overlapping curved lines. Add a small oval for the nose and a circle for the eye with tiny lashes. Teacher's Tip: Use a sharp pencil to keep the eye details crisp and expressive.
Step 3: Adding the Ears and Bow
Use bouncy, curved lines to create the long, fluffy ears and the hair on top of the head. Add a small circle with two curves to draw a cute bow. Teacher's Tip: Poodle ears are very soft, so don't worry about making the lines perfectly straight—the wavier, the better!
Step 4: Shaping the Body and Hips
Connect the head to the body with a curved line, then add another cloud-like shape for the hips. Teacher's Tip: Think of these shapes like fluffy cotton balls; keep your lines rounded to emphasize the poodle's soft texture.
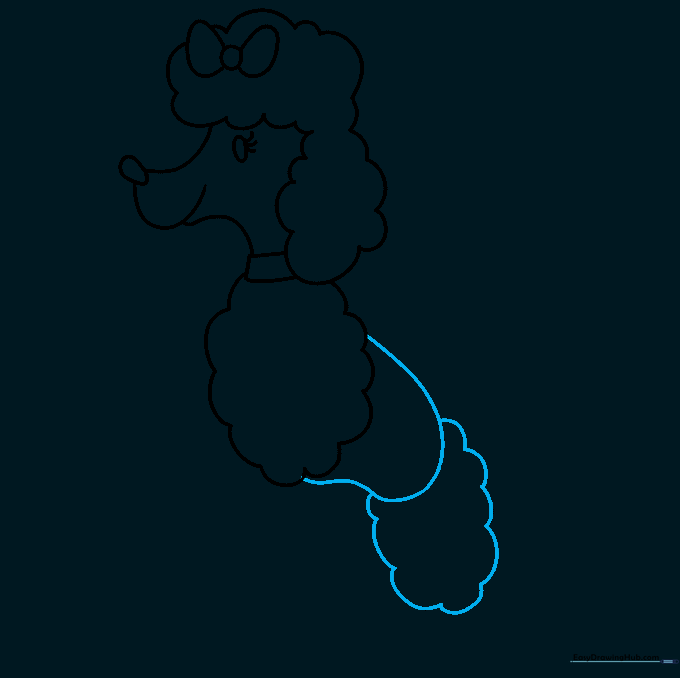
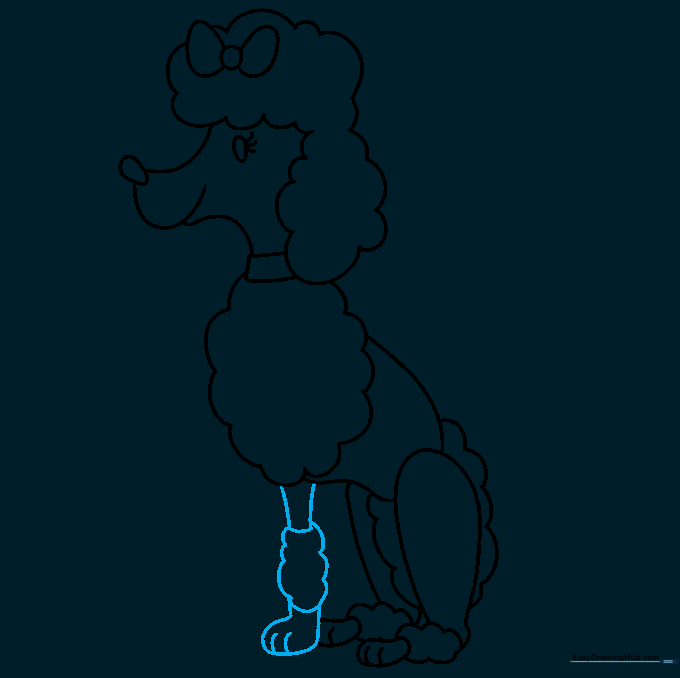
Step 5: Drawing the First Leg
Draw the back leg as an oval, adding a cloud-like puff of fur around the ankle. Finish with a small foot and tiny lines for toes. Teacher's Tip: Poodles have very distinct 'pompom' fur at their ankles—make sure to draw that puff extra round!
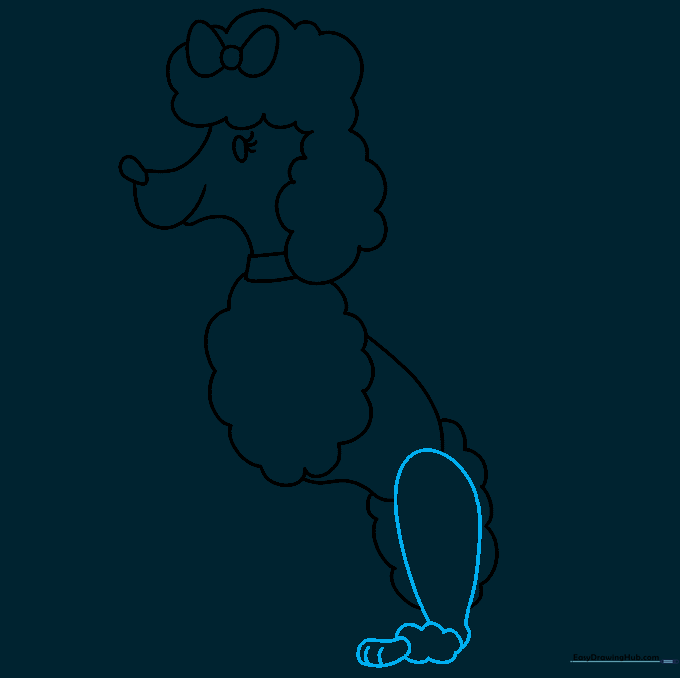
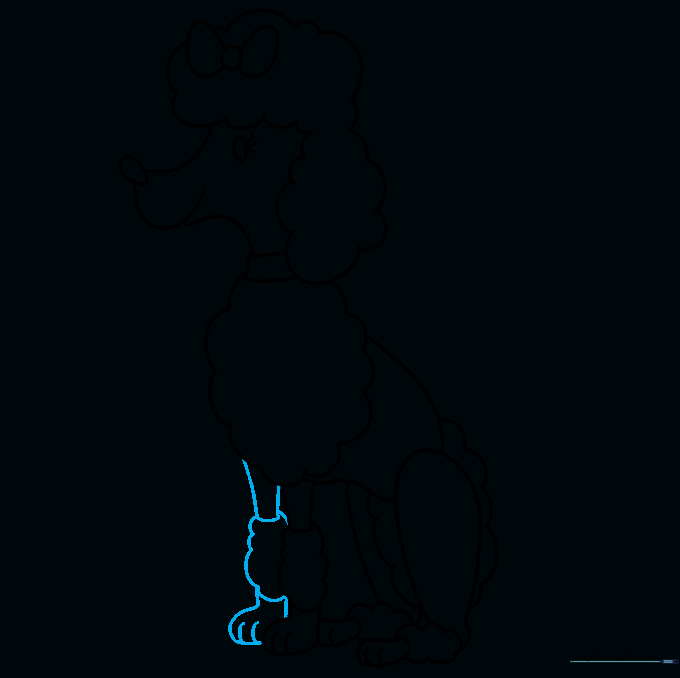
Step 6: Adding the Second Rear Leg
Repeat the process for the other rear leg, keeping it slightly behind the first one to show depth. Teacher's Tip: If the legs look too similar, try tilting the foot slightly to give your poodle a more dynamic, playful pose.
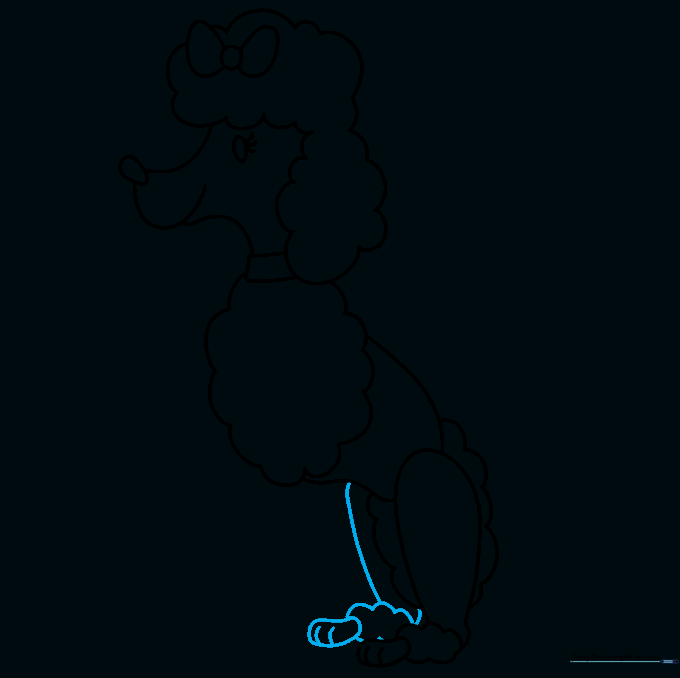
Step 7: Sketching the First Front Leg
Draw the front leg with a smooth upper section and a fluffy ankle puff. Add the paw with small toe lines. Teacher's Tip: Keep the front legs slightly thinner than the back legs to make your drawing look more balanced.
Step 8: Adding the Final Leg
Draw the last front leg to complete the set. Ensure the paw matches the style of the others. Teacher's Tip: Check your proportions—does the poodle look like it's standing firmly on the ground?
Step 9: Drawing the Tail

Add a perky tail with a fluffy, rounded tip. Teacher's Tip: A high, curved tail makes your poodle look happy and energetic!
Step 10: Bringing Your Poodle to Life with Color
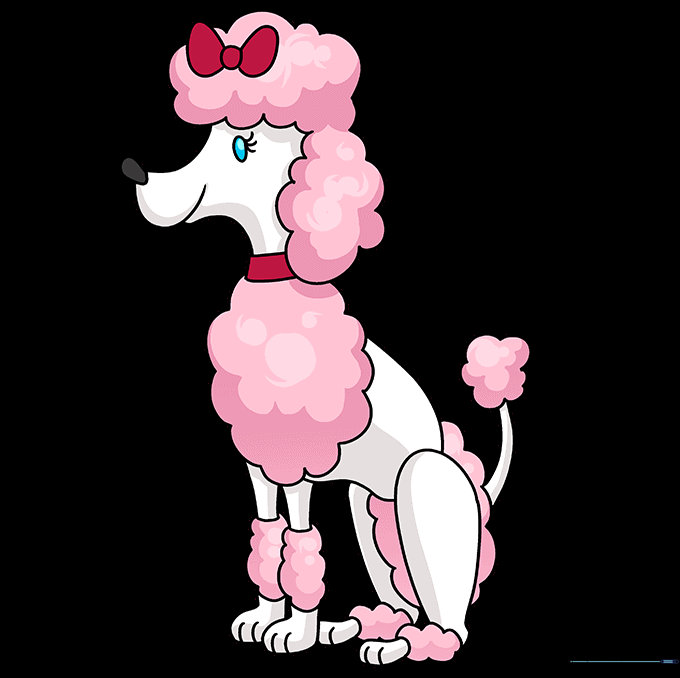
Time to color! Use classic poodle colors like white, brown, or black, or get creative with fun colors like pink or purple. Teacher's Tip: Use light, circular strokes with your colored pencils to mimic the texture of curly fur.
More Tutorials


