How to Draw a Pomeranian: Easy 10-Step Guide for Kids
Ready to bring a fluffy Pomeranian to life? This tutorial is perfect for young artists ages 5 and up. All you need is a pencil, an eraser, and your favorite coloring supplies to create this adorable pup.
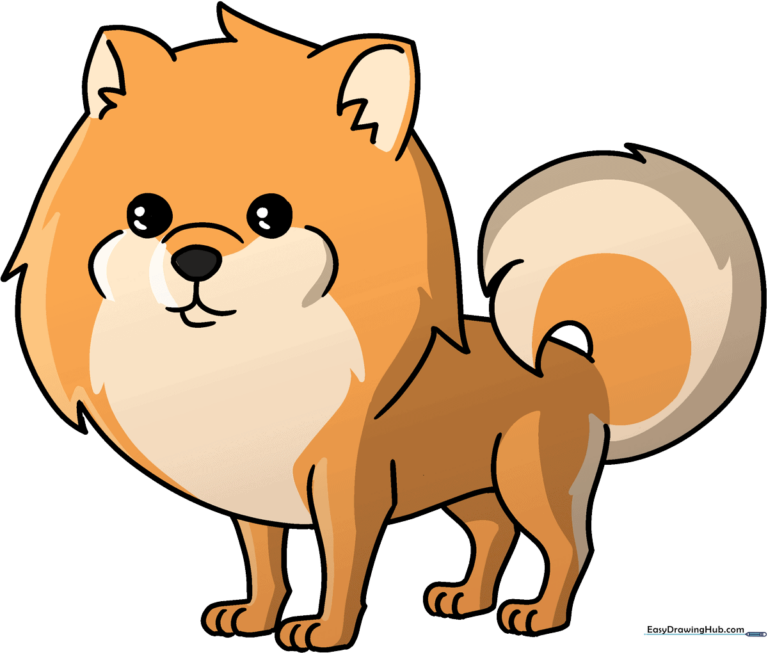
🎯 Final Result
Step-by-Step Instructions
Step 1: Sketching the Fluffy Head

Draw a partial circular shape using a series of short, jagged curved lines. Teacher's Tip: Think of these as 'fur spikes'—don't worry about making them perfect, as real fur is naturally messy!
Step 2: Adding the Ears
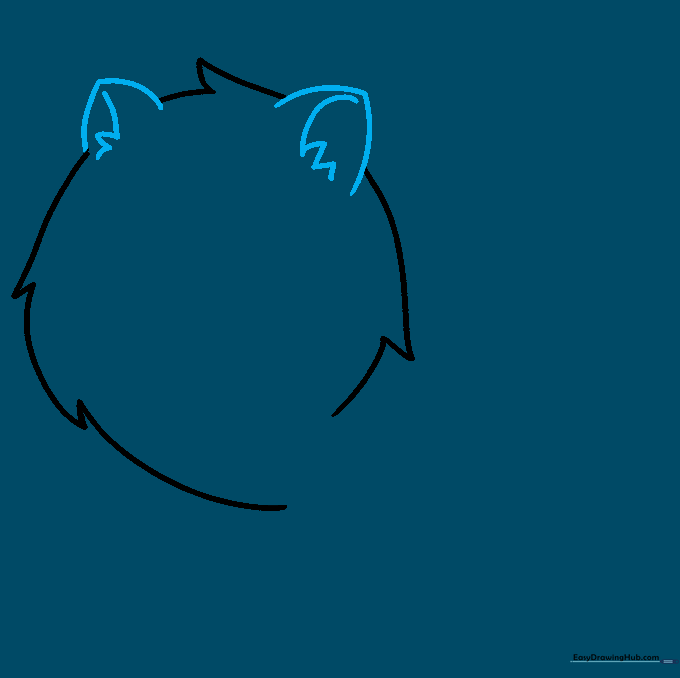
Add two triangular shapes on top of the head using curved lines. Tip: Add a few tiny zigzags inside the ears to give them that soft, fuzzy texture Pomeranians are famous for.
Step 3: Drawing the Face
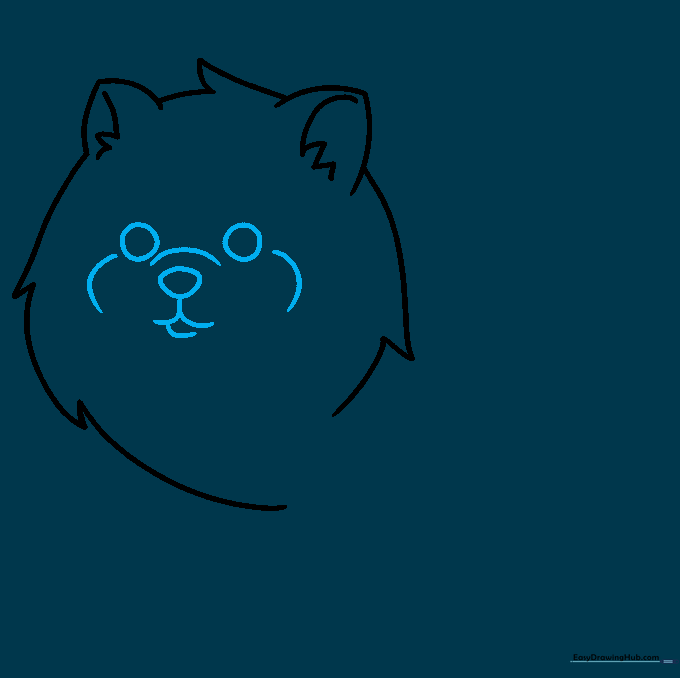
Draw two small circles for the eyes and a rounded shape for the nose. Use a 'W' shape for the mouth. Tip: Leave a tiny white dot inside each eye to make your puppy look bright and alert!
Step 4: Outlining the Body
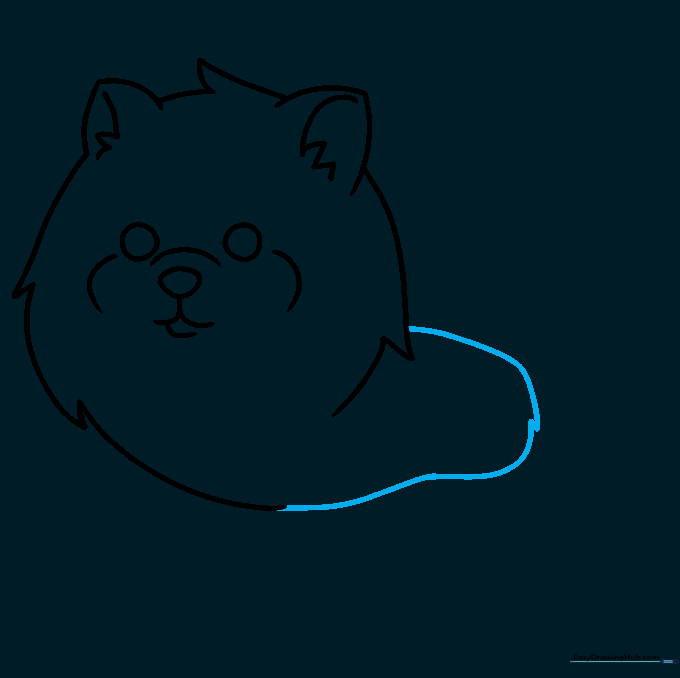
Connect the head to the body using long, flowing curved lines. Tip: Use jagged strokes along the edges to represent the dog's thick, poofy coat.
Step 5: The First Foreleg
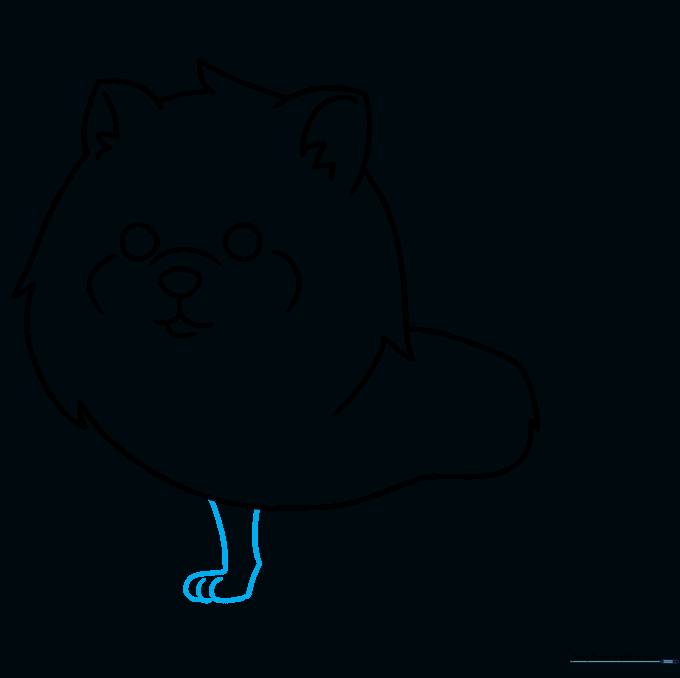
Draw a vertical shape for the front leg, ending in a small paw. Tip: Keep the leg slightly tapered so it looks natural and not like a stiff stick.
Step 6: The Second Foreleg
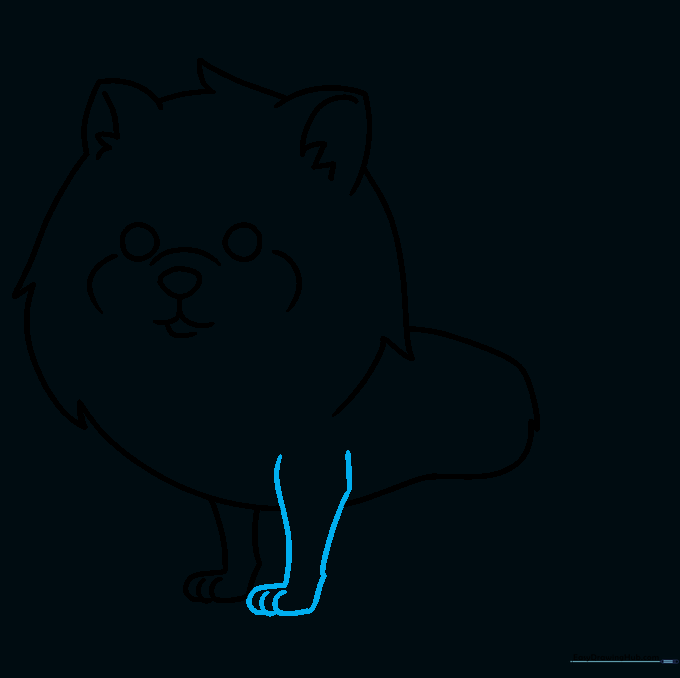
Draw the second front leg slightly behind the first one. Tip: Erase any overlapping lines from the body to make the leg appear to be in the foreground.
Step 7: The Rear Leg
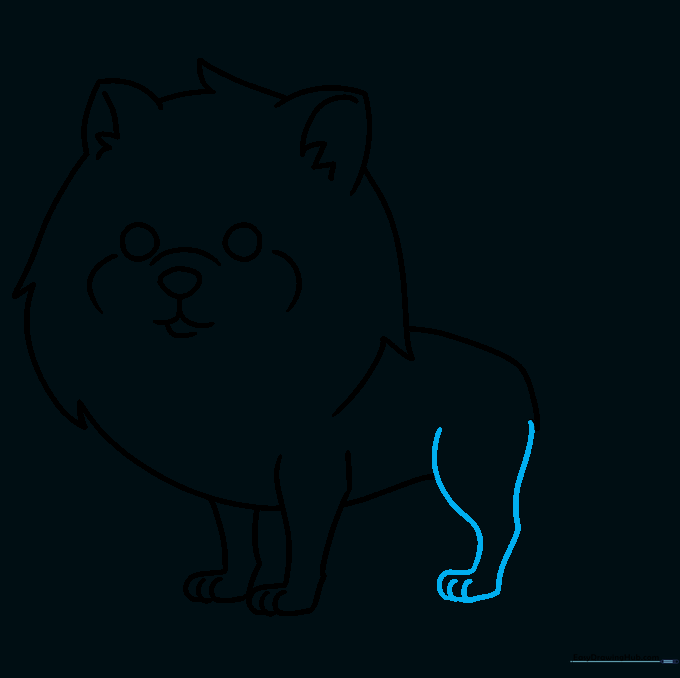
Sketch the back leg with a slight curve to show the joint. Tip: Pomeranians have fluffy legs, so use soft, rounded lines rather than sharp corners.
Step 8: Completing the Legs
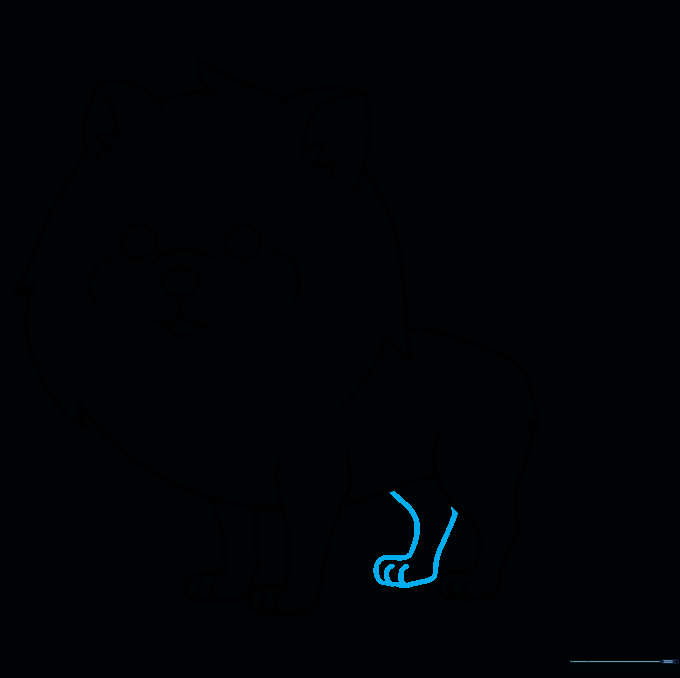
Add the final rear leg to balance the drawing. Tip: Ensure the paws are roughly the same size so your puppy looks balanced.
Step 9: The Signature Tail

Draw the iconic curled tail using large, sweeping, jagged lines. Tip: The tail should look like a soft plume resting on the dog's back.
Step 10: Bring Your Pomeranian to Life
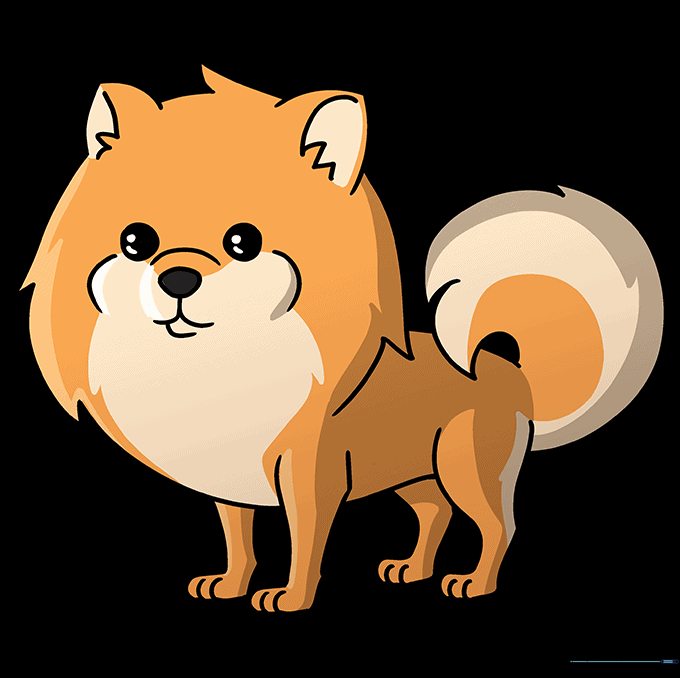
Color your drawing! Use soft strokes to blend colors like tan, cream, or orange. Tip: Use a darker shade of your color to add shadows under the ears and tail for a 3D effect.
More Tutorials


