How to Draw a Police Hat: Easy 9-Step Guide for Kids
Ready to gear up for a creative mission? This tutorial is perfect for young artists ages 5 and up who want to draw a classic police hat. You only need a pencil, an eraser, and some paper to get started. By the end, you will have a professional-looking hat design ready for your favorite coloring tools.
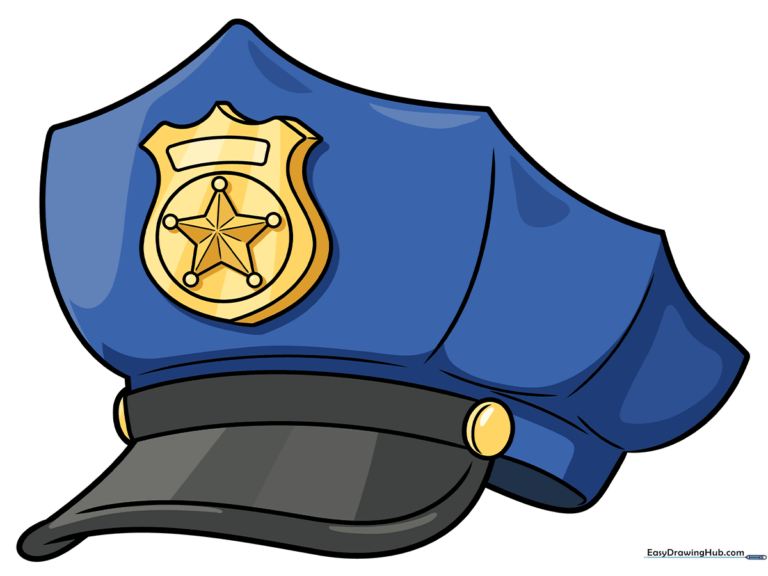
🎯 Final Result
Step-by-Step Instructions
Step 1: Sketching the Crown

Start by drawing a series of connected, gentle curved lines to form the top crown of the hat. Teacher's Tip: Think of this as drawing a soft, rounded mountain shape.
Step 2: Defining the Base
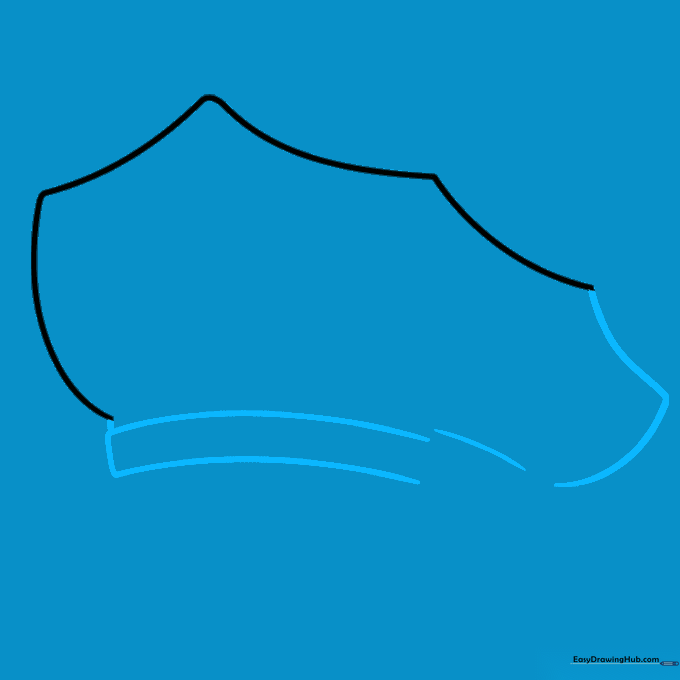
Use curved lines to enclose a partial rectangle at the bottom of your crown shape. This creates the band of the hat. Tip: Keep the corners slightly rounded to make the hat look soft and realistic.
Step 3: Adding the Bill
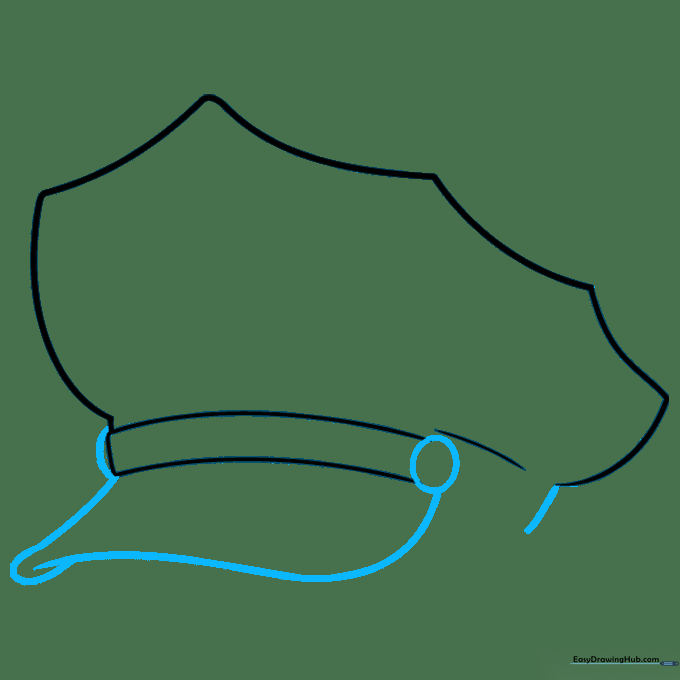
Draw an oval at one end of the band and a half-oval at the other. Connect them with two overlapping curved lines to create the hat's bill. Tip: The bill should look like a small duck's beak.
Step 4: Refining the Structure
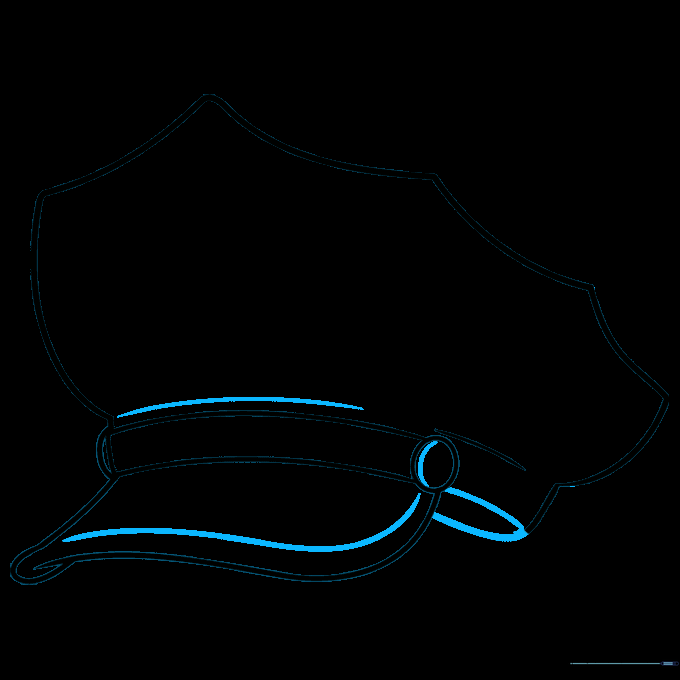
Use curved lines to enclose the space between the bill and the back of the hat. Add a small oval button on the side. Tip: This adds depth and makes the hat look like a real piece of equipment.
Step 5: Detailing the Crown and Badge

Add vertical and horizontal curved lines across the crown to show its shape. Start sketching the badge on the front using an 'S' shaped line. Tip: Keep your badge lines light so you can refine the shape later.
Step 6: Shaping the Badge
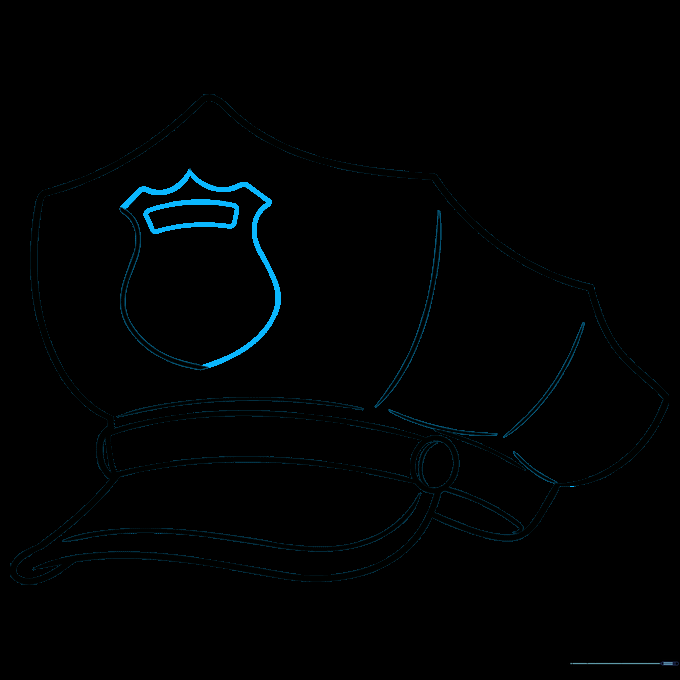
Complete the badge outline with curved lines and add a curved rectangle across the top. Tip: Ensure the badge is centered on the front of the hat for a professional look.
Step 7: Adding the Star
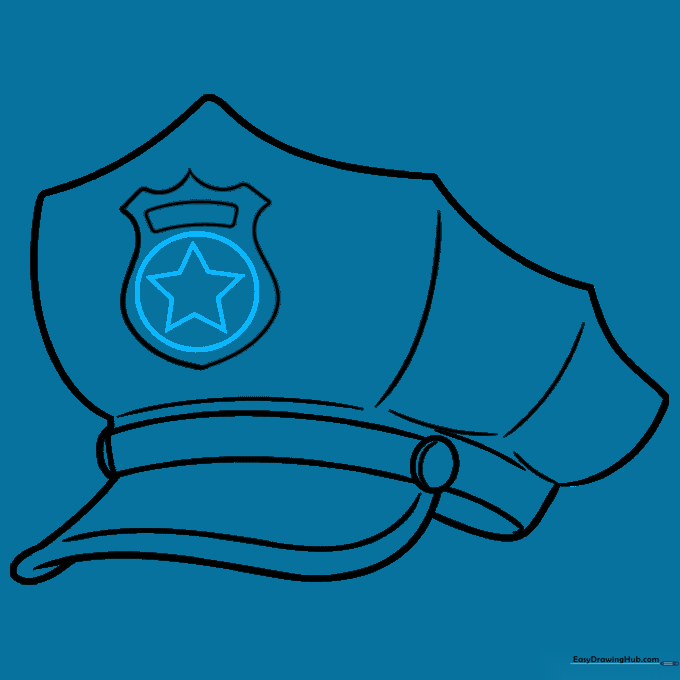
Draw a circle in the center of the badge, then carefully sketch a five-pointed star inside it. Tip: If the star is tricky, draw a light pentagon first to help guide your points.
Step 8: Adding 3D Details
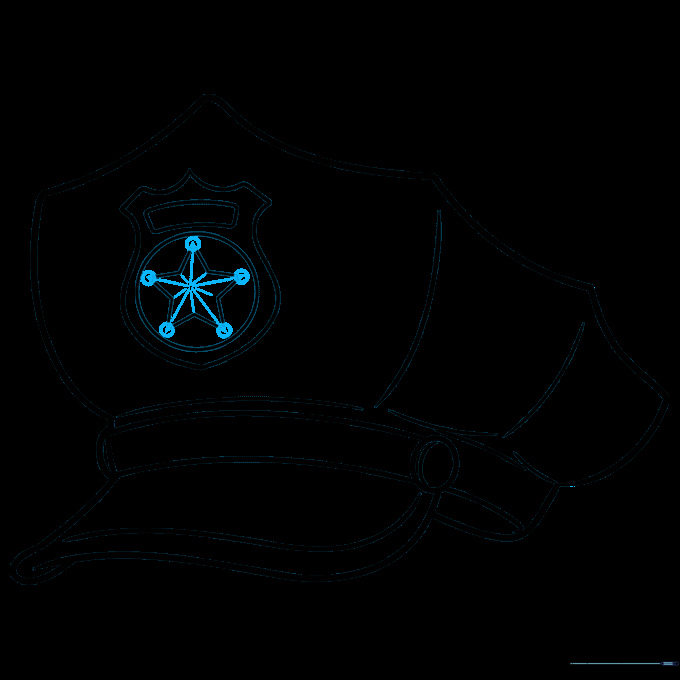
Add small circles at the tips of the star and draw lines connecting them to the center. This creates a 3D effect. Tip: Use a sharp pencil to keep these small details clean.
Step 9: Final Touches
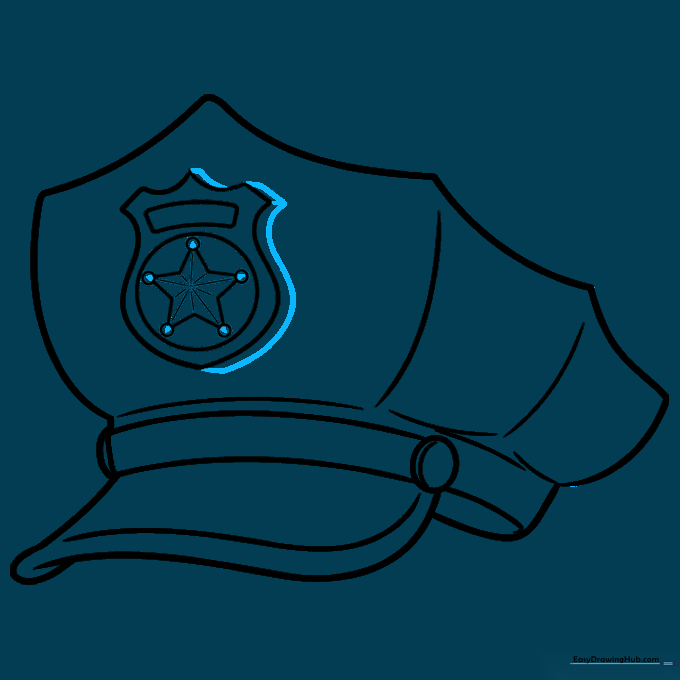
Draw parallel lines around the badge to make it stand out. Connect them with short, straight lines to finish the outline. Tip: Now is the time to erase any stray guidelines.
Step 10: Color Your Masterpiece
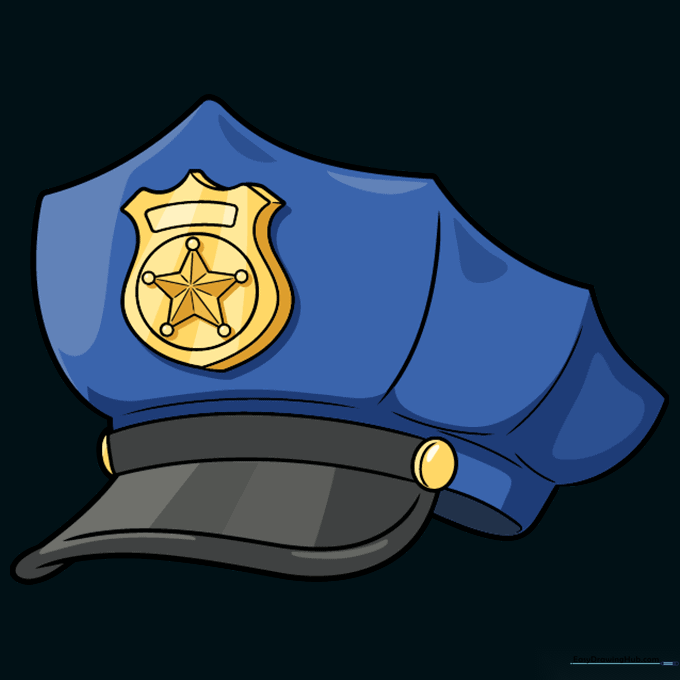
Time to bring it to life! Use dark blue for the hat, black for the brim, and bright yellow or gold for the badge. Tip: Use light pressure with your yellow pencil to make the badge look metallic.
More Tutorials


