How to Draw a Polar Bear Head: Easy 9-Step Guide
Bring the Arctic to your sketchbook with this fun, beginner-friendly polar bear tutorial. Designed for ages 5 and up, this activity helps young artists practice symmetry and expressive line work. All you need is a pencil, an eraser, and a black marker to bring your icy friend to life.
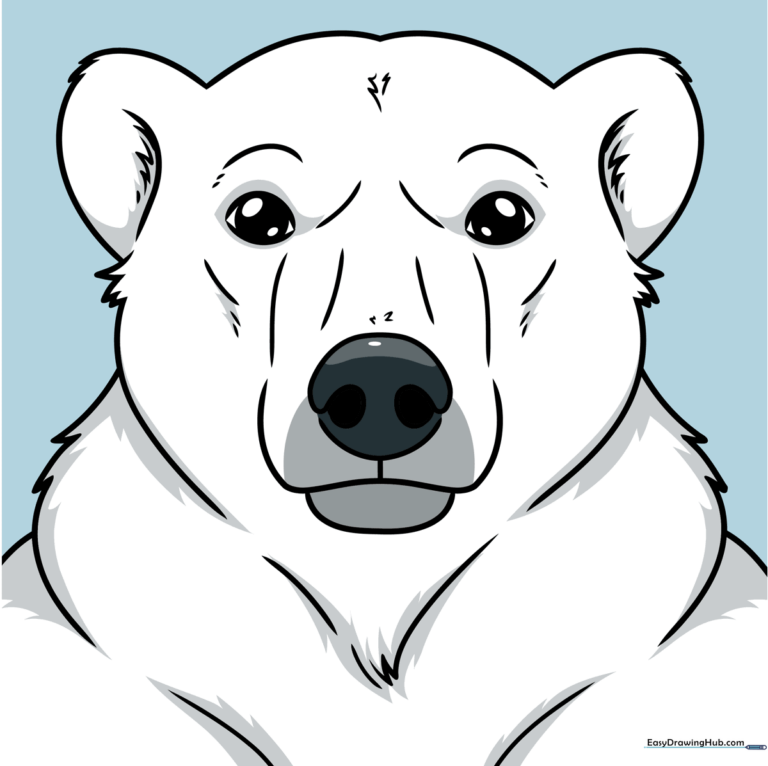
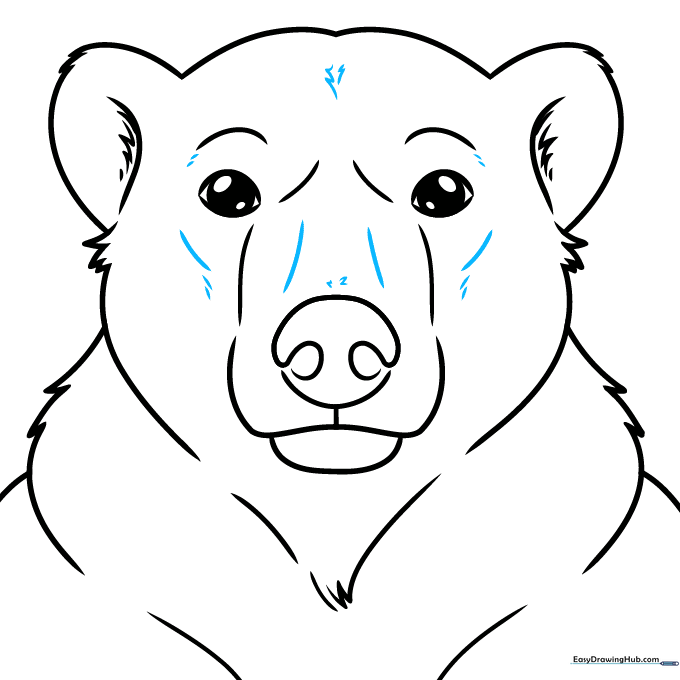
🎯 Final Result
Step-by-Step Instructions
Step 1: Establishing the Eyes
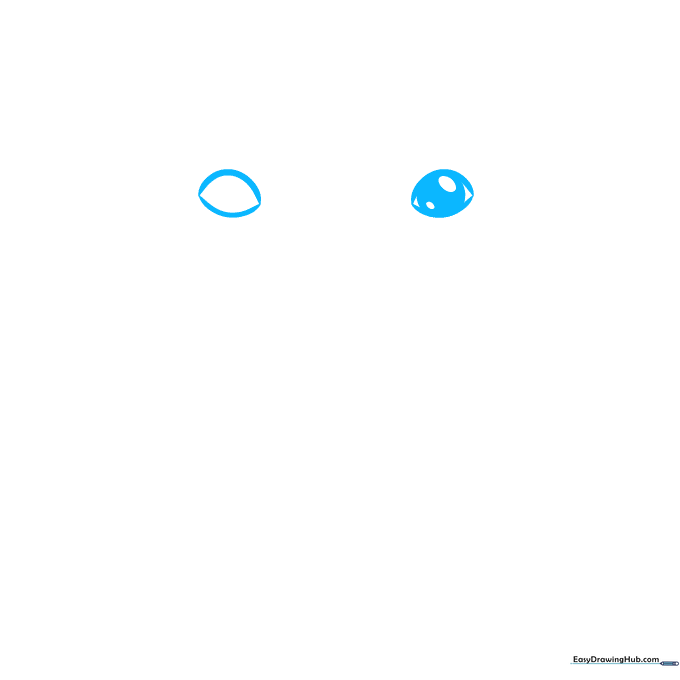
Draw two light lemon shapes about two inches apart. Inside the right shape, sketch a small circle for the iris, then add two tiny ovals inside for highlights. Tip: Keep these shapes light so they are easy to adjust later.
Step 2: Balancing the Face

Repeat the eye process on the left side to maintain symmetry. Between the eyes, draw two short vertical lines connected by a semi-oval to begin the snout. Tip: Use a ruler if you struggle with centering, but freehand is better for practice!
Step 3: Shaping the Nose
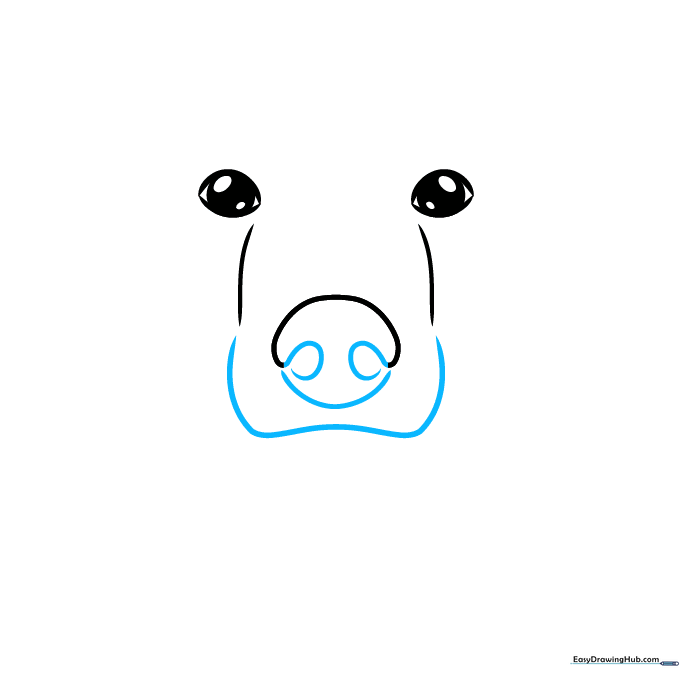
Add a curve beneath the semi-oval, then sketch two loops for the nostrils. Frame the nose with two vertical lines like parentheses. Tip: Polar bear noses are quite large, so don't be afraid to make these shapes bold.
Step 4: Defining the Muzzle and Head
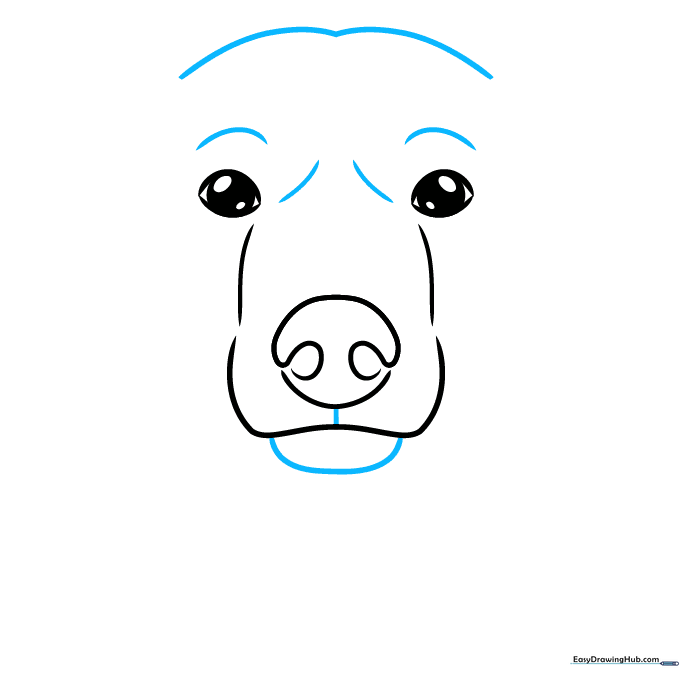
Sketch a semi-oval beneath the mouth like a hot dog bun. Connect the nose and mouth with a vertical line, then draw curves around the eyes. Outline the top of the head with two wide, gentle hills. Tip: The 'hills' should be soft and rounded to give the bear a friendly look.
Step 5: Adding Ears
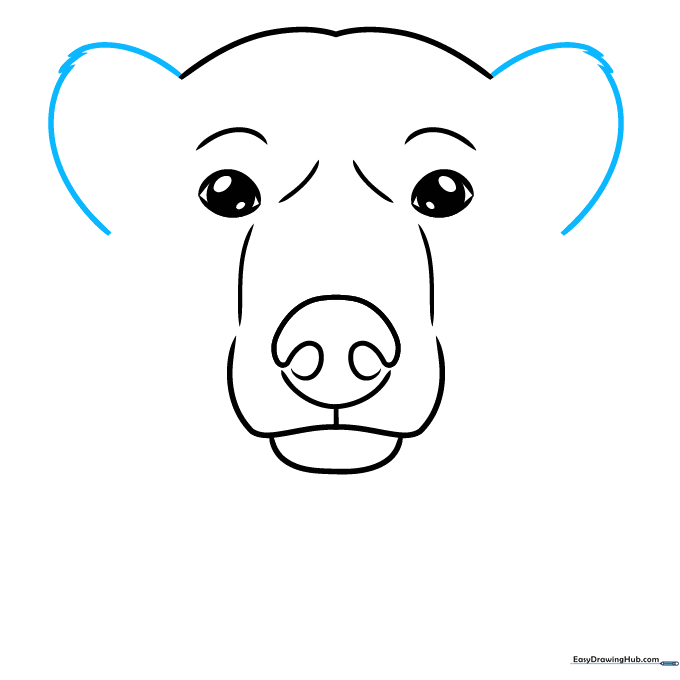
Use semi-ovals for the ears, adding a couple of short, jagged lines to represent tufts of fur. Tip: Fur is never perfectly smooth, so use quick, short pencil strokes.
Step 6: Creating Fur Texture
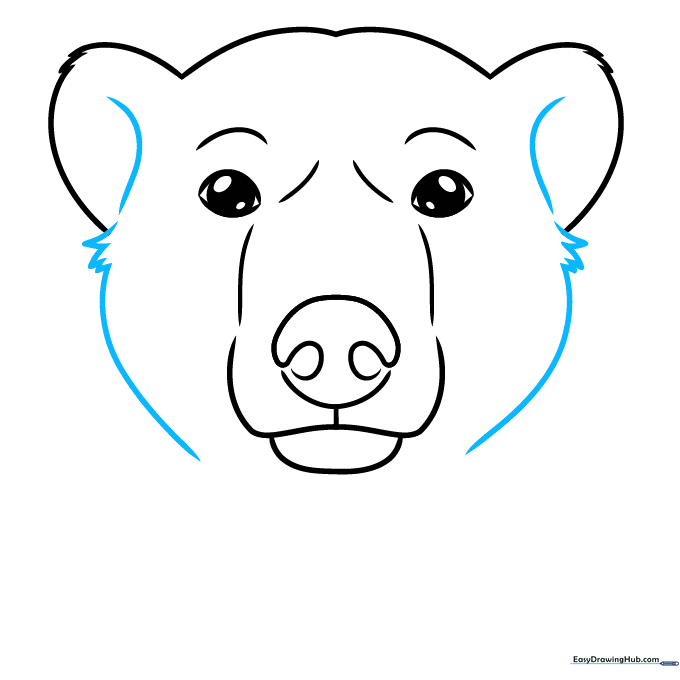
Sketch a curve inside each ear, then draw a wider curve on each side of the face. Connect the lines with more bristles, like you're drawing blades of grass. Tip: Vary the length of your 'grass' lines to make the fur look natural.
Step 7: Refining the Cheeks
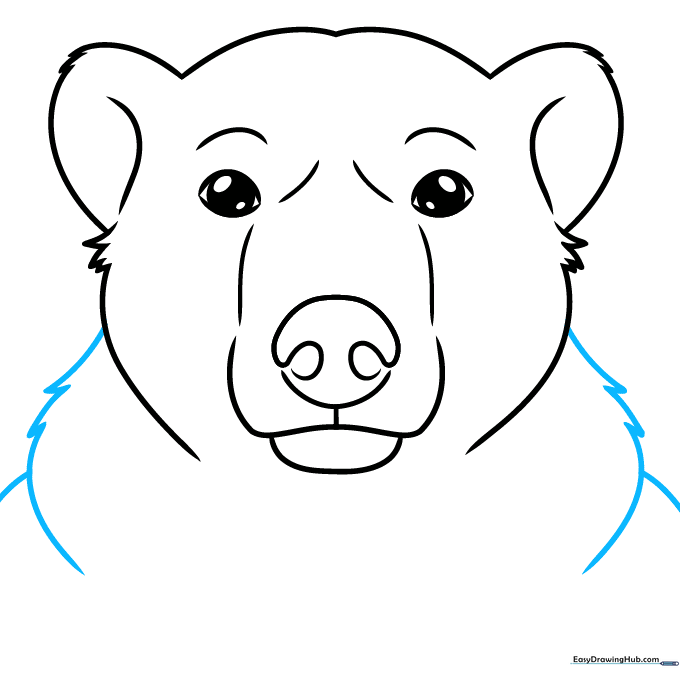
On the left, draw two narrow triangles and swipe the line downward in a curve. Add a dash to the left. Repeat this on the other side, mirroring the shapes. Tip: This adds volume to the bear's cheeks, making it look cuddly.
Step 8: Adding Chest Fur
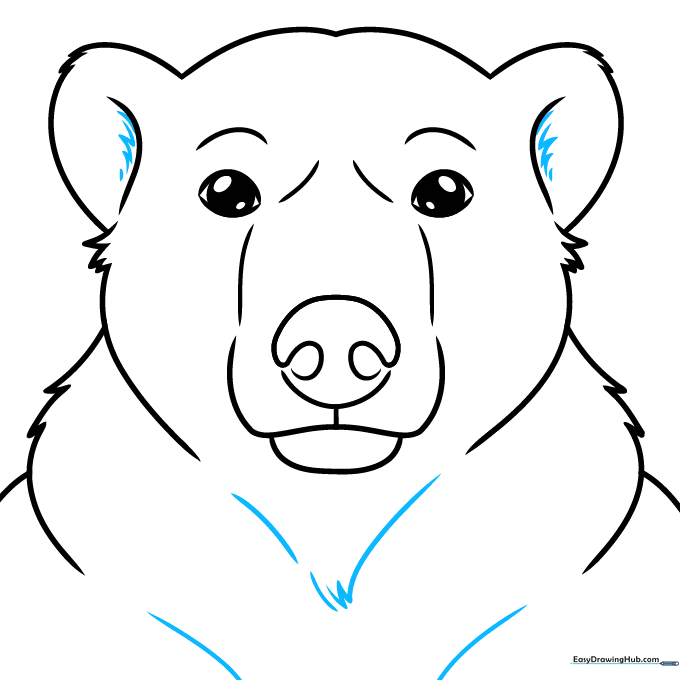
Outline the furry chest with triangles and diagonal lines. Add sketchy dashes inside the ears for depth. Tip: Use a lighter touch here so the chest fur doesn't overpower the face.
Step 9: Final Outline and Details
Add more lines and dashes inside the face to enhance the fur texture. Outline your drawing with a black marker or ink pen, and fill in the pupils and nostrils. Tip: Take your time with the ink; slow, steady lines look much cleaner.
Step 10: Adding Color

Color the nose dark gray, then use light gray for the shadows around the fur. Make the background light blue to give your polar bear an icy, Arctic landscape. Tip: Use a soft circular motion with your colored pencils to create smooth shadows.
More Tutorials


