How to Draw a Polar Bear Cub: Easy 20-Step Guide
Bring the Arctic to life with this fun, beginner-friendly drawing guide! Designed for ages 5 and up, this project uses basic shapes to build a charming polar bear cub. Grab your pencil, eraser, and paper, and let’s start sketching this winter friend together.
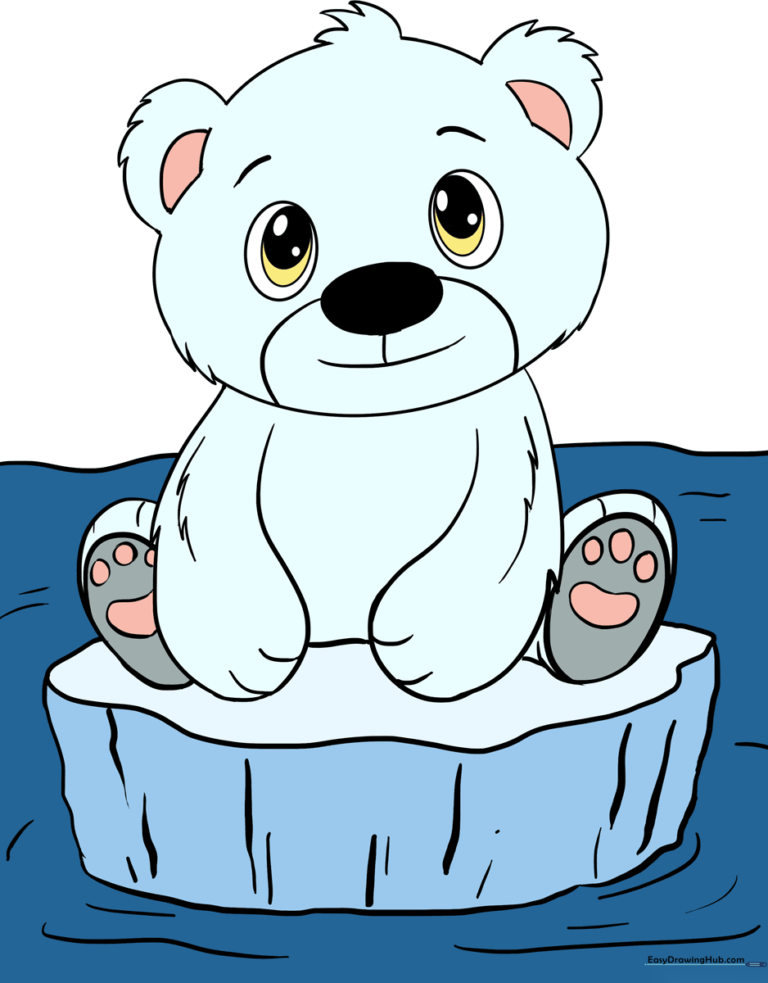
🎯 Final Result
Step-by-Step Instructions
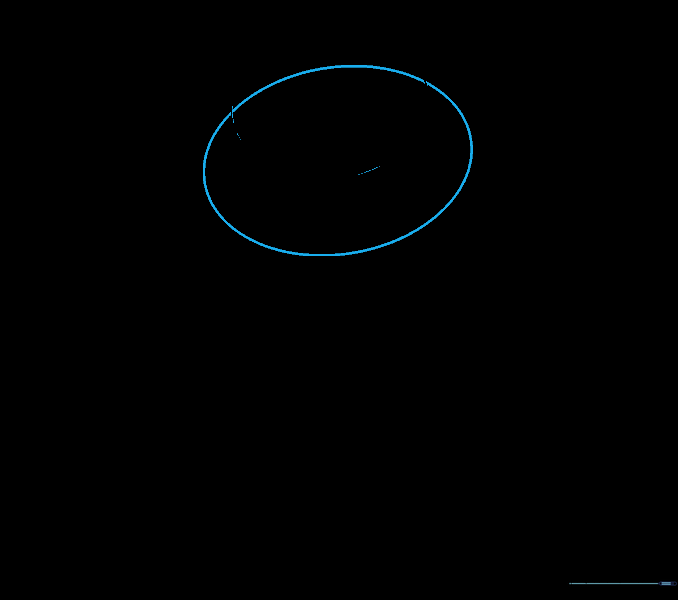
Step 1: Sketching the Head Base

Draw a light oval to serve as the top of the bear's head. Teacher's Tip: Keep your pencil grip loose and light; this is just a guide that we will refine later.
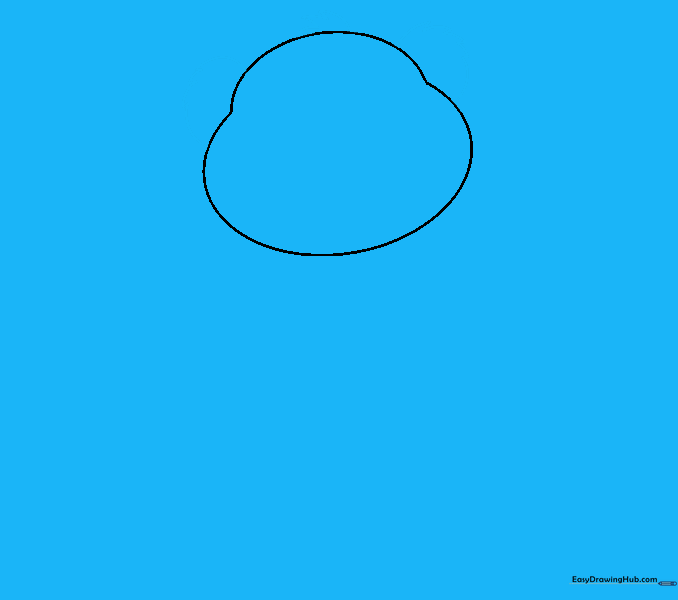
Step 2: Defining the Muzzle
Draw a larger, slightly overlapping oval below the first one to form the snout area. Tip: Make sure it overlaps slightly so the head looks like one solid shape.
Step 3: Cleaning the Outline

Carefully erase the overlapping lines inside the head shape. Tip: Use a soft eraser to keep your paper clean and ready for details.
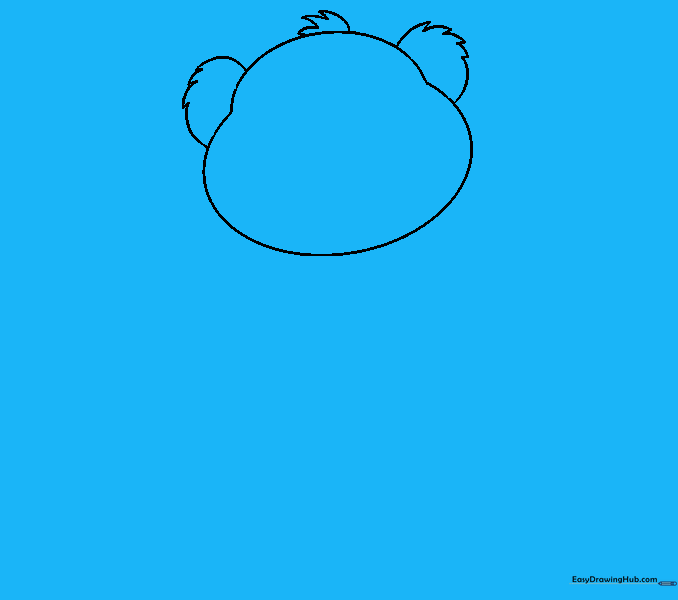
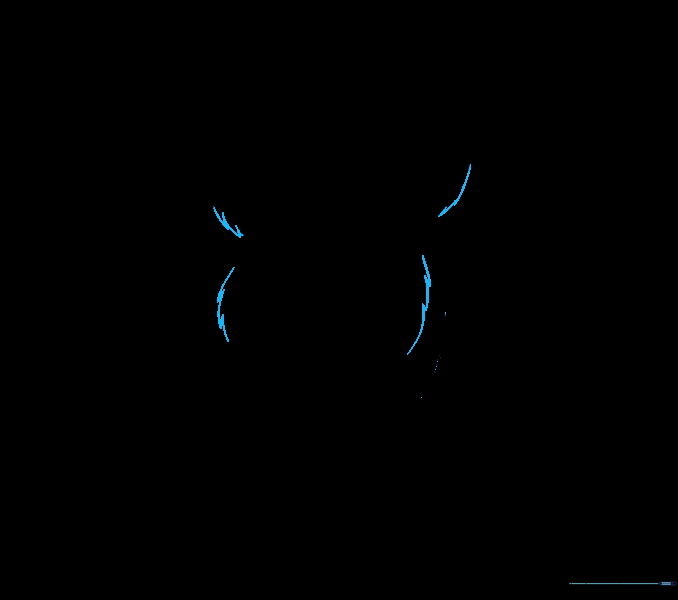
Step 4: Adding Fur and Ears
Use short, jagged lines to create a fuzzy tuft on the head and rounded ears. Tip: Think of these as tiny 'V' shapes connected together to mimic soft fur.
Step 5: Facial Features
Add curved lines inside the ears and two ovals for the eyes. Tip: Placing the eyes slightly lower in the head makes the bear look much cuter and younger.
Step 6: Refining the Silhouette

Clean up your sketch by erasing any unnecessary guide lines around the ears and head. Tip: A clean drawing makes the final coloring process much easier.
Step 7: Drawing the Nose and Mouth
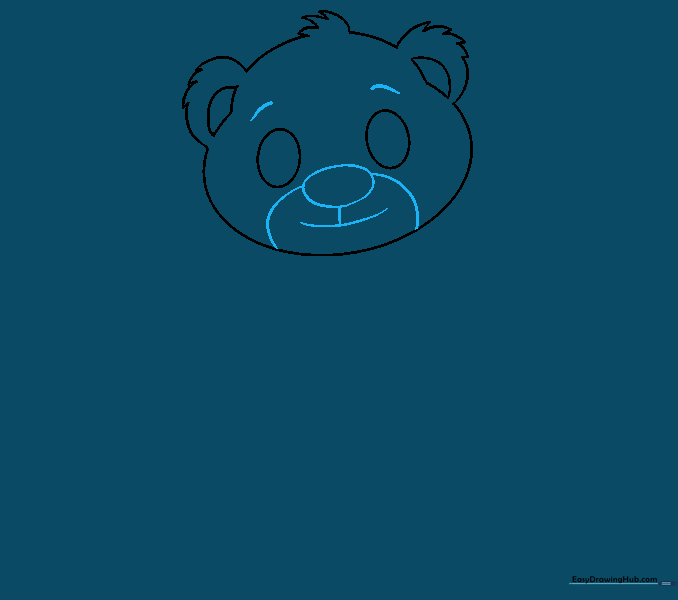
Draw the nose, mouth, and eyebrows. Tip: Use a small, dark oval for the nose and a gentle 'W' shape for the mouth to give the cub a friendly expression.
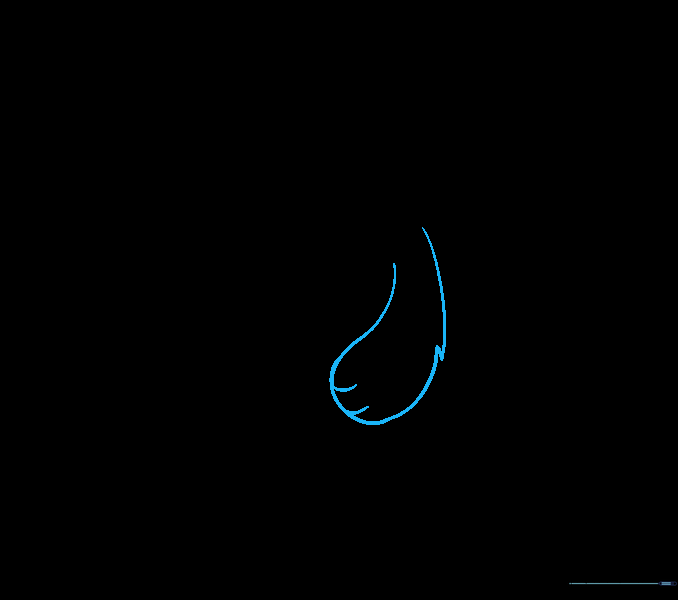
Step 8: Sketching the First Arm
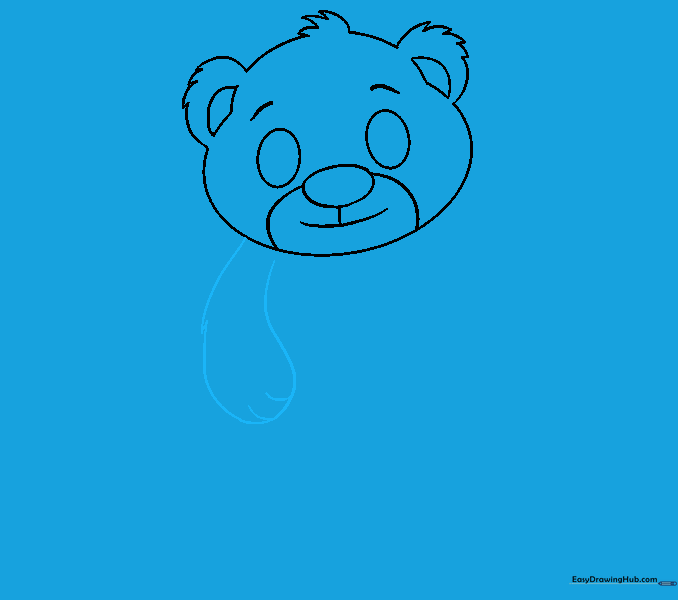
Draw the arm using jagged lines to show fur texture, ending with small curves for fingers. Tip: Keep the arm slightly rounded to make the cub look cuddly.
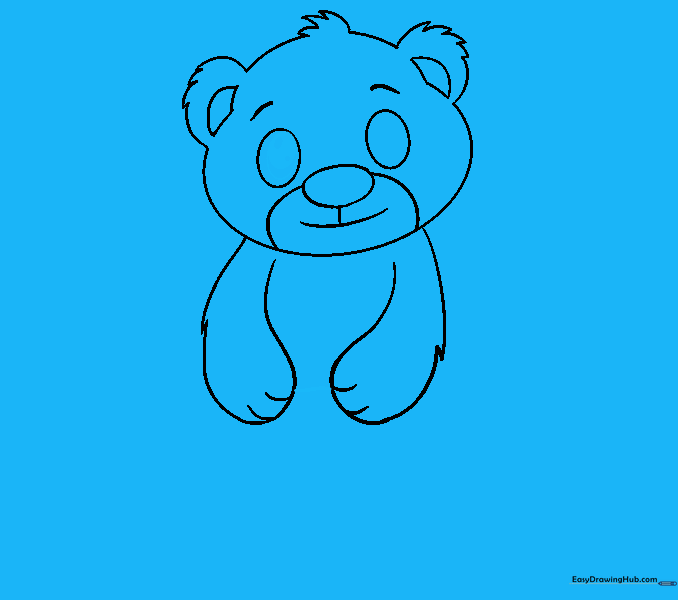
Step 9: Adding the Second Arm
Repeat the arm drawing on the other side to create symmetry. Tip: If it looks a bit uneven, remember that nature isn't perfectly symmetrical!
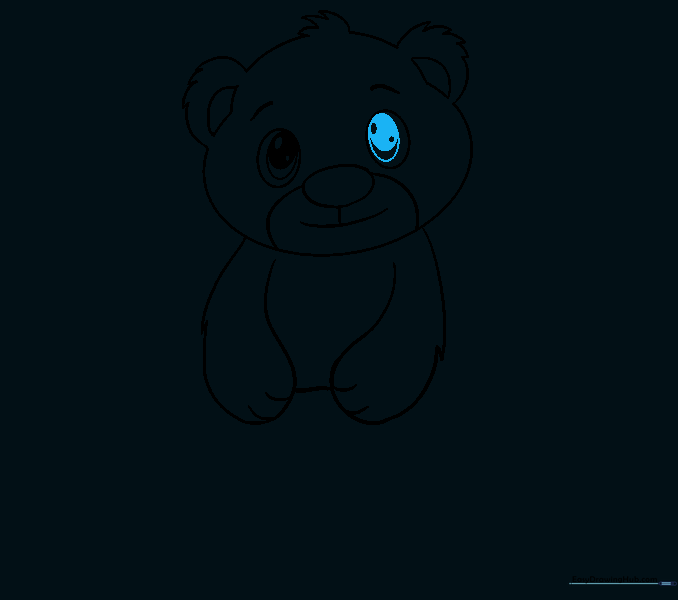
Step 10: Detailing the Eyes
Add pupils and highlights to the eyes. Tip: Leave a tiny white circle inside the pupil to make the eyes look bright and full of life.
Step 11: Balancing the Face
Detail the second eye to match the first. Tip: Take your time here; the eyes are the most important part of the bear's personality.
Step 12: Adding Fur Texture
Add more jagged lines along the face and arms to enhance the fluffy fur look. Tip: Vary the length of your lines to make the fur look natural.
Step 13: Drawing the First Foot
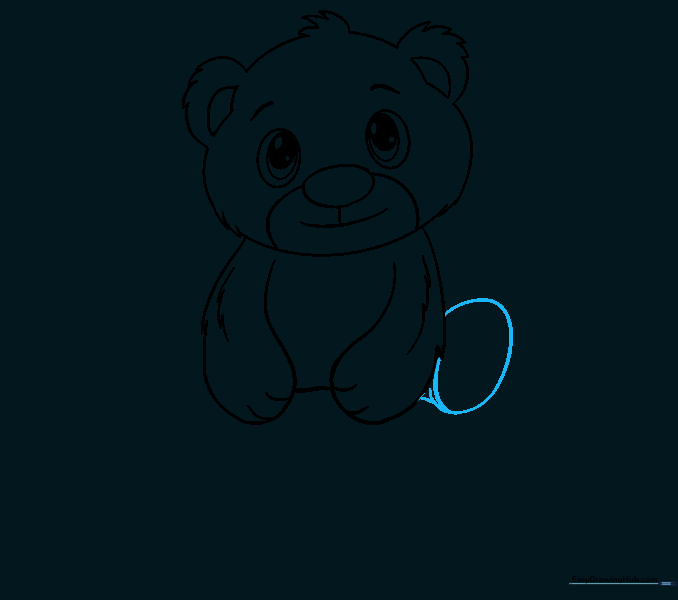
Draw an oval for the foot and connect it to the body. Tip: Draw the foot slightly larger to give the cub a 'baby' look.
Step 14: Drawing the Second Foot
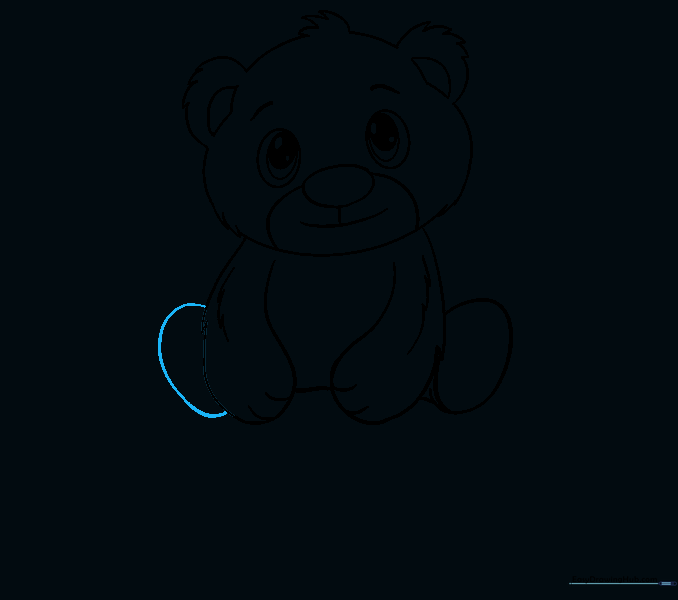
Add the second foot on the opposite side. Tip: Keep the feet at the same level so the bear looks like it's sitting properly.
Step 15: Adding Foot Details

Draw a curved line across the top of each foot. Tip: This helps define the ankle and makes the feet look more realistic.
Step 16: Paw Prints

Add toe lines and paw pads to the first foot. Tip: Use three small circles for the toes and one larger shape for the pad.
Step 17: Finishing the Paws
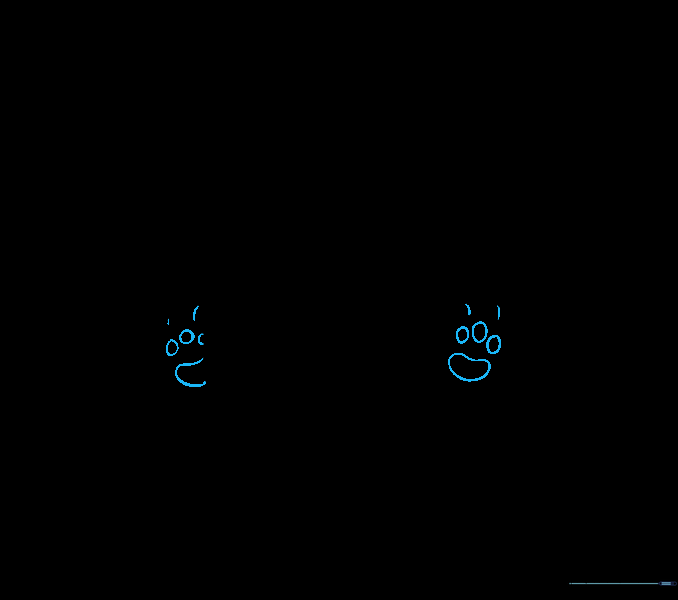
Repeat the paw pad details on the second foot. Tip: Keep the shapes simple so they don't look too cluttered.
Step 18: Creating the Ice Flow
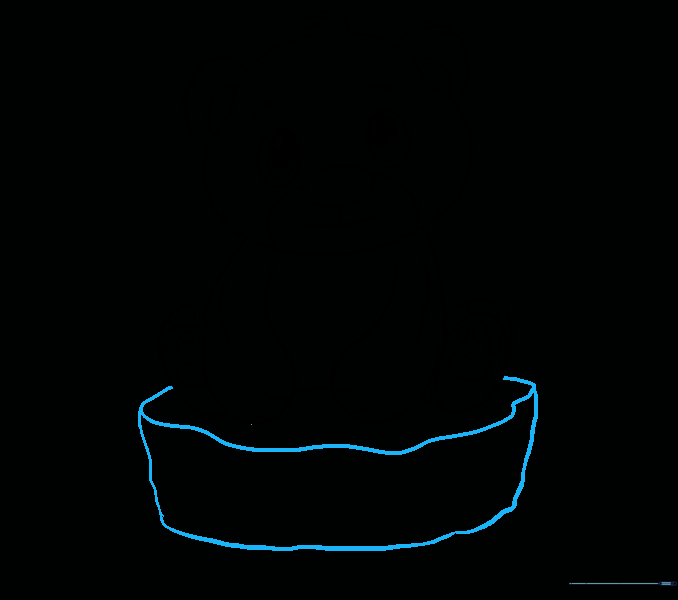
Draw an irregular shape around the feet to represent an ice flow. Tip: Use wavy lines to make the ice look like it's floating on water.
Step 19: Adding Arctic Details
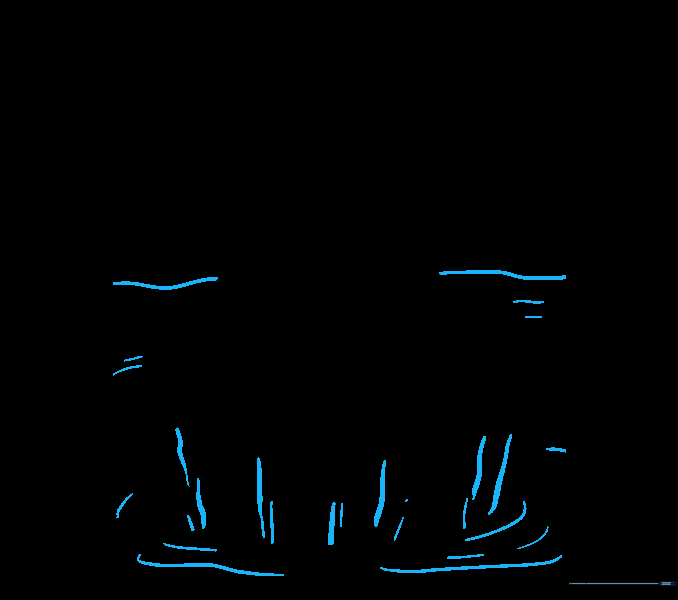
Add wavy lines to the ice and horizon to suggest water and depth. Tip: This adds a sense of place to your drawing.
Step 20: Coloring Your Masterpiece
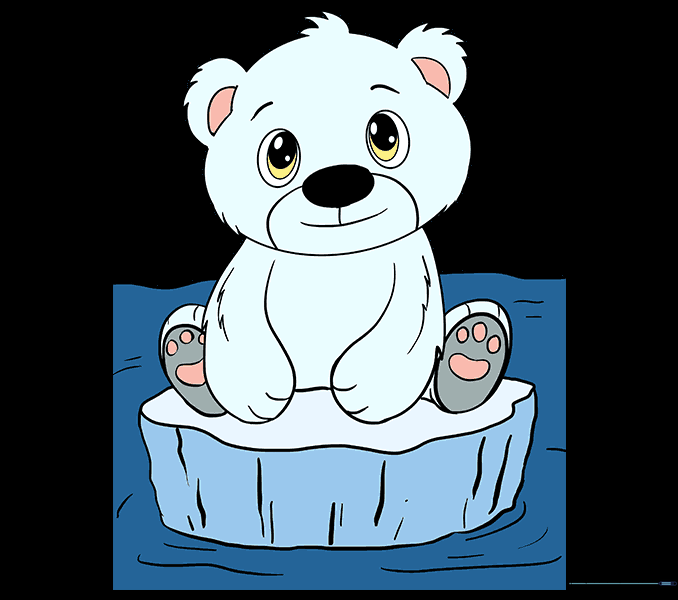
Bring your cub to life with color! Tip: Use light blues for shadows on the white fur to make the bear look three-dimensional.
More Tutorials


