How to Draw a Poké Ball: Easy 10-Step Guide for Kids
Ready to catch 'em all? This tutorial is perfect for young Pokémon fans ages 5 and up. You’ll only need a pencil, an eraser, and some markers to bring your own Poké Ball to life while practicing basic geometric shapes.
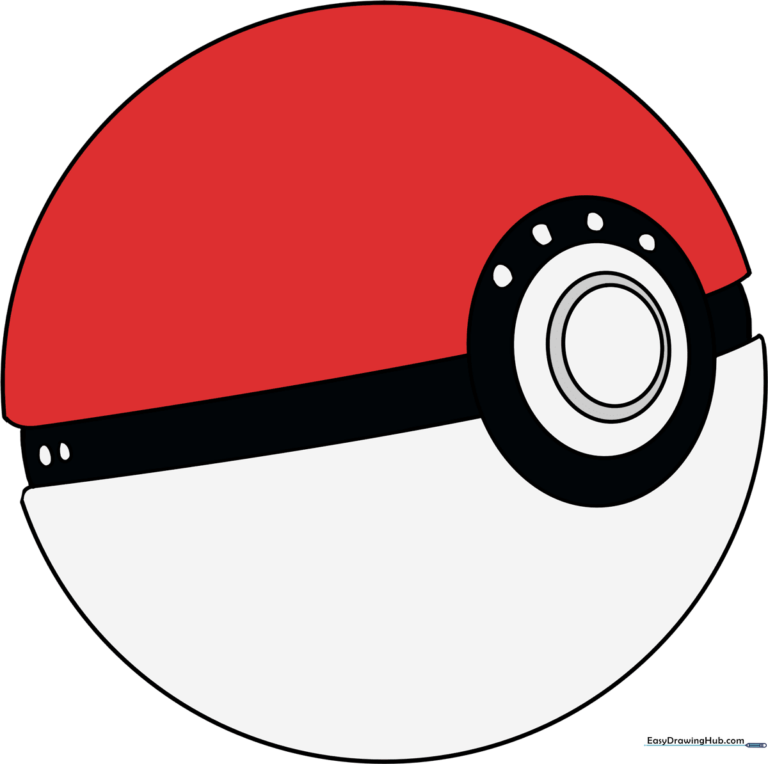
🎯 Final Result
Step-by-Step Instructions
Step 1: Sketching the Base Circle
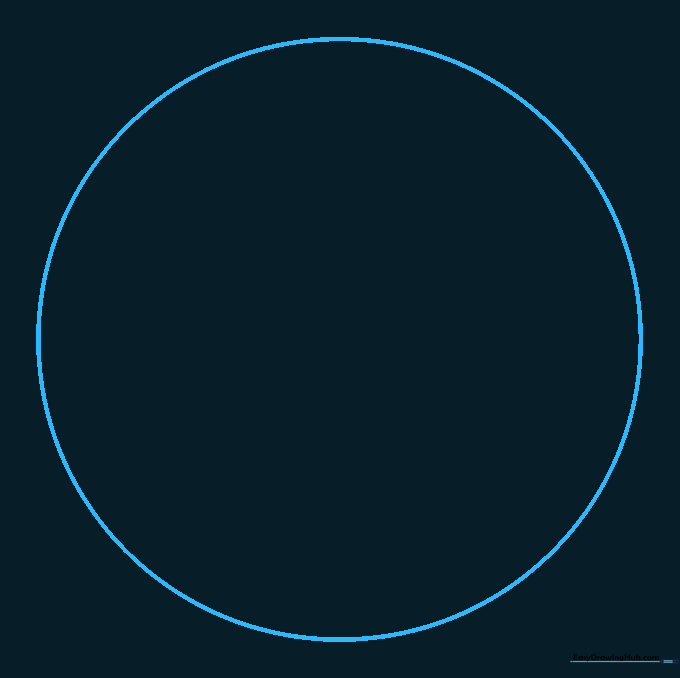
Draw a light circle to outline the main shape. Teacher's Tip: Use a light touch with your pencil so you can easily erase any overlapping lines later!
Step 2: Establishing the Center Band

Draw a gentle curved line across the middle of your circle. This horizontal line acts as the foundation for the Poké Ball's iconic central band.
Step 3: Creating the Band Width
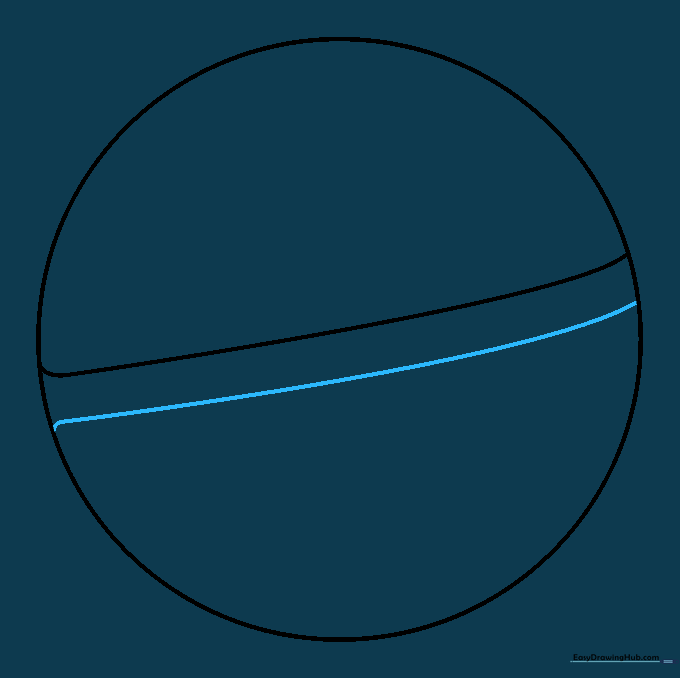
Draw a second curved line parallel to the first one. Teacher's Tip: Keep the space between these two lines even to ensure your Poké Ball looks symmetrical.
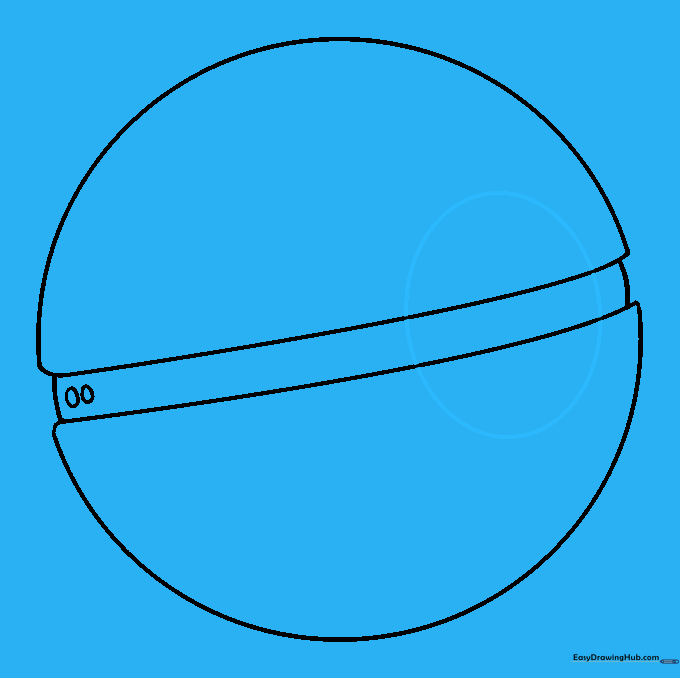
Step 4: Adding Side Details
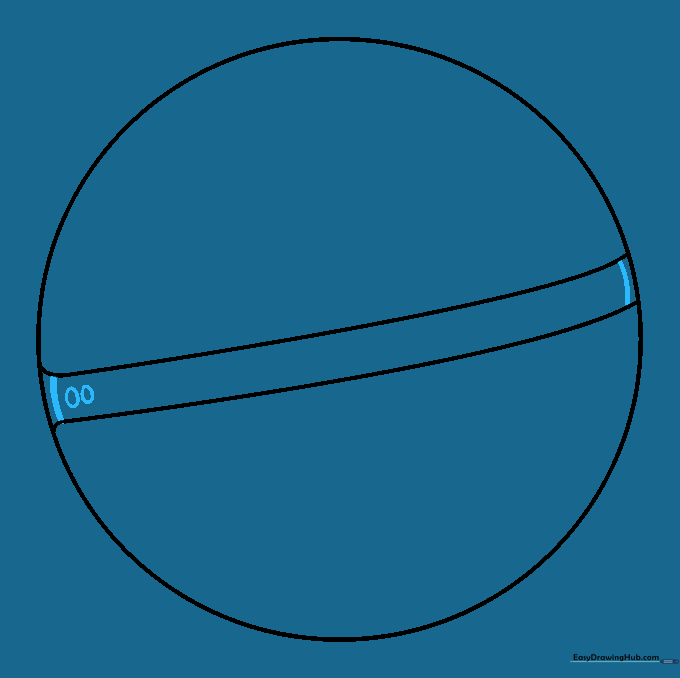
Add short, curved lines at the ends of the band to connect them to the outer circle. Add two small ovals on one side to prepare for the button placement.
Step 5: Refining the Shape

Carefully erase the original circle lines inside the band area. This creates a clean, 3D-like effect where the band sits on top of the sphere.
Step 6: Drawing the Button Base
Draw a circle overlapping the center of the band. This is the main housing for the Poké Ball's release button.
Step 7: Cleaning Up

Erase any extra guide lines inside the button circle. A clean drawing makes coloring much easier later!
Step 8: Adding Button Detail
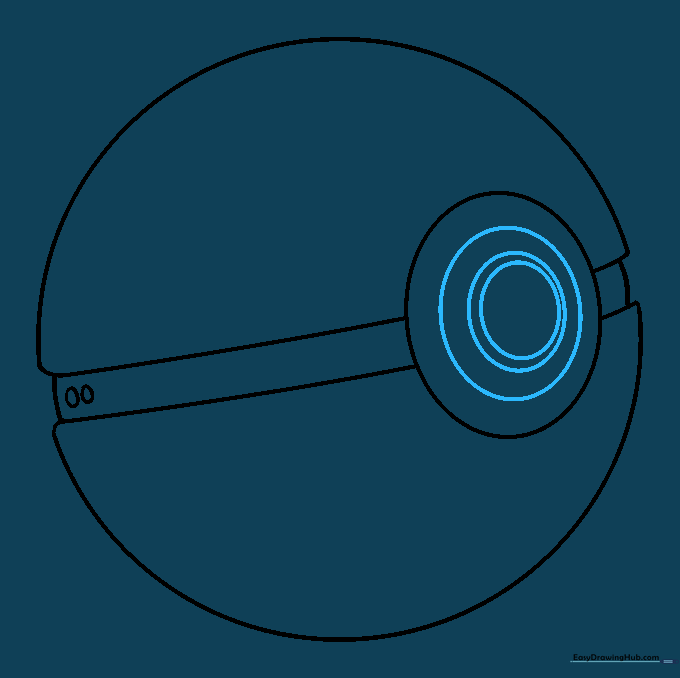
Draw three smaller, nested circles inside the button area. Teacher's Tip: Focus on keeping these circles centered to give your drawing a professional look.
Step 9: Final Touches
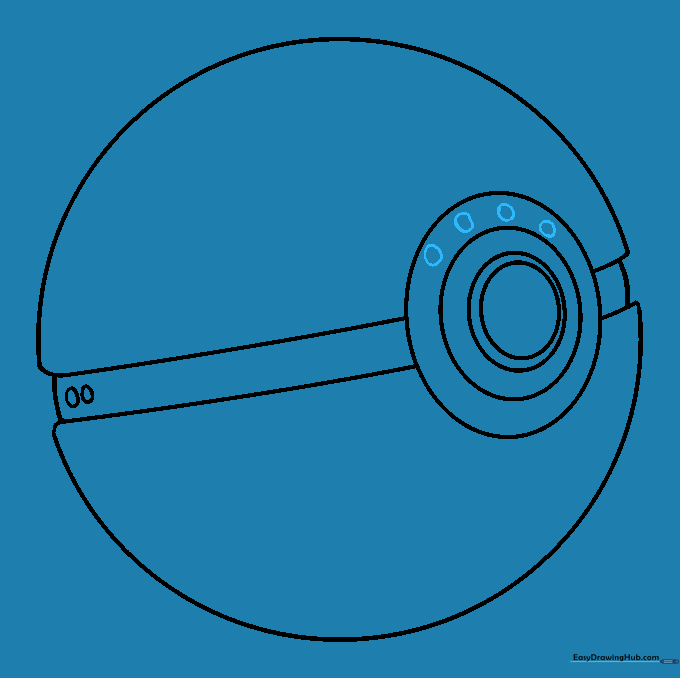
Add four tiny circles between the largest button rings. These small details add depth and make the Poké Ball look authentic.
Step 10: Bring It to Life with Color

Time to color! Use bright red for the top half, white for the bottom, and black for the center band. You can even experiment with different colors for special Poké Balls!
More Tutorials


