How to Draw a Poinsettia: Easy 10-Step Holiday Art Guide
Bring the holiday spirit to your sketchbook with this festive poinsettia tutorial. Designed for artists ages 5 and up, this project requires only a pencil, eraser, and paper to create a stunning winter bloom. Follow along to practice layering shapes and adding organic, jagged textures to your botanical drawings.
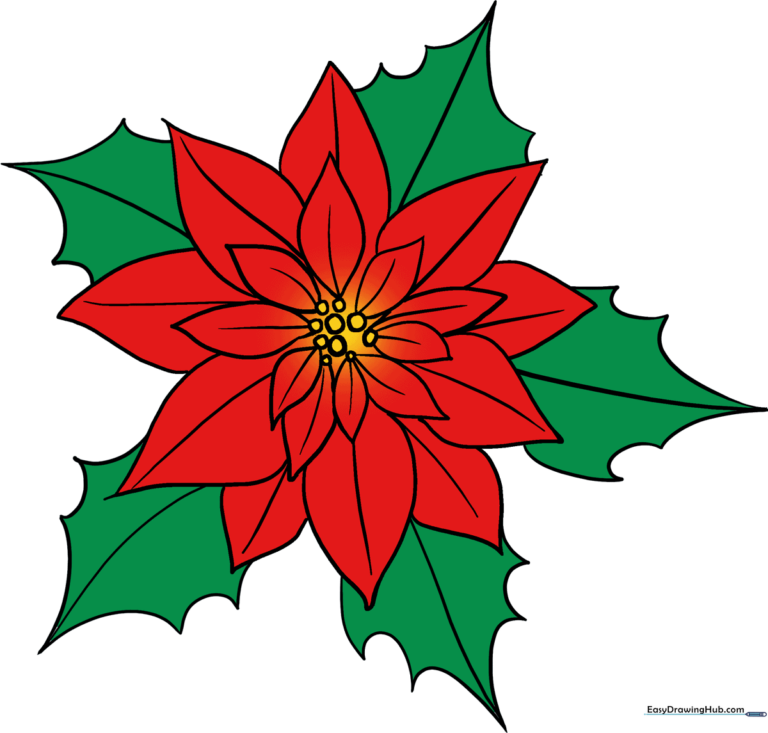
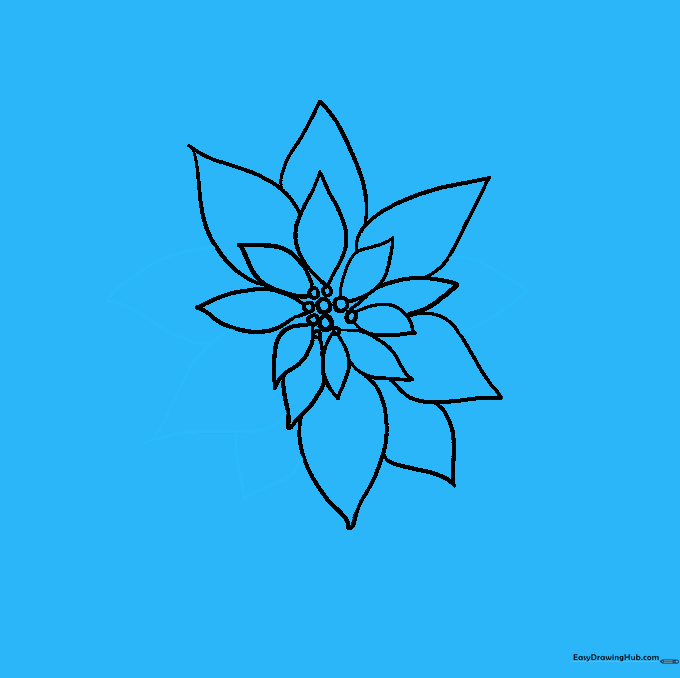
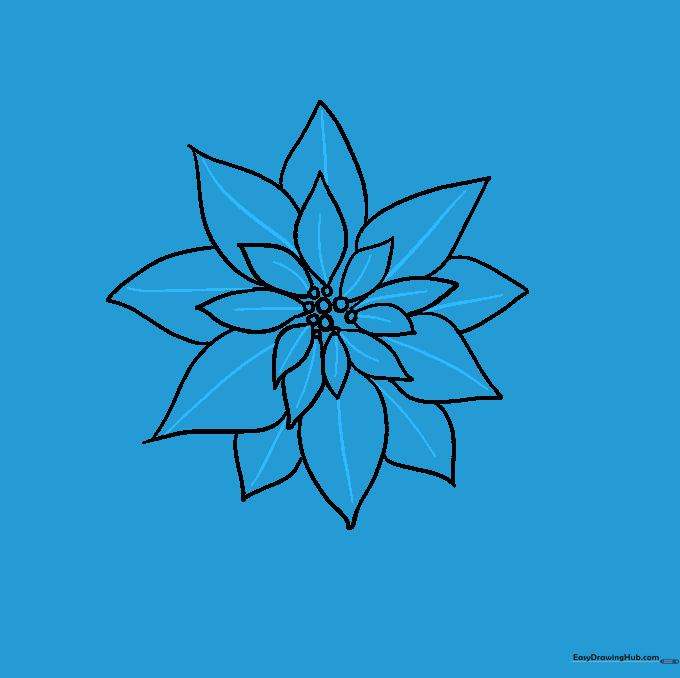
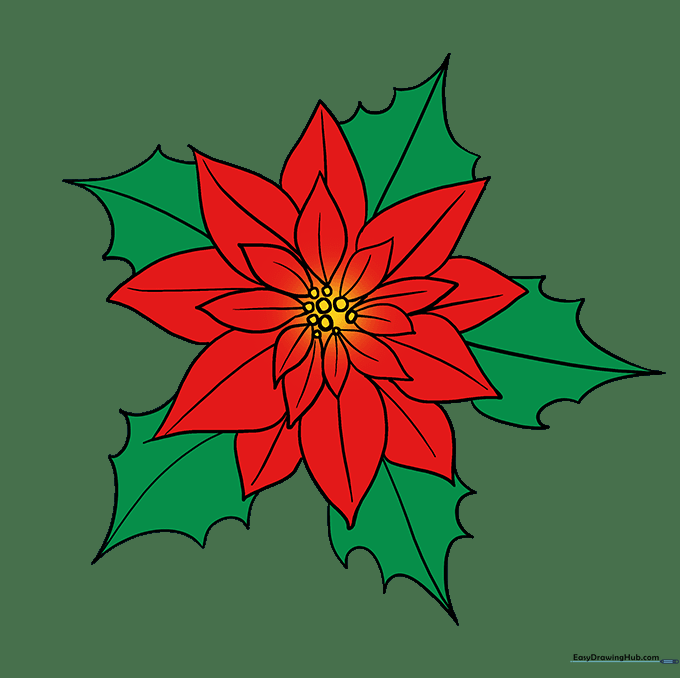
🎯 Final Result
Step-by-Step Instructions
Step 1: Sketching the Flower Center

Draw a cluster of small, irregular circles in the middle of your page. Teacher's Tip: Keep these circles varied in size to mimic the natural look of flower stamens; don't press too hard with your pencil!
Step 2: Adding Inner Petals

Draw the first layer of petals radiating from the center. Use two curved lines that meet at a sharp point. Tip: Start your lines right against the center cluster to ensure the flower looks connected.
Step 3: Completing the Inner Ring
Continue adding petals around the center until you have a full circle. If you see a gap, simply tuck a smaller petal into the space. Tip: Rotate your paper as you draw to make reaching the angles easier.
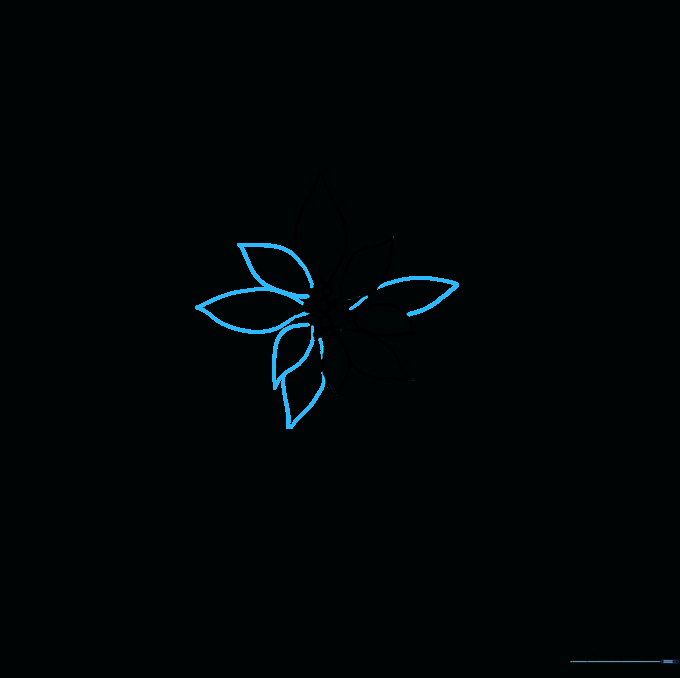
Step 4: Sketching Larger Outer Petals
Now, draw larger, longer petals emerging from behind the first layer. Use long, sweeping curved lines. Tip: Imagine these petals are 'peeking out' from behind the others to create depth.
Step 5: Layering the Petals
Continue adding these larger petals, allowing them to overlap. Overlapping is the secret to making your drawing look 3D! Tip: Don't worry if they aren't perfectly uniform; real poinsettia leaves are quite wild.
Step 6: Filling the Outer Ring
Finish the outer ring of petals. If you have any empty spots, add a petal to fill the space. Tip: Keep your pencil lines light so you can easily erase any overlapping lines later.
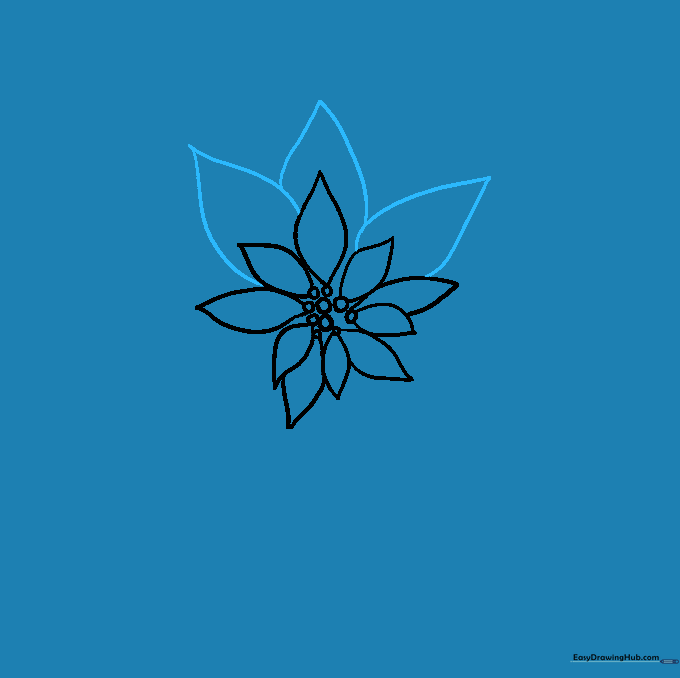
Step 7: Adding Petal Veins
Draw a single, slightly curved line down the center of each petal to represent the vein. Tip: Start your line at the base and flick your wrist toward the tip for a natural, tapered look.
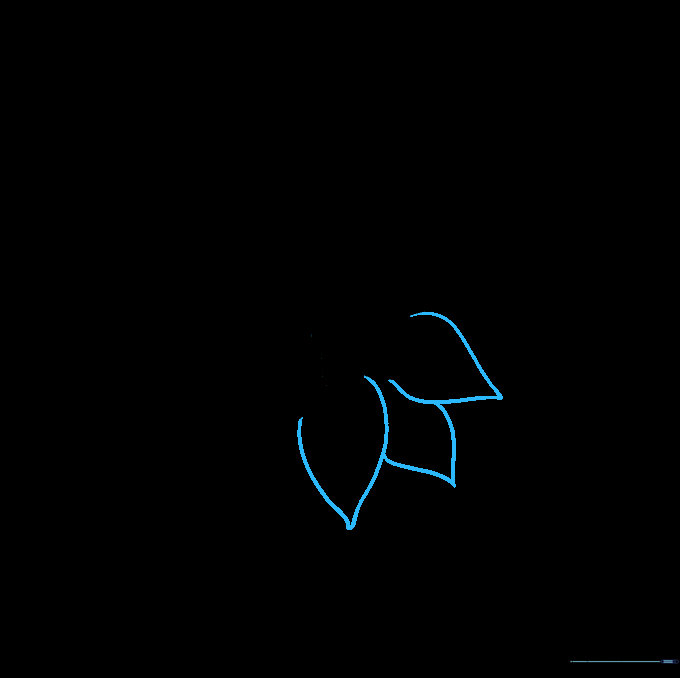
Step 8: Drawing Jagged Leaves
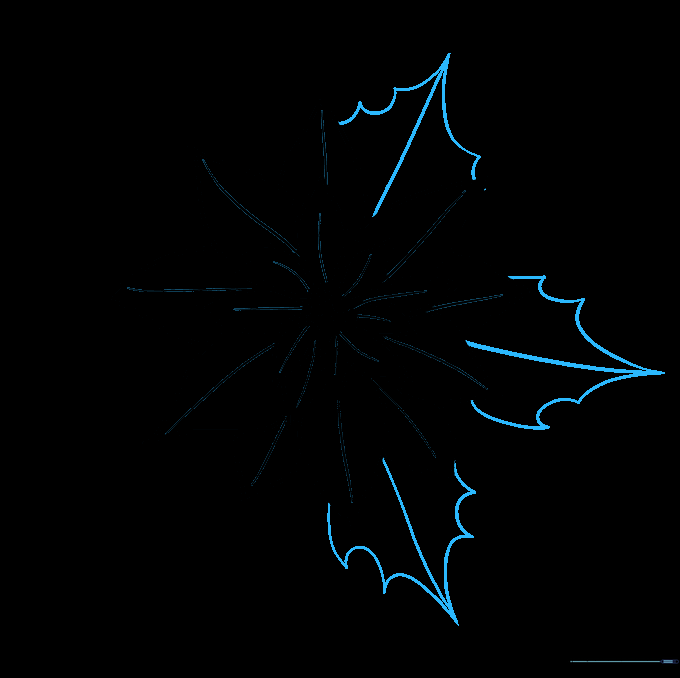
Now, draw the leaves at the base. Use short, jagged, 'C' shaped lines to give them a textured edge. Tip: Poinsettia leaves are less smooth than the petals, so make these lines a bit more 'bumpy'.
Step 9: Finalizing the Foliage
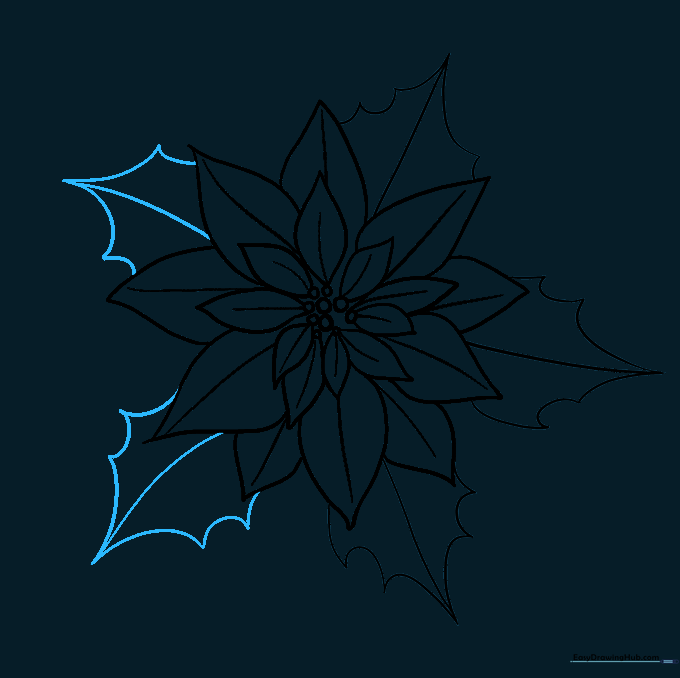
Continue adding these jagged leaves around the base of the flower. Ensure each leaf has a central vein line. Tip: Vary the angles of the leaves to make the plant look full and lush.
Step 10: Adding Color
Time to bring your flower to life! Use bright reds for the petals and deep greens for the leaves. Tip: Use a lighter shade of red near the center and a darker shade near the edges to create a professional-looking gradient.
More Tutorials


