How to Draw a Pizza: Easy 10-Step Guide for Kids
Ready to create your own tasty masterpiece? This tutorial is perfect for young artists ages 5 and up. All you need is a pencil, an eraser, and your favorite markers or crayons to bring this cheesy slice to life.
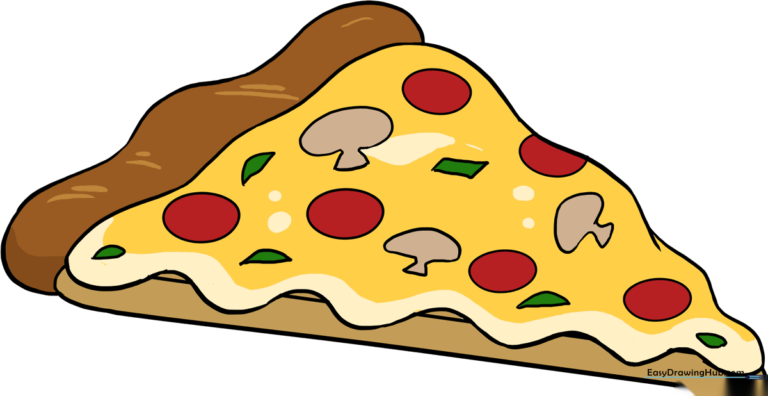
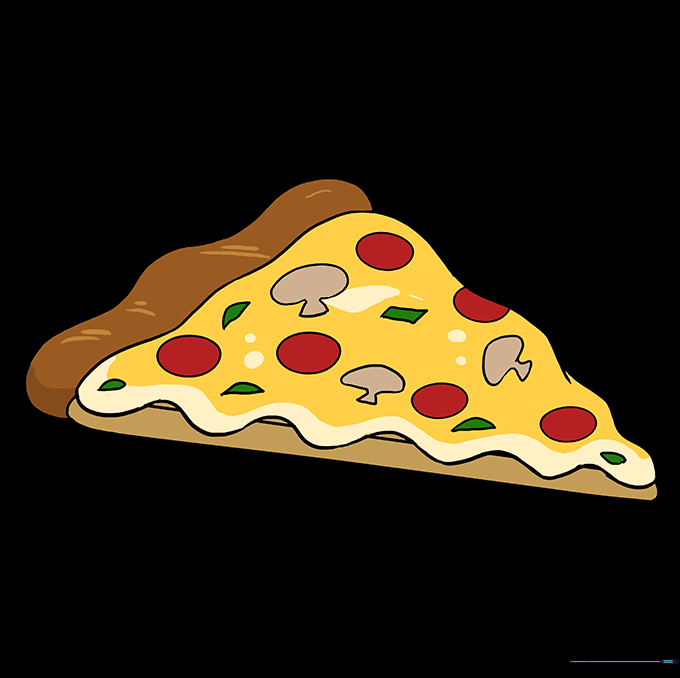
🎯 Final Result
Step-by-Step Instructions
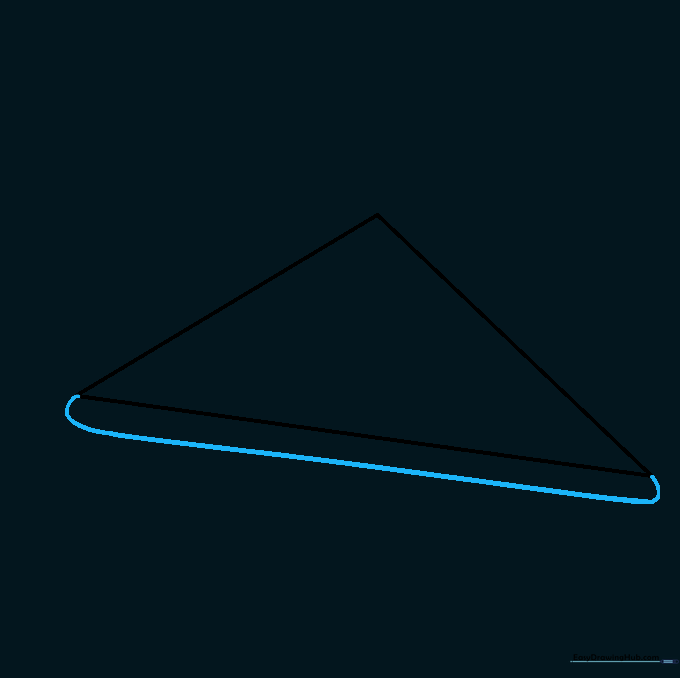
Step 1: Sketching the Base Triangle

Lightly draw a triangle with the longest side at the bottom. Teacher's Tip: Keep your pencil pressure very light so these guide lines are easy to erase later!
Step 2: Adding Depth to the Crust
From one bottom corner, draw a curved line that follows the side of your triangle, then tuck it inward to the other corner. This creates the thickness of the crust. Tip: Think of it like drawing a thick border around your shape.
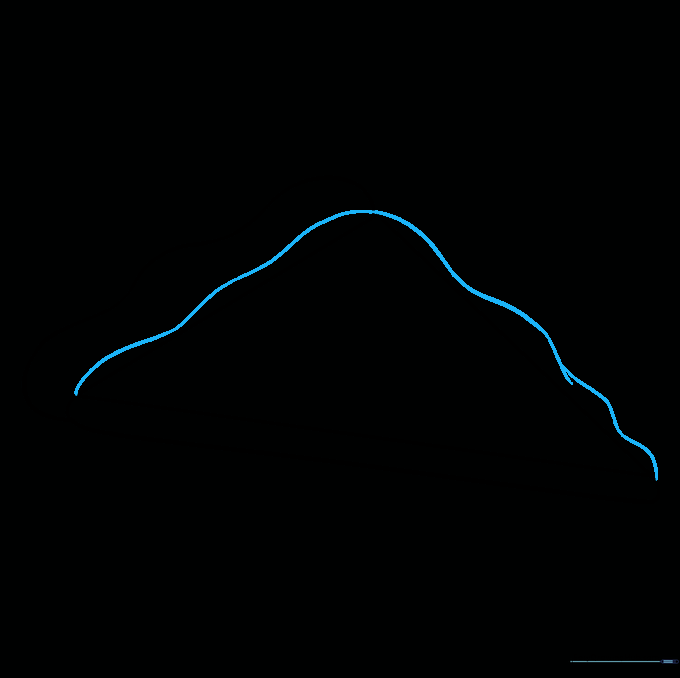
Step 3: Shaping the Crust

Connect the top corners with a wavy, bumpy line. This gives your crust that authentic, baked-to-perfection texture.
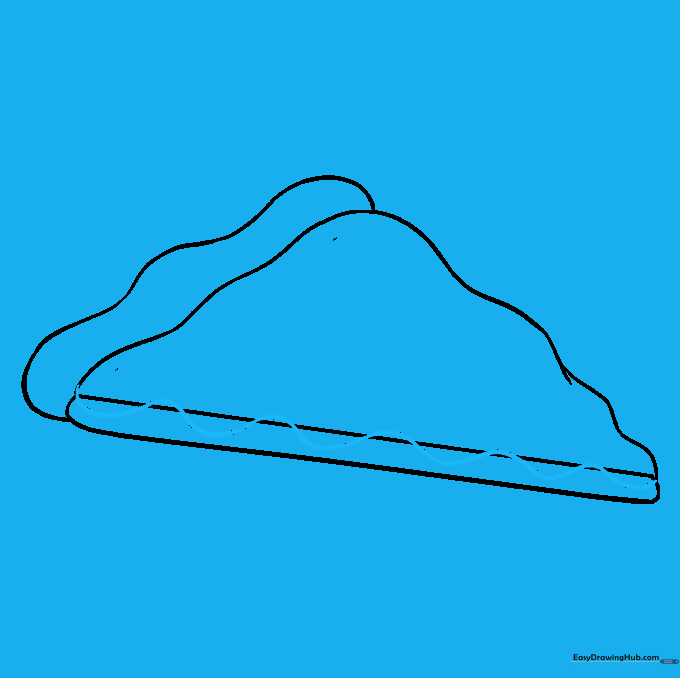
Step 4: Refining the Sides
Add wavy, organic lines along the two long sides of your triangle. This makes the slice look less like a rigid shape and more like real food.
Step 5: Cleaning Your Lines

Gently erase the original straight triangle guide lines. You should now see a clean, crust-shaped outline.
Step 6: Adding Melty Cheese
Draw a wavy line across the bottom edge of your slice. This represents the delicious, gooey cheese stretching as you pull the slice away!
Step 7: Finalizing the Cheese

Erase any extra lines inside your cheese section to make it look smooth and ready to eat.
Step 8: Adding Pepperoni

Draw several circles scattered across the top of your pizza. Tip: Vary the sizes slightly to make them look like real pepperoni slices.
Step 9: Adding Veggie Toppings

Want a supreme slice? Add small rectangles for peppers or mushroom shapes. For a mushroom, draw a rounded cap and a small stem underneath.
Step 10: Bring It to Life with Color
Time to color! Use golden yellow for the cheese, vibrant red for the pepperoni, and a warm tan for the crust. Have fun with your color choices!
More Tutorials


