How to Draw a Pirate Ship: Easy 10-Step Tutorial
Set sail on a creative adventure! This tutorial is designed for young artists ages 6+ to build confidence through structured shapes. All you need is a pencil, an eraser, and a piece of paper to bring your own buccaneer vessel to life.
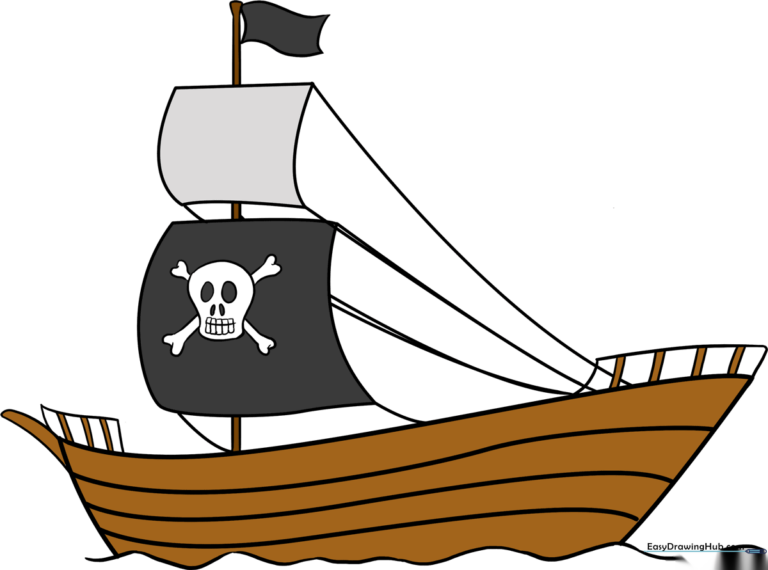
🎯 Final Result
Step-by-Step Instructions
Step 1: Sketching the Deck

Draw a long, gentle curve to represent the top of the deck. Teacher's Tip: Keep your pencil grip loose to ensure the line stays smooth and fluid.
Step 2: Forming the Hull

Draw a wavy line below the deck for the water, then connect the deck to the water with two curved lines to form the hull. Tip: Imagine the ship is bobbing on gentle waves.
Step 3: Adding Wood Texture

Draw several curved lines across the hull to mimic wooden planks. Tip: Space them out unevenly to make the ship look more realistic and aged.
Step 4: The Stern Railing
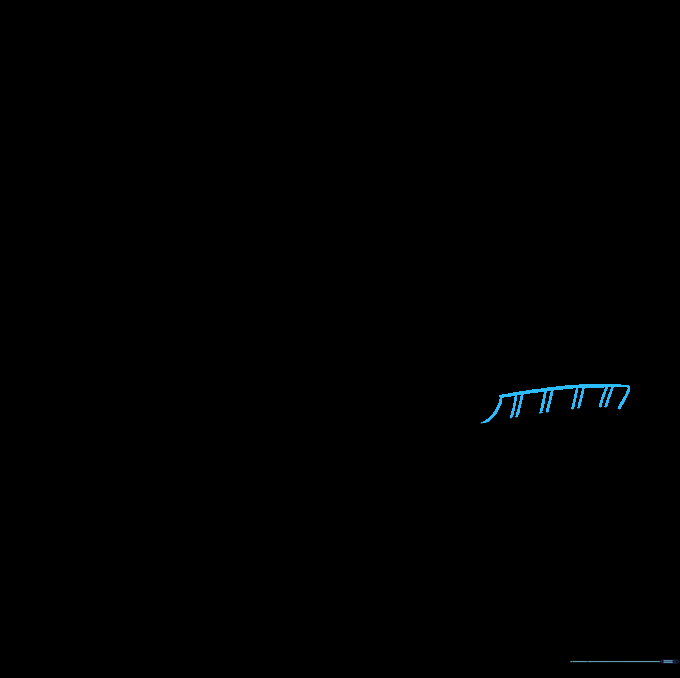
Add the back railing by drawing short vertical lines connected by a curved top. Tip: Keep these lines parallel to ensure the ship looks sturdy.
Step 5: The Bowsprit

Extend two curved lines from the front to create the bowsprit, then add a small railing. Tip: The bowsprit should point slightly upward to give the ship a sense of movement.
Step 6: Raising the Mast
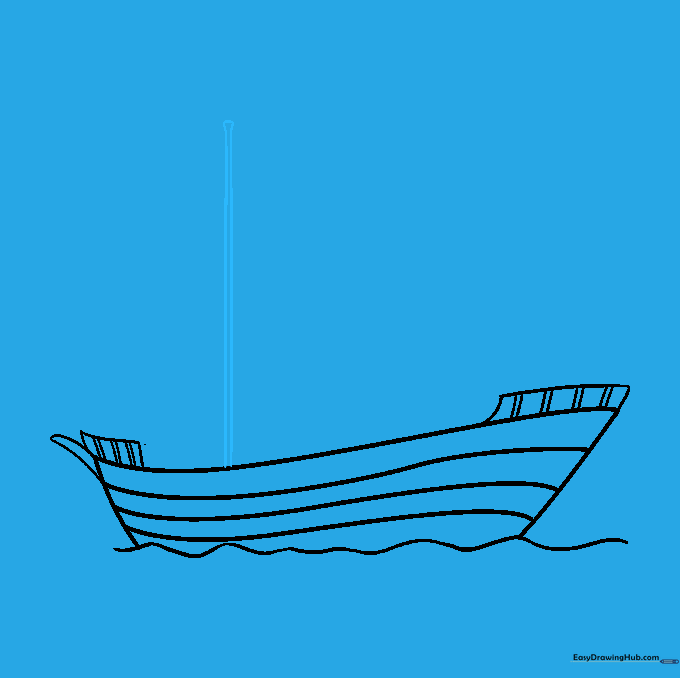
Draw two tall, parallel lines for the mast, topped with a small circle. Tip: Use a ruler if you struggle with straight lines, but freehand adds a nice 'handmade' charm.
Step 7: Adding Sails and Rigging
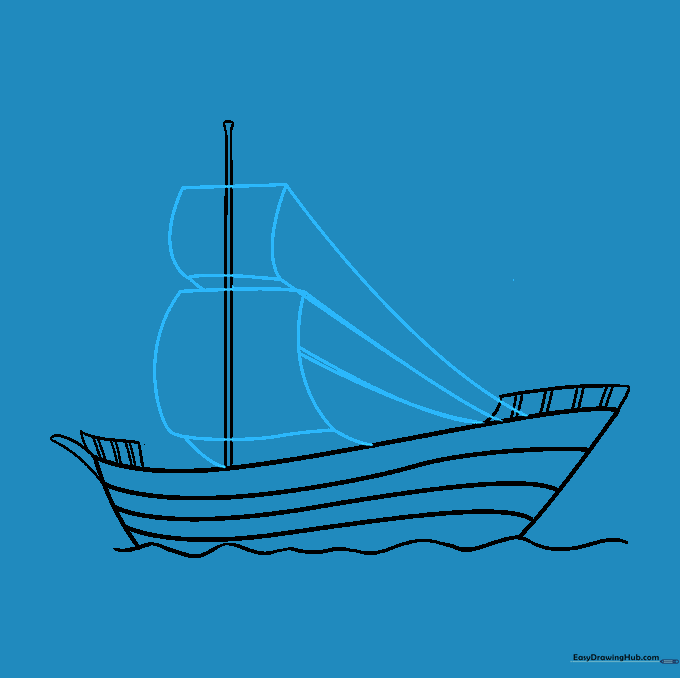
Draw two square-like sails on the mast and connect them to the deck with thin lines for rigging. Tip: Make the sails look slightly 'puffed' by using curved lines instead of perfectly straight ones.
Step 8: Cleaning Up

Gently erase any overlapping guide lines inside the sails to make them look clean. Tip: Use a kneaded eraser if you have one; it's gentler on the paper.
Step 9: The Jolly Roger
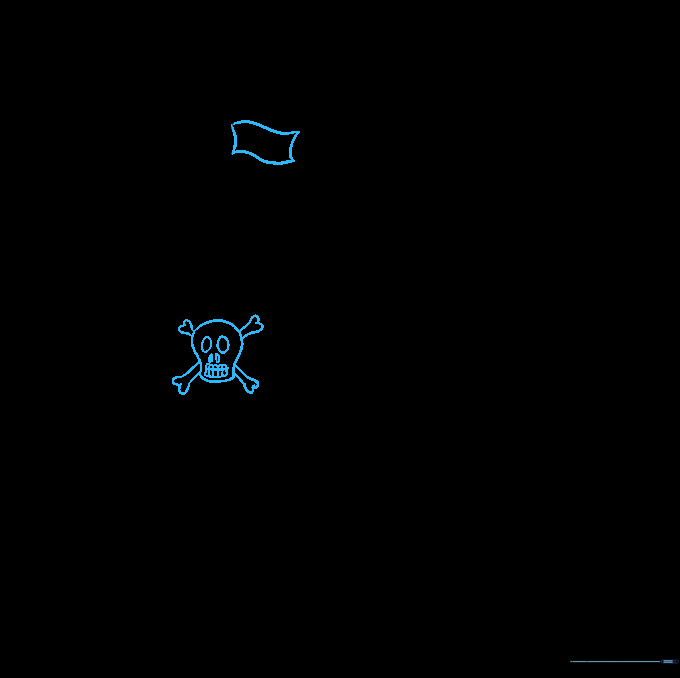
Draw a flag at the top and a skull and crossbones on the main sail. Tip: Don't stress about the skull—simple shapes like circles for eyes and a rectangle for the mouth work perfectly!
Step 10: Bringing it to Life with Color
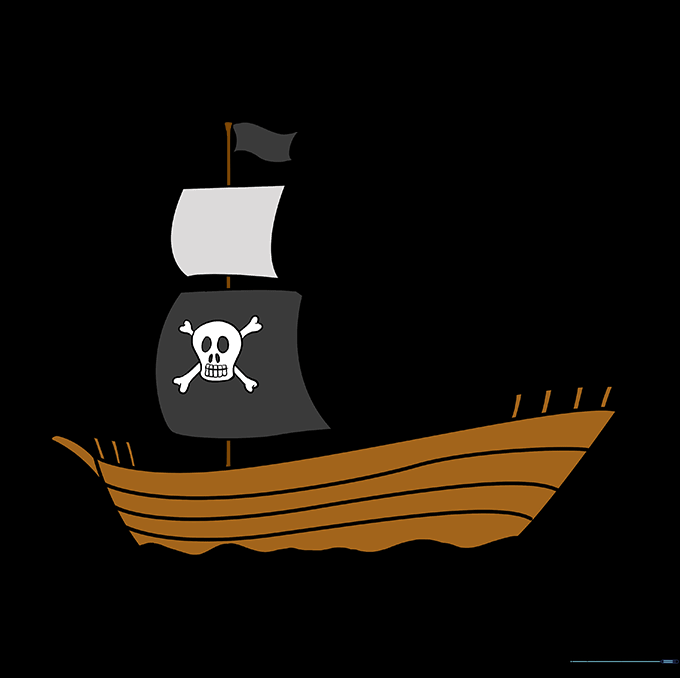
Color your ship! Use browns for the wood, white or grey for the sails, and blue for the ocean. Tip: Use a darker shade of brown in the corners to create a shadow effect.
More Tutorials


