How to Draw a Piñata: Easy 10-Step Guide for Kids
Ready to bring a party to your sketchbook? This tutorial is perfect for artists ages 5 and up. All you need is a pencil, an eraser, and your favorite markers or crayons to create a colorful, textured piñata masterpiece.
🎯 Final Result

Step-by-Step Instructions
Step 1: Sketching the Ears
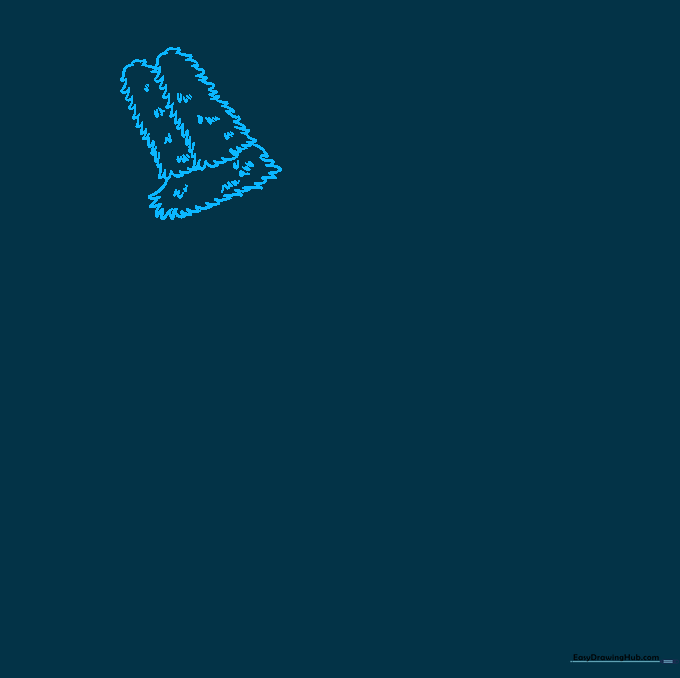
Start by drawing a half-circle using a jagged, zigzag line. Add two rounded triangles on top to form the ears. Teacher's Tip: Keep your pencil pressure light here; the zigzag lines represent the fringed paper, so they don't need to be perfectly straight!
Step 2: Defining the Snout
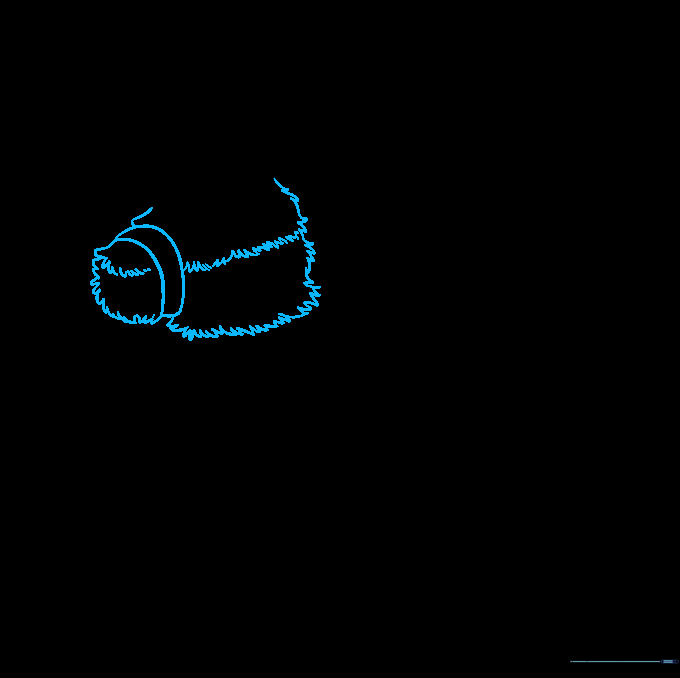
Extend a short zigzag line from the ears to create the face. Use curved lines to form the bridle and a zigzag-edged shape for the snout. Tip: Think of the snout as a small box attached to the head; keep the lines chunky to make it look like cardboard.
Step 3: Adding Eyes and Detail
Draw a large circle with a smaller one inside for the eye. Add two small ovals on the snout for nostrils. Tip: Adding a tiny white dot inside the pupil makes the piñata look friendly and alive!
Step 4: Shaping the Body
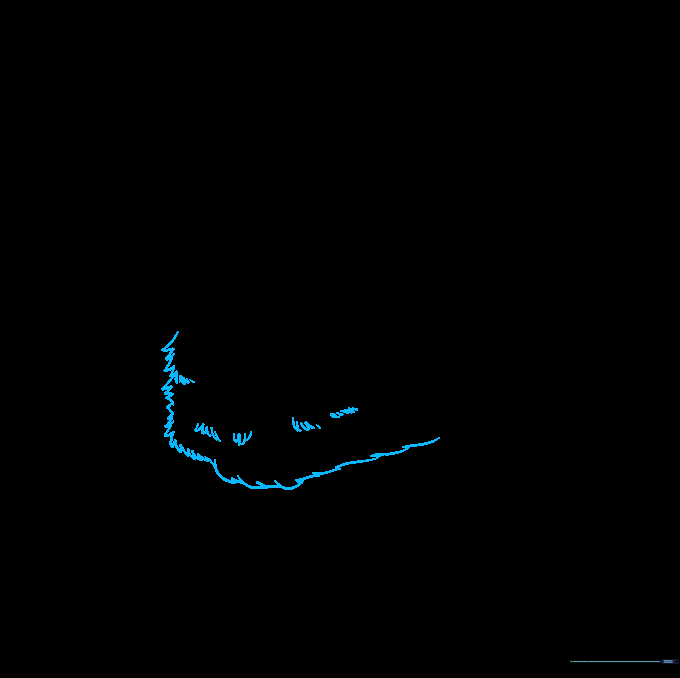
Outline the chest and stomach using zigzag lines. These jagged edges are the most important part—they represent the layers of crepe paper! Tip: Vary the length of your zigzags to give the piñata a fluffy, textured look.
Step 5: Drawing the First Leg
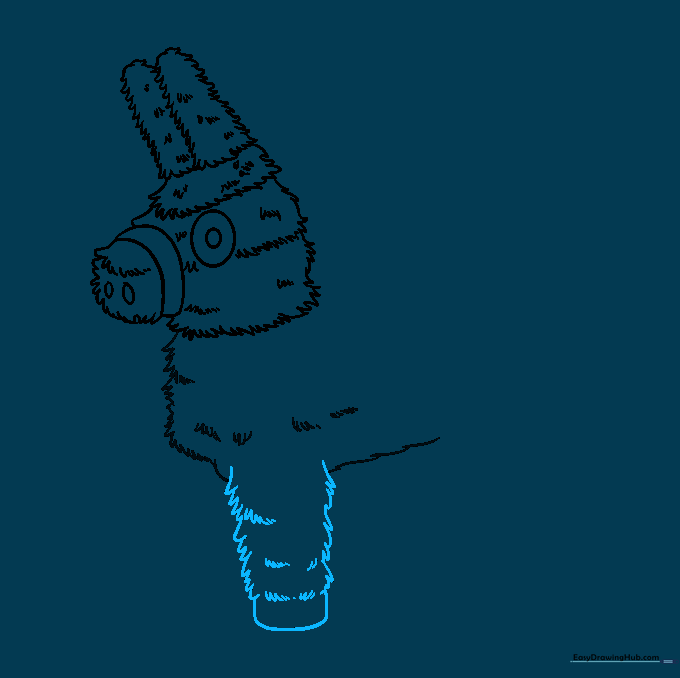
Extend two zigzag lines downward to form the front leg. Close it with a curved line at the bottom. Tip: Make sure the leg is wide enough to support the body; piñatas are sturdy!
Step 6: Adding the Second Leg
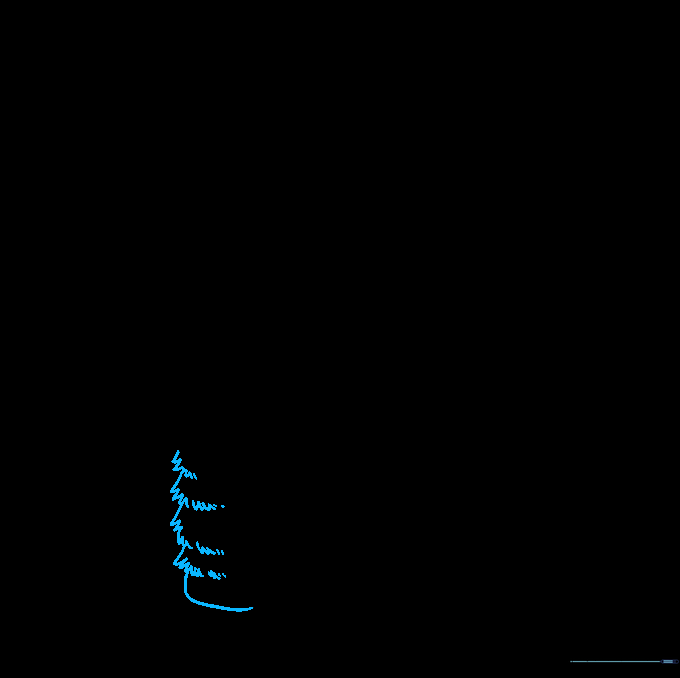
Draw the second leg slightly behind the first one to create depth. Connect it to the body with a smooth curve. Tip: If the legs look a bit wobbly, that's okay—it adds character to your drawing!
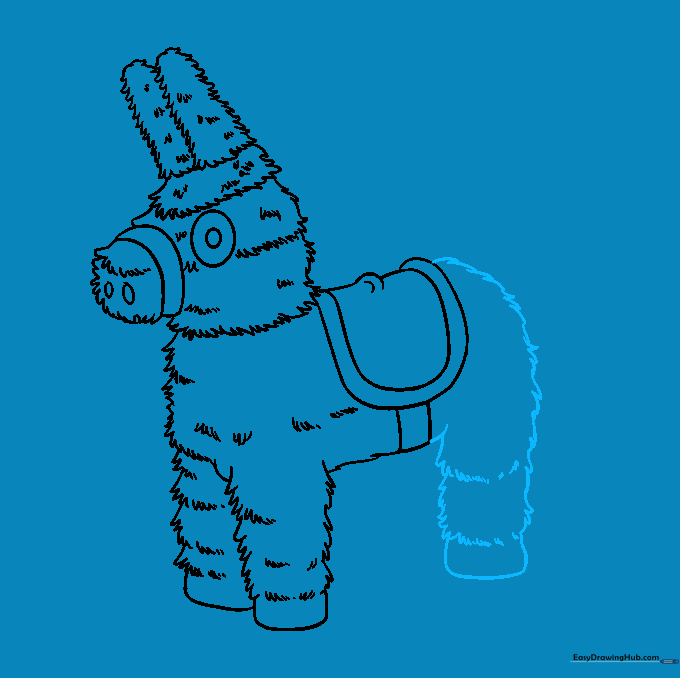
Step 7: Sketching the Saddle
Draw the back and add a saddle using two 'U' shaped lines. Add a rectangular strap across the middle. Tip: Use a ruler if you want the saddle straps to look perfectly straight, or keep them freehand for a rustic look.
Step 8: Adding the Rear Leg
Use long zigzag lines to outline the back leg. Add a curved line at the bottom for the hoof. Tip: Ensure the back leg is slightly larger than the front legs to show it is closer to the viewer.
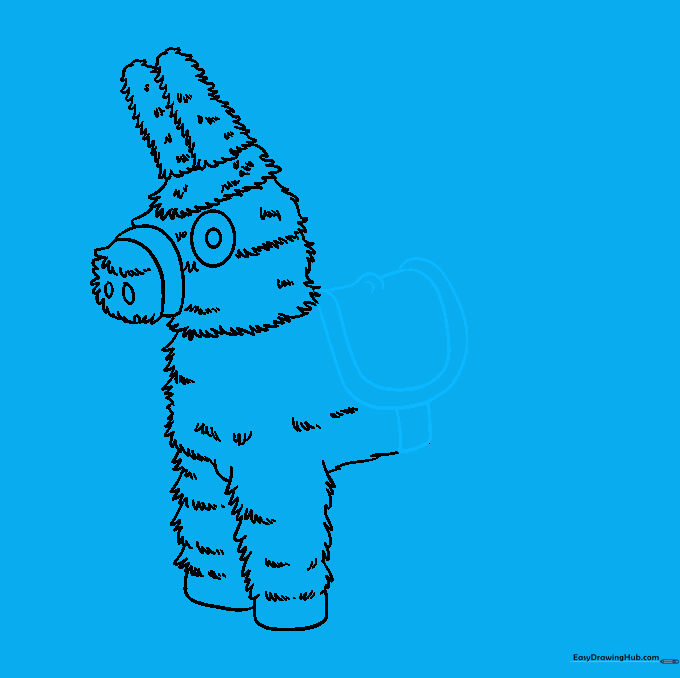
Step 9: Final Touches and Tail
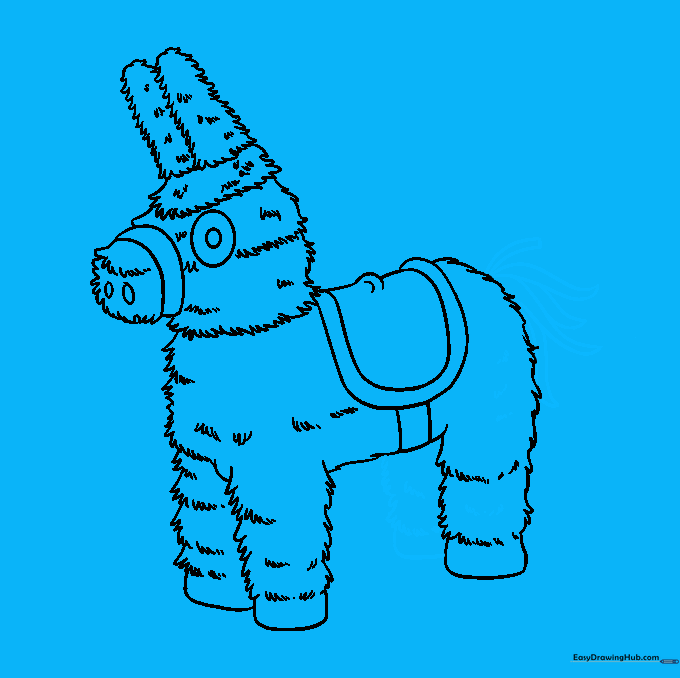
Draw the final leg and add a tail using curved lines that meet at sharp points. Tip: Make the tail look like a bundle of streamers by drawing several overlapping lines.
Step 10: Color Your Piñata
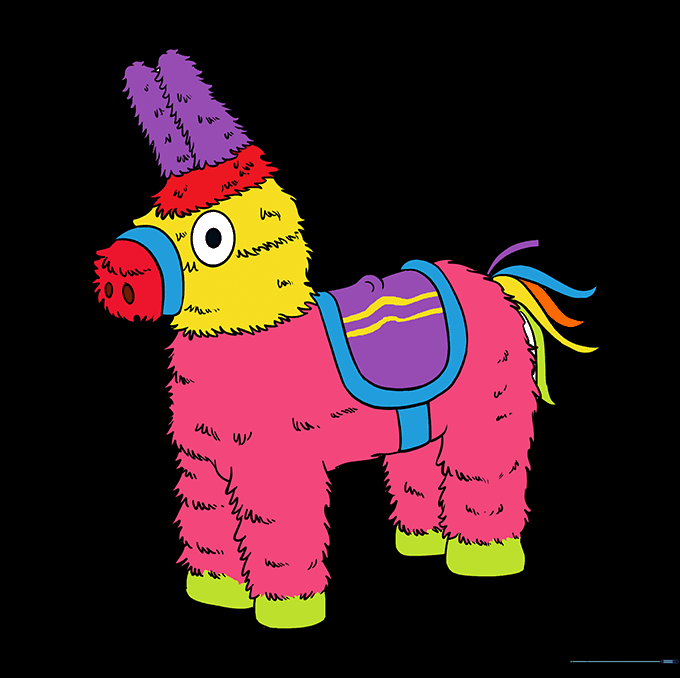
Bring your piñata to life with bright, festive colors! Use rainbow patterns for the fringe to make it look authentic. Tip: Use a darker shade of your main color to shade under the belly for a 3D effect.
More Tutorials


