How to Draw a Pigeon: Simple 10-Step Guide for Kids
Ready to bring a city bird to life? This tutorial is perfect for young artists ages 5 and up. All you need is a pencil, an eraser, and some paper to start building your pigeon's character, step by simple step.
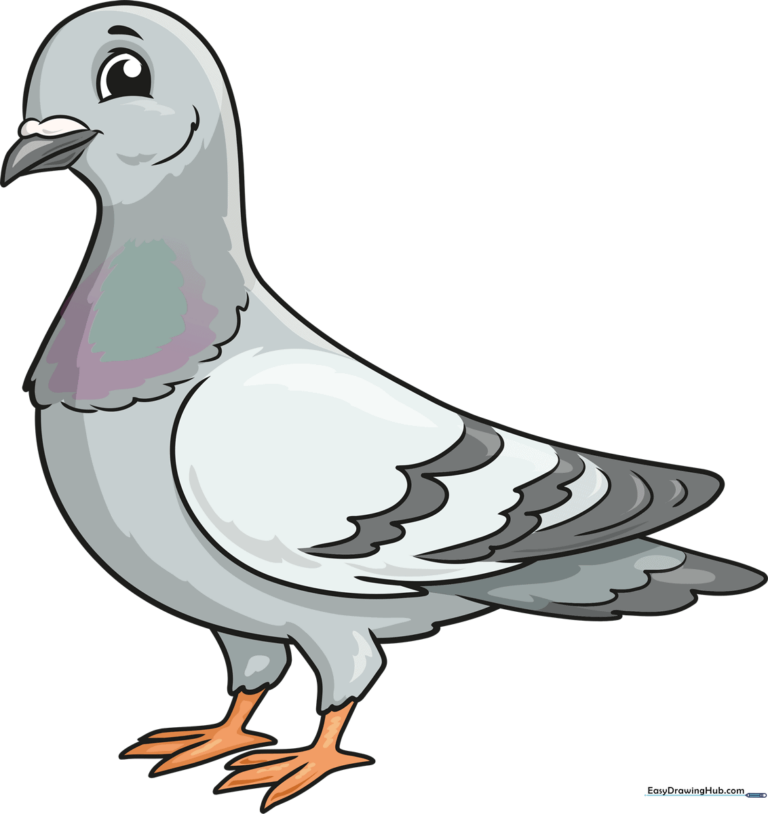
🎯 Final Result
Step-by-Step Instructions
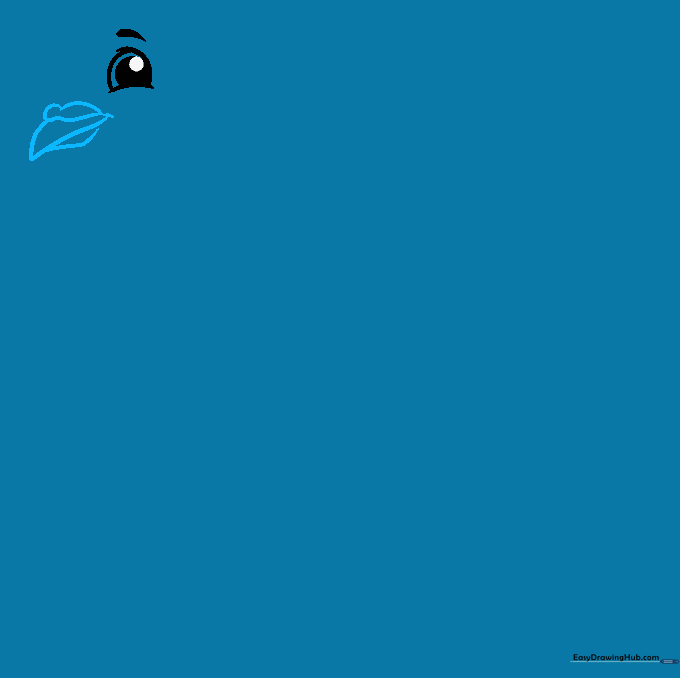
Step 1: Sketching the Eye

Start by drawing a curved line for the upper eyelid, then add a partial circle beneath it. Add two smaller circles inside for the pupil and highlight. Teacher's Tip: Keep your pencil pressure light here so you can easily adjust the expression later!
Step 2: Shaping the Beak
Draw a small triangle shape for the upper beak and a curved line for the lower half. Add a small oval above the beak for the cere (the bird's nose). Teacher's Tip: Pigeons have distinct, bumpy ceres, so don't worry if it looks a bit rounded!
Step 3: Defining the Head and Neck
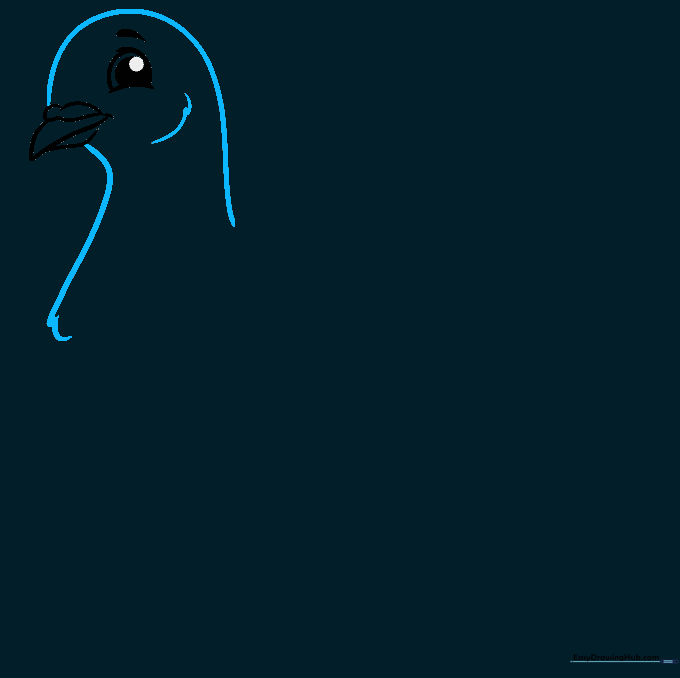
Use smooth, curved lines to connect the head to the neck. Add a few jagged lines at the base of the neck to suggest soft feathers. Teacher's Tip: Use short, quick strokes to make the neck look fluffy rather than stiff.
Step 4: Sketching the Wing
Draw a long, sweeping curve for the back and the top of the wing. Add smaller, overlapping curved lines to define the shoulder and primary feathers. Teacher's Tip: Think of the wing as a folded fan—keep the lines overlapping to show depth.
Step 5: Adding Feather Detail
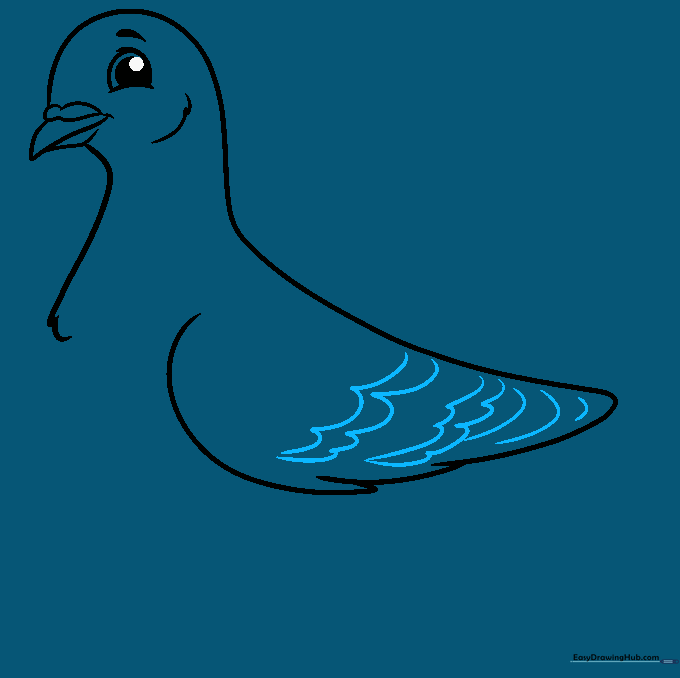
Add wavy lines across the wing to create the look of layered feathers. Teacher's Tip: Don't make them perfectly straight; natural feathers have a slight curve to them.
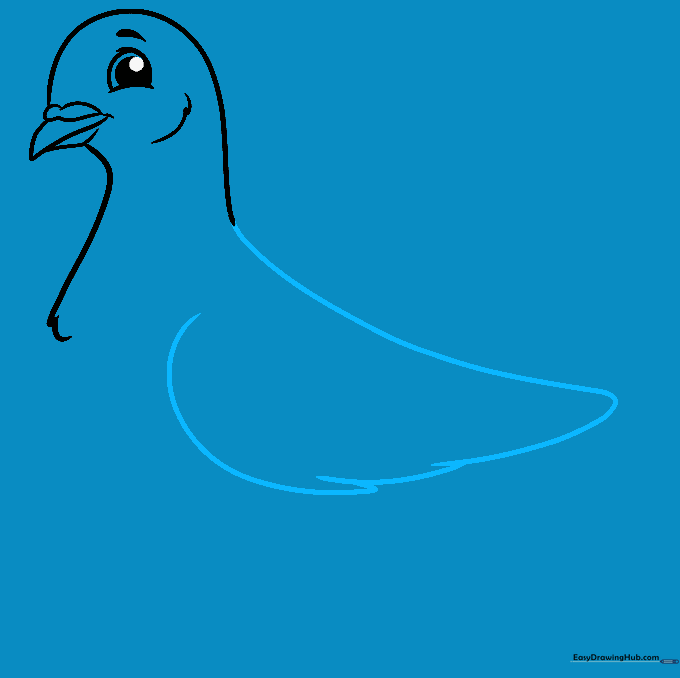
Step 6: Drawing the Chest
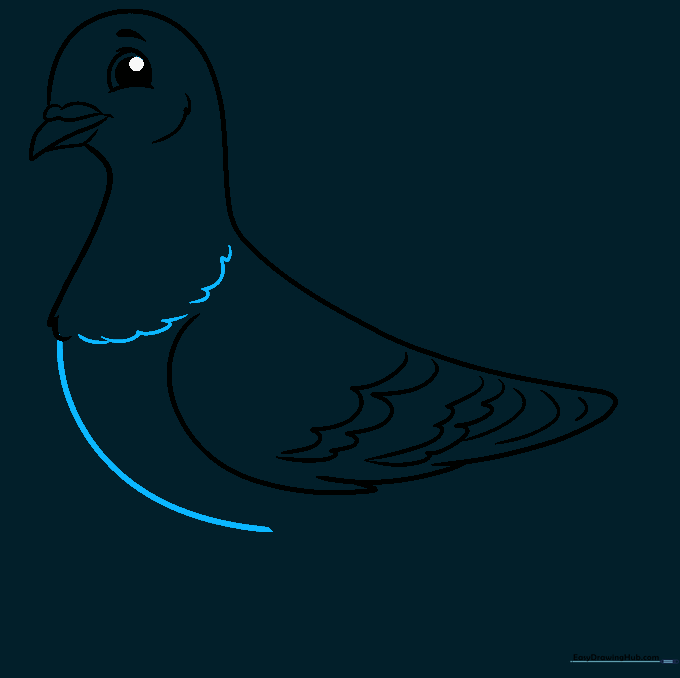
Use a long, graceful curve to outline the chest and belly. Add a few more connected curves near the neck to show the pigeon's signature 'puffed' chest. Teacher's Tip: Pigeons are known for their round, proud chests—make this line nice and wide!
Step 7: The First Leg
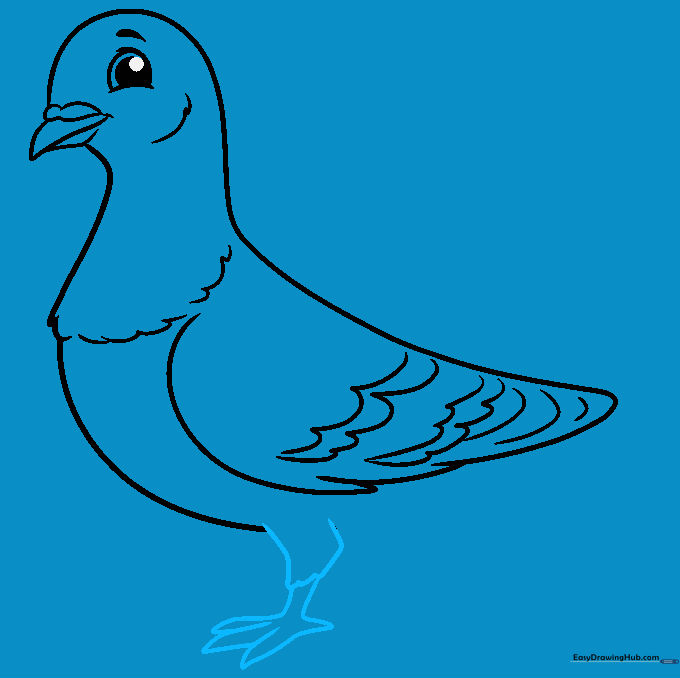
Sketch the upper leg with two curved lines, then add the lower leg and toes. Teacher's Tip: Bird toes are thin and clawed; keep your lines sharp here.
Step 8: The Second Leg
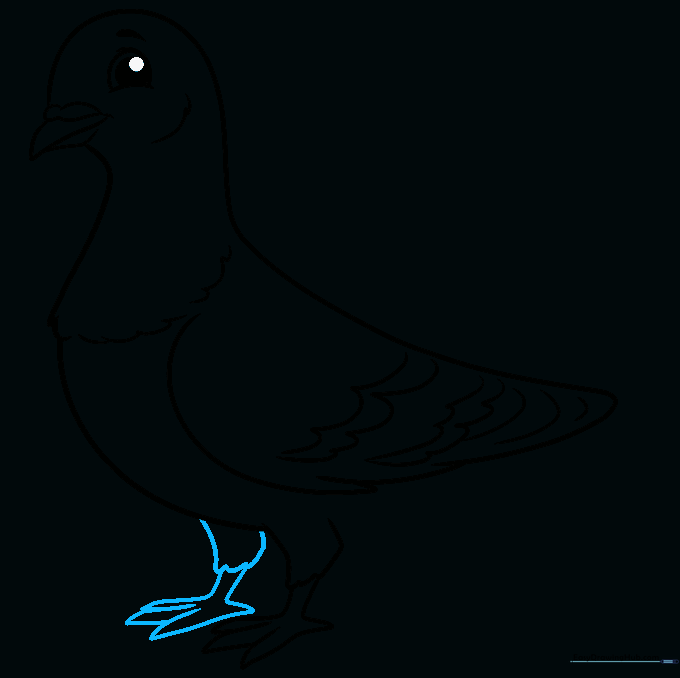
Repeat the process for the second leg, placing it slightly behind the first to show perspective. Teacher's Tip: Drawing the second leg slightly higher makes the bird look like it's walking.
Step 9: Finishing the Tail
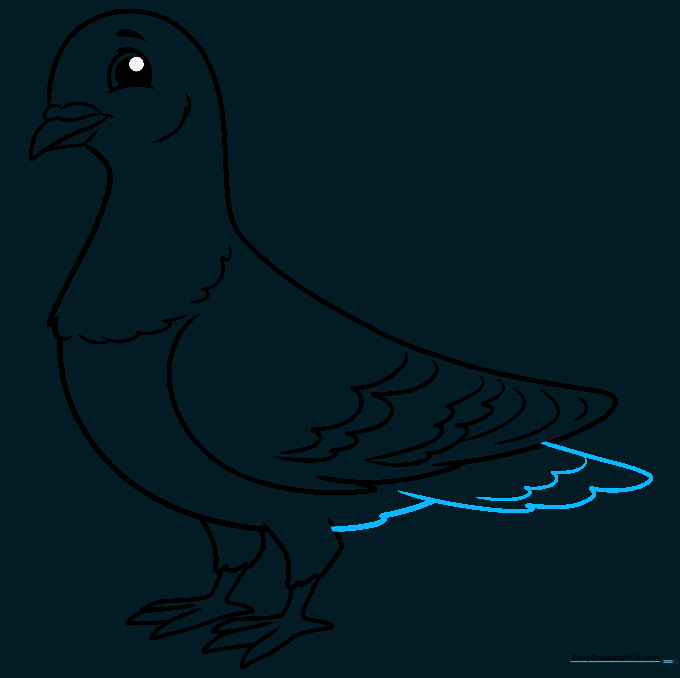
Extend two curved lines for the tail and connect them with 'U' shaped lines to represent individual tail feathers. Connect the tail to the body. Teacher's Tip: The 'U' shapes are the secret to making the tail look realistic and layered.
Step 10: Adding Color

Time to bring your pigeon to life! Use soft greys for the body, and add hints of iridescent purple or green around the neck. Teacher's Tip: Pigeons are famous for their 'shimmering' necks—use light pressure with your crayons to blend colors together.
More Tutorials


