How to Draw a Picnic: Easy Step-by-Step Guide for Kids
Bring a sunny day to life on paper! This tutorial is perfect for young artists ages 7+ who want to practice drawing people and outdoor scenes. You'll just need a pencil, an eraser, and your favorite coloring supplies to create this charming family picnic scene.
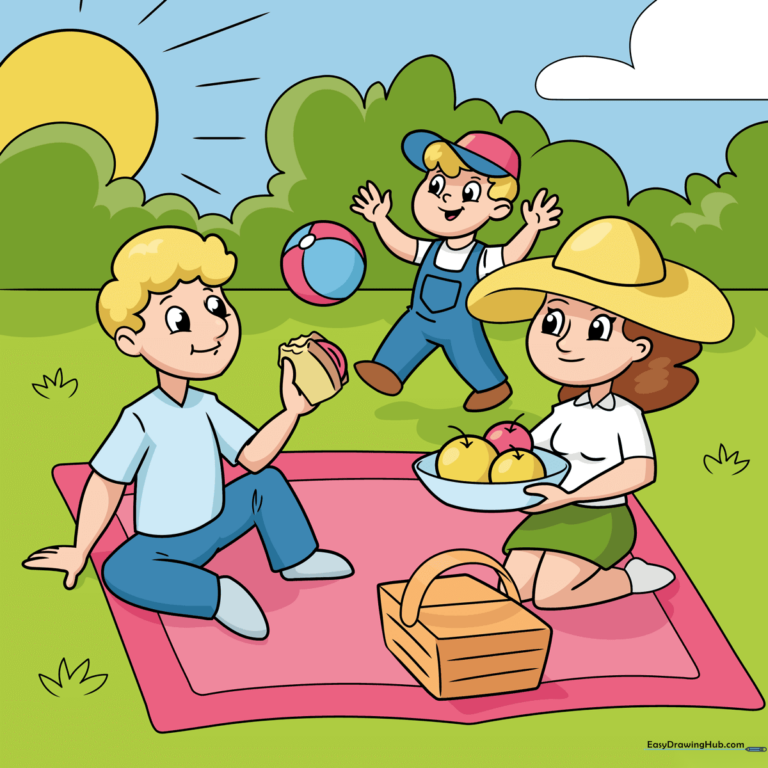
🎯 Final Result
Step-by-Step Instructions
Step 1: Sketching the Dad's Head
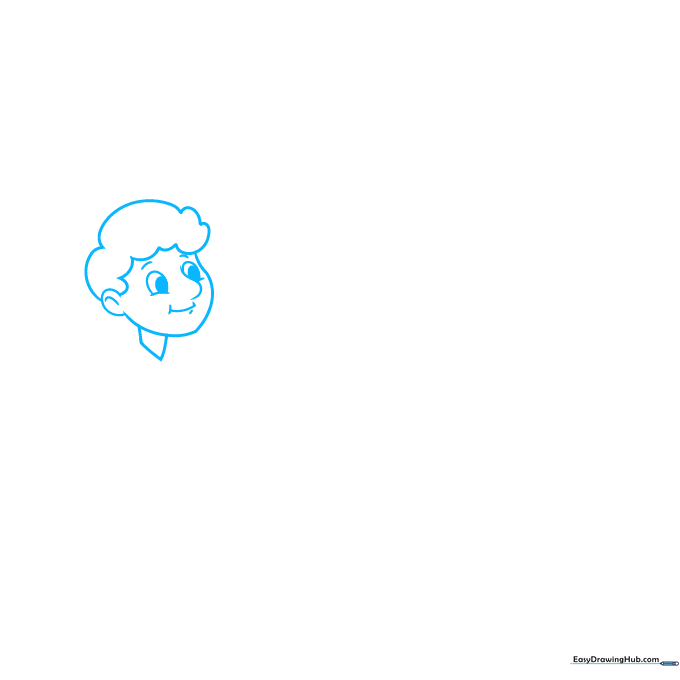
Start by drawing the dad's head using soft, curved lines for the face and hair. Tip: Keep the eyes simple with two small, shaded circles—this gives him a friendly, cartoonish expression.
Step 2: Adding the Sandwich
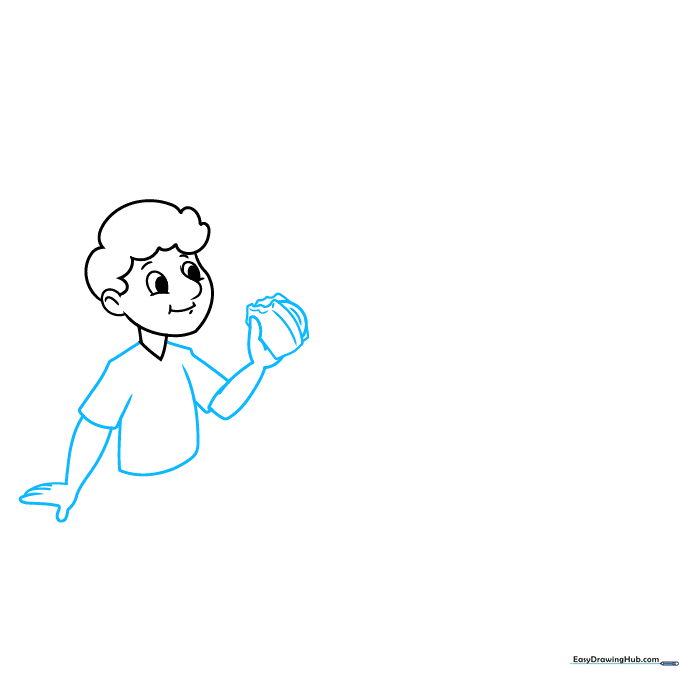
Draw the dad's arms and t-shirt using smooth, rounded lines. In his hand, sketch a simple sandwich with two horizontal bread slices. Tip: Don't worry about perfect straight lines; a slightly wobbly line makes the bread look soft and realistic.
Step 3: Drawing the Mom
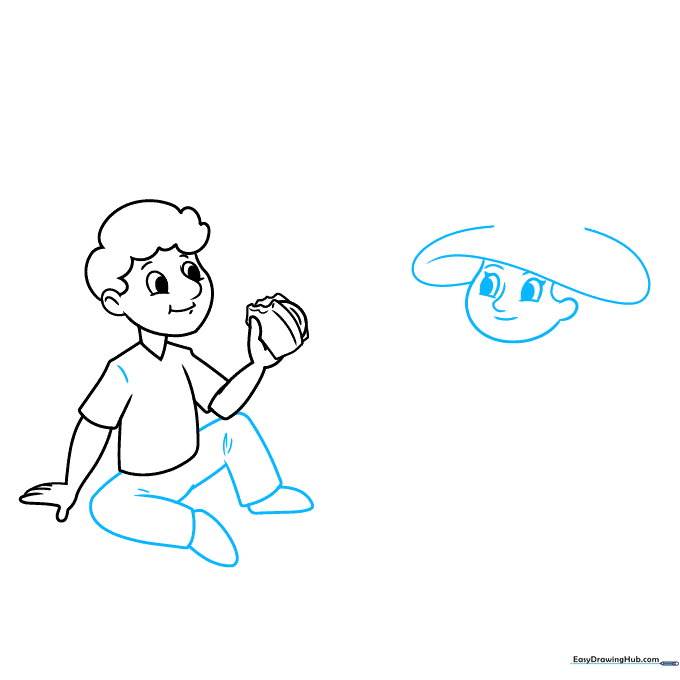
Sketch the dad's legs in a sitting position, then move to the mom. Use a wide, curved line for her sunhat brim. Tip: Use light, quick strokes for the hat to give it a breezy, summer feel.
Step 4: The Picnic Bowl
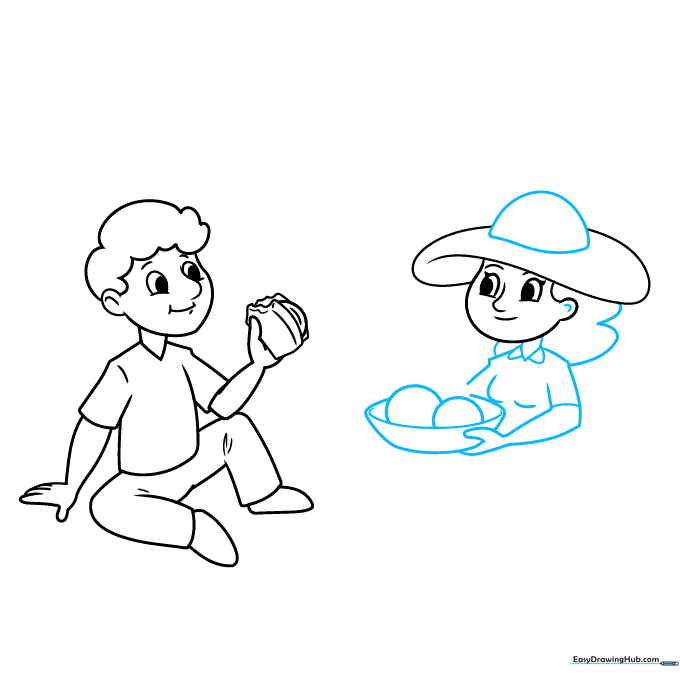
Complete the mom's hat with a half-circle crown and add her arms. In her hands, draw a small bowl filled with round fruit. Tip: Draw the bowl as a 'U' shape to make it look like it has depth.
Step 5: Adding the Picnic Basket
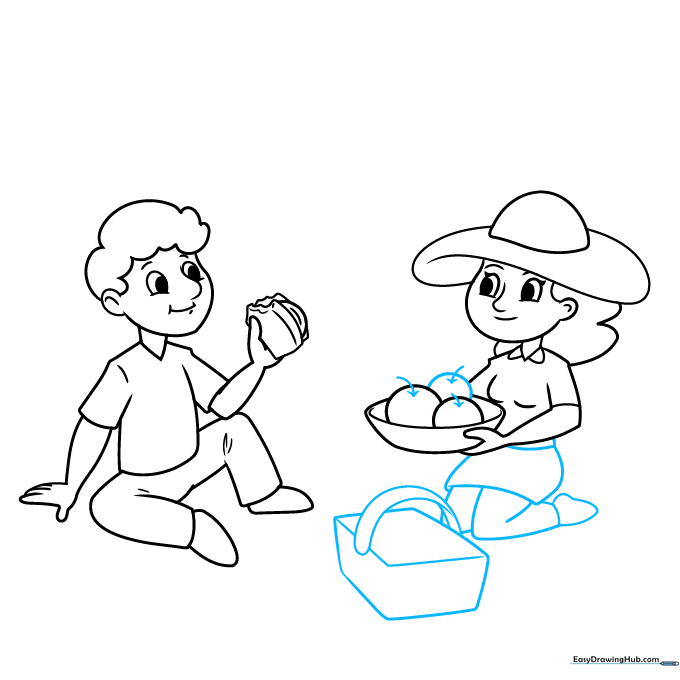
Turn those round shapes into apples by adding tiny stems. Then, draw the mom's skirt and a rectangular picnic basket in front of her. Tip: Use straight, parallel lines on the basket to suggest a woven texture.
Step 6: The Picnic Blanket
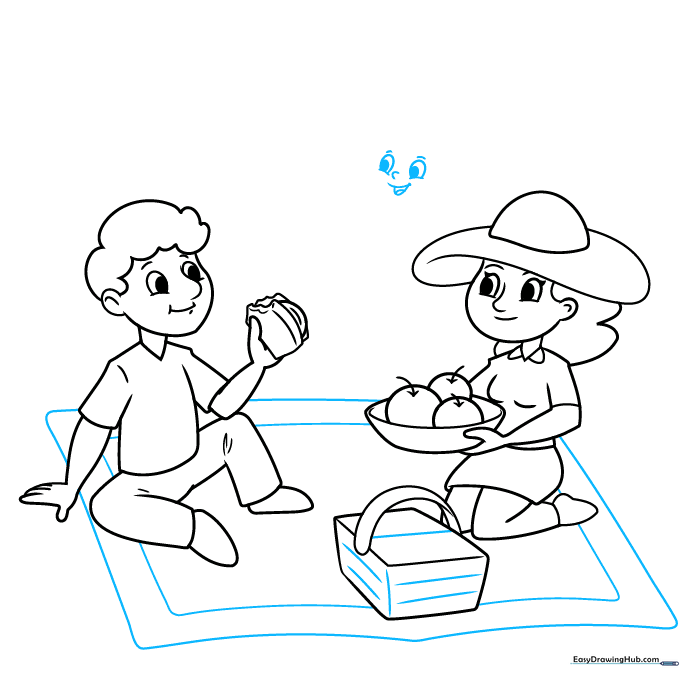
Draw a large square beneath the family to represent the blanket. Then, start sketching the boy's face nearby. Tip: Keep the blanket lines clean and sharp to contrast with the organic shapes of the people.
Step 7: Sketching the Boy
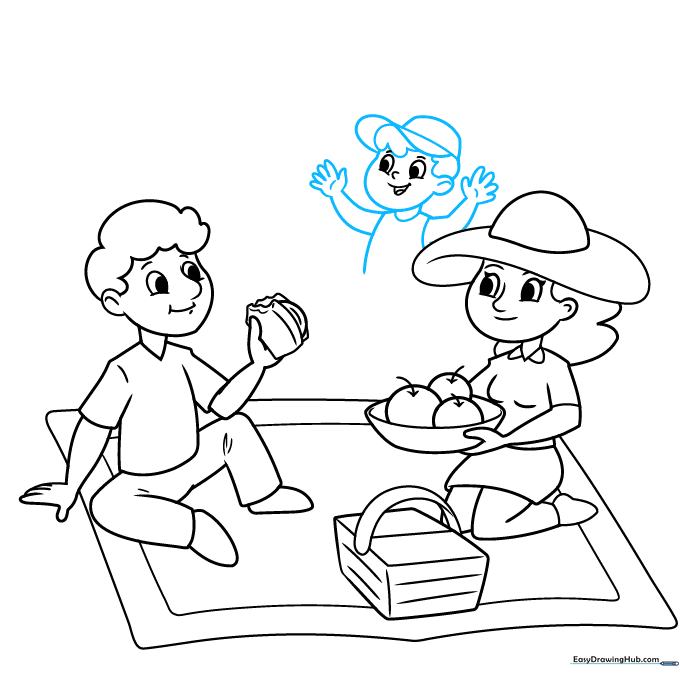
Use curved lines to define the boy's head, hat, and torso. Give him upraised arms to show he's having fun. Tip: Make his arms slightly smaller than the adults' to show he is younger.
Step 8: Adding the Beach Ball
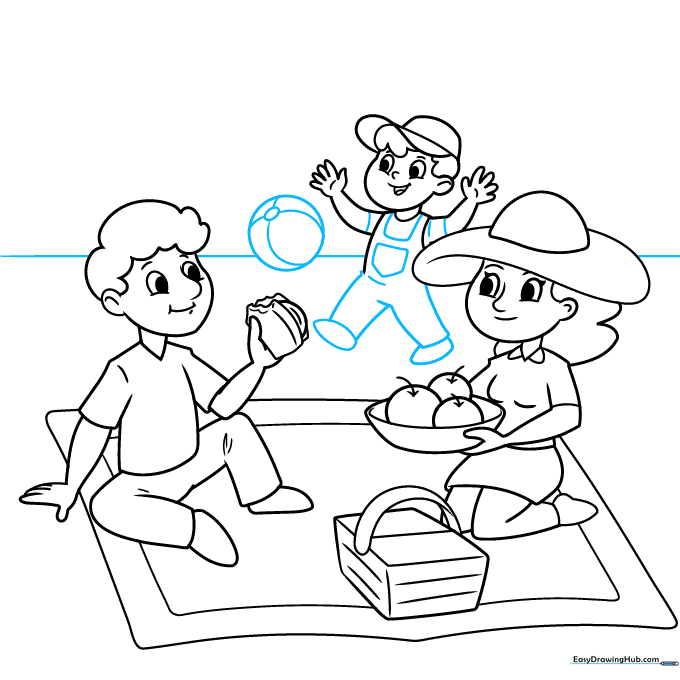
Finish the boy's outfit and draw a large circle for a beach ball. Add stripes to the ball. Tip: Use a circular object like a coin to trace the ball if you're having trouble getting a perfect circle.
Step 9: Setting the Scene
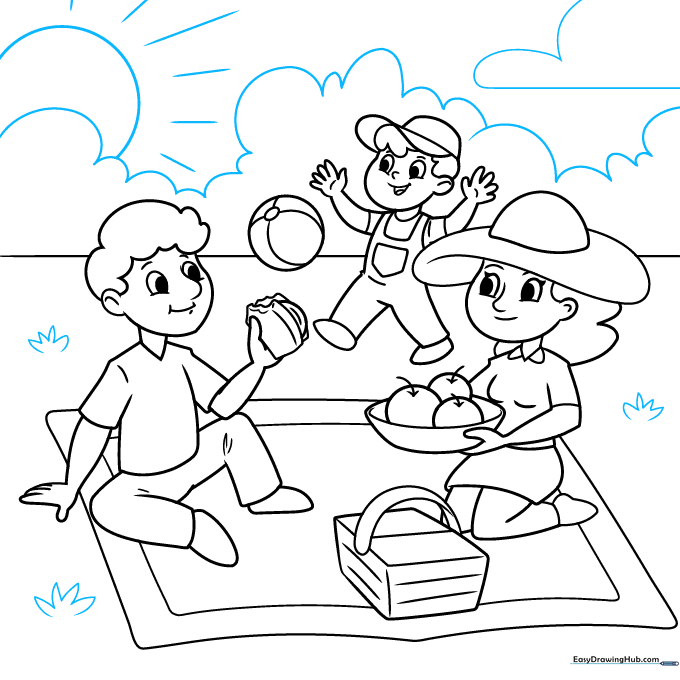
Add a horizon line, some tufts of grass, and a sun in the sky. Tip: Use short, jagged lines for the grass to make it look textured and natural.
Step 10: Bringing it to Life with Color

Your outline is finished! Now, use bright, happy colors to fill in your picnic. Tip: Try using light blue for the sky and vibrant green for the grass to make the characters pop.
More Tutorials


