How to Draw a Piano: Easy 10-Step Guide for Beginners
Bring the magic of music to your sketchbook with this simple grand piano tutorial, perfect for artists ages 6 and up. All you need is a pencil, an eraser, and a steady hand to master these geometric shapes. Follow along to build your confidence and create a beautiful musical masterpiece.
🎯 Final Result

Step-by-Step Instructions
Step 1: Sketching the Main Body

Lightly sketch a rectangle for the piano's interior. Tip: Use a ruler if you want perfectly straight lines, but keeping it freehand helps develop your steady hand control!
Step 2: Adding Depth
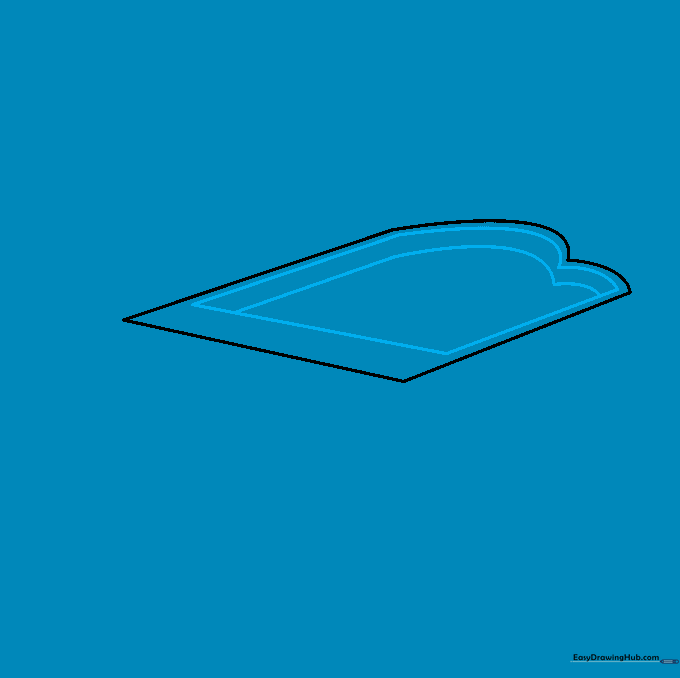
Draw a smaller, parallel shape inside your first rectangle to create thickness. Tip: Imagine you are looking at the piano from a slight angle to give it a 3D feel.
Step 3: Drawing the Lid
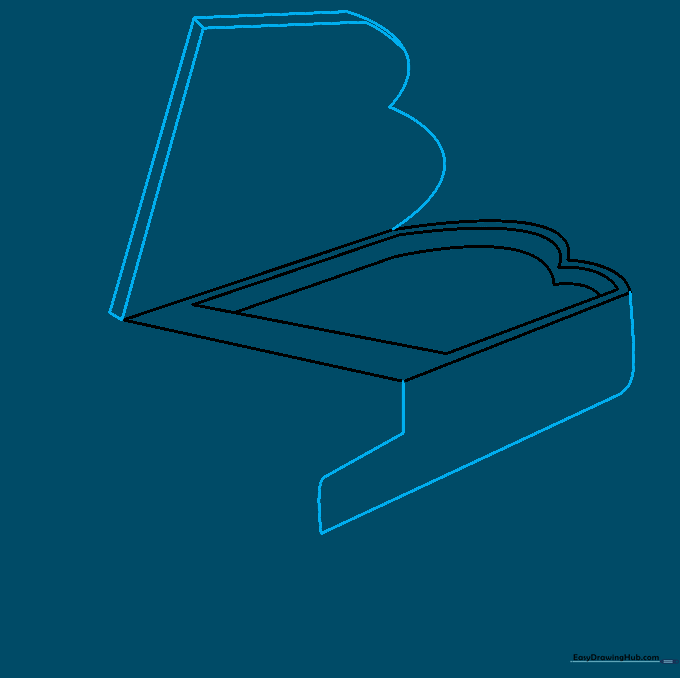
Sketch the lid shape mirroring the base, then add the side panel with a small notch. Tip: Keep your pencil strokes light so you can easily erase any overlapping guidelines later.
Step 4: Shaping the Keyboard Area
Outline the front panel where the keys will sit. Tip: Use your ruler here to ensure the keyboard area looks crisp and professional.
Step 5: Adding White Keys
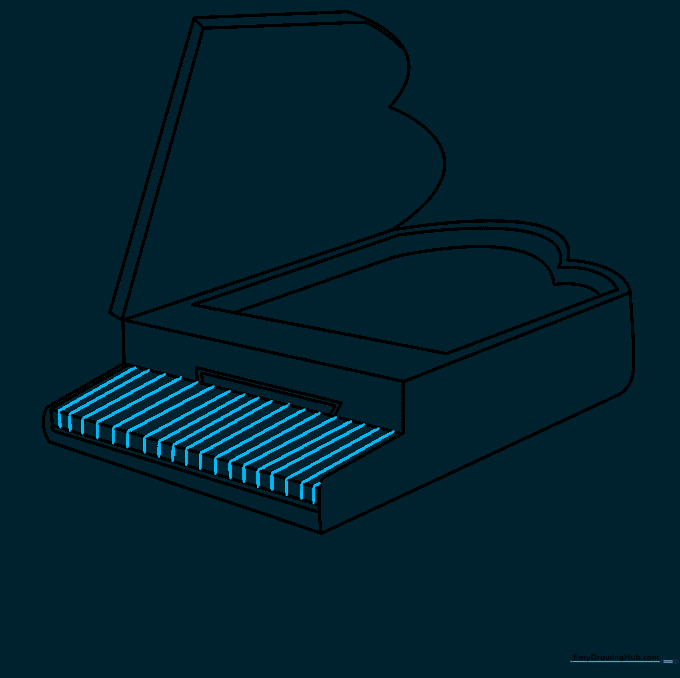
Draw vertical lines across the keyboard area to represent the white keys. Tip: Keep the spacing consistent so the piano looks realistic.
Step 6: Adding Black Keys

Draw small, narrow rectangles on top of the white keys for the black keys. Tip: Remember that black keys usually come in groups of two and three!
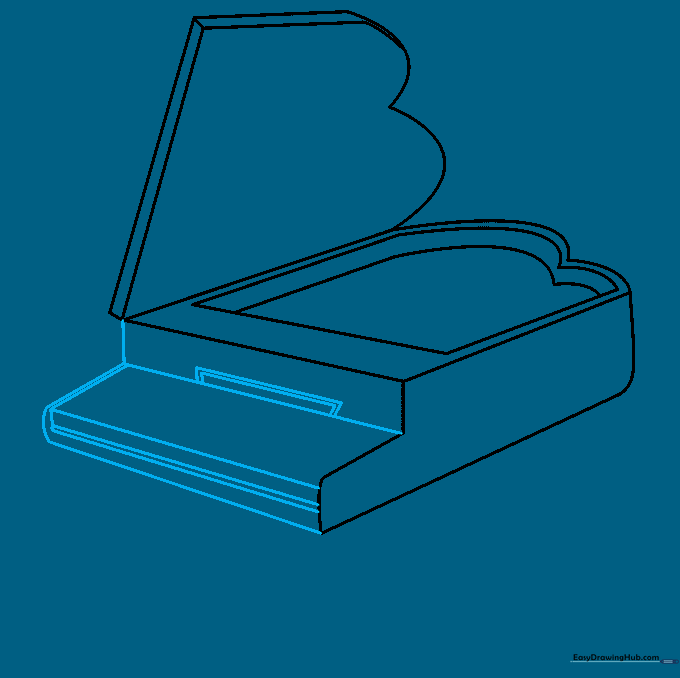
Step 7: Drawing the Lid Prop
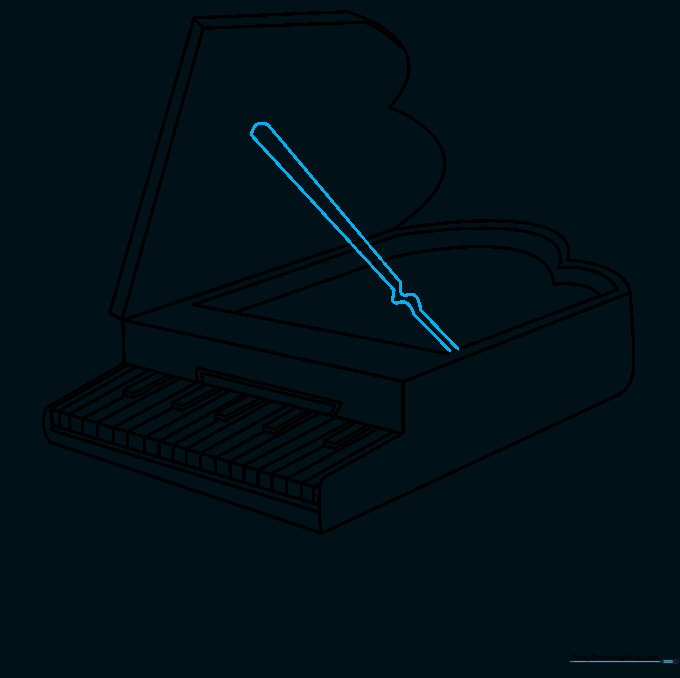
Draw a small prop to hold the lid open. Tip: A slightly wavy line can help show the texture of the prop stand.
Step 8: Sketching the Legs
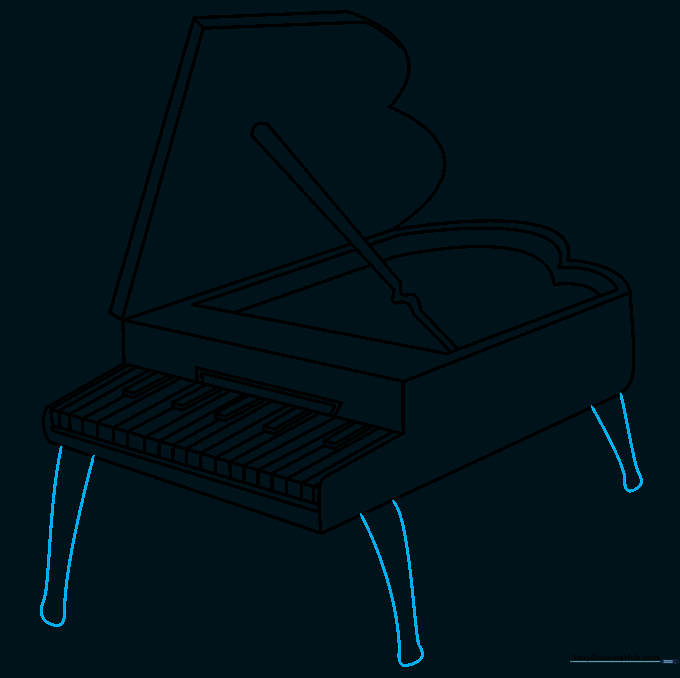
Add three sturdy legs extending from the corners of the piano. Tip: Make sure the legs are symmetrical so your piano doesn't look like it's tipping over!
Step 9: Adding Pedals
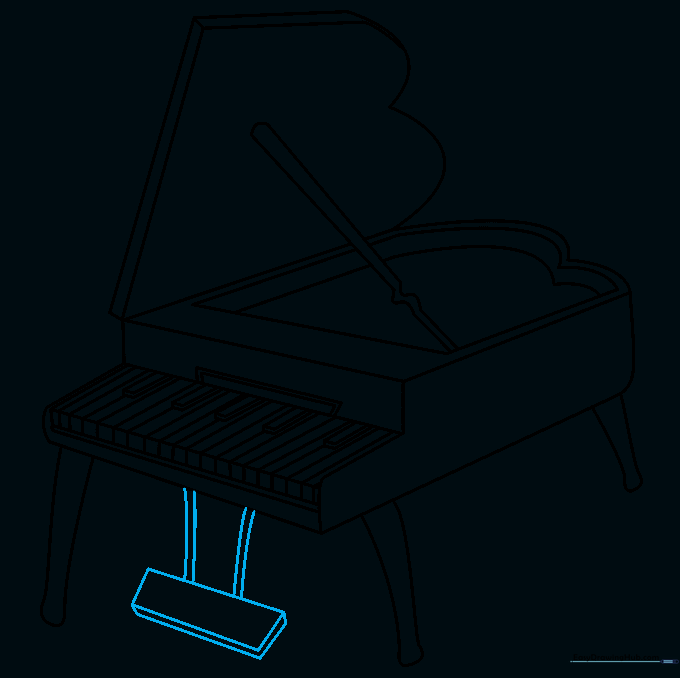
Draw the pedals beneath the keyboard. Tip: Add a small rectangular base to give them a grounded, realistic look.
Step 10: Adding Color

Time to color! Use deep black for a classic look, or try wood-grain brown for a vintage feel. Tip: Use a light grey for the white keys to show shadows and depth.
More Tutorials


