How to Draw a Pharmacist: Easy 9-Step Cartoon Guide
Bring a community helper to life with this simple drawing tutorial, perfect for children ages 5 and up. All you need is a pencil, an eraser, and your favorite markers or crayons to get started. By the end of this lesson, you’ll have a charming cartoon pharmacist ready to help patients!
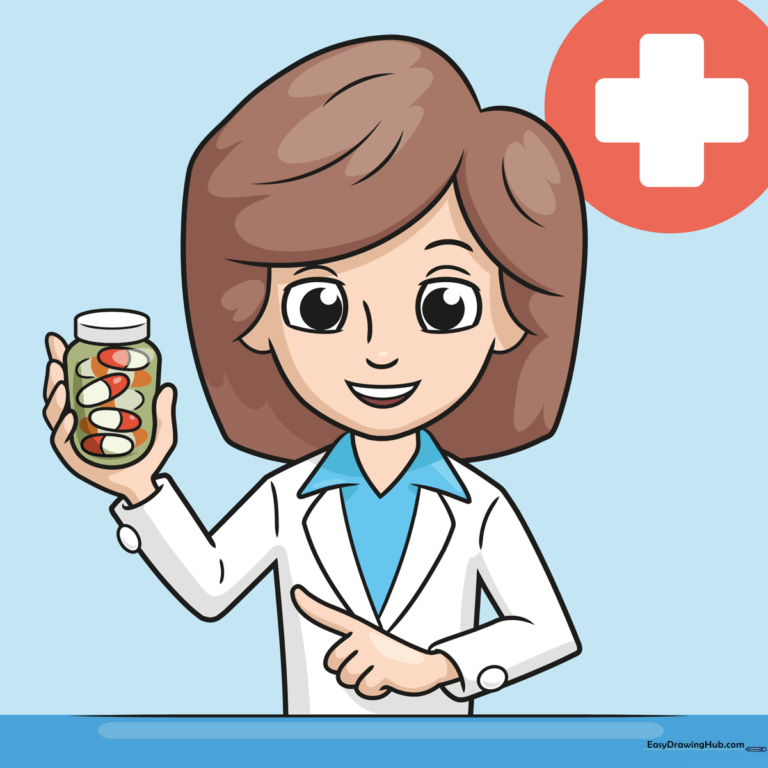
🎯 Final Result
Step-by-Step Instructions
Step 1: Sketching the Face

Start by drawing the pharmacist's nose and eyelids. Tip: Keep your pencil lines light so you can easily adjust the shape of the eyes later if needed.
Step 2: Defining the Features

Add the hair, ears, chin, and a friendly smile. Tip: Use a gentle curve for the mouth to give your character a warm, welcoming expression.
Step 3: Adding Hair and Neck

Draw the hair falling across the forehead and add a 'V' shape for the neck. Tip: Make the neck lines slightly curved to help the head look natural on the shoulders.
Step 4: Starting the Lab Coat
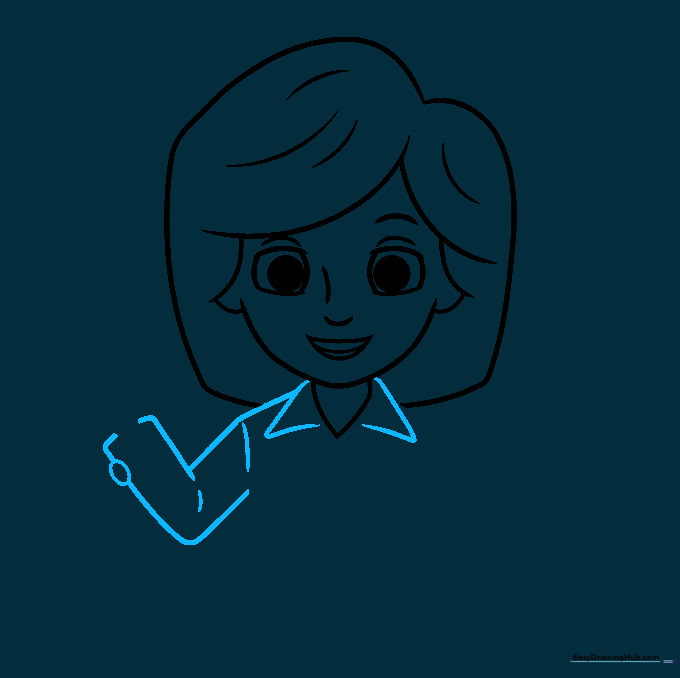
Draw the coat collar and sleeves. Tip: Add a small oval on the sleeve to represent a button—it’s the little details that make your drawing look professional!
Step 5: Drawing the Hands
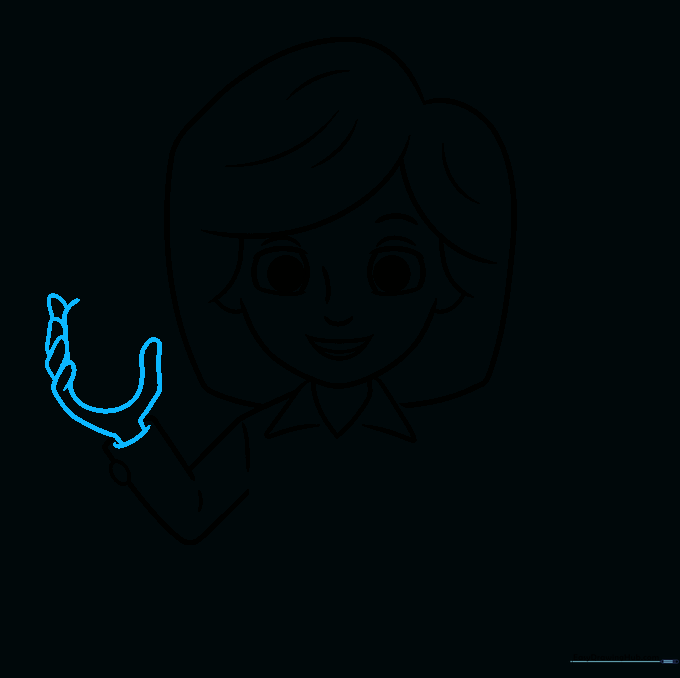
Outline the wrist and fingers. Tip: Leave a small gap between the fingers; this is where we will place the medicine bottle in the next step.
Step 6: Adding the Medicine Bottle
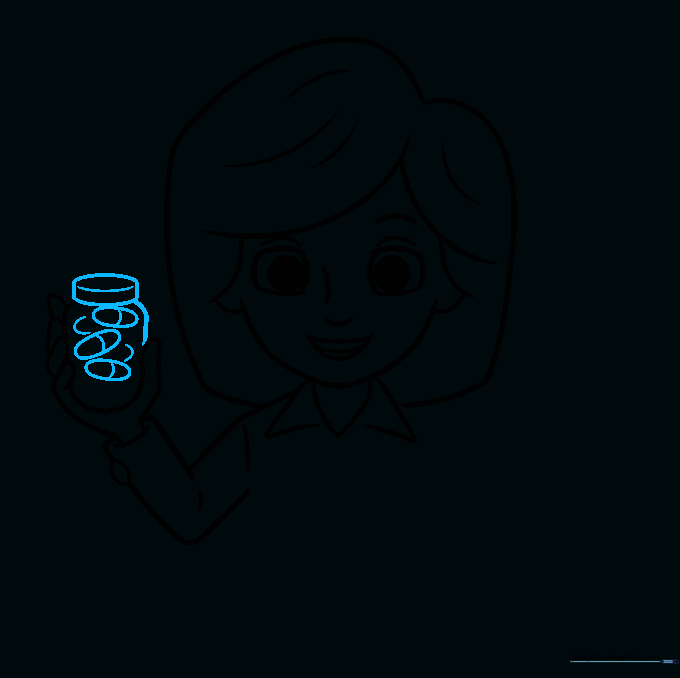
Draw a small cylinder and fill it with oval-shaped pills. Tip: Overlap your ovals slightly to make the bottle look like it's truly full of tablets.
Step 7: Completing the Sleeves
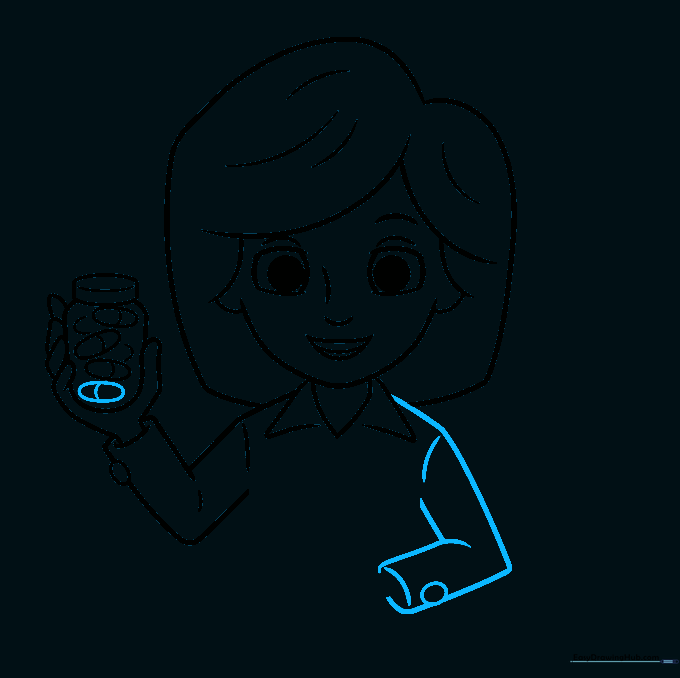
Finish the bottle details and draw the remaining sleeve. Tip: Keep your lines smooth to show the fabric of the lab coat.
Step 8: Adding Coat Details
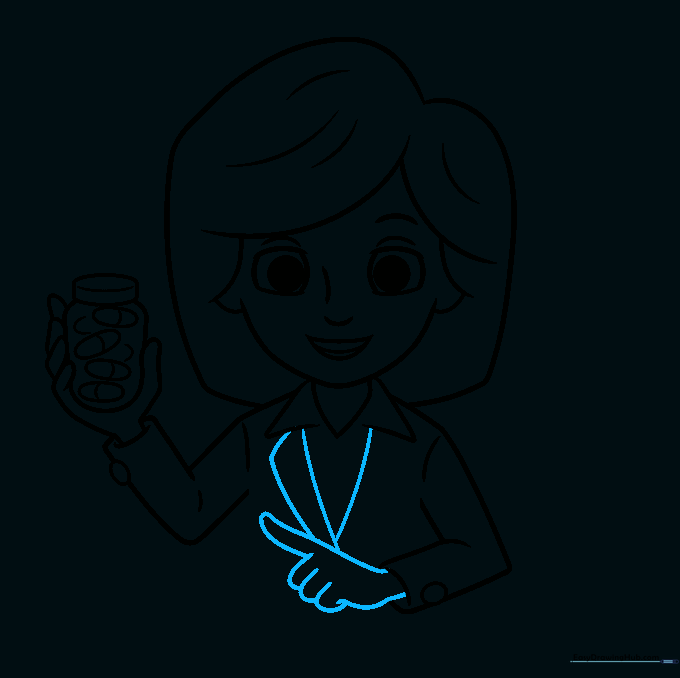
Draw the coat opening and the lapel. Tip: Use a sharp 'V' shape to define the collar, which helps distinguish the coat from a regular shirt.
Step 9: Final Touches
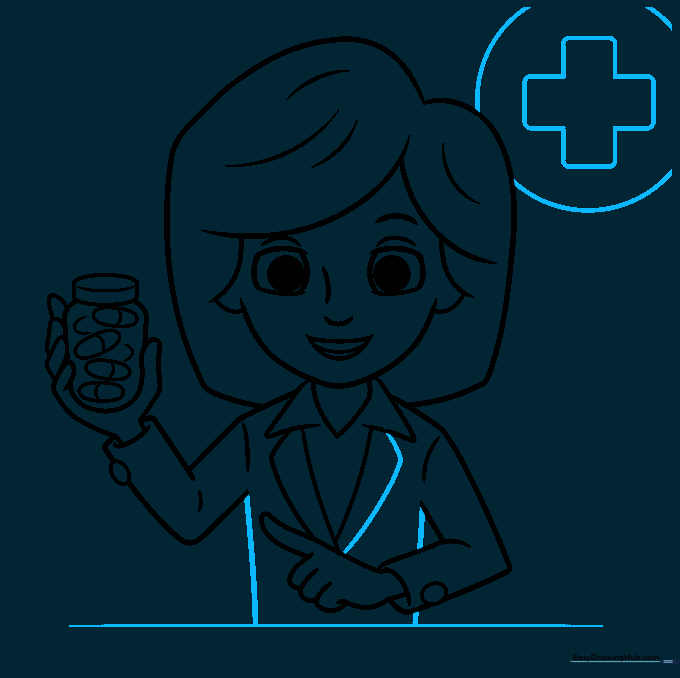
Draw the counter and the pharmacy cross symbol on the wall. Tip: Use a ruler if you want the counter line to be perfectly straight!
Step 10: Color Your Creation
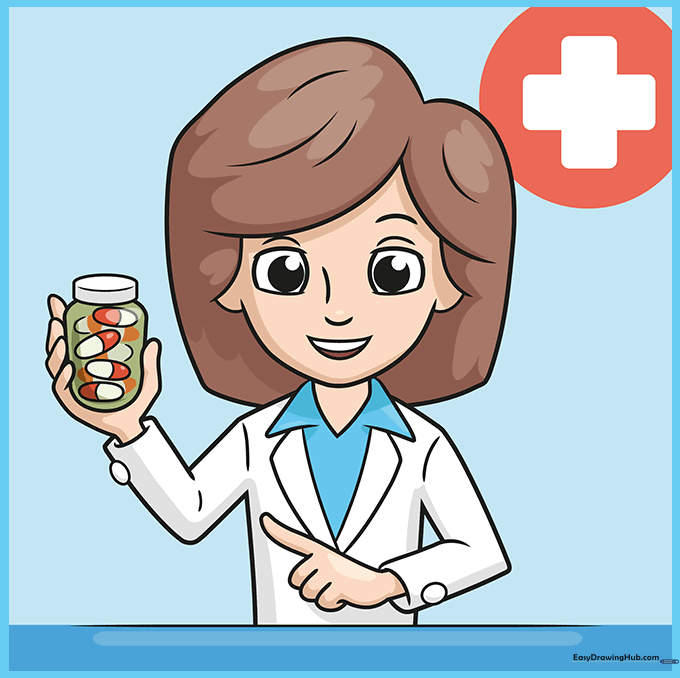
Bring your pharmacist to life with color! Tip: Use bright white for the coat and perhaps a soft blue or green for the background to make the character pop.
More Tutorials


