How to Draw a Pegasus: Easy 10-Step Guide for Kids
Bring the magic of mythology to life with this step-by-step Pegasus drawing guide, perfect for young artists ages 7 and up. You will only need a pencil, an eraser, and a sheet of paper to create your own flying horse. Follow along to master basic shapes and flowing lines that give your creature its graceful, soaring appearance.
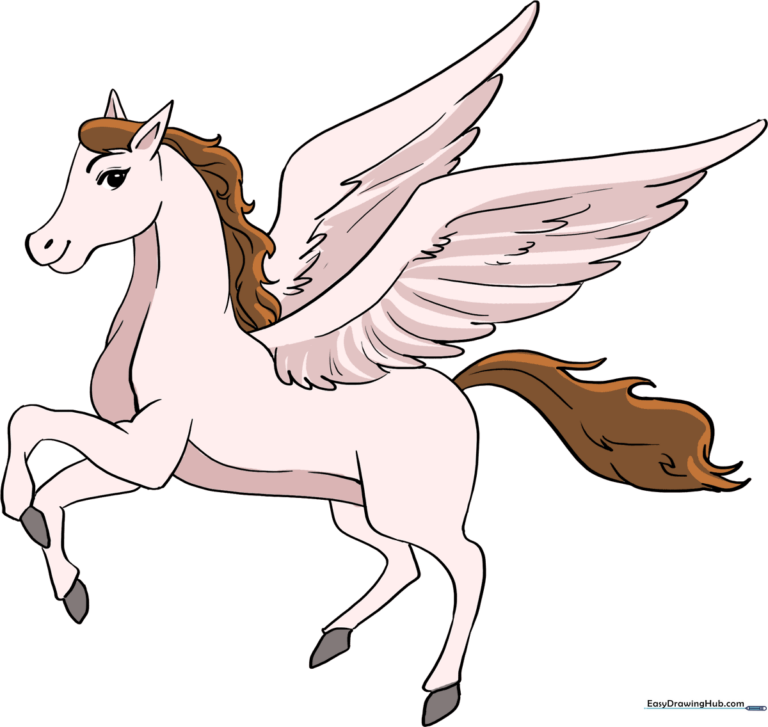
🎯 Final Result
Step-by-Step Instructions
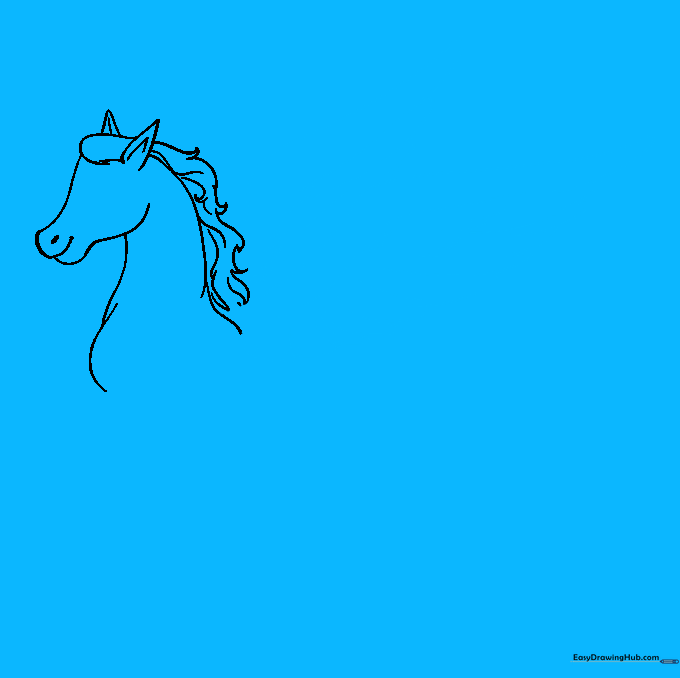
Step 1: Sketching the Head Base

Draw a light circle to serve as the base for the head. Teacher's Tip: Keep your pencil pressure very light here; this is just a guide that we will erase later, so don't press too hard!
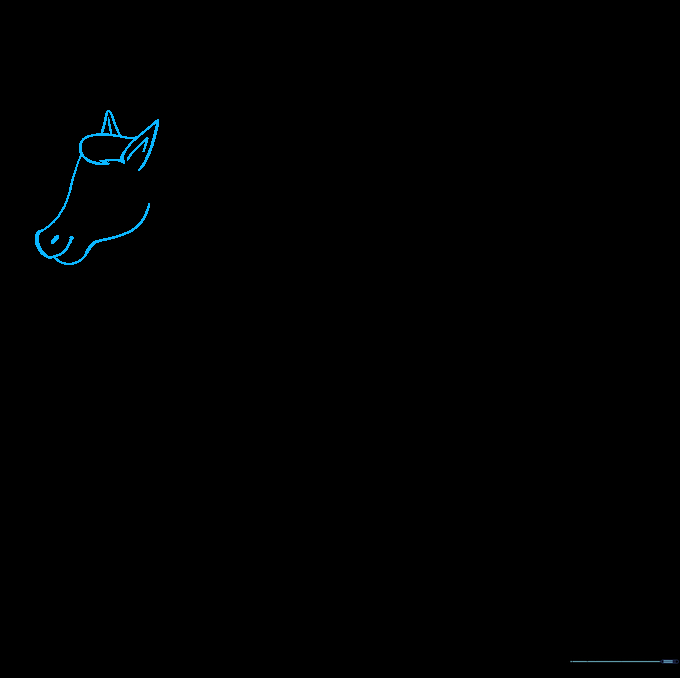
Step 2: Defining the Features

Use curved lines to outline the triangular ears and the snout. Add a small shaded oval for the nostril. Teacher's Tip: The snout should look like a soft 'U' shape to give the horse a friendly expression.
Step 3: Cleaning the Guide Lines
Carefully erase the internal circle guide lines. You should now have a clean, clear outline of the horse's head. Teacher's Tip: Use a soft eraser and brush away the crumbs so your paper stays clean for the next steps.
Step 4: Forming the Neck and Chest
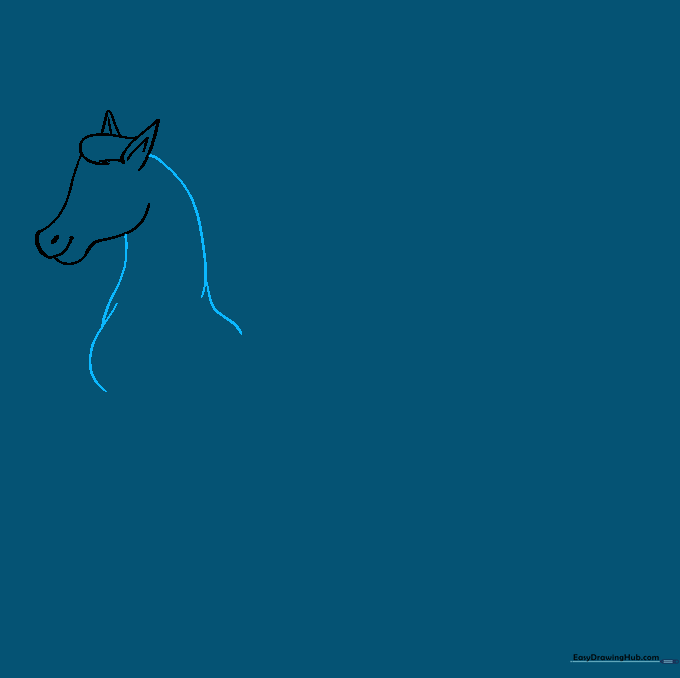
Use long, sweeping curved lines to draw the neck, shoulder, and chest. Teacher's Tip: Imagine the horse is standing tall and proud; keep these lines smooth to show strength.
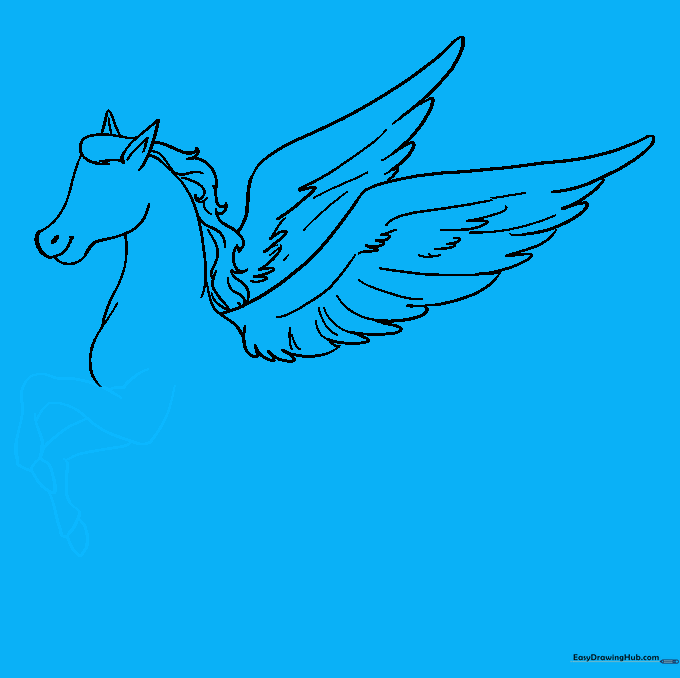
Step 5: Adding the Flowing Mane
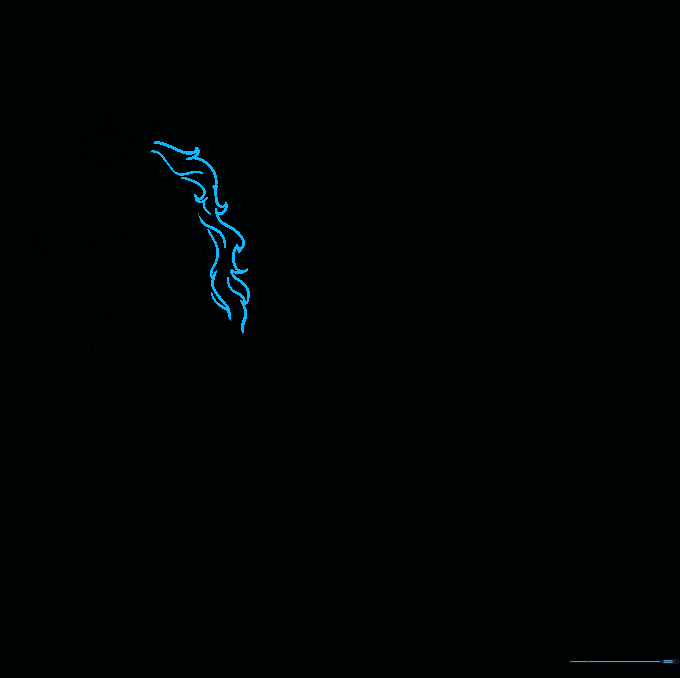
Draw jagged, pointed lines to create the mane. Add extra curved lines inside to show texture. Teacher's Tip: Don't make the points too uniform; a natural mane looks best when the hair strands vary in length.
Step 6: Sketching the Wings
Draw two long, bent lines for the top of the wings, then use 'U' shapes for the feathers. Teacher's Tip: To make the wings look realistic, layer your 'U' shapes like shingles on a roof.
Step 7: Drawing the Front Legs
Sketch the front legs using pairs of curved lines, noting the joints at the elbow and wrist. Finish with rounded shapes for the hooves. Teacher's Tip: Keep the legs slightly tapered to make them look elegant.
Step 8: Adding the Body and Rear Legs
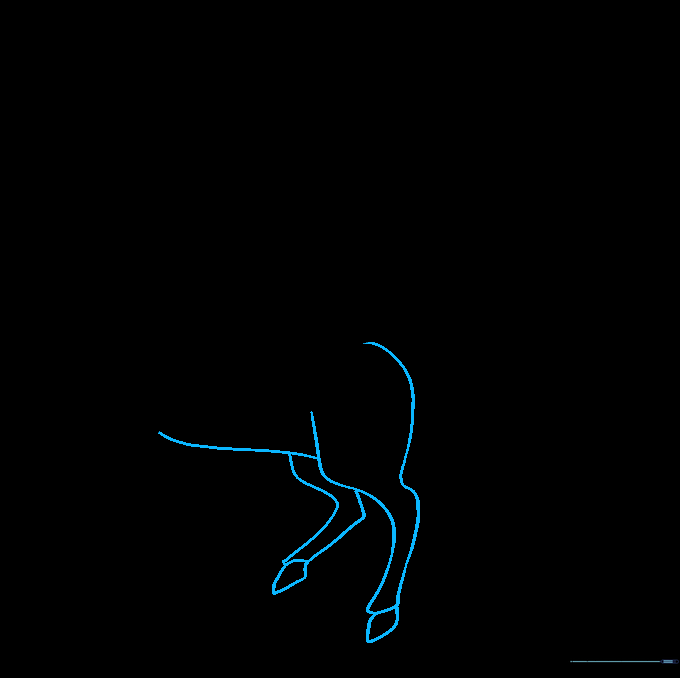
Connect the belly and rump with curved lines, then add the rear legs. Teacher's Tip: Pay attention to the hock joint on the back legs—it should bend backward, unlike our human knees!
Step 9: Final Details
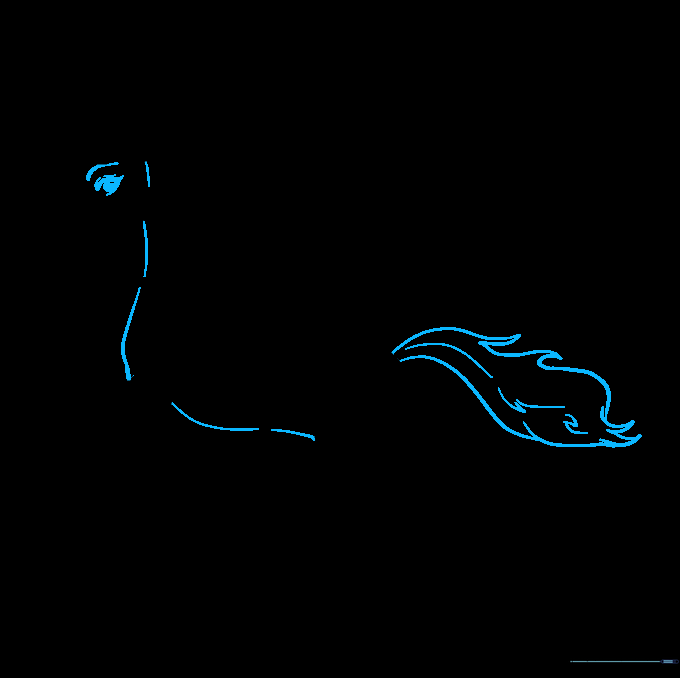
Add the flowing tail, define the eye with a circle-in-circle, and add eyelid details. Teacher's Tip: A bright highlight in the eye (a tiny white dot) will make your Pegasus look alive and friendly.
Step 10: Bring It to Life with Color
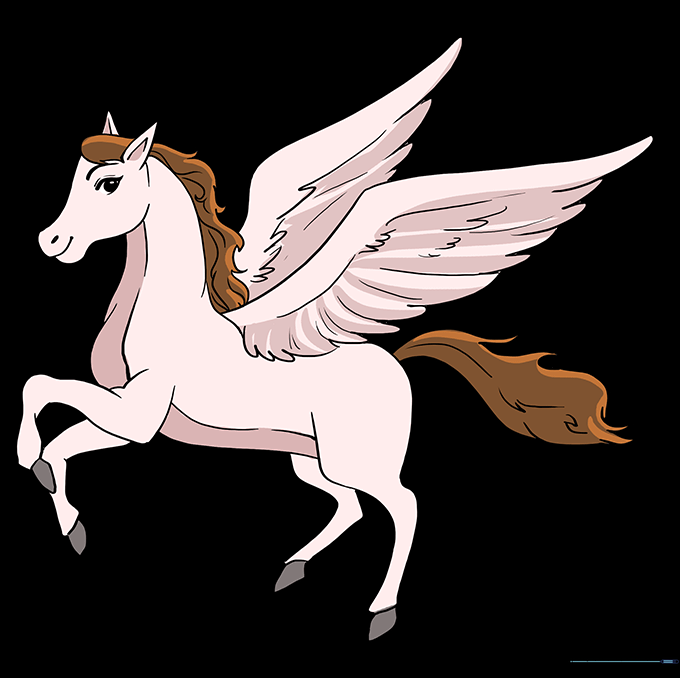
Color your Pegasus! Traditionally, they are white, but you can use any colors you like. Teacher's Tip: Use light blue or grey for shading under the wings to give your drawing a 3D effect.
More Tutorials


