How to Draw a Peanut: Easy 10-Step Guide for Kids
This step-by-step guide is perfect for young artists ages 5 and up looking to practice organic shapes and texture. All you need is a pencil, an eraser, and a piece of paper to get started. By the end, you will have a fun, textured peanut drawing that looks great in any food-themed art project.
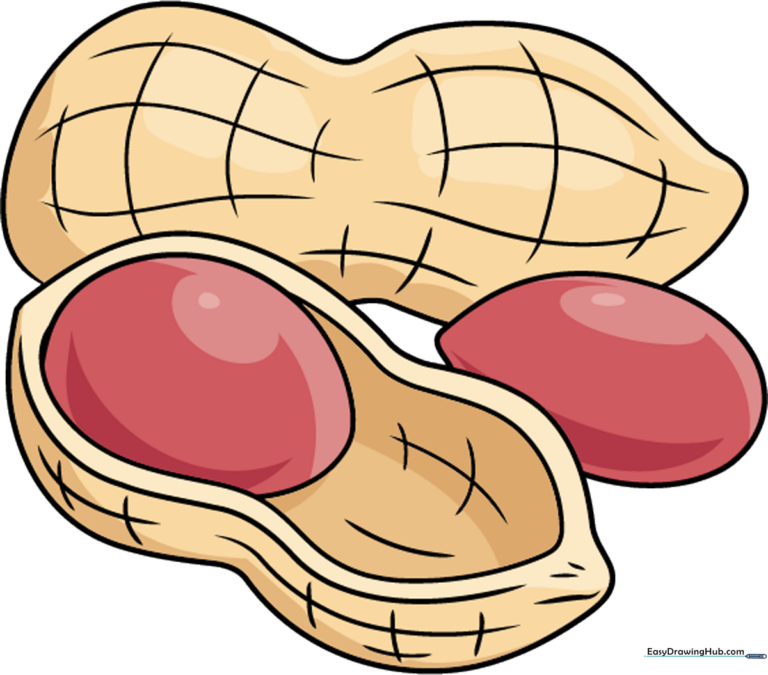
🎯 Final Result
Step-by-Step Instructions
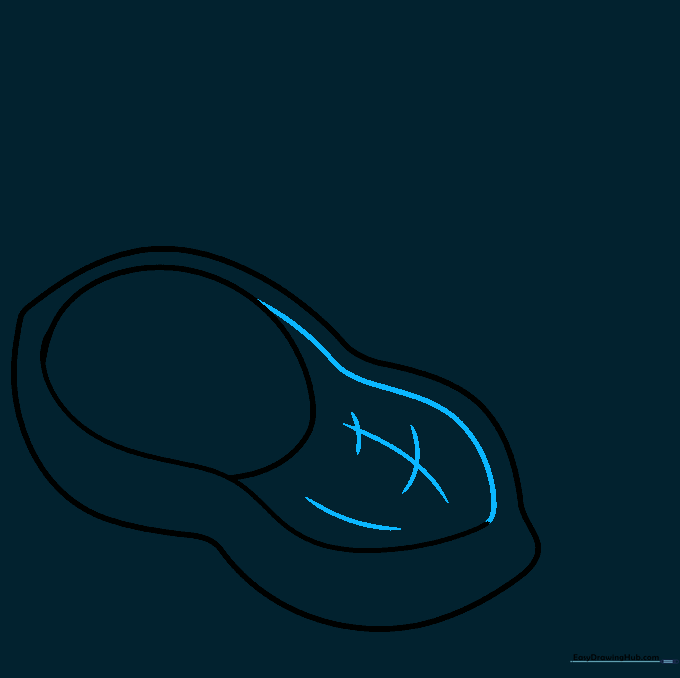
Step 1: Sketching the Initial Curve
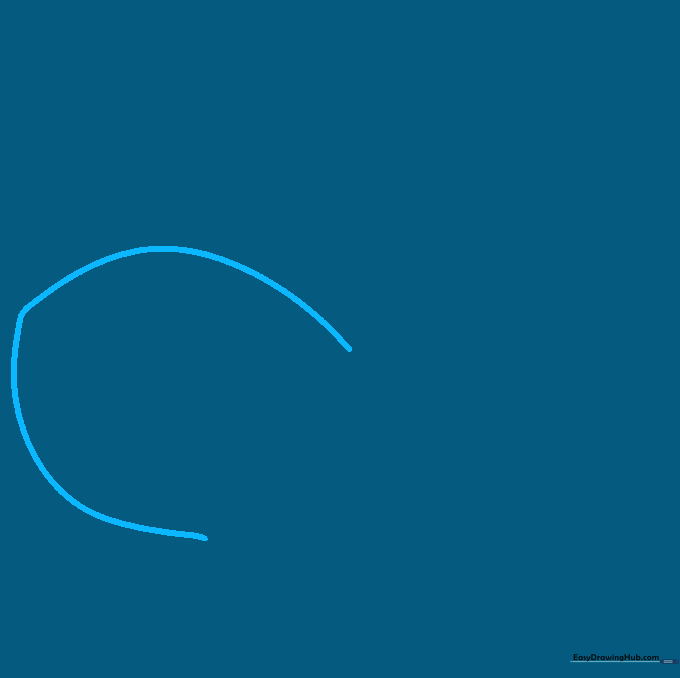
Start by drawing a soft, curved line that gently tapers at one end. Teacher's Tip: Keep your pencil pressure light so you can easily adjust the shape if it looks a bit too pointy.
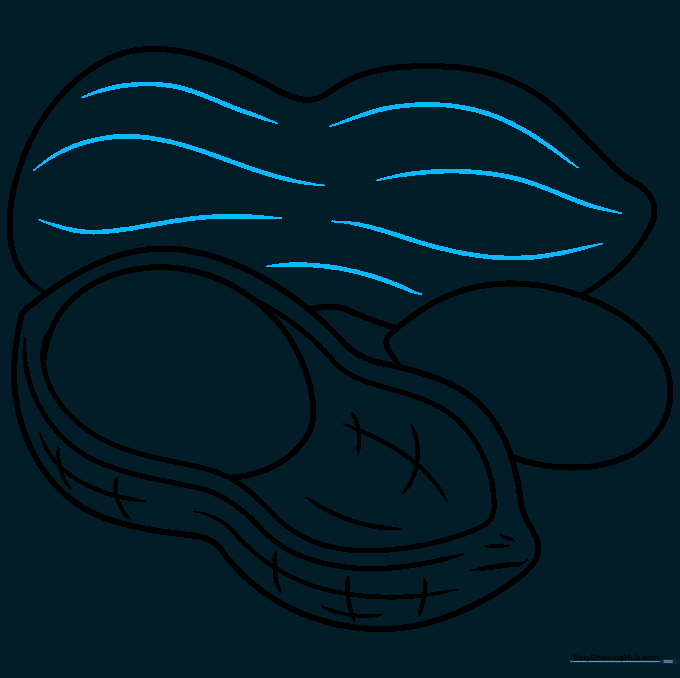
Step 2: Closing the Shell Shape
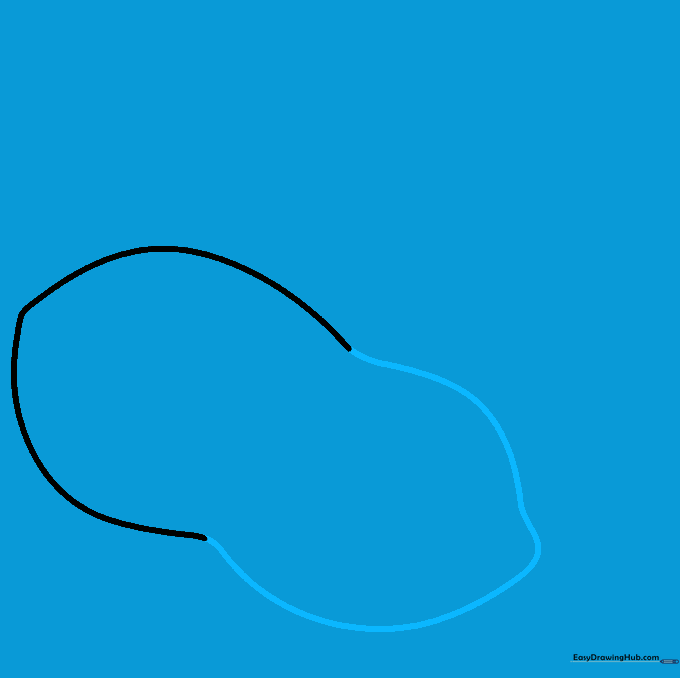
Draw the bottom side of the peanut to enclose the shape. Make sure to include a slight 'bulge' in the middle to give it that classic, bumpy peanut look. Tip: Think of it like drawing a figure-eight that got a little squished!
Step 3: Adding the First Nut
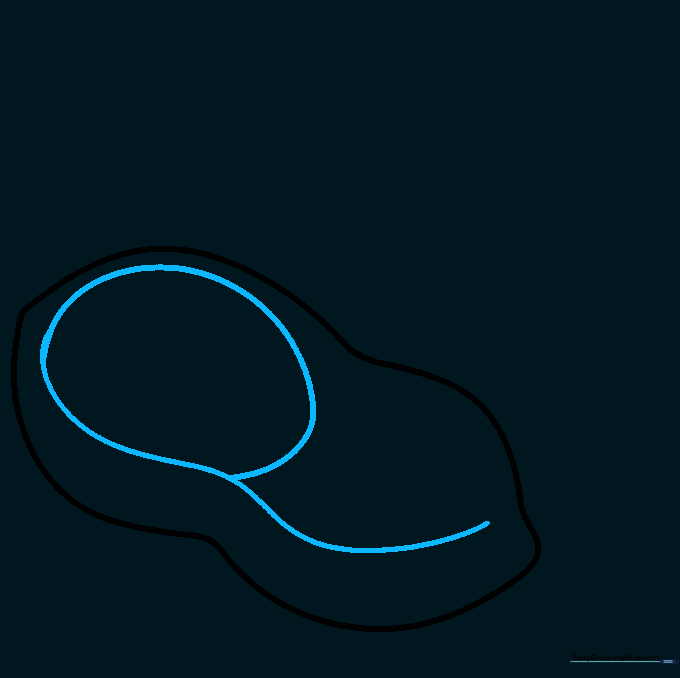
Inside the shell, draw a long curved line that loops back on itself to create an egg-like shape. This represents the nut inside. Tip: Don't worry about making it perfect; peanuts are naturally lumpy!
Step 4: Creating Shell Texture
Draw a curved line from the nut to the edge of the shell to show the empty space. Add some short, quick lines for texture. Tip: Use cross-hatching—small intersecting lines—to make the shell look rough and woody.
Step 5: Refining the Shell Surface
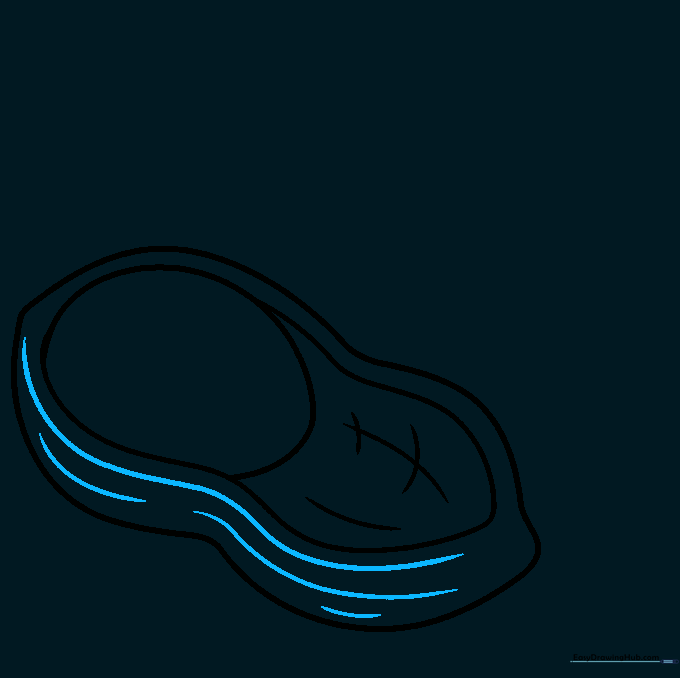
Add several curved lines along the side of the shell to emphasize its bumpy, organic texture. Tip: Vary the length of your lines so the shell doesn't look too uniform.
Step 6: Adding a Second Nut
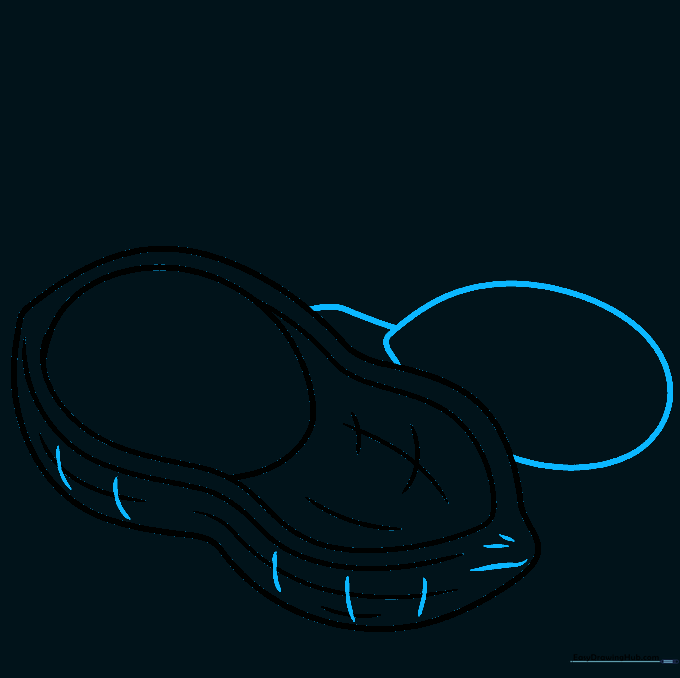
Draw a second egg-like shape partially hidden by the shell. Connect it to the shell walls with short, curved lines. Tip: Think of this as a 'peek-a-boo' nut hiding behind the shell's curve.
Step 7: Drawing the Second Peanut
Draw another peanut shape next to the first one. Notice the two distinct humps on top. Tip: Keep your lines loose and fluid to make the drawing feel more natural.
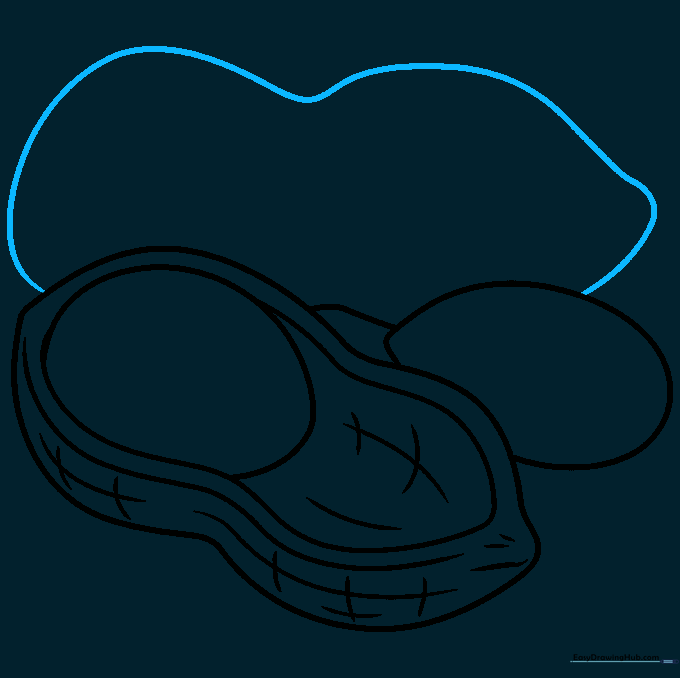
Step 8: Detailing the Second Shell
Add curved lines to the second peanut to match the rough texture of the first. Tip: Try to mirror the style you used in step 5 for consistency.
Step 9: Finalizing the Texture
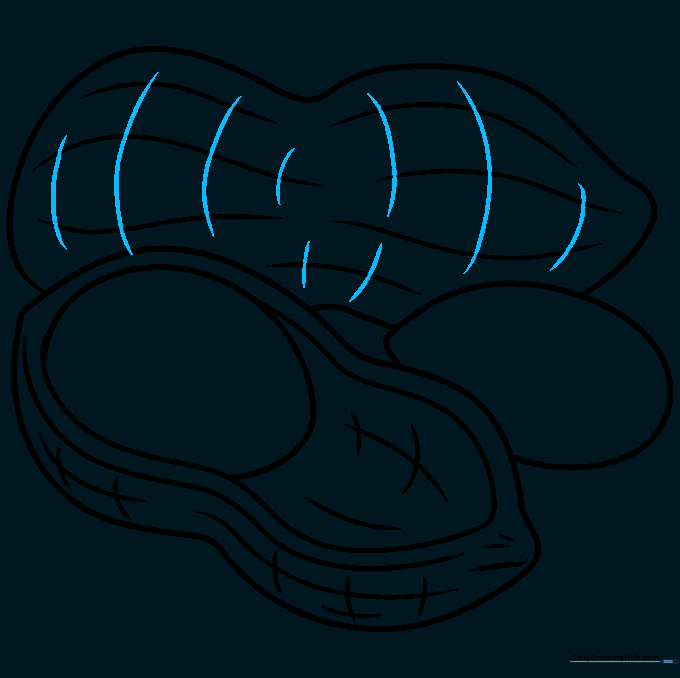
Add vertical cross-hatching across the second shell to finish the woody look. Tip: Use your pencil on its side to create softer, wider lines if you want a more shaded effect.
Step 10: Bringing It to Life with Color
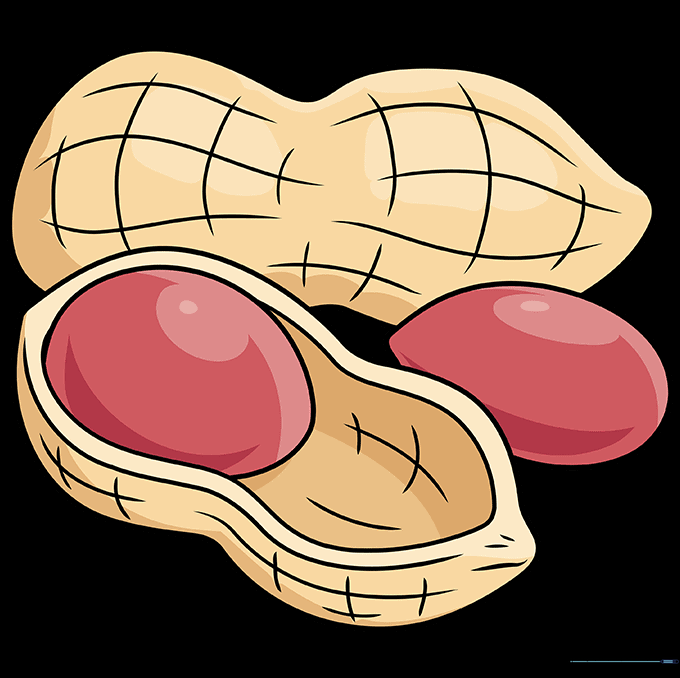
Time to color! Use light browns and tans to fill in the shells. Tip: Add a little bit of dark brown in the crevices to make your drawing pop with depth.
More Tutorials


