How to Draw a Peach Tree: Easy 10-Step Guide for Kids
Bring a touch of summer to your sketchbook with this fun peach tree drawing tutorial! Designed for young artists ages 5 and up, this activity requires only a pencil, eraser, and paper. Follow along to build confidence in your line work and learn how to layer fruit and foliage for a lush, professional look.
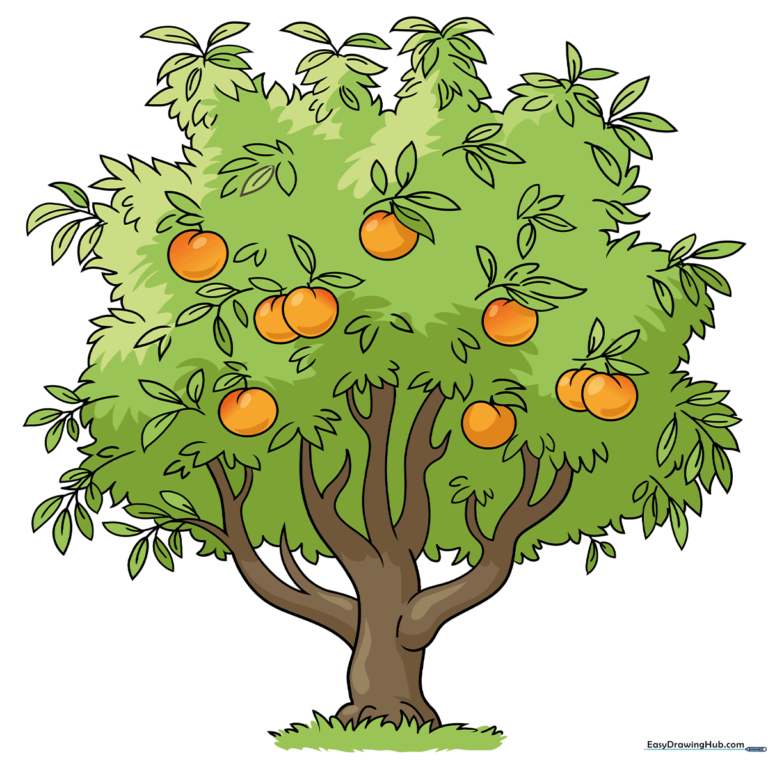
🎯 Final Result
Step-by-Step Instructions
Step 1: Establishing the Ground and Trunk
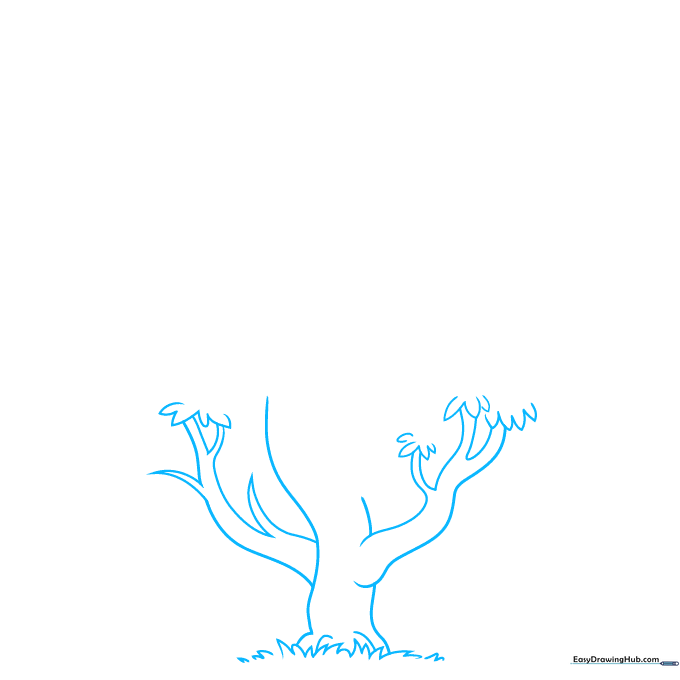
Start by drawing the grassy ground using a series of zig-zagging curved lines. Then, draw two vertical lines curving slightly upward to create the trunk. Teacher's Tip: Keep your pencil pressure light here so you can easily erase any overlapping lines later.
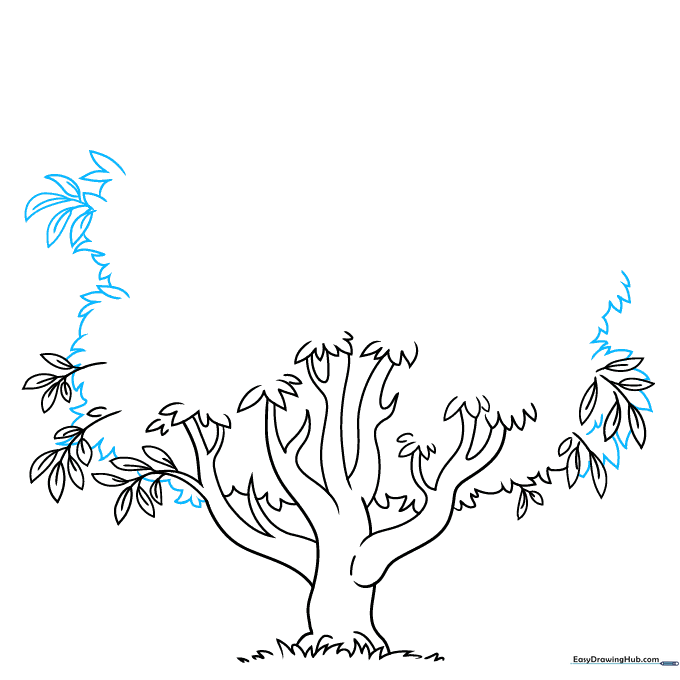
Step 2: Branching Out
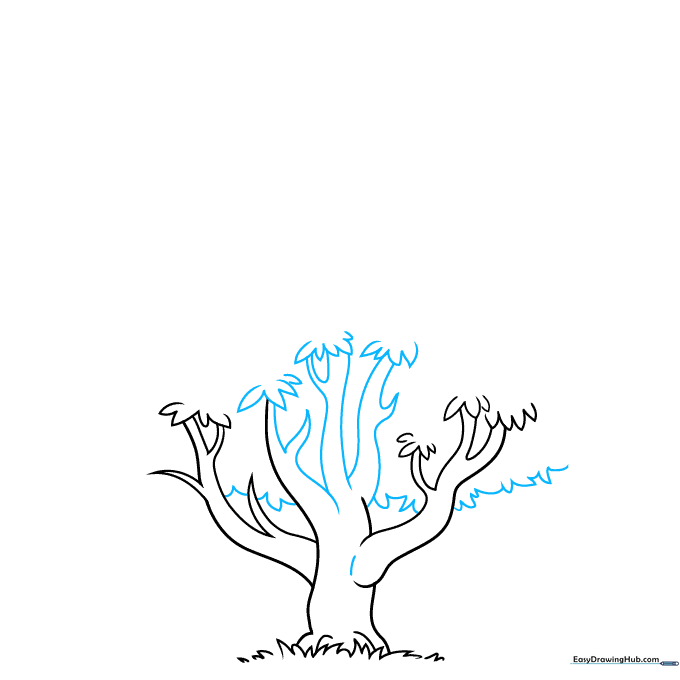
Extend curved lines from the top of your trunk to form the main branches. Think of these like reaching arms! Add a few wavy lines at the ends to begin defining the leafy canopy. Tip: Don't worry about making them perfect; trees in nature are wonderfully irregular.
Step 3: Adding Leaf Clusters
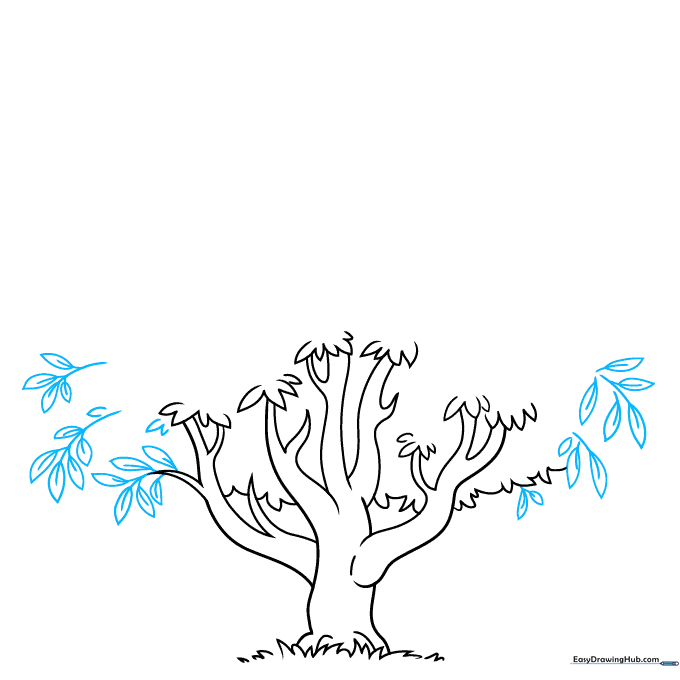
Draw small teardrop shapes attached to the twigs to represent leaves. Add a single line down the center of each leaf to show the vein. Tip: Varying the size of your leaves makes the tree look much more realistic and full.
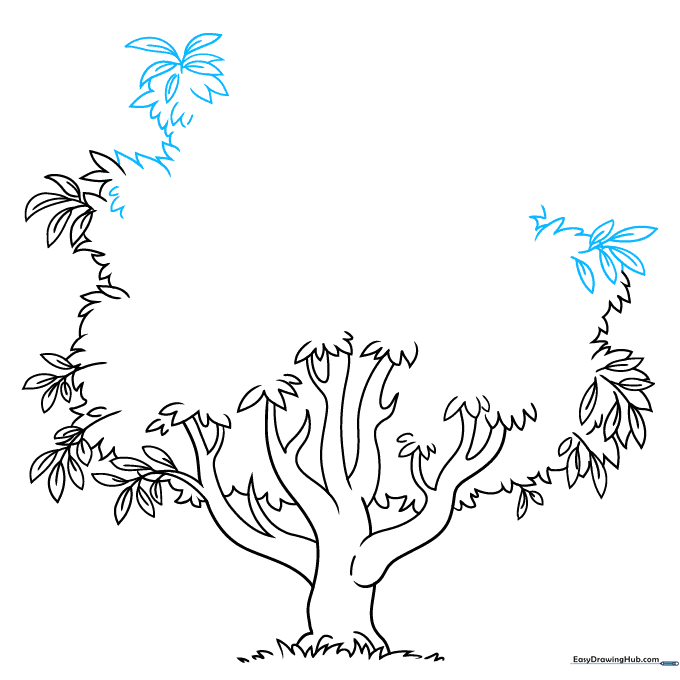
Step 4: Building the Canopy
Continue expanding the canopy using short, jagged lines that meet at points. This creates the illusion of dense foliage. Tip: Imagine you are drawing little clouds of leaves rather than individual ones.
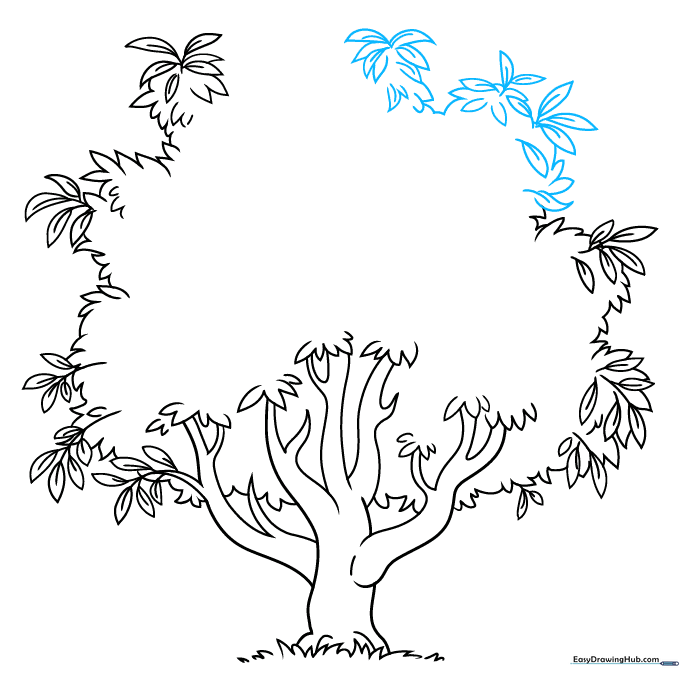
Step 5: Filling the Foliage
Add more leaf bunches throughout the canopy. By overlapping these shapes, you create depth. Tip: If your tree starts to look too crowded, just erase the lines where the branches would be hidden behind the leaves.
Step 6: Adding Texture
Continue adding detail to the canopy. Use small, quick strokes to suggest texture. Tip: Encourage kids to rotate their paper if they find it easier to draw the curved lines from a different angle.
Step 7: Drawing the Peaches
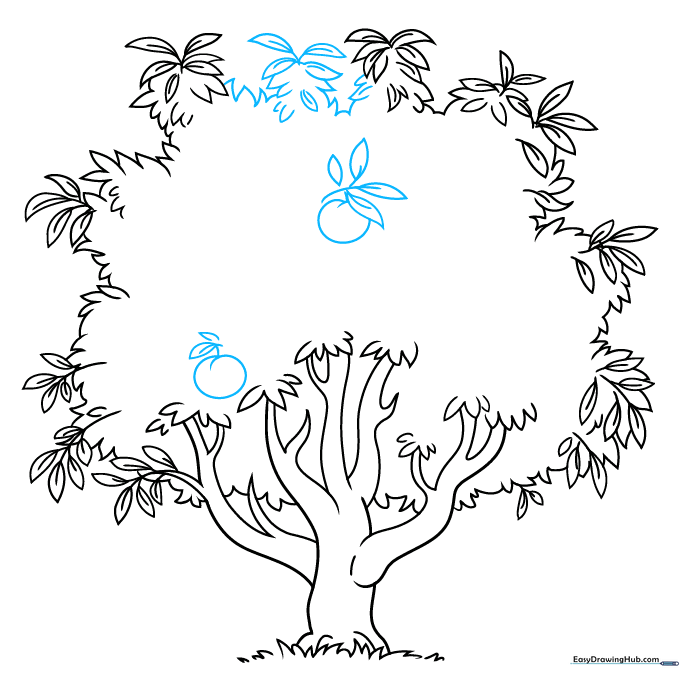
Time to add the fruit! Draw round shapes tucked into the leaves. Add a small overlapping line at the top of each circle to give the peach its characteristic dimple. Tip: Draw them in small groups to make the tree look bountiful.
Step 8: Adding More Fruit
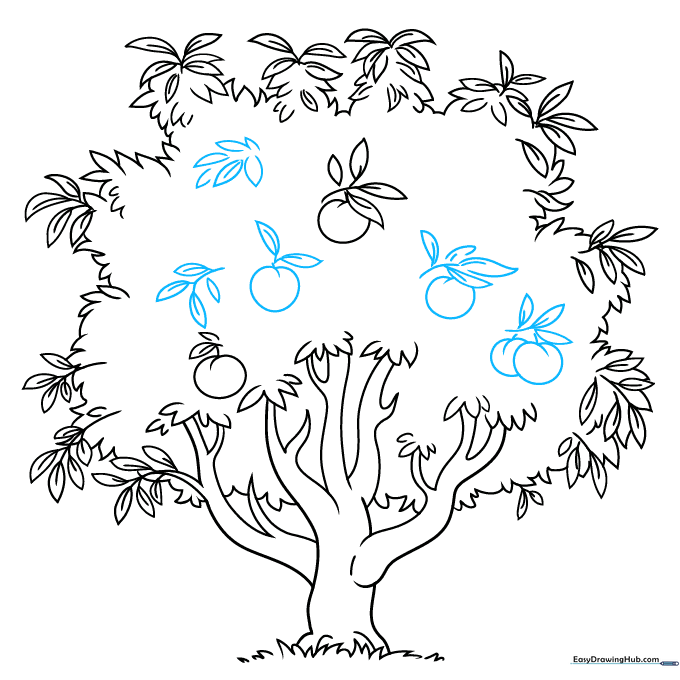
Fill in empty spaces in the canopy with more peaches and leaves. Tip: Don't make them all the same size; some peaches should be closer to the front (larger) and some further back (smaller).
Step 9: Final Touches

Review your drawing and add any final leaves or fruit to balance the composition. Erase any stray guidelines. Tip: A clean drawing makes coloring much more satisfying!
Step 10: Bring It to Life with Color
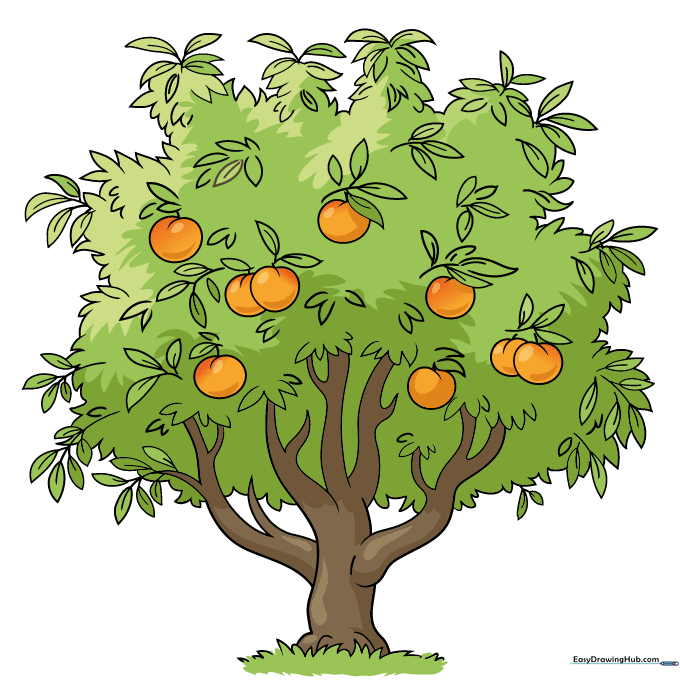
Time to color! Use a warm yellow-orange for the base of the peaches, and add a touch of pink or red near the top to show they are ripe. Use vibrant greens for the leaves. Tip: Try using light circular motions with your colored pencils to create a soft, fuzzy texture on the peaches.
More Tutorials


