How to Draw a Patriotic Ribbon: Easy 5-Step Guide
This patriotic ribbon tutorial is a fantastic screen-free activity for children ages 5 and up to practice symmetry and line control. You only need a pencil, an eraser, and your favorite red, white, and blue markers or crayons. Follow these simple steps to create a beautiful symbol of pride for holidays like the 4th of July or Veterans Day.
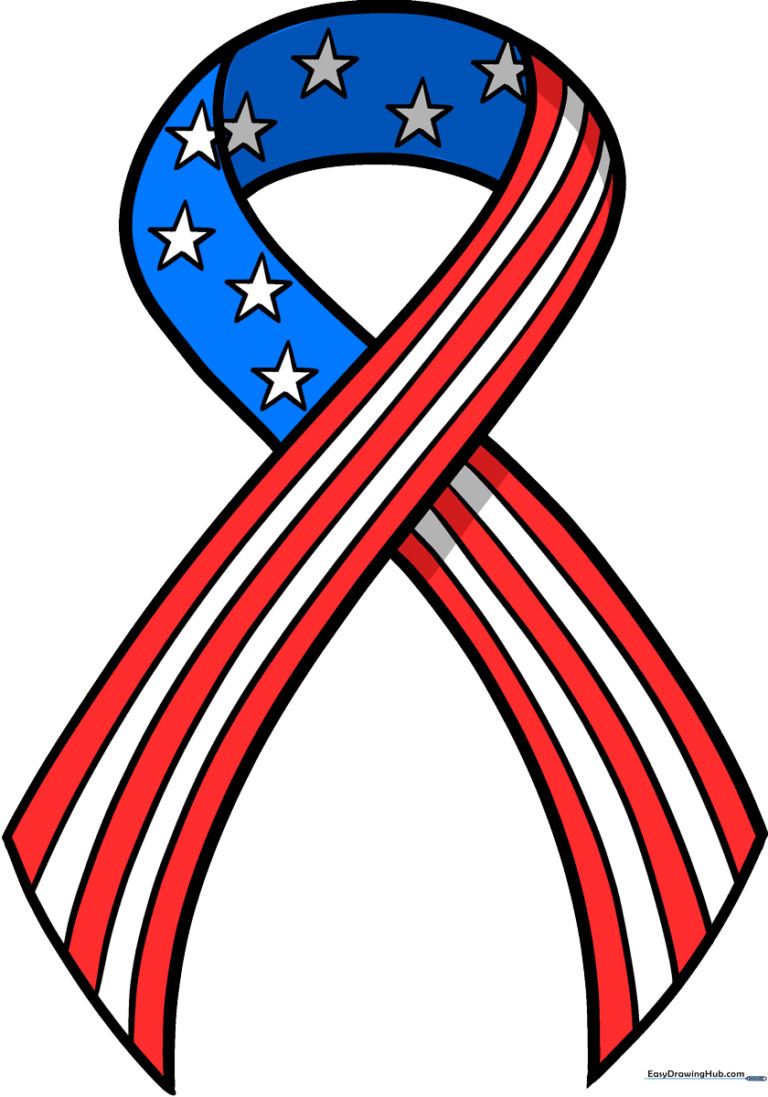
🎯 Final Result
Step-by-Step Instructions
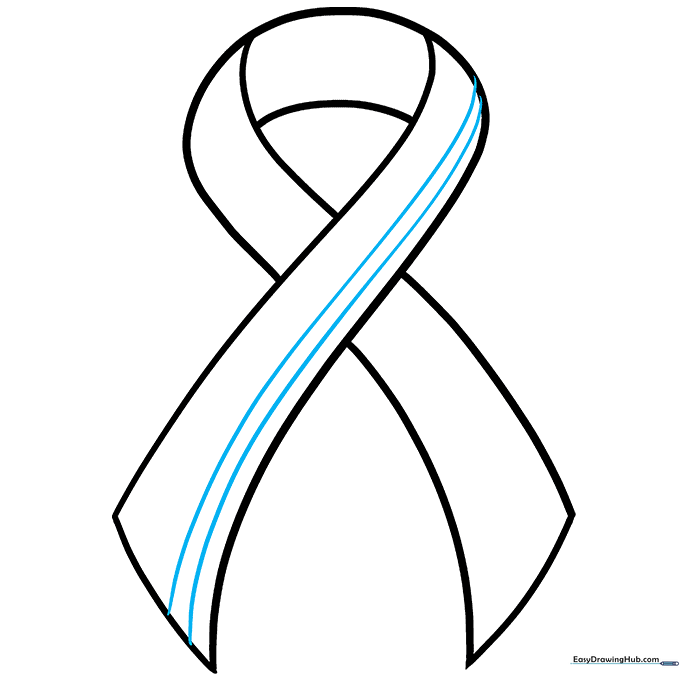
Step 1: Sketching the Ribbon Base
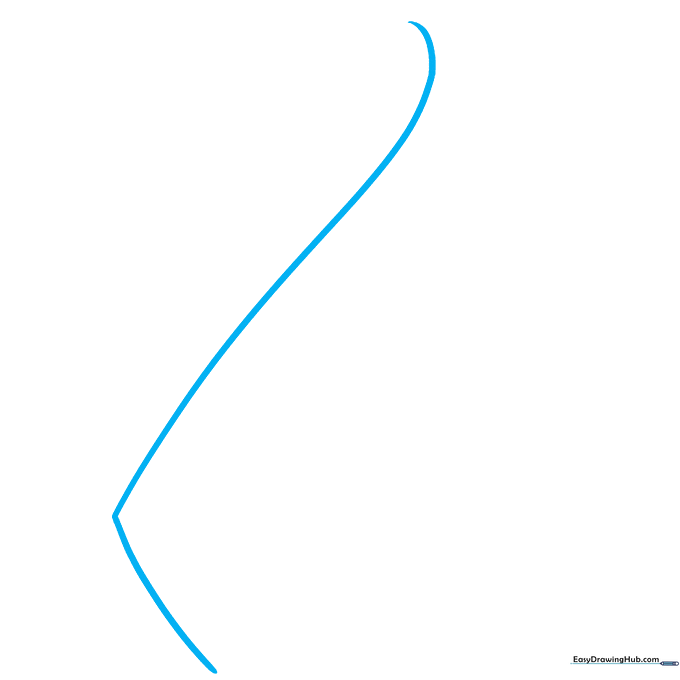
Start by drawing a long, slightly diagonal line for the main edge of the ribbon. At the bottom, add a short, angled line to create the 'tail' of the ribbon. Teacher's Tip: Keep your pencil pressure light here; we want these lines to be faint guidelines.
Step 2: Creating the Ribbon Fold
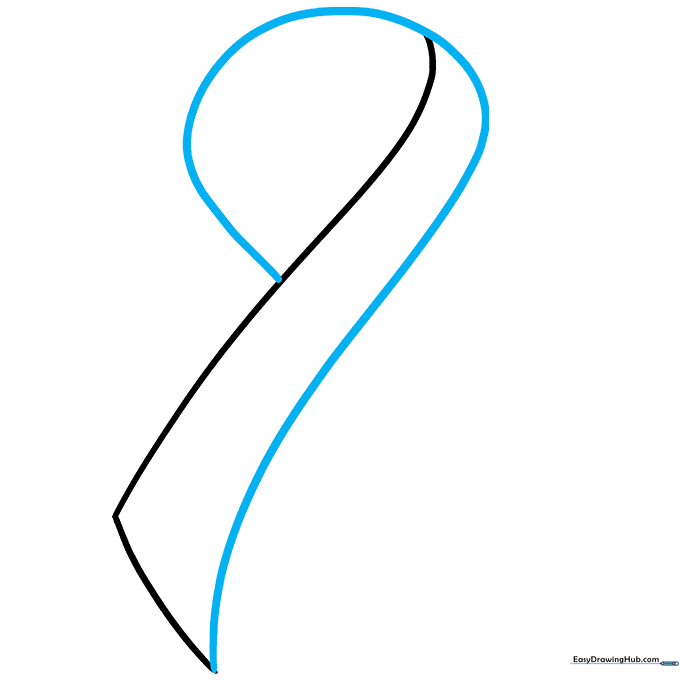
Extend a curved line from your first mark to form a 'Y' shape. Bring it over the top and run it parallel to your first line until it meets at a sharp point. Teacher's Tip: Think of this as the 'loop' of the ribbon; take your time to make the curve smooth.
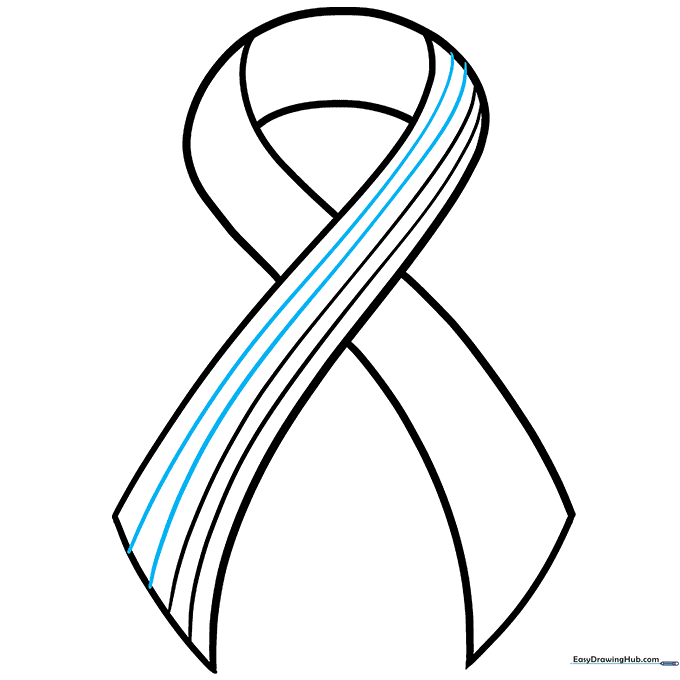
Step 3: Adding the Second Ribbon Tail

Draw a curved line across the half-circle to define the ribbon's thickness. Then, extend two curved lines behind the first section to create the second tail, connecting them at the end. Teacher's Tip: Use your eraser to clean up any lines that look like they are 'inside' the front ribbon section.
Step 4: Closing the Ribbon Shape
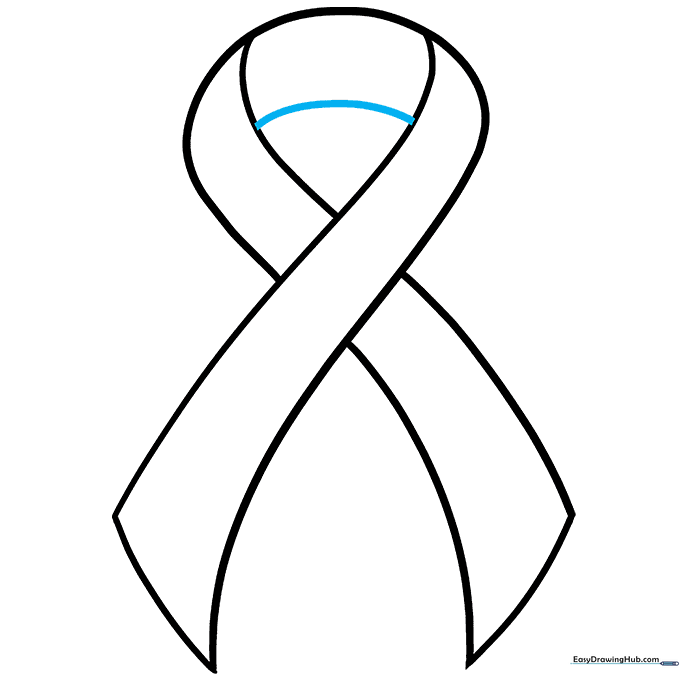
Draw a final curved line across the top to complete the ribbon loop. Teacher's Tip: Make sure this curve matches the flow of the previous lines to keep the ribbon looking realistic and fluid.
Step 5: Adding Decorative Stripes
Begin adding detail by drawing long, curved lines across one side of the ribbon. Teacher's Tip: Keep these lines parallel to the edge of the ribbon to make them look like they are wrapping around the fabric.
Step 6: Continuing the Pattern
Continue adding more curved lines across the ribbon surface. Teacher's Tip: If you make a mistake, don't worry! Use your eraser and try again—drawing is all about practice.
Step 7: Stripes on the Second Tail
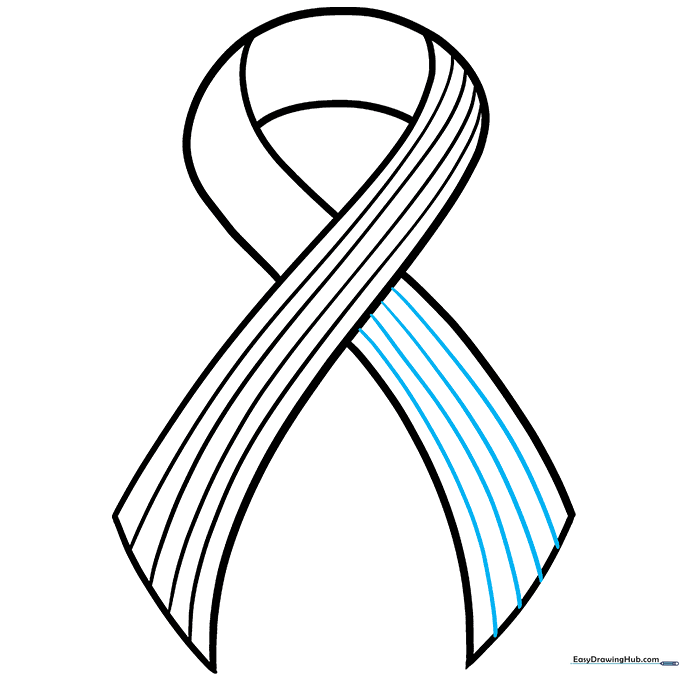
Add stripes to the other ribbon tail using the same parallel line technique. Teacher's Tip: Try to keep the spacing between your lines consistent for a professional look.
Step 8: Adding Stars
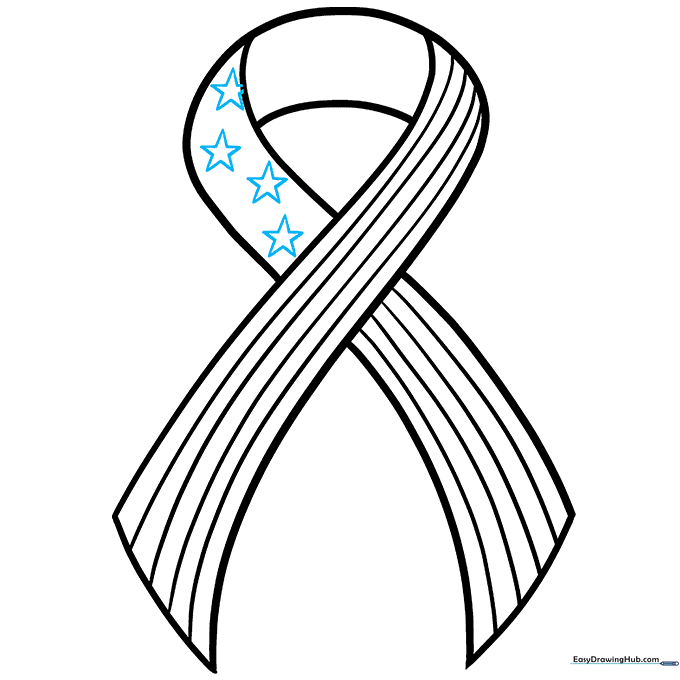
Draw small five-pointed stars in the remaining space on the ribbon. Teacher's Tip: If drawing stars is tricky, try drawing a small 'X' first and then connecting the points!
Step 9: Final Details
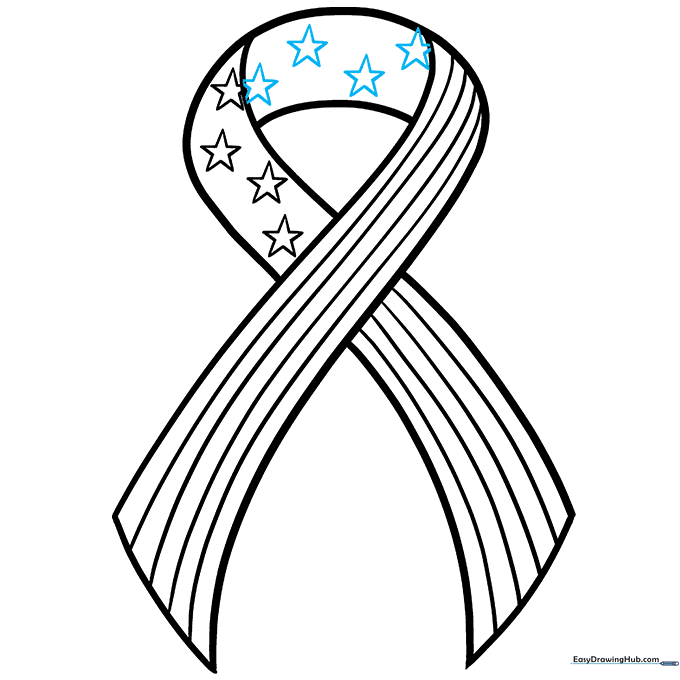
Add a few more stars across the final section of the ribbon to balance your design. Teacher's Tip: Vary the placement of the stars slightly so the ribbon looks natural.
Step 10: Color Your Ribbon
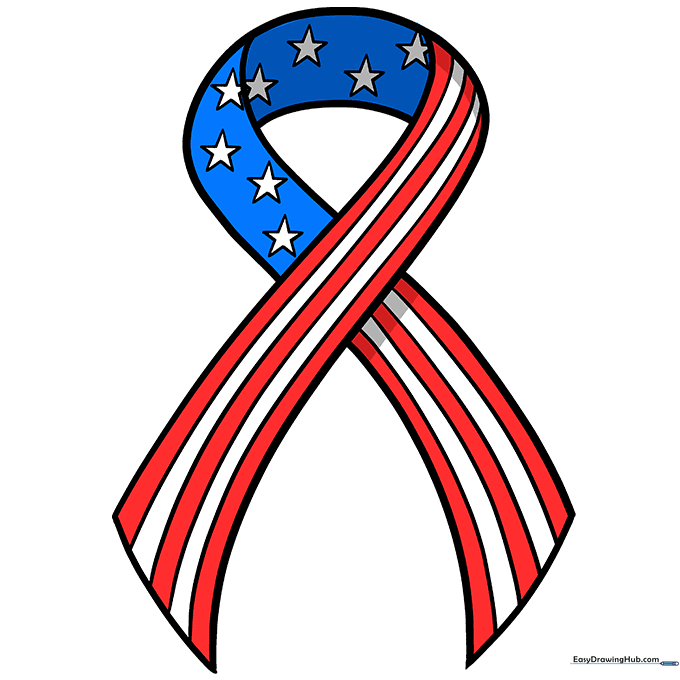
Now for the fun part! Color your ribbon using red, white, and blue. You can also use specific colors to honor different groups—blue for law enforcement, green for the military, or red for firefighters. Teacher's Tip: Use light, even strokes with your markers for a smooth finish.
More Tutorials


