How to Draw a Patriotic Hat: Easy 9-Step Guide
Celebrate the holidays with this fun, screen-free art project perfect for ages 5 and up. You will need a pencil, an eraser, and your favorite coloring supplies to bring this classic top hat to life. Follow these steps to master basic 3D shapes and create a festive masterpiece.
🎯 Final Result

Step-by-Step Instructions
Sketching the Vertical Sides
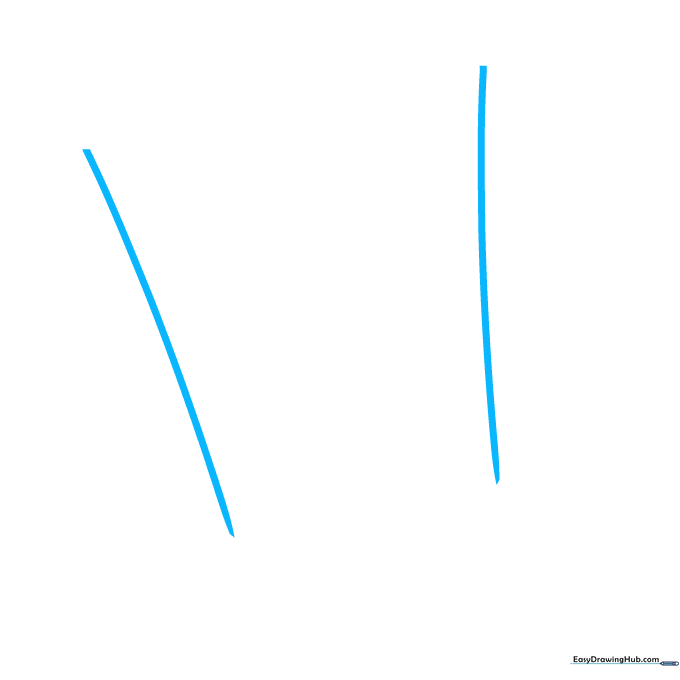
Draw two parallel diagonal lines about two inches apart. Teacher's Tip: Keep these lines light; they form the main structure of your hat's cylinder.
Defining the Cylinder
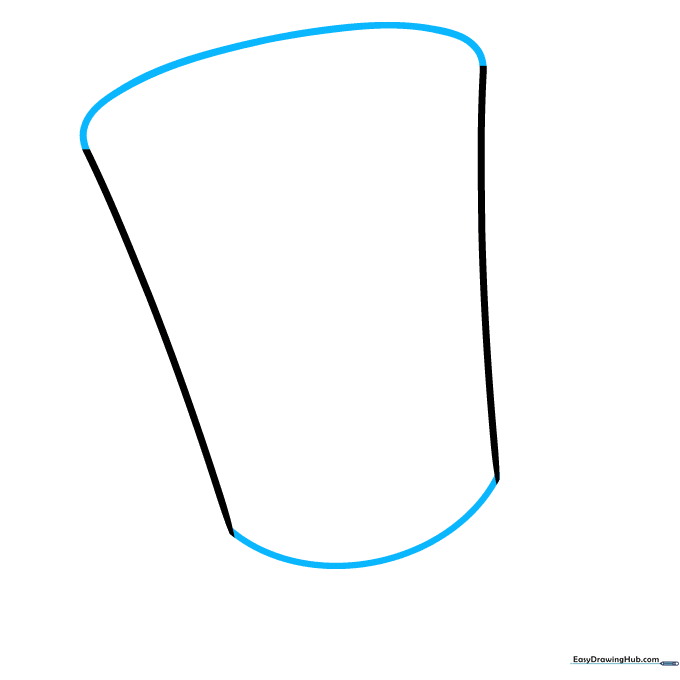
Connect the top and bottom of your lines with wide, gentle curves. Tip: Imagine you are drawing the rim of a glass to get that perfect rounded look.
Adding Depth
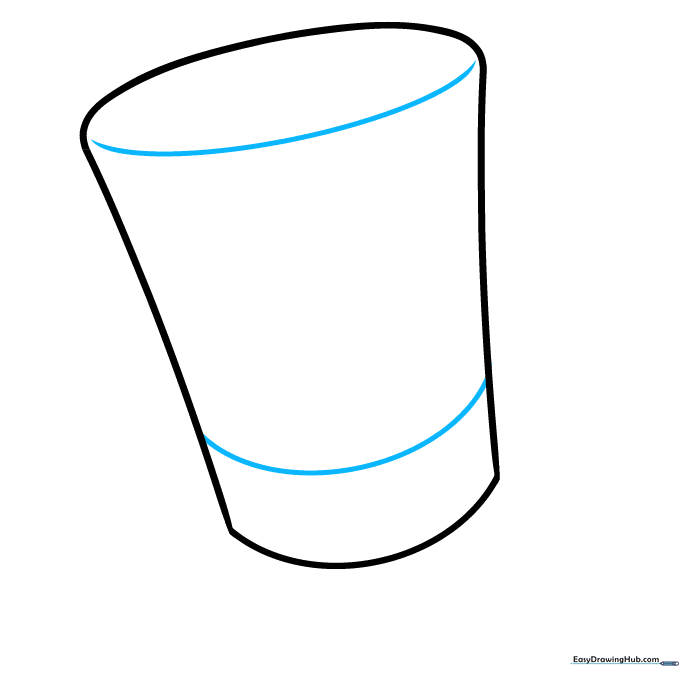
Sketch two smaller curves inside the cylinder. This creates a 3D effect, making the hat look solid rather than flat.
Connecting the Structure
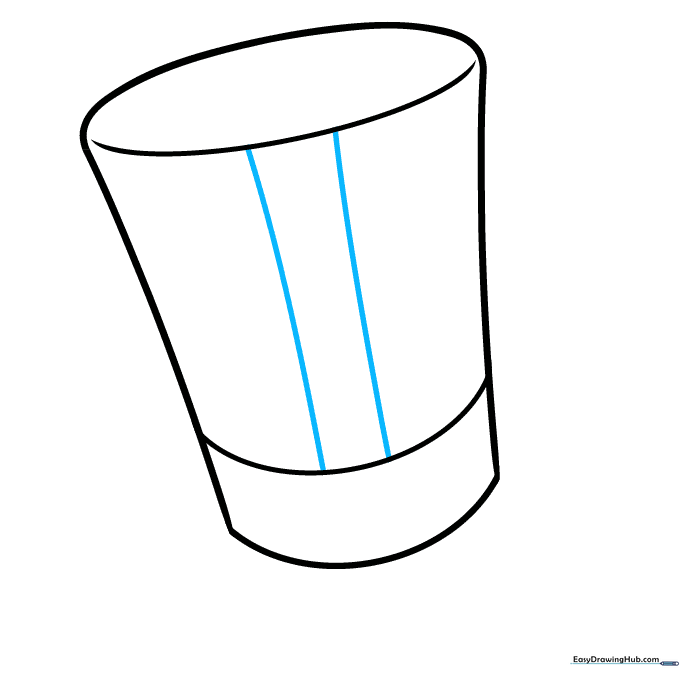
Connect your internal curves with two short diagonal lines. This defines the band area of the hat.
Drawing the Stripes
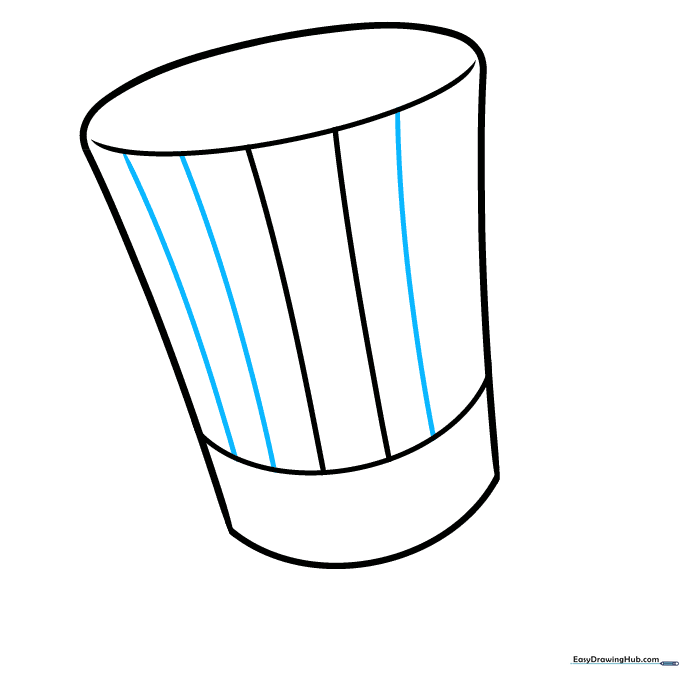
Add diagonal lines across the cylinder to create the stripes. Tip: Keep your spacing consistent for a professional look.
Forming the Brim
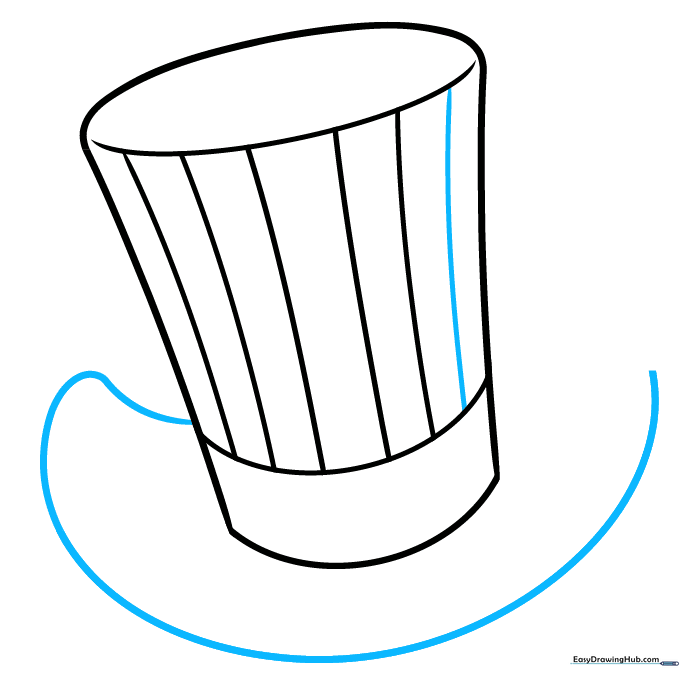
Draw a swooping curve at the bottom to form the brim. Ensure the cylinder overlaps the brim slightly to maintain the 3D perspective.
Starting the Stars
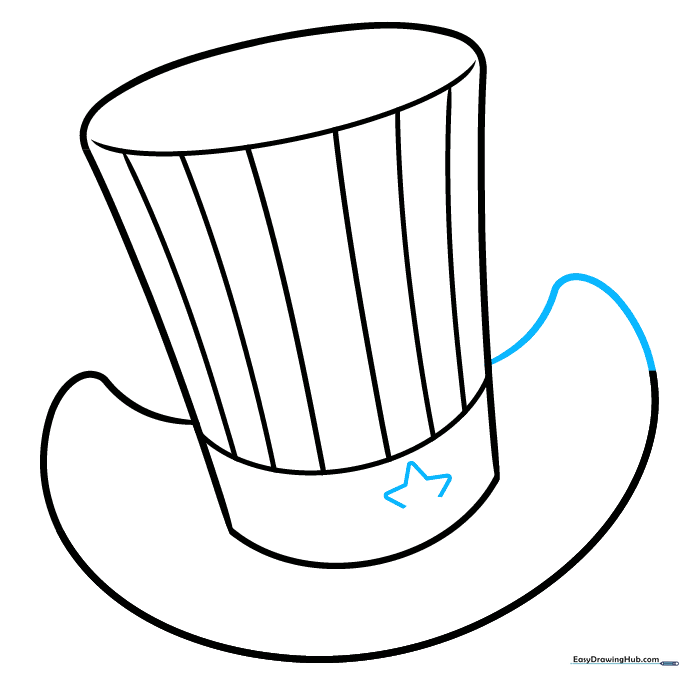
Add a rounded triangle shape to the band area. Begin forming your star by drawing three straight, connected triangles.
Refining the Stars
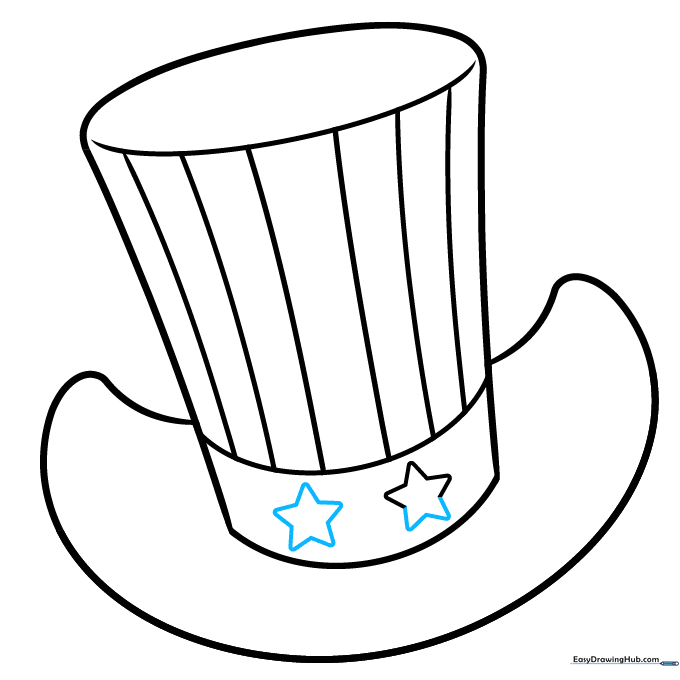
Complete your first star by adding two more triangles. Repeat this process for the second star, keeping them uniform in size.
Finalizing Details

Add partial stars on the edges. Tip: Drawing only part of a shape makes it look like it's wrapping around the hat, adding realism.
Coloring Your Masterpiece

Outline your drawing with a black pen. Once dry, erase your pencil marks. Color the brim red, the band blue with white stars, and alternate red and white for the stripes. Use light gray for subtle shadows to make your hat pop!
More Tutorials


