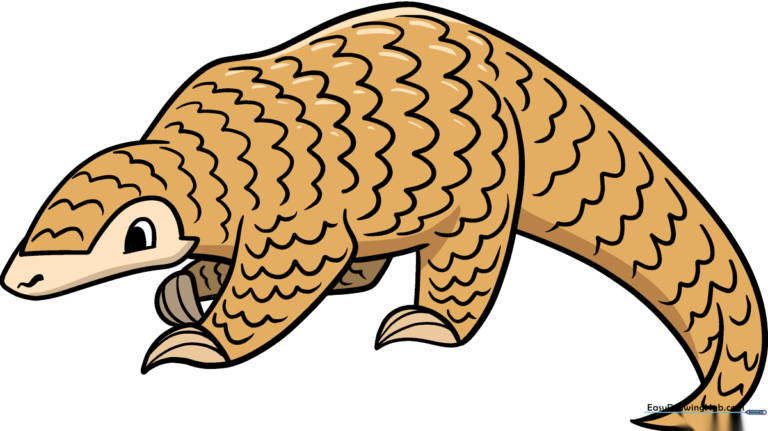
How to Draw a Pangolin: Easy 9-Step Guide for Kids
Ready to draw one of nature's most unique creatures? This tutorial is perfect for young artists ages 5 and up. All you need is a pencil, an eraser, and some paper to bring this scaly friend to life while practicing your curved line control.
🎯 Final Result
Step-by-Step Instructions
Step 1: Sketching the Head and Snout
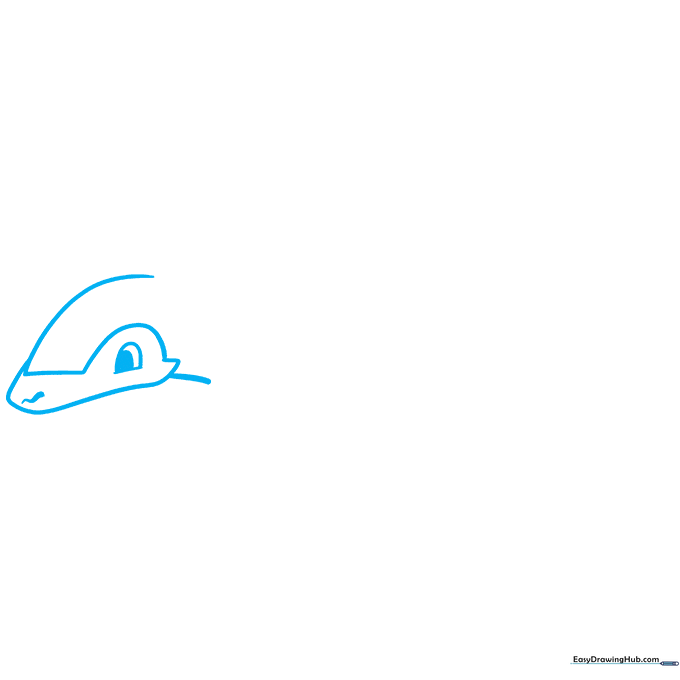
Draw a rounded, helmet-like shape for the head. Add a smaller curved line for the snout and a simple 'U' shape for the eye. Teacher's Tip: Keep the eye small and add a tiny oval pupil to give your pangolin a friendly, curious expression.
Step 2: Drawing the Front Arm

Use long, smooth curved lines to form the front arm and belly. Add a small triangle at the end for the claw. Teacher's Tip: Pangolins have strong claws for digging, so make them look sharp and sturdy!
Step 3: Adding the Rear Leg
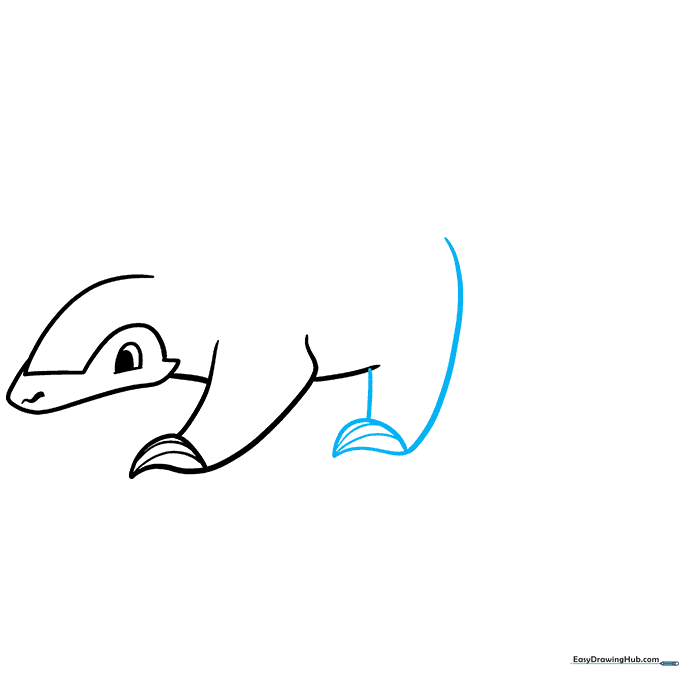
Sketch the back leg using similar curved lines, ending in another set of claws. Teacher's Tip: Ensure the leg overlaps slightly with the belly to show depth.
Step 4: Shaping the Tail
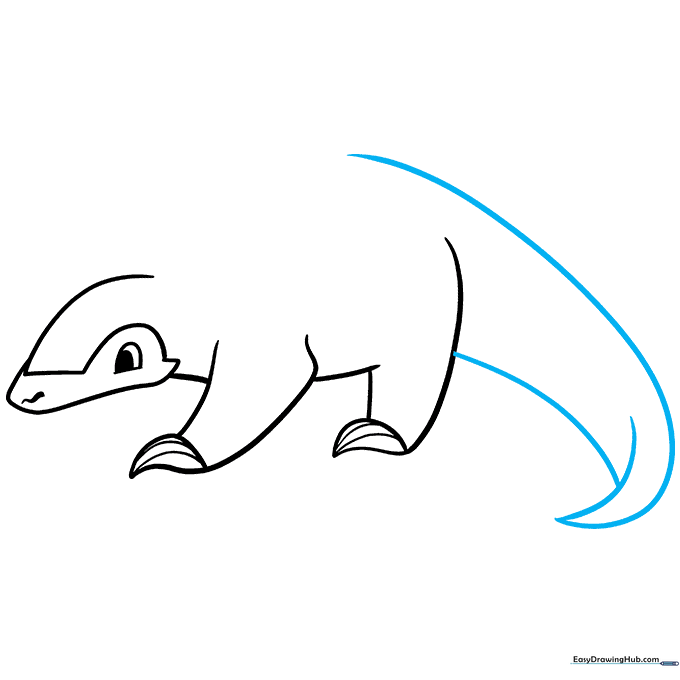
Draw a long, sweeping curved line for the tail. Add a small line at the base to create a 3D effect. Teacher's Tip: Think of the tail as a long, thick snake shape that balances the body.
Step 5: Completing the Body
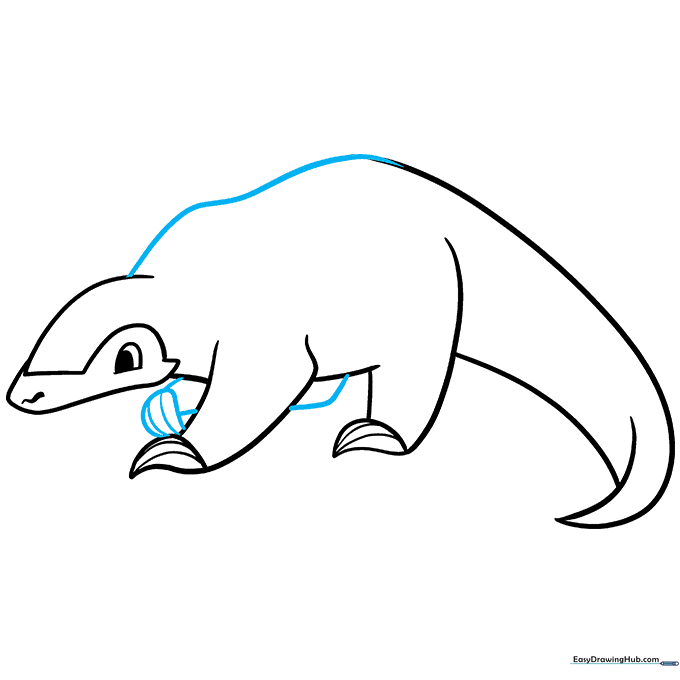
Connect the back and add the remaining foreleg. Teacher's Tip: Draw this leg slightly higher to make it look like your pangolin is walking.
Step 6: Starting the Scale Texture
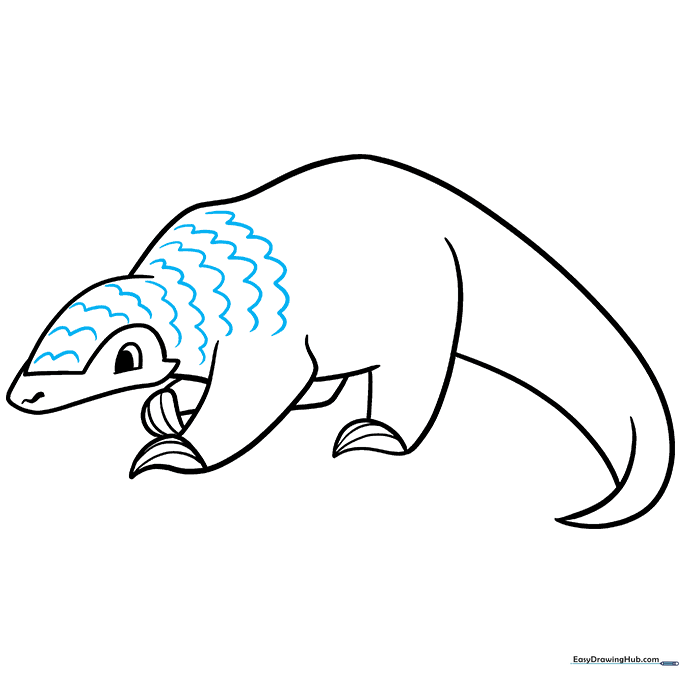
Begin adding scales on the head using connected 'U' shapes. Teacher's Tip: Don't worry about making them perfect; nature is rarely uniform!
Step 7: Detailing the Forelegs
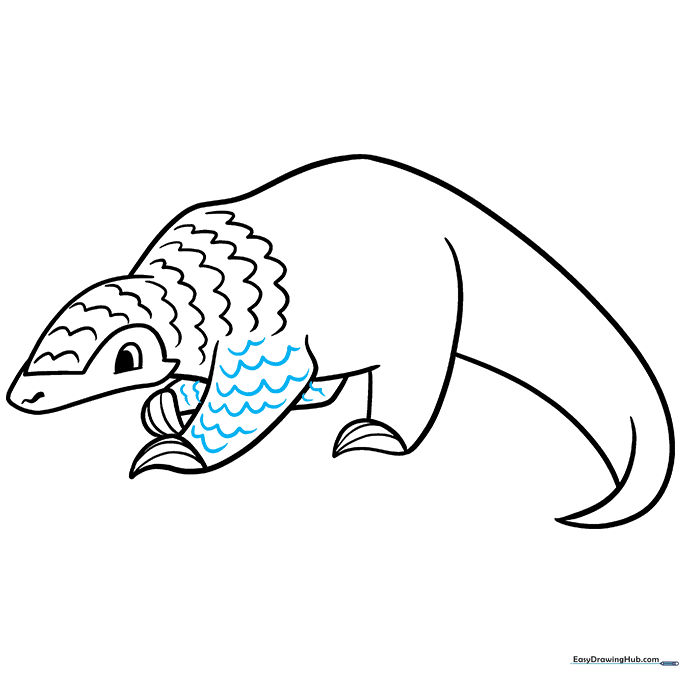
Continue the scalloped lines down the forelegs. Teacher's Tip: Use shorter 'U' shapes here to show the scales wrapping around the limbs.
Step 8: Scaling the Back
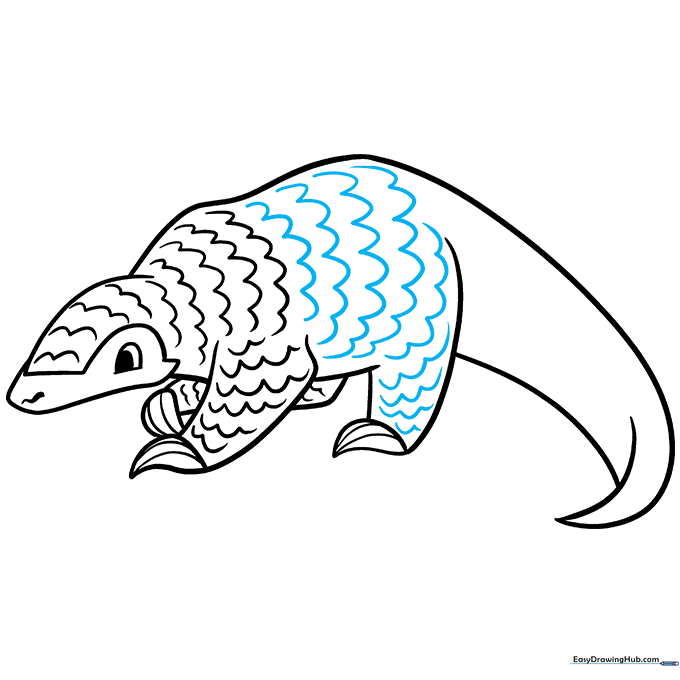
Add wavy scale patterns across the back and rear leg. Teacher's Tip: Vary the size of your 'U' shapes to make the scales look more realistic.
Step 9: Final Tail Details
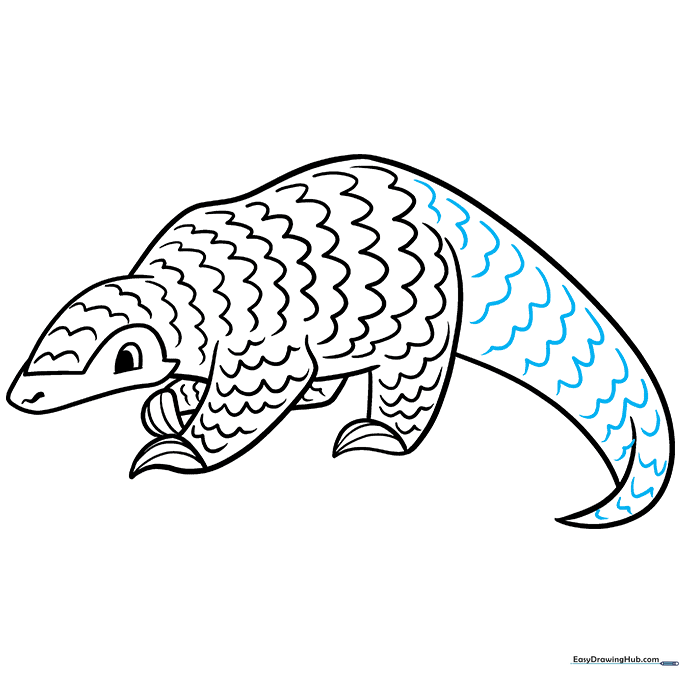
Finish the tail with wavy lines all the way to the tip. Teacher's Tip: This is the final step before coloring, so double-check your lines and erase any stray pencil marks.
Step 10: Color Your Masterpiece
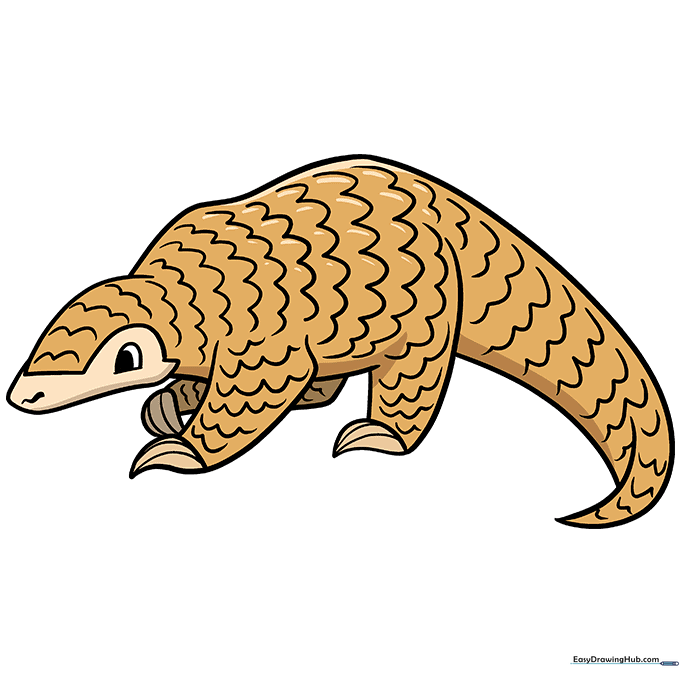
Bring your pangolin to life with earthy browns and tans. Teacher's Tip: Use a darker brown for the edges of the scales to give them a 3D, layered look.
More Tutorials


