How to Draw a Panda Face: Easy 9-Step Guide for Kids
Looking for a fun, screen-free activity? This panda face tutorial is perfect for artists ages 5 and up. All you need is a pencil, an eraser, and a piece of paper to bring this iconic bear to life while practicing basic shape recognition and line control.
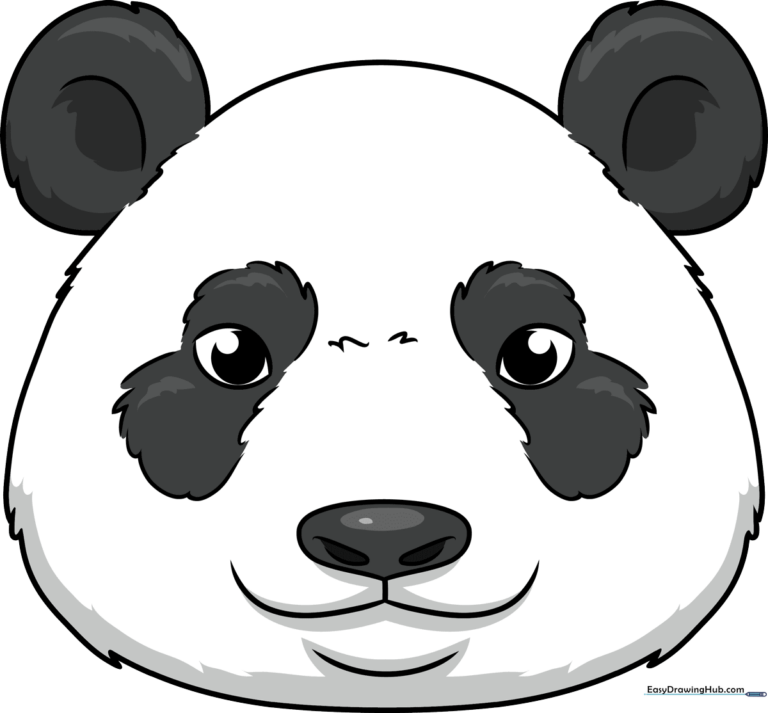
🎯 Final Result
Step-by-Step Instructions
Step 1: Sketching the Eyes

Draw two rounded shapes for the eyes. Teacher's Tip: Keep them symmetrical and leave enough space in the middle for the nose. Shade in a small circle inside each to create the pupils, leaving a tiny white dot for a 'sparkle' effect.
Step 2: Drawing the Nose

Draw a small, flattened oval between the eyes for the nose. Tip: Add two tiny curved lines at the bottom to represent the nostrils. This gives the panda a friendly, expressive look.
Step 3: Adding the Mouth
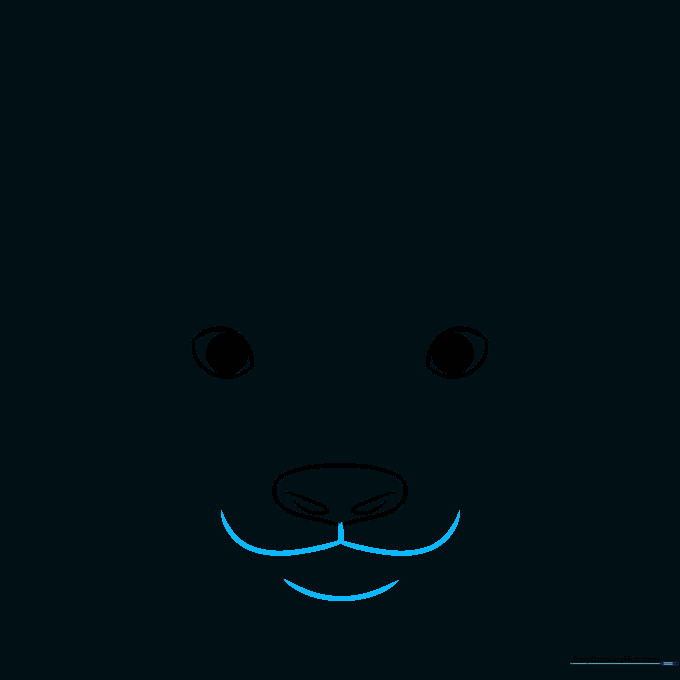
Create a wide 'W' shape below the nose for the mouth. Connect it to the nose with a short vertical line, then add a soft, curved line underneath for the chin. This creates a gentle, smiling expression.
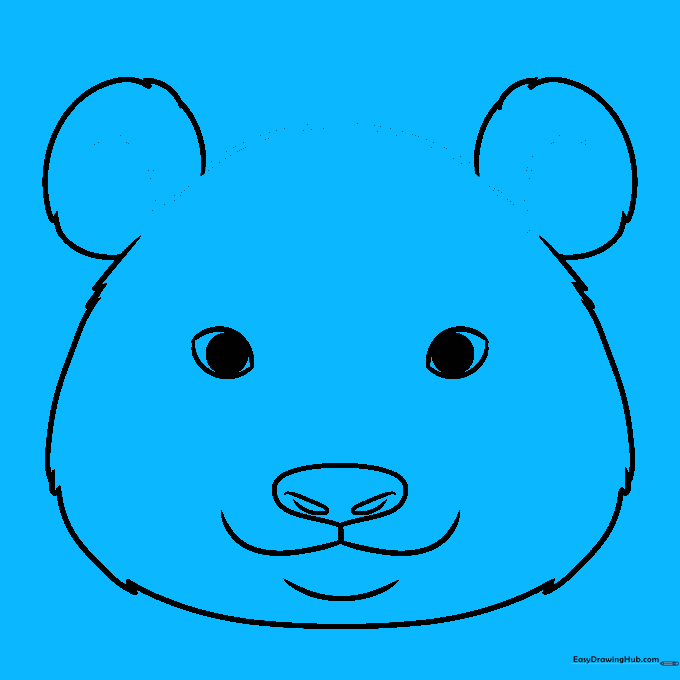
Step 4: Shaping the Head
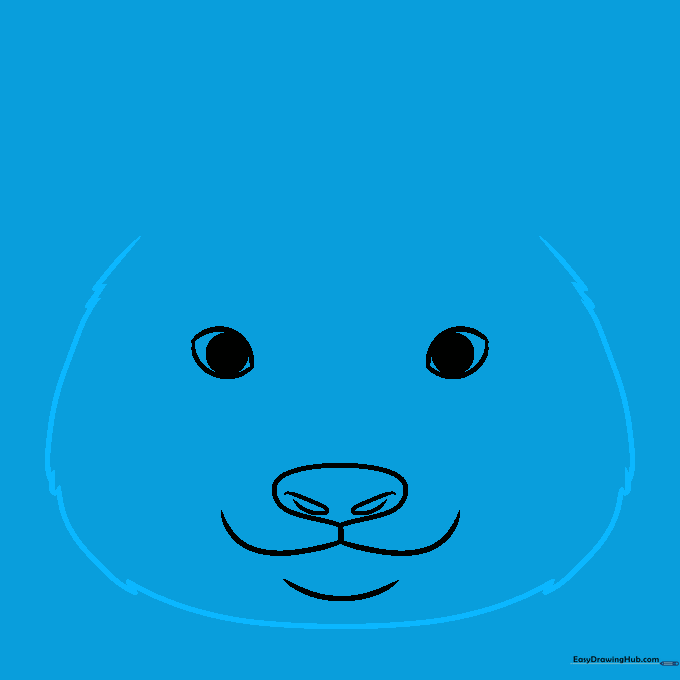
Draw the outline of the head using short, overlapping curved lines. Tip: Don't make it a perfect circle; using slightly jagged lines helps simulate the texture of soft panda fur.
Step 5: Adding the Ears
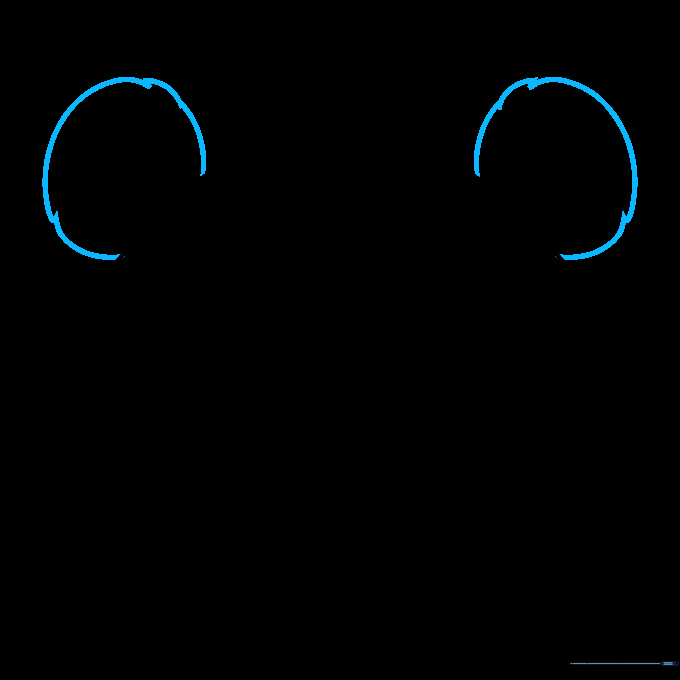
Draw two round, fuzzy ears on top of the head. Use the same 'furry' line technique as you did for the head to keep the style consistent.
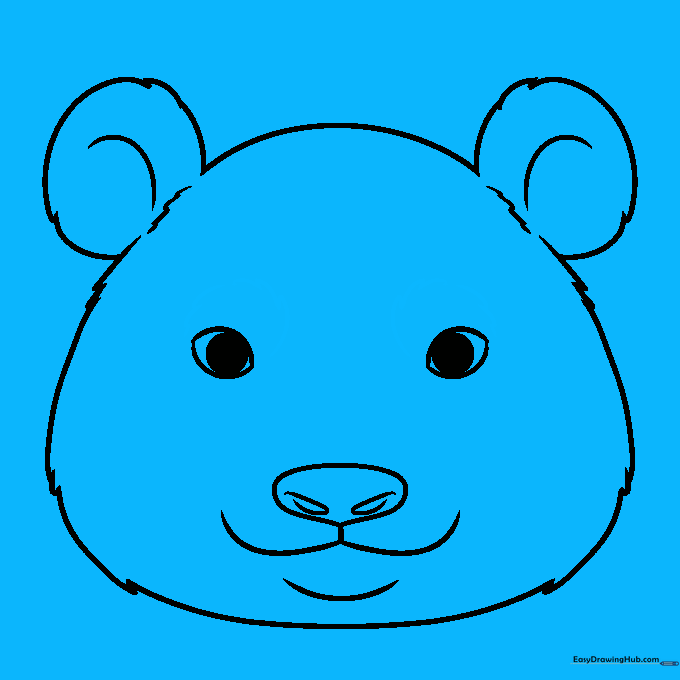
Step 6: Refining the Ears
Close the top of the head with a curved line. Add 'C' shaped lines inside the ears to give them depth. Tip: Use small, squiggly lines to make the ears look extra soft.
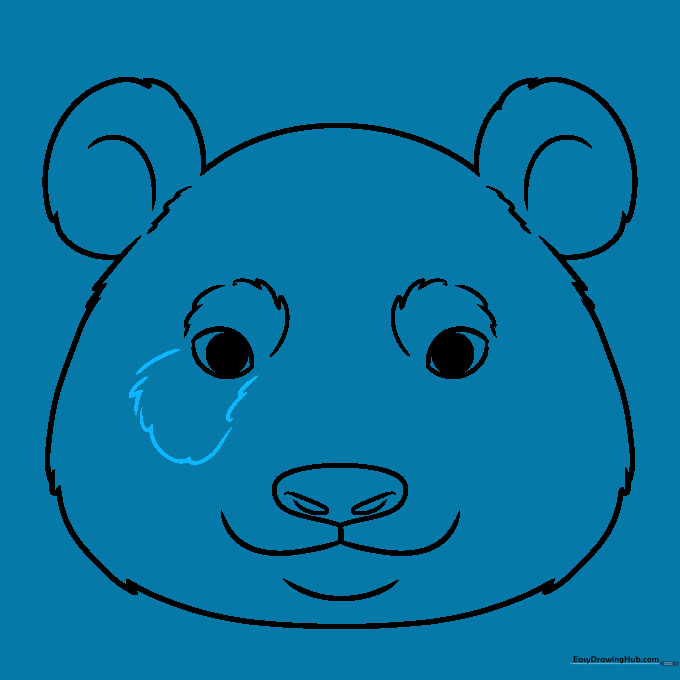
Step 7: Drawing Eye Patches
Sketch the iconic dark patches around the eyes using curved, organic shapes. These should frame the eyes you drew in Step 1.
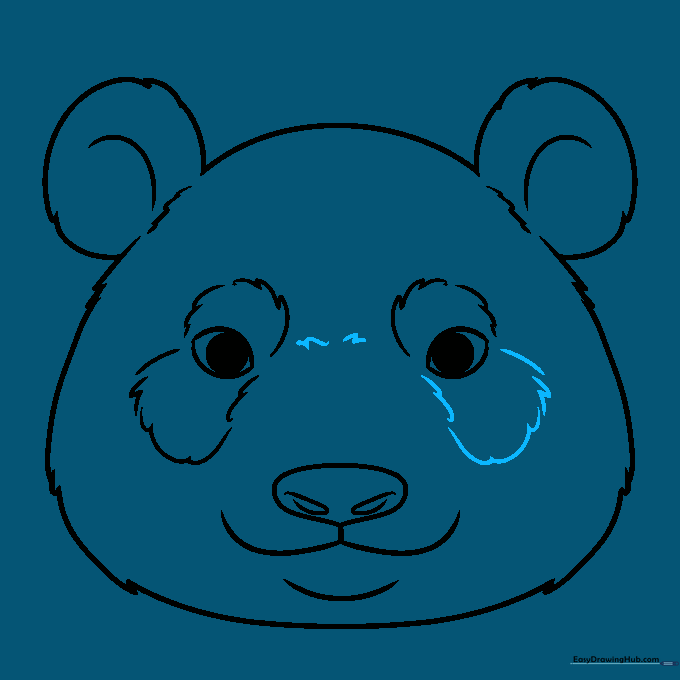
Step 8: Adding Facial Markings
Add small details below the eye patches. Use a series of short, disconnected lines to suggest the natural fur patterns found on a panda's face.
Step 9: Final Touches
Complete the outline by adding small, furry textures around the nose and cheeks. Clean up any stray pencil marks with your eraser to prepare for coloring.
Step 10: Coloring Your Panda

Time to color! Use black for the ears, eye patches, and nose. Keep the rest of the face white. Tip: Use a light gray pencil to add soft shadows around the edges of the face to make it look 3D.
More Tutorials


